1 minute read
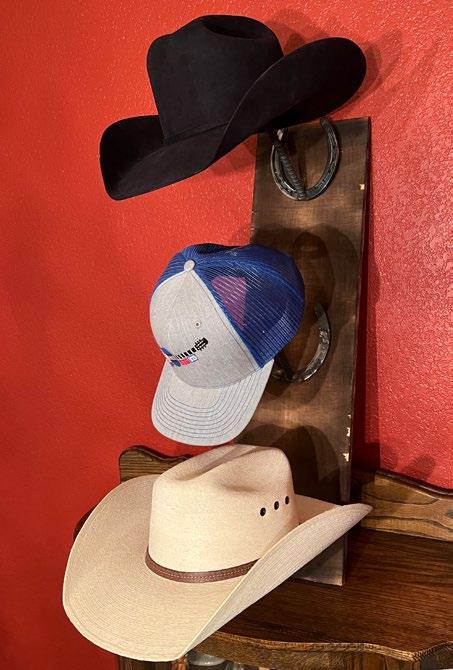
DIY Hat Rack


BY QUINN SWEETMAN
How To Create A Western Hat Rack
MATERIALS:
• 6 horseshoes
• 4’ of rebar
• 6 large magnets (Forney ITEM# 70715)
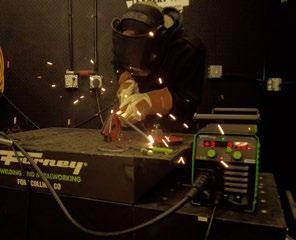
• Welding machine (Forney 190 MP)


• Personal protective equipment
• Angle grinder with flap discs and a cutoff wheel (Forney ITEM# 1905 & 71923)
• Wood or a board for the base
• Nails
• Propane or MAPP torch
• Wire brush (Forney ITEM# 70520)
Step 1: Prep the material. Clean up the horseshoes with an angle grinder and flap disc, especially at the toe which is where the welding will occur.


Step 2: Create the hooks. Cut the rebar into 10-12” sections, depending on the length of your cowboy hat brims.

Step 3: Align the horseshoe and rebar together with a magnet, then weld the rebar at an angle from the toe of the horseshoe. Repeat two more times for a total of 3 hooks.
Step 4: Align the horseshoes using all six magnets to create a level platform. Then, weld the other end of the rebar perpendicularly to the second horseshoe. Repeat this process two more times.
Step 5: Blacken wood for a rustic look if desired. Use a torch to completely blacken the piece of wood (ensure consistent application of heat for the best final effect).
Step 6: Use a wire brush on the burnt wood to reveal a distressed look. The more you stay in one spot the lighter the wood will get, allowing for the creation of different patterns.
Step 7: Nail your horseshoe hooks into the wood through the horseshoe nail holes. Angle the nails for a tighter hold.
Step 8: Hang your cowboy hat, baseball cap or welding helmet!


