5 minute read
8 Products to Add to Your Weight Room


BY DAN GUTTENPLAN, FNF COACHES EDITOR
In 2017, Kimberly (Wis.) High School opened a 6,500-square-foot weight room to serve the football team, among other sports.
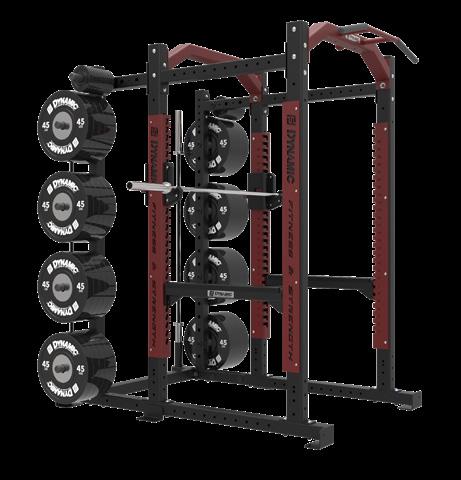
Kimberly went with an in-state equipment supplier, Dynamic Fitness and Strength, that was willing to work with the school’s strength coach in designing custom racks — 14 in the larger room alone.
Kimberly strength and conditioning coach Dean Matsche shared eight pieces of equipment for coaches looking to add to their strength program.
3

6


7 4

5
8 1. VERTICAL JUMP MATS
“OUR BIG THING IS TO
have a measurable for vertical jump,” Matsche said.
2. SPRINT VELOCITY ASSESSMENT TOOL (SPRINT LIGHT)
“WE USE A SPEED SYSTEM for 10-meter flies and 40-yard dashes,” Matsche said. “Our system has a timing system.”
3. ROGUE TALLER SLEDS
“SLEDS GIVE THE
athletes something they can push, pull and sprint behind,” Matsche said. “You can do a lot of things with them and work on different planes of motion.”
4. BANDS
“WE HAVE TO HAVE BANDS
so we can do glute activation,” Matsche said. “Bands allow them to work on bench and squat technique. You can take a band and put it on anything like a dumbbell, kettlebell or ball to change the stimulus.”
5. SAFETY SQUAT RACKS
“WE GOT OUR RACKS
custom made with safety squat bars,” Matsche said. “We have four bars at each rack — so you could have 56 kids performing a movement all at one time.”
6. SWISS BARS
“THIS BAR ALLOWS
athletes to change the grip for various lifts,” Matsche said. “We like to do close-grip pressing with them.”
7. HEX BARS
“WE USE THE HEX BAR FOR deadlifts,” Matsche said. “It’s the best bar for that lift due to the grip and hand placement.”
8. PULL-UP ATTACHMENTS
“YOU COULD USE A
connector board or really anything that allows the athletes to do chin-ups and pull-ups,” Matsche said.
POSTERIOR CHAIN EXERCISES
POSTERIOR CHAIN EXERCISES ARE A BIG PART
of the strength program at Kimberly. Posterior chain exercises involve contracting and lengthening the muscles in a chain-like manner. This is important for athletic movements that require strength, flexibility and fluidity to properly jump, rotate, lift or land.
Training the chain can also help to reduce possible injury caused by weak or improperly functioning muscle groups. In addition, a strong posterior chain contributes to a strong core musculature, which reduces back pain and low-back injury, while also facilitating coordination and strength through the limbs.
Some posterior chain exercises include loaded squats, diagonal lunges, deadlifts, hamstring curls and inverse curls.
“It’s a way to bring together the glutes and hamstrings,” Matsche said. “We do a lot of reverse extension and inverse exercises. We want to hit the lower back, glutes and hamstrings.”

BY DAN GUTTENPLAN, FNF COACHES EDITOR
World-class sprint coach Chris Korfist had seen one too many athletes get injured in 2009 when he vowed to find a way to help athletes prepare better themselves for threshold efforts.
“When really good kids get hurt, you’re always going to look for ways to eliminate injuries,” Korfist said.
Korfist began working with fitness experts all over the world to discover a better warmup method for athletes. He landed on the Reflexive Performance Reset® (RPR) method after partnering with world-renowned strength coach Cal Dietz and world champion powerlifter JL Holdworth.
“We pulled from a lot of different programs and condensed it into something simple that everyone can use on themselves to reduce injury and improve performance,” Korfist said. “It’s a way to empower people to take control of their own well-being.”
Korfist offers a RPR® course that shows athletes how to stimulate neurological reactions through self-touch.
“There are certain spots in the body that are there for a reason, but they get neglected,” Korfist said. “We get the muscles to work by developing the process of gait. In order to walk, we have to get hip flexion and extension. It’s going back to the beginning and learning to crawl.”
RPR® is a simple combination of breathing and acupressure that treats imbalances in the muscular and nervous systems. When muscles work together in sequence while fully activated, the body moves correctly. Athletic movements are sequenced chain reactions. Weak links in the chain and improper sequencing lead to injuries. When the same compensation patterns are reinforced, injuries linger and recur.
Here are a few examples of RPR® Wake-Up Drills™.
■ RPR® Wake-Up Drills™ are proven
to help athletes avoid injuries.
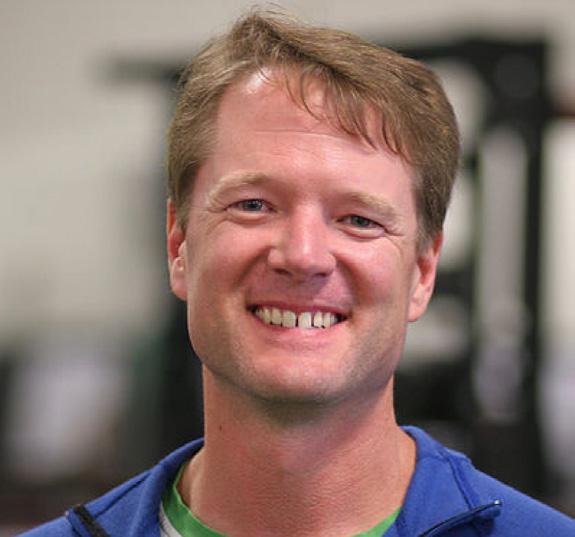
■ Reflexive Performance
Reset® (RPR) method founder Chris Korfist

BREATHING
Begin by taking your thumbs and rubbing from the top of your sternum at your
collarbone to the base of your sternum between your chest, moving at a moderate pace while paying attention to your breath.
As you breathe, take deep inhales through your nose and allow the exhales to flow out of your mouth. Once you’ve reached the base of your sternum, continue rubbing outward along your rib cage at the base of your chest on both sides.
Performing this exercise provides you with an opportunity to gain insight into your body’s current state of physical sensitivity. Take time to notice what feels good, what hurts, and how your body is potentially compensating as a result.
PSOAS
Place each thumb or set of fingers one inch from your belly button on both sides of
your body. From there, follow the same breathing pattern you used in the first exercise as you rub those deep-seated core muscles connecting the lumbar vertebrae to the femur. Focus on that feeling as it pertains to the immediate area, and throughout your body.
This drill aims to determine what aspects of your core are feeling healthy, and if any aspects of your core are imbalanced.
GLUTES
Rub the back of the base of your skull where the tissue and the skull meet,
breathing all the while. From there, find the point right under the earlobe and on the jawline, performing the same action. Press the jawline forward but only for a few seconds before rubbing down the jaw from under your ear.
You may be wondering how the back of your head connects to your glutes. After all, the two locations are rather far apart on your body. In reality, however, your entire back is a complex set of connective muscles, tissues, ligaments, and bones that all work in conjunction with one another.
By starting at the base of your skull, you can determine which areas of your posterior body feel asymmetrical, all the way down to your glutes.


