8 minute read
THIS IS MY M4: PART 6

THIS IS MY M4 PT 6: RAIL AGAINST THE MACHINE
Last issue, we had the front end apart to fit a longer inner barrel. And since that means removing the rail, it seems like a good opportunity to swap it out for something beefier.
In terms of functionality, as long as I have enough real estate to hang a scope, torch and grip then I couldn’t ask for anything more. But the rails on any weapon have a huge impact on its visual appeal, which is half the battle in airsoft (if we’re honest).
My first instinct was to go for a slick M-lok finish - and even ordered a Geissele replica handguard with that in mind - but then I realised that I already have a smooth-snouted AEG in my Krytac Trident. By way of comparison - and as I’ve said before - what I’m aiming for with this M4 is an excitingly “chunky” form factor.
Both M-lok and Keymod rails offer benefits for open or gloved hands - especially if you use the flavour-du-jour C-clamp hold - but that’s not how I play. Since I’ve grown accustomed to a vertical foregrip on my assault rifles, that’s become more important than a narrower hand profile across the whole handguard.
If you’re aiming for 100% military beef, then what better choice than the Daniel Defense rail as adopted by the US Army and special forces alike? It’s all solid, completely functional and looks cool-as, to boot. A BEAR OF VERY LITTLE BRAIN Since we’re fitting aftermarket rails, this is where reassembly differs from standard and needs a little bit of thinking. As a bear of very little brain, I soon hit obstacles despite online research, then spent hours fitting, removing and refitting parts just to try to understand what I was up against. This is when I began to regret undertaking this project. What was I thinking?
Well, dear reader, in some strange way, I was thinking of you. I had no idea when I began this series whether it would become a cautionary tale or an inspirational story - or maybe a combination of the two.
Let’s work the problem. OH, POOH! Inserting the the barrel assembly back into the upper is about as easy as it gets. But from here, we were in for a rougher time of it. Had we just been refitting the standard parts, even I could have managed that. But we weren’t. Instead, I’d chosen to fit aftermarket with no instructions other than good ol’ YouTube.
Having researched beforehand, I knew that we needed to use an adapter ring - in our case by PTS - to fit the 12in lite rail from Madbull. What I hadn’t anticipated was the need to work out which ring went in which orientation and which order with no diagrams or markings to refer to. Get it wrong and nothing fits - and even funnier - the barrels just fall out!
But, even having narrowed the configuration down to the right combination through a process of elimination, there was still a problem - one ring would not seat as intended within another. Problem identified, a few minutes with a file to remove a coat of paint and problem solved. Only then could we get the mount as flush as it should be. Maybe a little too flush - as you’ll see later... AFTER YEARS OF MAKING MINOR MODIFICATIONS TO RIFS WITH VARYING DEGREES OF SUCCESS, STEVE T GOES ALL-IN ON HIS MWS TO FIND OUT JUST WHAT AN INEPT HOME TECH CAN ACHIEVE. THIS MONTH: NEW HANDGUARD.
BOLT FOR IT One shortcoming of the DD rail (in this application at least), is that as far as I can see, there’s simply no way to pass the gas tube in even a lowprofile mount once fitted through the handguard itself. The only way I can see it working is to offer up the tube from the barrel end of the rail, then somehow knock the mount in place and fasten it before securing the rail itself around it. I have no idea if that’s even possible.
Instead, the kit includes a short metal rod - like a piece of dowel in flat-pack furniture - to insert in the gas tube recess in the receiver and prevent the mount rotating.
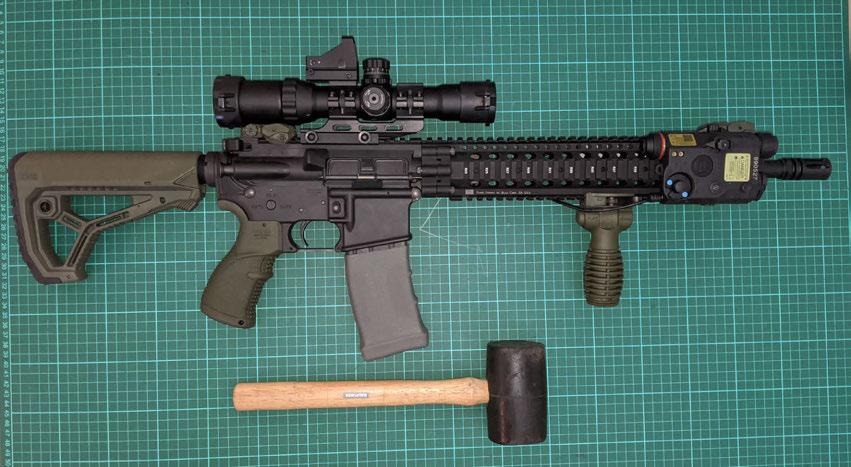
Barrels now attached to the upper and nipped tight with a wrench, it’s time to fit the rails. The whole unit simply slides in place over the floating barrel and since you line the top rail up with the receiver, it can only go one way. Less obvious is the fact that the bolts will only function in one direction; two pairs from the front, with the pair behind the side rails coming in from behind, matron!
I may have made this sound easy, but it took me far longer than it should have done to really dial in the inner rings. But confident that all was as it should be, I could tighten up the mounting bolts, drop it all into the lower receiver, slot the pins home and try out my handiwork. Or so I thought…
NOT SO FAST, KIMOSABE! The front pin would not return home. While the rear slotted in without issue, the front had become stiffer to move and just wouldn’t return more than about three-quarters of its journey. So I pulled the rear to rotate the front down in case that made life easier and that’s when I noticed the DD mount was fouling on the front of the receiver, meaning that the upper would not - could not - lift open. Short of stripping it all apart again, my only option was to tap the upper rearwards in the hope that the holes would align. No go.
So I pulled the pin, removed the upper and tried to push the pin home naked. Still no dice. What? After some time, more attempts and further examination, I realised the issue in all its horror - I’d cracked the lower receiver to the left of the front pin. Press “F” to pay respects.
The sympathetic among you will understand my pain but I can hear the smartarses laughing from here. I choose to rise above and hope that my experience will help someone, somewhere.
WALL-HANGER ALLEY After hours of research, patient fitting and refitting, methodical problem solving and a fair bit of swearing, I now have a broken gun for my troubles. Disillusioned, I refitted the externals and hung her out to dry
while I cooled down. This is the airsoft definition of “all dressed up and nowhere to go”.
I’m looking at how to repair/ stabilise the crack now. While the MWS is still operational, I know that in future games, I will always wonder if this is the day it breaks for good. With replacement lowers costing £150 and up, at this point it probably would have been cheaper - and certainly less stressful - to have the work done by a tech.
Ordinarily, as an ape with barely opposable thumbs, that’s exactly what I would have done, but the whole point of this series is to see how much an oaf like me can handle. I’ve since found out that the DD guard fouling the lower is a known issue. While that’s small comfort, it seems I just happened to be unlucky and chose a part that’s hard to fit. If I’d gone ahead with the Geissele front end that’s lurking under my desk right now, all might be well with the world.
Now, I need to sort out that crack as well as a way to reduce the profile of the DD’s mount to the lower rear.
Next month: Fat fingers and sharp handles! AA


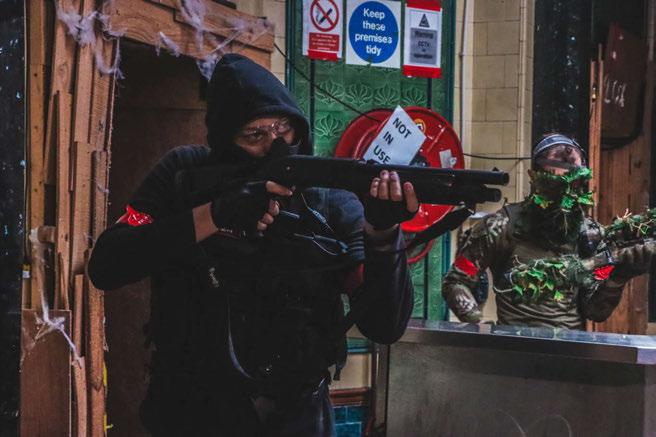
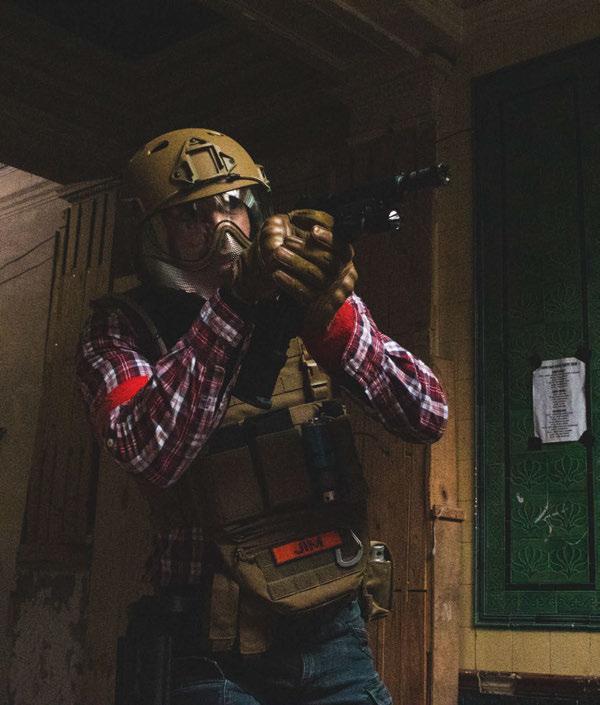
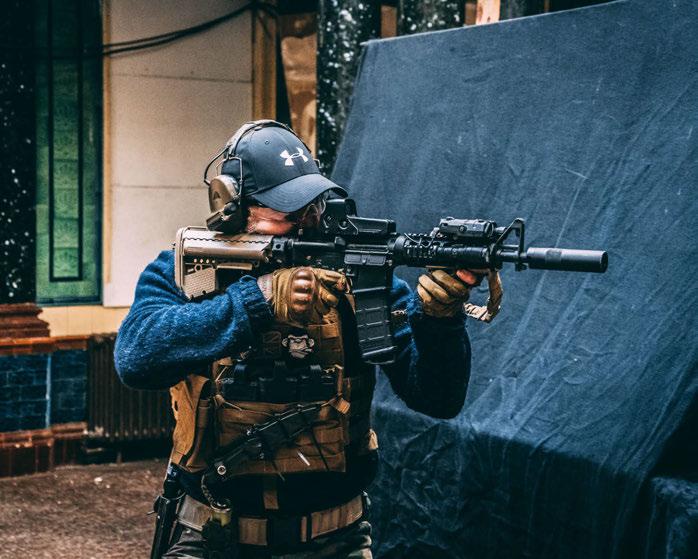
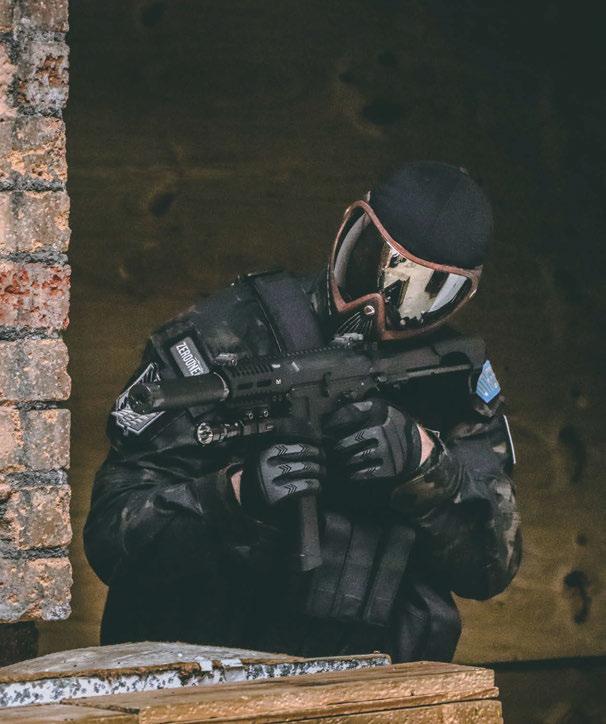
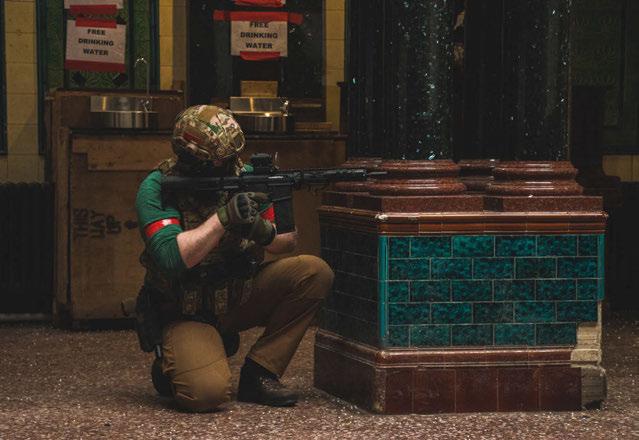
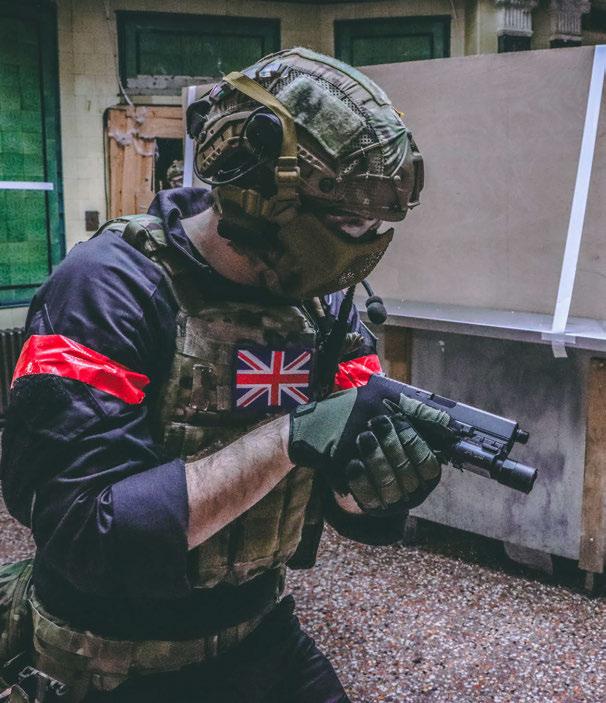
Our good mate and Airsoft Action Contributor, Craig, from WA03 Media, got in touch to ask if we’d like to use a bunch of photos he’d taken recently at Bristol Airsoft and, of course, we are more than happy to do so! Check out more of his photos and work at: www.facebook.com/WA03Media