9 minute read
LIGHTIN’ IT UP

ANDY N FROM CALIBRE RANGE RE-JOINS US THIS MONTH WITH ANOTHER ARTICLE FOCUSED ON THE ACCESSORIES THAT WE ALL USE ON OUR “LONG GUNS”, AND THIS TIME HE TURNS HIS SEASONED ATTENTION TO A REGULAR ADDITION, THAT OF PLATFORM-MOUNTED “WHITE LIGHT” TACLITES AND HOW WE CAN SET THEM UP AND USE THEM MOST EFFECTIVELY!
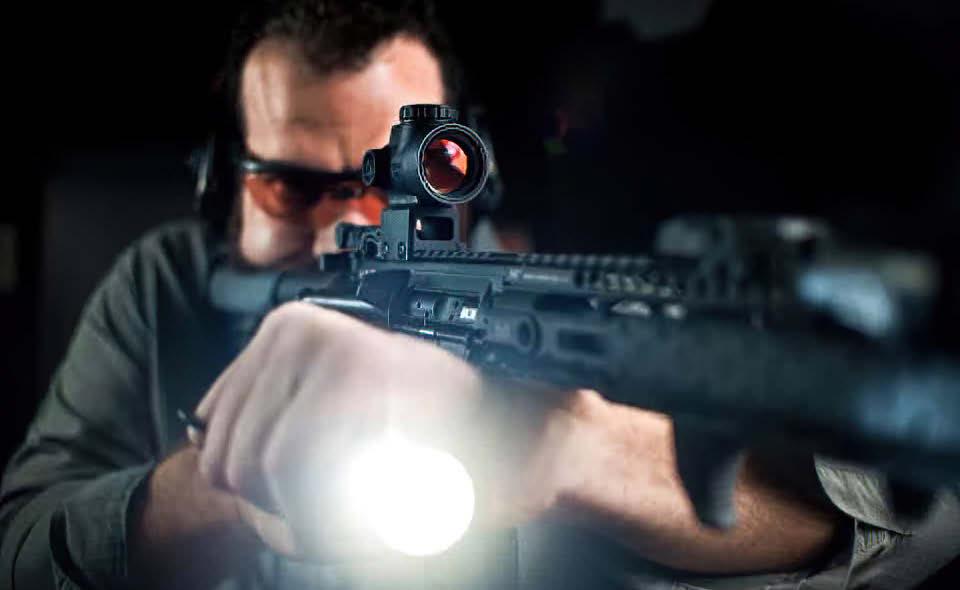
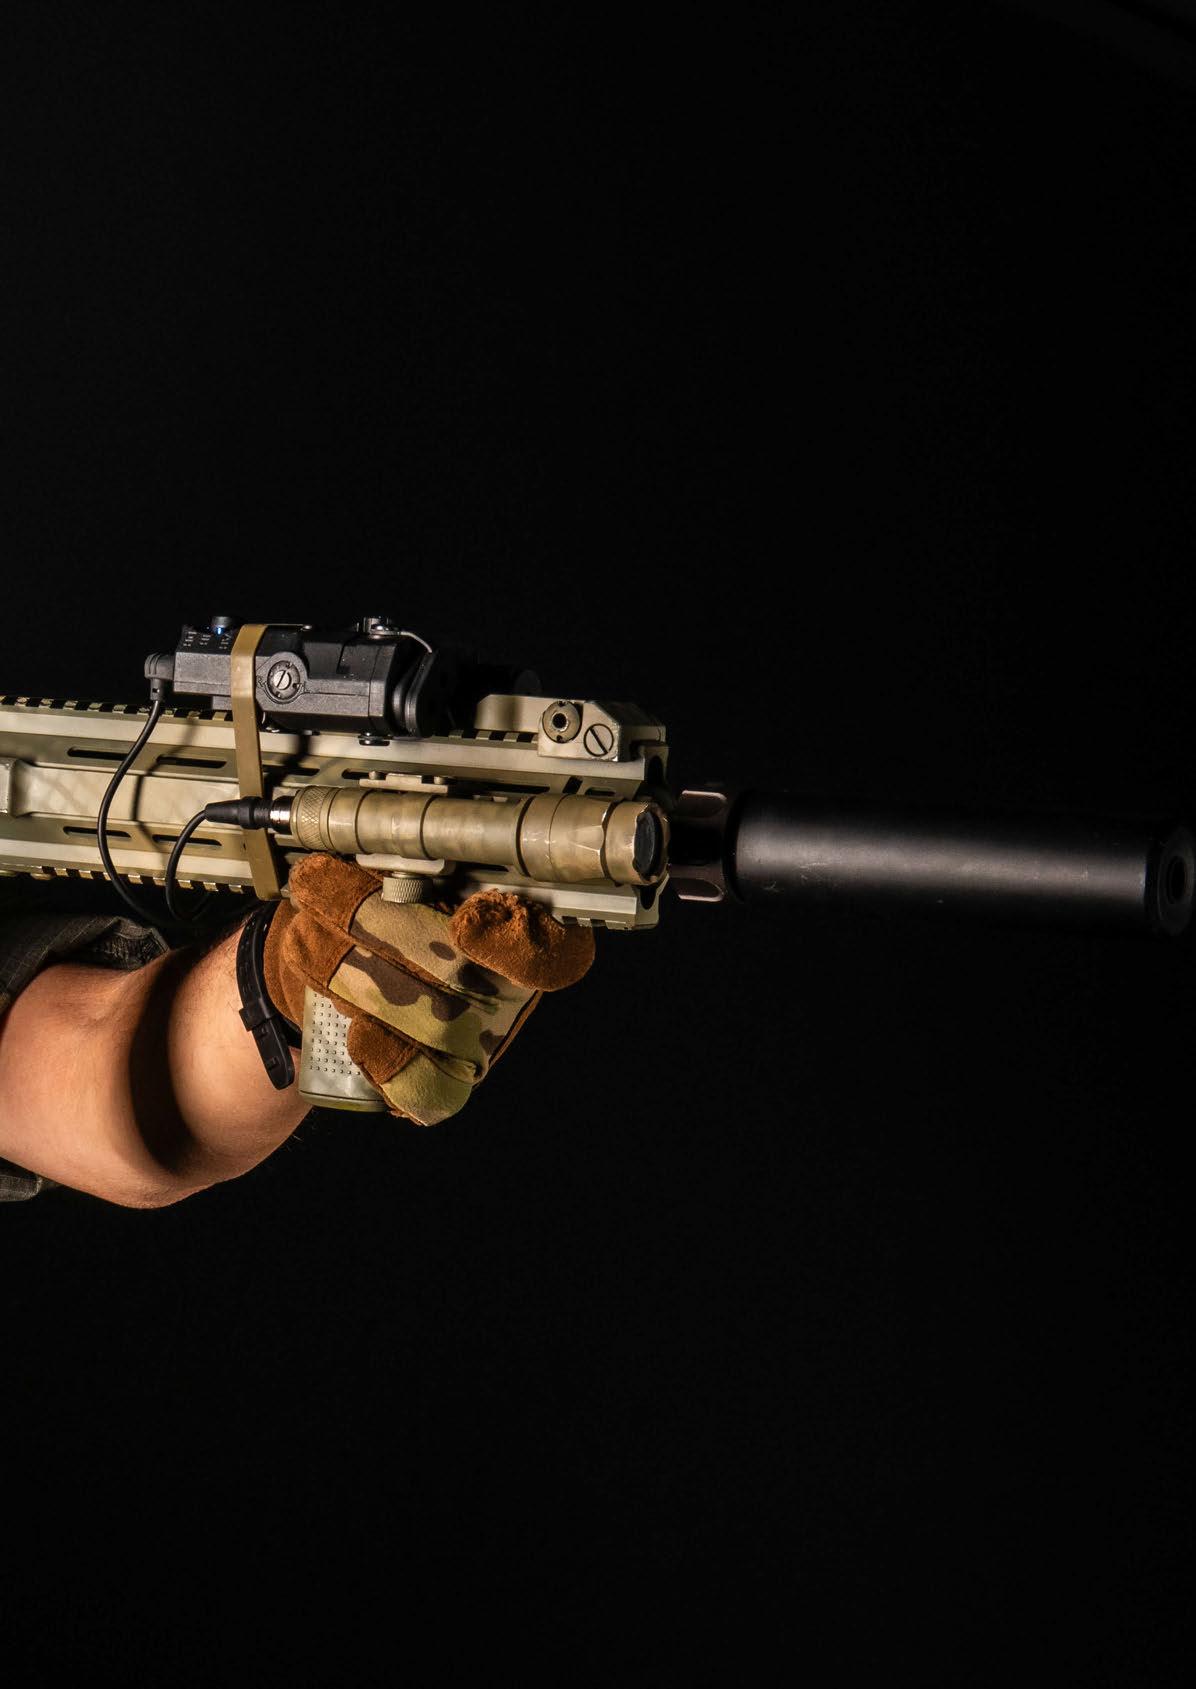
The “long gun”, the primary carbine or rifle be it airsoft or a real firearm, requires two hands to operate it accurately and safely at all times. So when it comes to operating the primary “long” in the dark and we need to use white light to make safe target acquisition, and assuming we don’t have (NVG) night vision goggles, what do we do?
The only way to do this is to use either a normal hand held flash light or use a dedicated weapon mounted light (WML). The dedicated weapon mounted light is the preferred method of choice as this enables the shooter to maintain a secure two-handed grip on the rifle at all times offering not only safety, but also maximum support to the rifle during firing; as the marksmanship principles go “the position and hold must be firm enough to support the platform”.
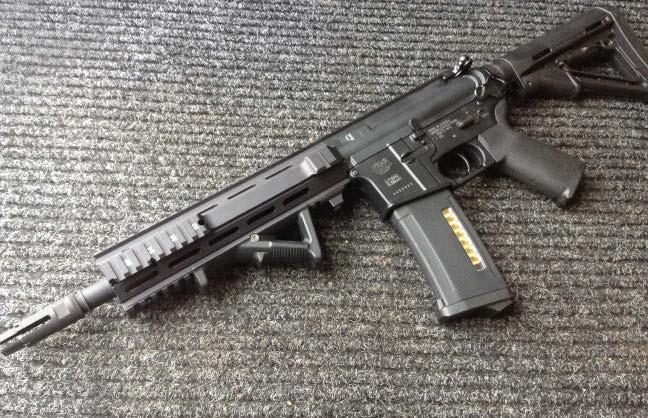
Try firing your rifle ‘safely’ and you will see why two hands are needed to maintain accuracy and safety, so the dedicated weapon mounted light is the easiest to operate whilst using a long gun. It allows us to operate the rifle safely and not restrict the manipulation of all the rifles functions such as cocking levers, fire selection levers, bolt release buttons and safety catches. Most dedicated weapon mounted lights are just normal tactical lights that have been secured to the rifle via a weapons mounted light kit; I’ve even seen scope rings used with great effect. Many tactical rifles now come with Picatinny rails along the fore stock that will enable you to mount a whole host of additional kit to your rifle including lights. If you particular rifle does not have a rail mounting system fitted, you can usually add your own as spare rails are readily available at most reputable shooting retailers. They are easy to fit and come in different lengths so you should be able to mount one to your rifle with ease.
Once the light has been mounted we then have the problem of physically reaching the light to switch it on and off; this can be overcome by the use of a remote switch that replaces the normal tail switch on most tactical lights. The remote switch is connected to the light via a cable that has to be secured to the rifle with hook and loop straps or cable ties to stop the cable from being snagged on any kit and so on. When using a live firearm, these cables can become damaged due to the heat of the barrel when the rifle is being fired, but this should have no effect on your AEG or GBB rifle but it may be a bit of a pain if you need to access the fore grip to change a battery for example.
“TRY FIRING YOUR RIFLE ‘SAFELY’ AND YOU WILL SEE WHY TWO HANDS ARE NEEDED TO MAINTAIN ACCURACY AND SAFETY, SO THE DEDICATED WEAPON MOUNTED LIGHT IS THE EASIEST TO OPERATE WHILST USING A LONG GUN. IT ALLOWS US TO OPERATE THE RIFLE SAFELY AND NOT RESTRICT THE MANIPULATION OF ALL THE RIFLES FUNCTIONS”

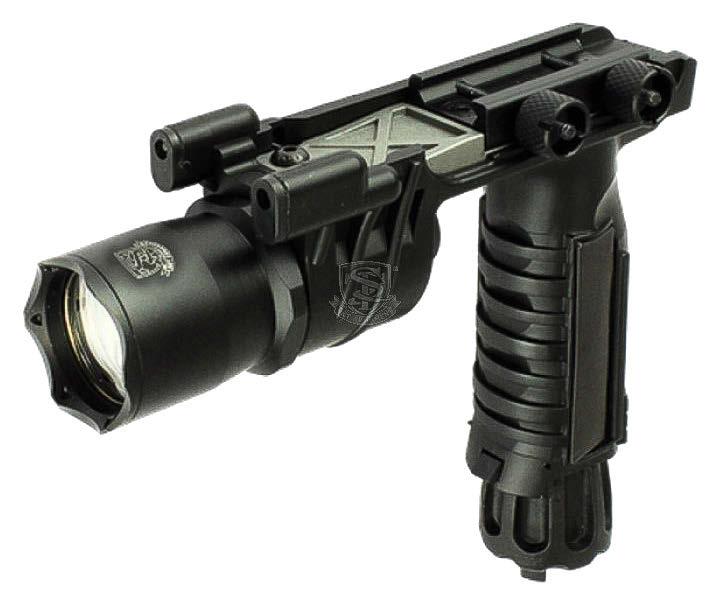
There are mounts on the market that allows the tactical light to be mounted in a vertical fore grip, and this vertical grip is then attached to the rifles Picatinny rail under or on the barrel and can be easily operated with one hand without destroying control of mounted on the point and shoot as the light is always shining in the same direction as the muzzle.
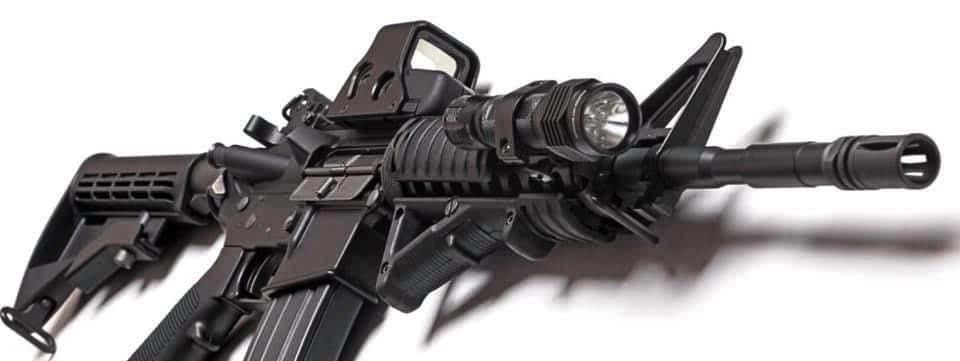
If you are using a rifle with the iron sights/carry handle in place, such as the AR/M4 type platform, then the light can be physically mounted onto the top rail of the rifle in front and below the carry handle. This will illuminate the front sights allowing quicker front-sight-acquisition. Be sure that if you are using this method that the light body does not obstruct your line of sight through any optics or the rear sights to the front sight.
Two Hands On
Remember that you are using the light to illuminate a specific area for a short period of time in bursts and not have it on all the time as if you were searching a large area. Using a dedicated handgun light will also enable the shooter to use the controls of the light in the same way as they do on the handgun without any extra training. I have personally used this method for over 20 years and I have never encountered a problem during training or operations. So if we don’t have a dedicated weapon mounted light system, then just how do we use a hand held light and still work within the marksmanship principles?

It is possible to fit a handgun dedicated taclite to the rifle, such as a Surefire-style, and still operate both rifle and light easily and safely. One of the drawbacks to this is that the light tends to be mounted to the rear of the fore stock and to one side. Although it is easy to operate and use, it does lend a shadow to the opposite side of the rifle to which the light is mounted. This is not too much of a drama as you will soon get used to it and the shadow is not too big that it will cause any concern.
There are two main methods to holding a hand held light whilst firing the long gun. The first is the Harries adapted method. This method requires the shooter to hold the handheld flash light in the normal Harries fashion. Instead of the strong hand wrist being supported by the weak hand wrist, support the fore stock of the rifle on the back of the weak wrist. This will give you the advantage of the long gun being held at the same height as the handgun method. For everyone that uses the Harries method with handguns, the Harries-adapted method should seem second nature. The disadvantage to this method is that it can be tiring on the weak arm and also it will not allow you to manage recoil effectively. Although this is a tried and tested method that is used by many Law enforcement agencies around the world, pretty well for airsoft due
TACLITE TO THE RIFLE, SUCH AS A
AND STILL OPERATE BOTH RIFLE AND LIGHT EASILY AND SAFELY. ONE OF THE DRAWBACKS TO THIS IS THAT THE LIGHT TENDS TO BE MOUNTED TO THE REAR OF THE FORE STOCK AND TO ONE SIDE.”
The second technique is the Ayoob adapted method (so named after its inventor Massad Ayoob). With this method hold your rifle as normal but this time; hold the light by clamping it to the rifle with your weak thumb. This will only work with lights that have a conventional switch mounted on the side of the body of the light, such as the D-Cell Maglites. This will enable the shooter to operate the light with the thumb on the side of the light body. This is done by applying more pressure on the switch as you squeeze the rifle and light together. This method will allow you to hold the rifle in the conventional way so it will feel less alien to you but it will also weaken your grip on the rifle reducing the control of recoil. Some people may have a problem holding the light in this way depending on the size of the light and the size of their hand. Small lights with a body of one inch diameter are quite easy to use with this method but larger-bodied lights can be difficult to hold and control unless you have big hands. Again, due to the lack of recoil of airsoft rifles this should not be too much of a problem.

Whichever method you adopt and use it is always a good idea to practice using the light with the long gun. I always carry my weapon mounted light even in the day time as it serves me well when I enter a darkened building or when the light begins to fade and the possibilities of my adversary hiding in the shadows draws ever closer. There have even been times during the day when I have received light signals from a distance by my team mates to warn me of danger ahead so it is worth investing in white light for your long gun, but you must use it wisely and safely.
Tip: if you are using a hand held light it is a good idea to have a wrist-mounted lanyard attached. This will enable the shooter let go of the light during magazine changes and other rifle manipulations and still retain the light.
Stay safe and happy shooting.
For more insight on using the “tools of our airsoft trade” correctly do be sure to check out THE CALIBRE RANGE page on Facebook which gets regularly updated with tips, training and courses too! AA
