7 minute read
LOVE IS IN THE AIR
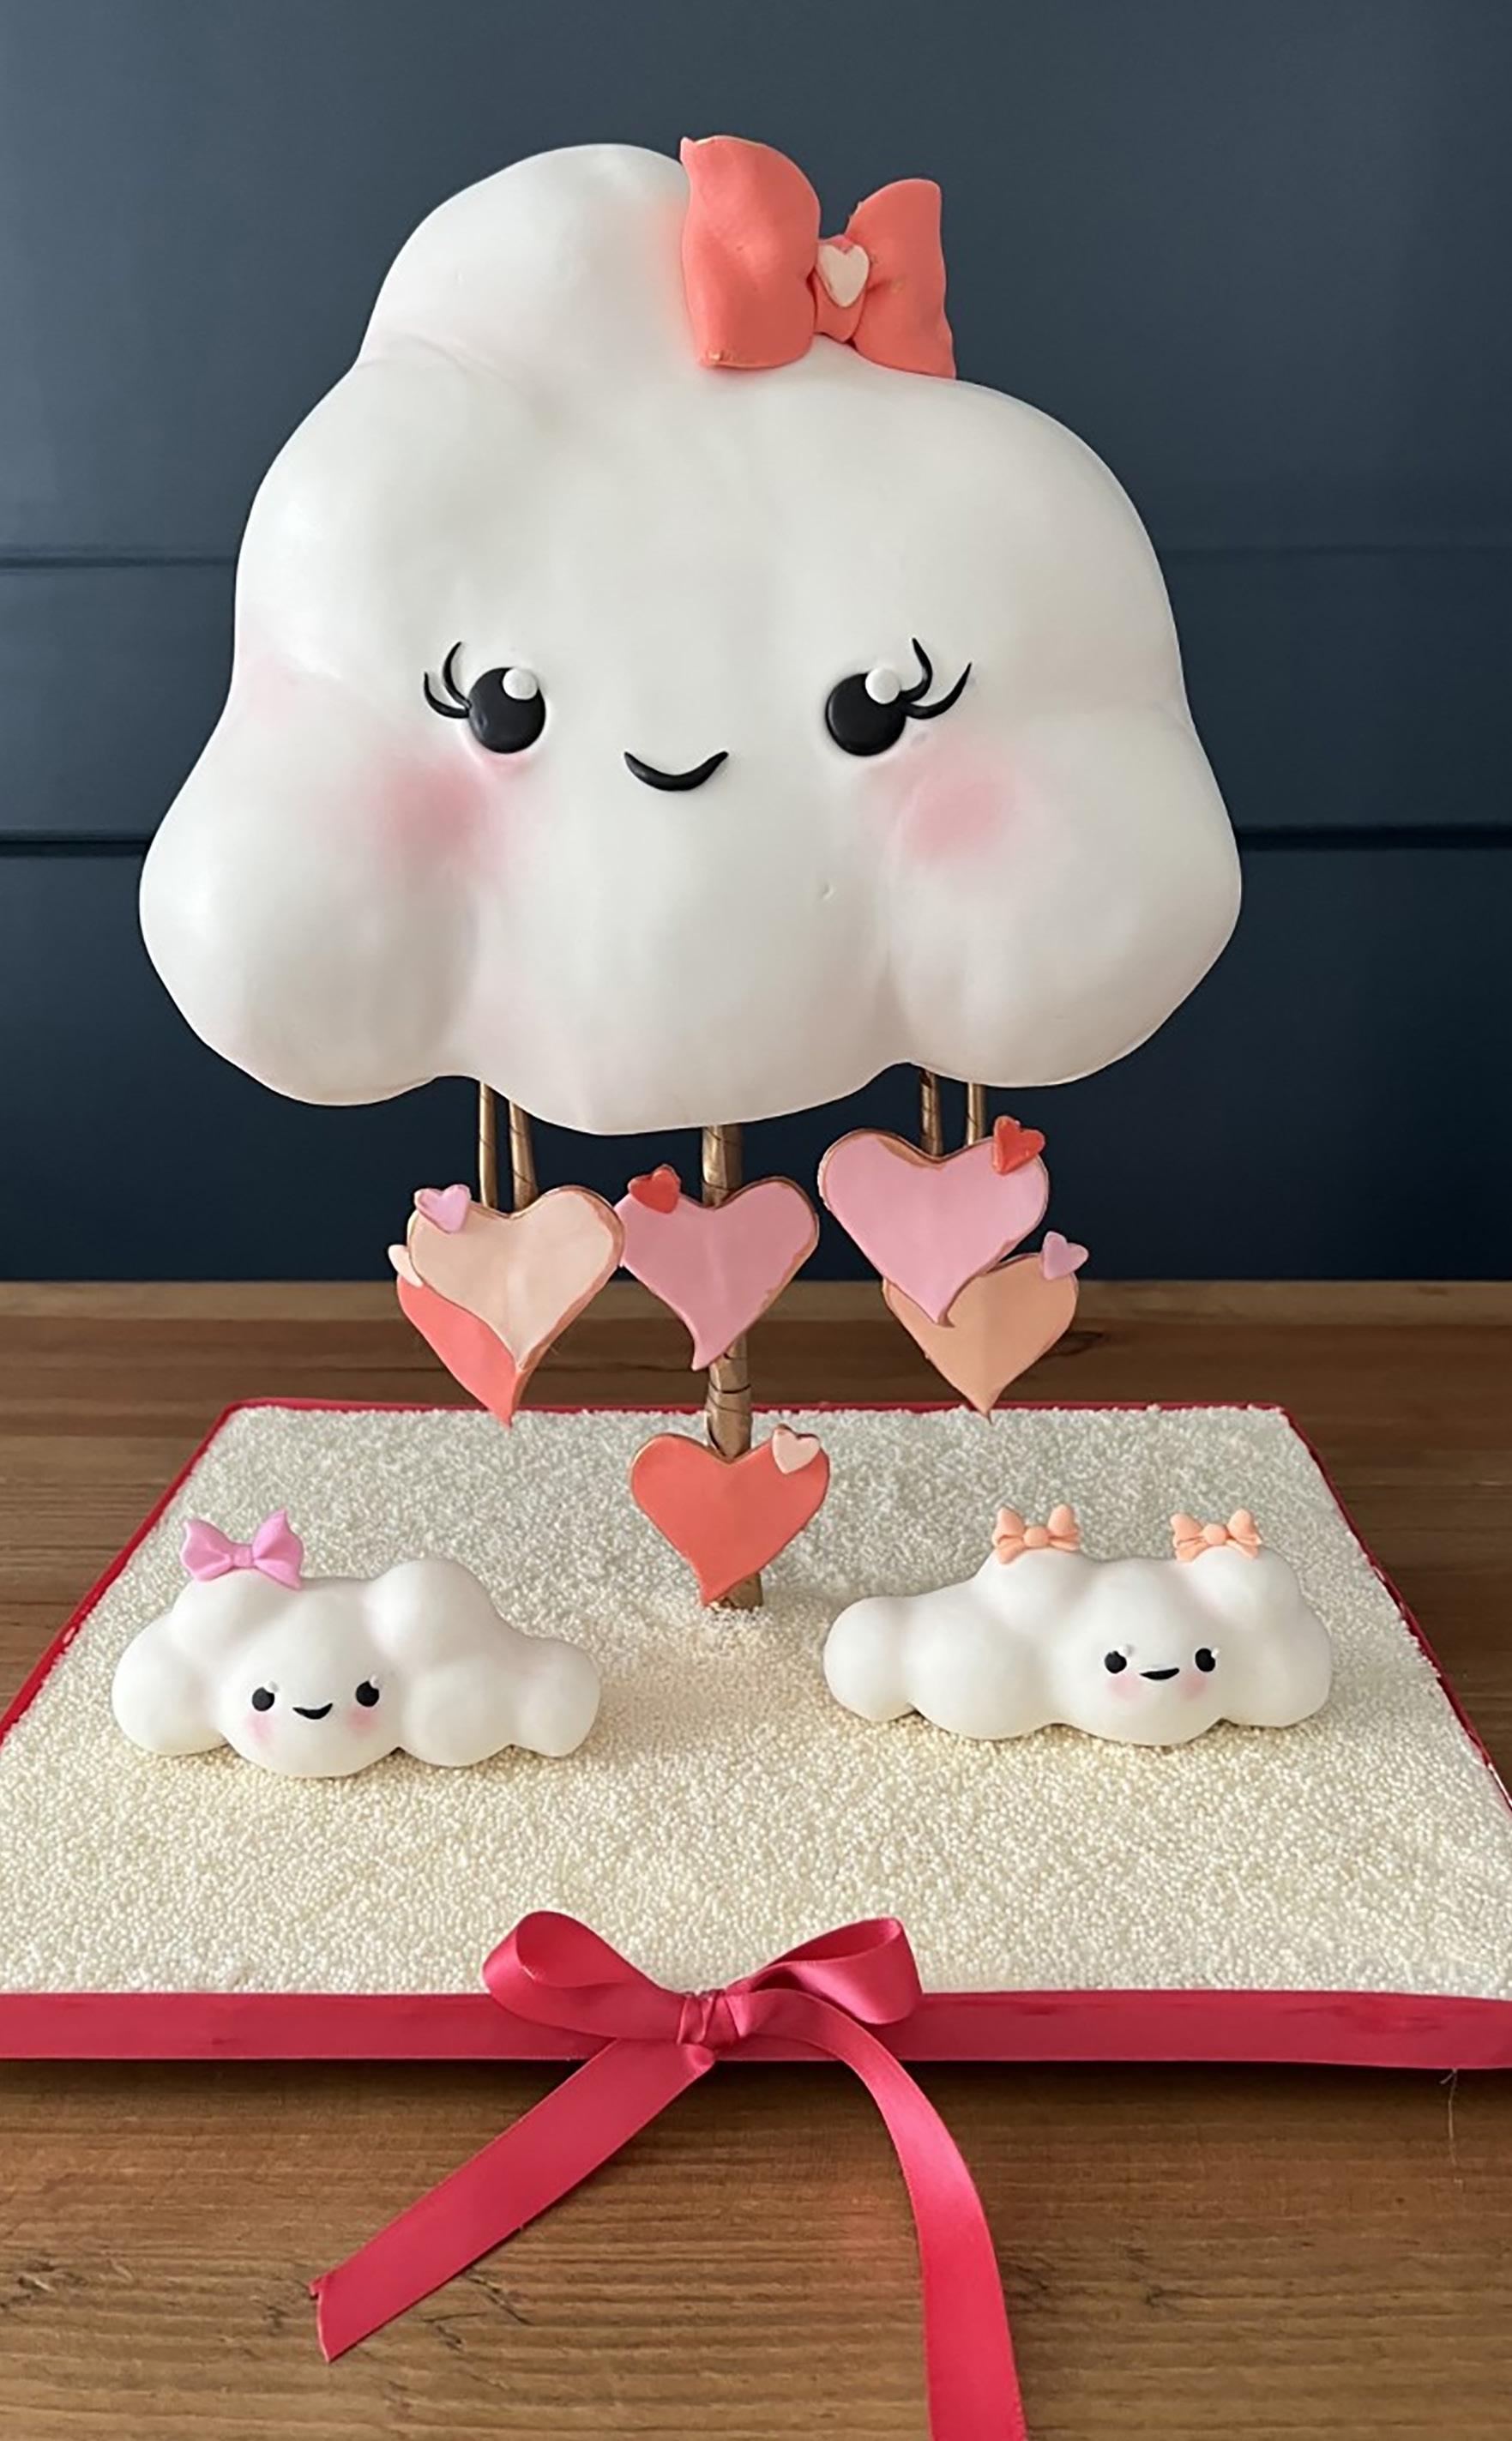
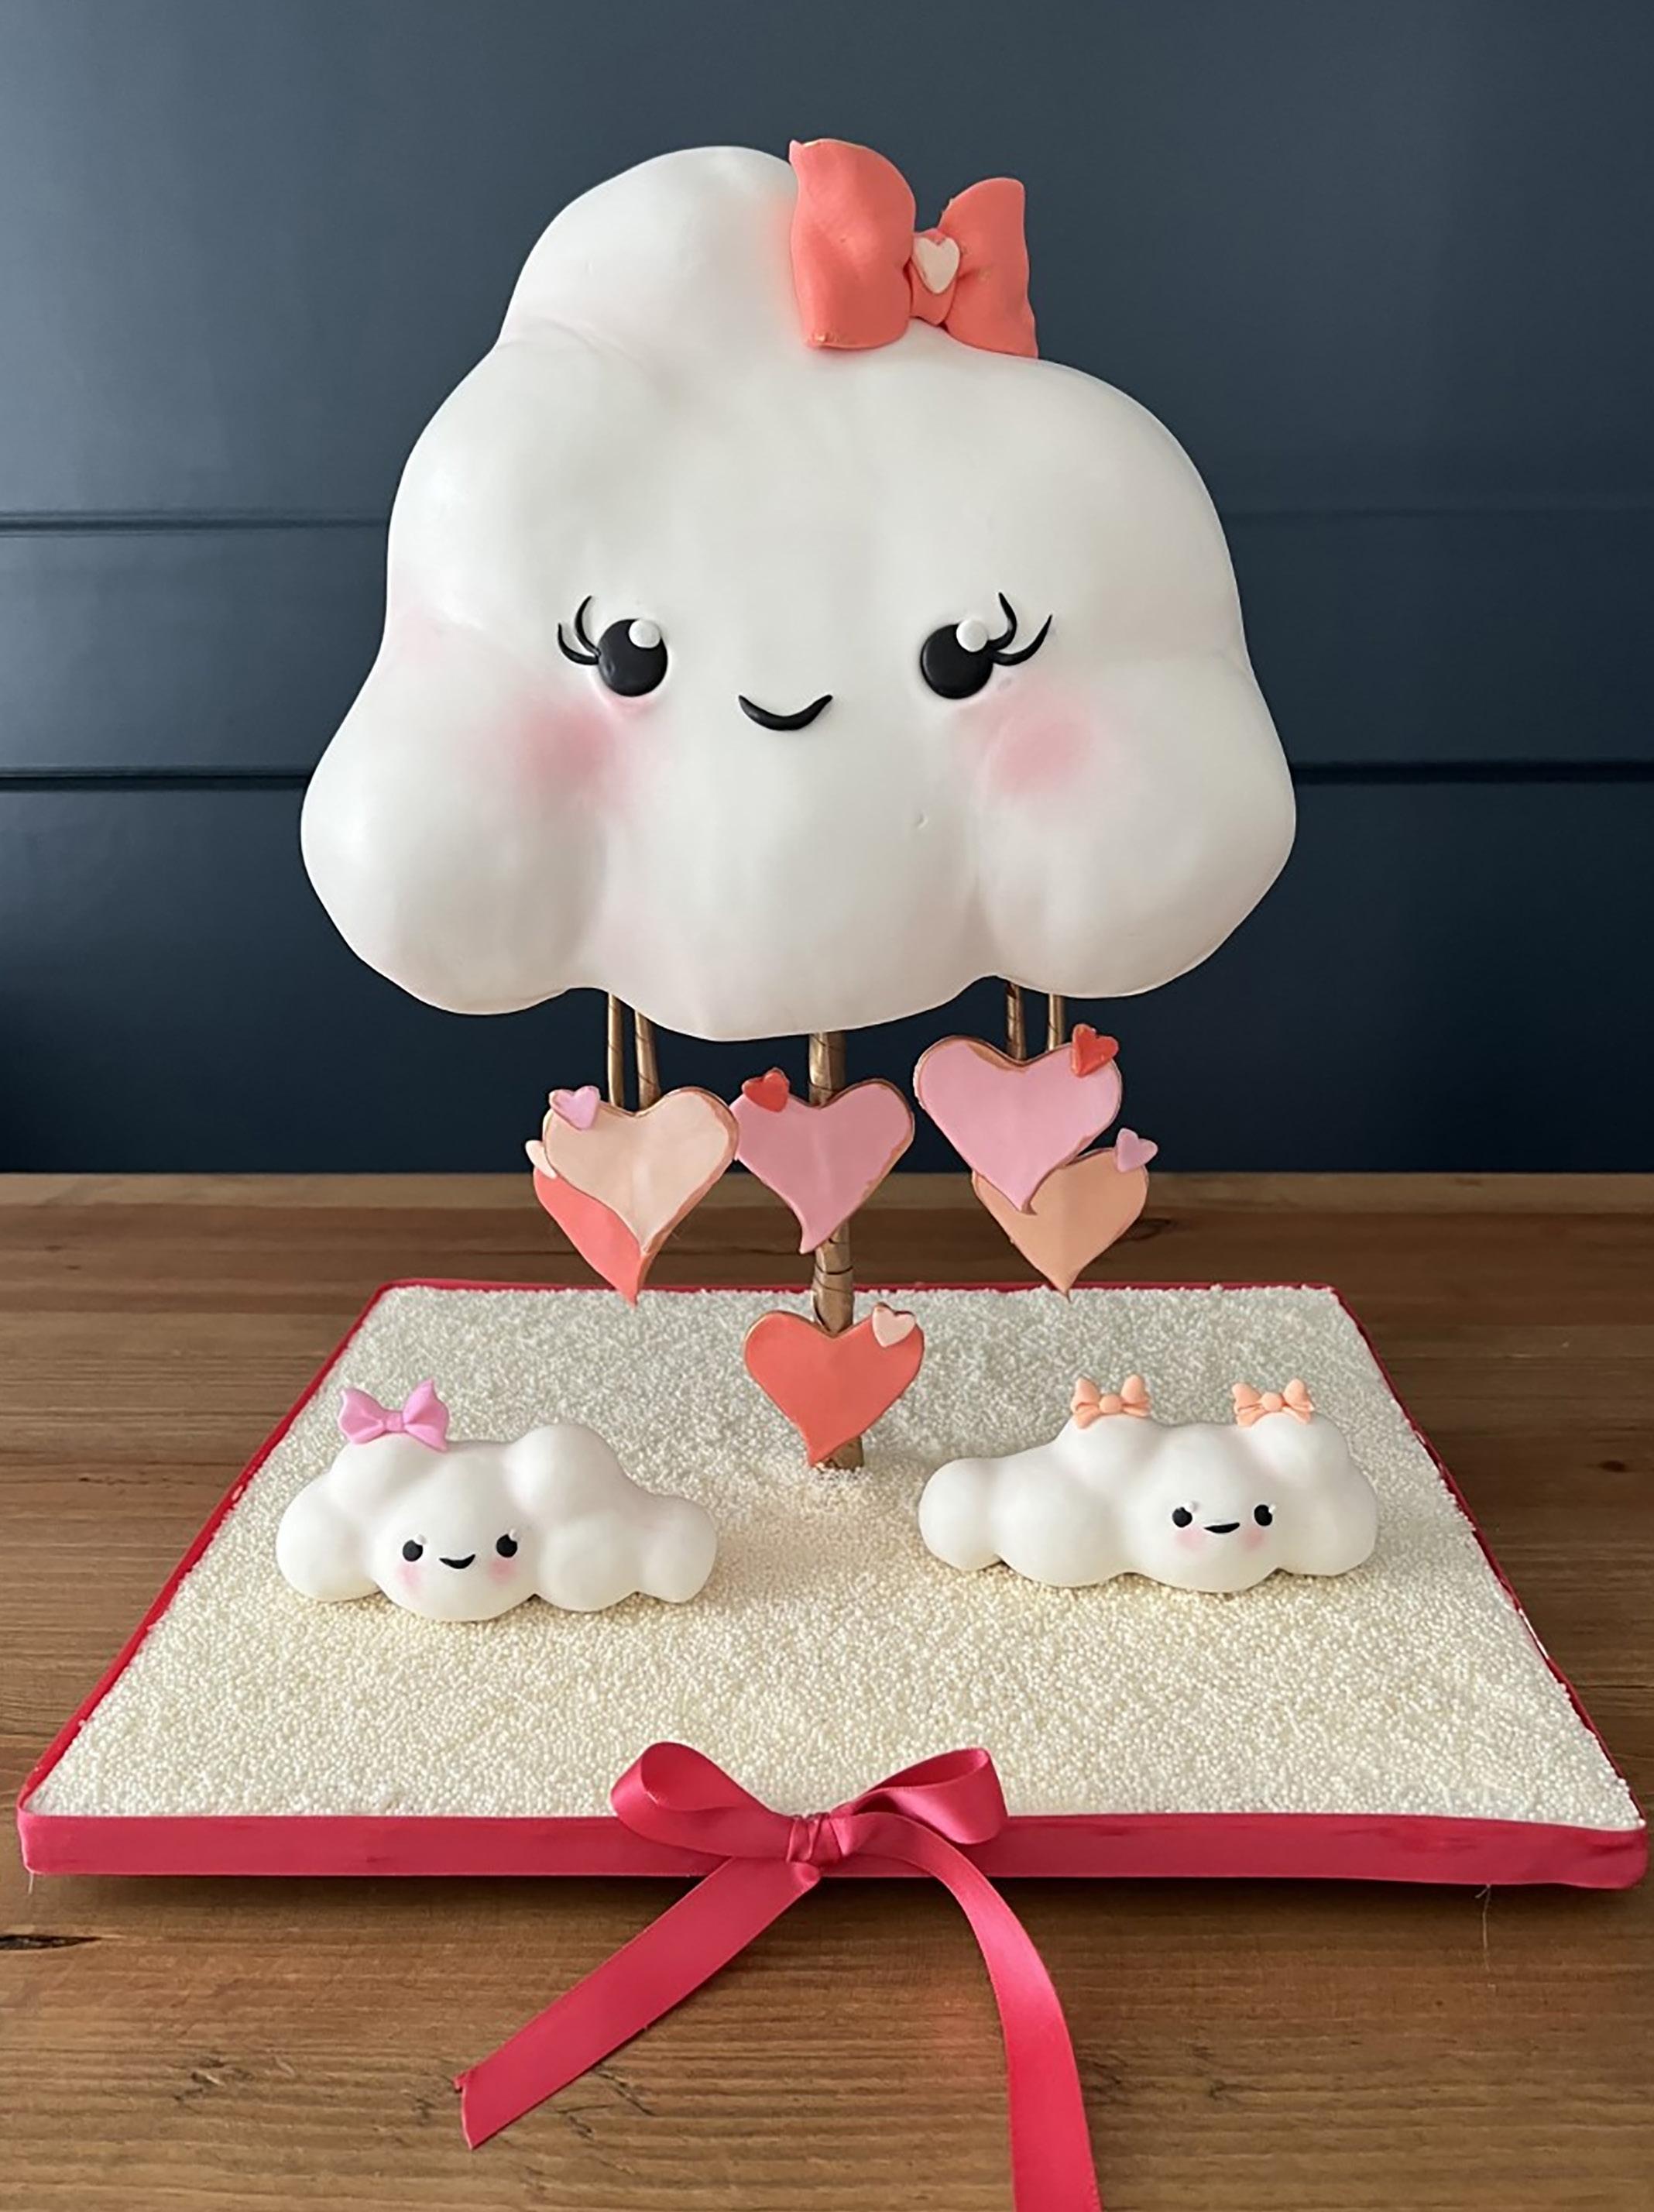
Spending the time to build a sturdy base is the key to this adorable sculpted cake. L VE is in the air
BY MARGARITA OLIVERO GOLDEN
Margarita Olivero
Golden is a graduate of the University of Texas at Austin with a bachelor’s degree in journalism and the Institute of Culinary Education in New York. She worked for various culinary publications such as La Cucina Italiana before becoming a personal chef in Manhattan. Her real love has always been baking, so she moved to London and graduated from Le Cordon Bleu in pastry. After stints at 1880 at the Bentley Hotel in pastry and the Fairmont Hotel in San Francisco in food and beverage management, she moved back to the Houston area in 2008 to be closer to family. Margarita officially launched Confectionary Home in 2015 and specializes in custom cakes and cake pops for weddings, birthdays, milestones, showers, and more.
confectionaryhome.com facebook.com/confectionaryhome instagram.com/confectionaryhome
LEVEL:
COMPONENTS
Edibles:
Marshmallows Rice cereal treats Three 8-by-6-inch cakes Buttercream Ganache Fondant: white, black, and 3 shades of pink Chocolate candy melts FlexFrost sheets Water Petal dust: pink and gold Nonpareils Everclear
Equipment:
Hot glue Hot-glue gun Four 2-inch wood squares 12-by-14-inch wood board Drill 5/16-inch threaded rod 4 nuts 4 bolts Wrench 4-by-6-inch wooden rectangle. Two 4-by-2-inch cake boards 8-by-6-inch cake board 4 wooden skewers Aluminum foil Offset spatula Sugar shapers Ball tool Paintbrushes Heart cutters Silicone bow mold
BUILD THE CAKE STRUCTURE
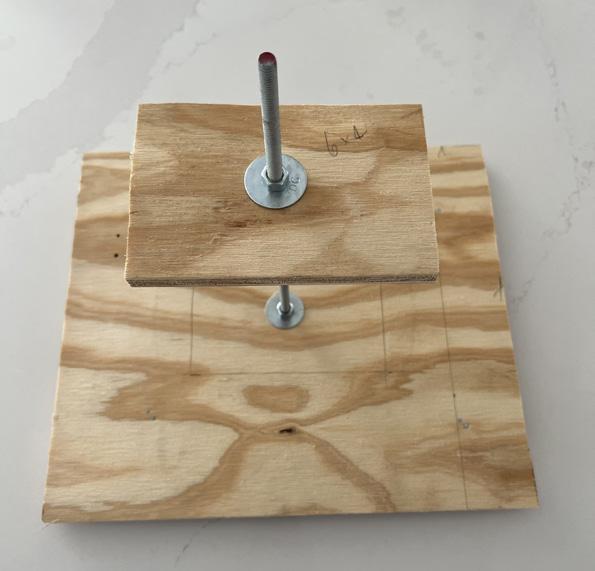
1. Using hot glue, affix the 2-inch wood squares underneath the 12-by-14-inch wood board about 2 inches in from the corners to create a balanced and sturdy cake stand.
2. Using a drill fitted with an attachment, drill a hole into the center of the wooden board. Place your threaded rod through the center hole and secure it underneath the board with 1 washer and bolt and a second washer and bolt on top of the wooden board.
Tighten them with a wrench until secure.
3. Drill a hole through the center of the 4-by-6-inch wooden rectangle. Secure it onto the threaded rod using a washer and bolt underneath and a second set on top at the desired height. Tighten the bolts to secure.
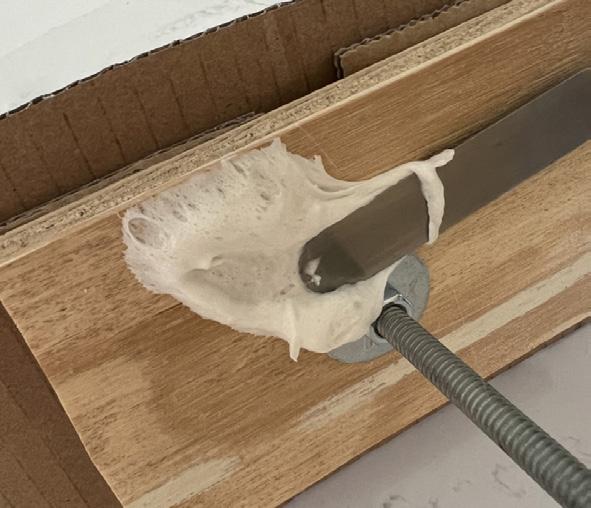
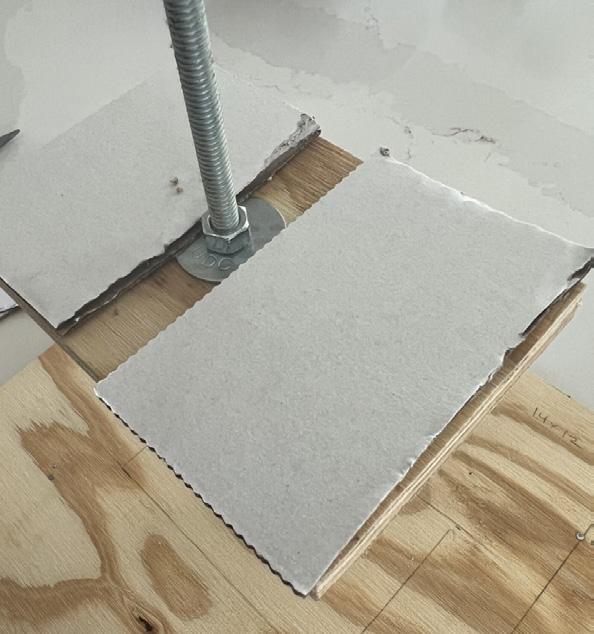
4. Using hot glue, secure the two 2-by-4-inch cardboard rectangles onto the small wooden board on either side of the washer and bolt to even out the height of the washer and bolt.
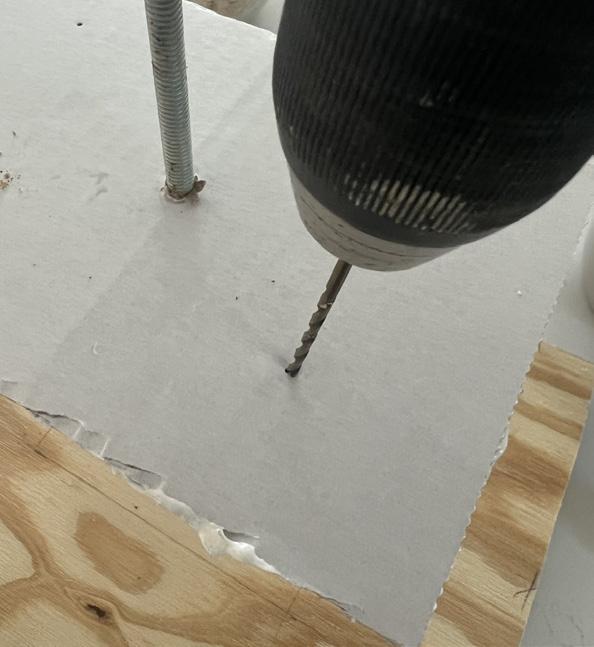
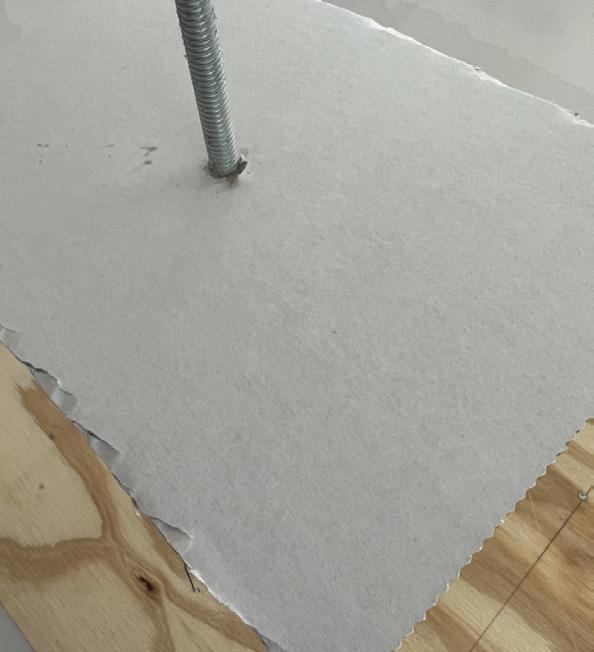
5. Using hot glue, secure the larger cardboard cake rectangle on top of the smaller ones to create a sturdy 8-by-6-inch cake board. 6. Drill 4 holes fitted with a 7/64 attachment to secure the 4 skewers in a staggered pattern. Dip the tip of the skewers into a bit of hot glue before placing them into each hole underneath the small wooden rectangle. 7. Wrap the threaded rod, the cardboard, and the suspended wood surface in aluminum foil.
1, 2, &3
4
5
6
Tip: YOU CAN ALSO COVER THE SURFACE IN CHOCOLATE TO MAKE IT FOOD SAFE.
BUILD DIMENSION ONTO THE CAKE STAND
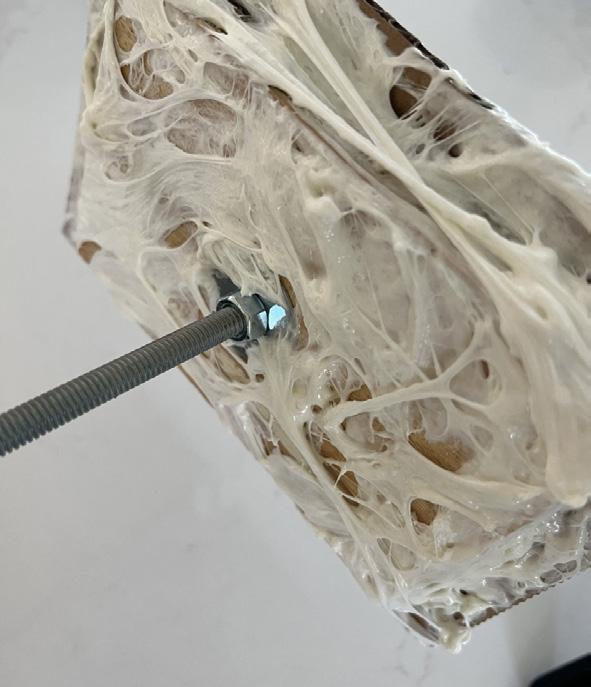
1. Heat 8 marshmallows in the microwave until puffed up, about 25 seconds.
2. Using an offset spatula, spread the marshmallow
“glue” onto the underside and edges of the suspended cake base. This will help the rice cereal treats stick to the underside.
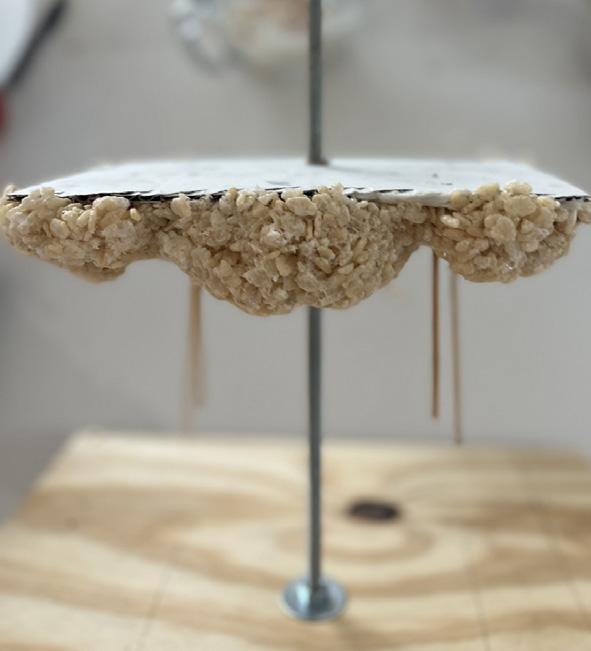
3. Heat another 8 marshmallows until puffed up, about 25 seconds. Add the rice cereal treats and mix until incorporated. Allow it to cool for 5 minutes.
4. Begin pressing the rice cereal treats to the underside of the suspended base, forming a rounded underside and rounding out any sharp corners. Make sure to press the rice cereal firmly so the marshmallow “glue” really holds on to it. Refrigerate and allow the rice cereal to set up, approximately 30 minutes.
2a
2b
4
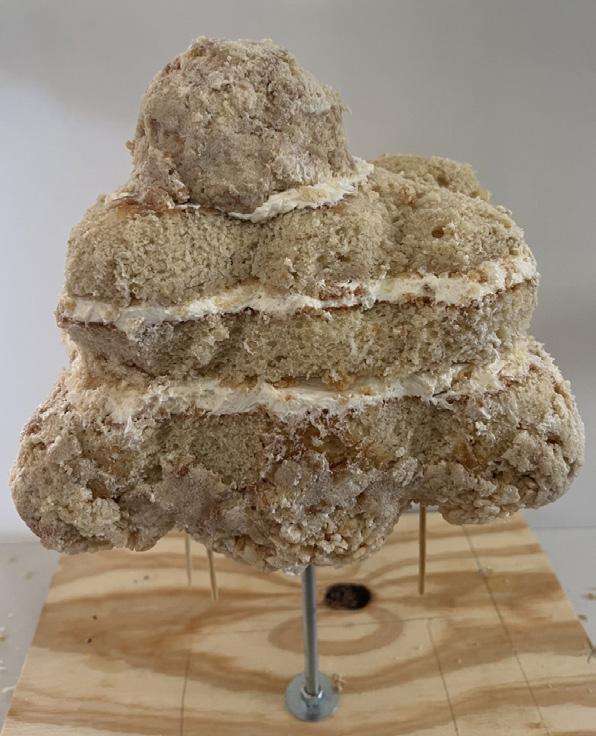
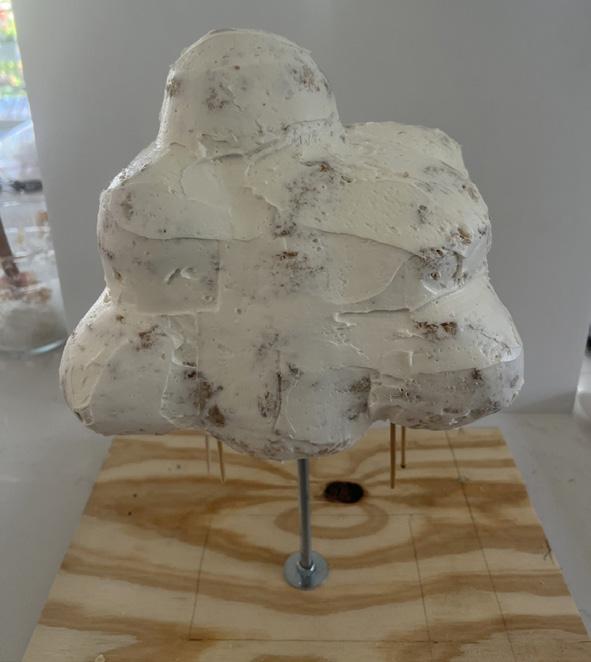
3. Mix the carved cake scraps with buttercream to make
“cake clay” and press it onto the cake to create rounded shapes. Once you’re happy with the shape, crumb-coat it in buttercream, and place it in the refrigerator to set up. 4. Cover the cake in ganache and refrigerate once more.
1
Tip: PUT SHORTENING ON YOUR HANDS SO THE RICE CEREAL DOESN’T STICK.
BUILD THE CAKE
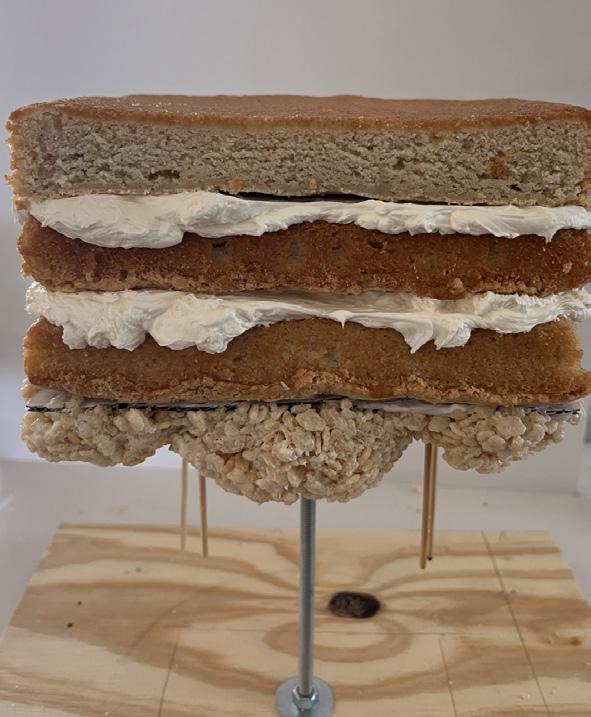
1. Place 1 cake layer on the cake board and layer with buttercream. Repeat for a total of 3 cake layers or to your desired height. 2. Carve the cakes until they become rounded cloudlike shapes. It helps to use an inspiration photo to imitate the curves of the cake, preferably a cartoonlike image.
2
3
ADD THE FONDANT AND DETAILS
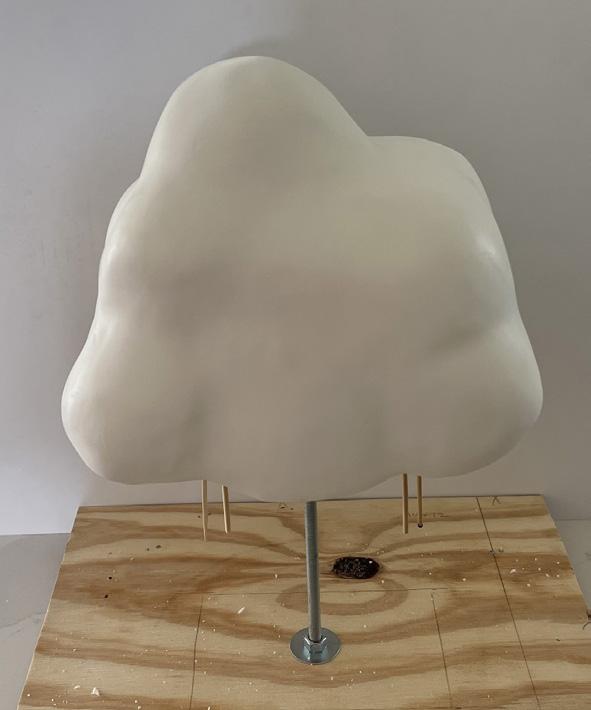
1. Roll out white fondant large enough to drape over and cover the cloud cake. Cut around the bottom edges and tuck it over the rice cereal treats underneath.
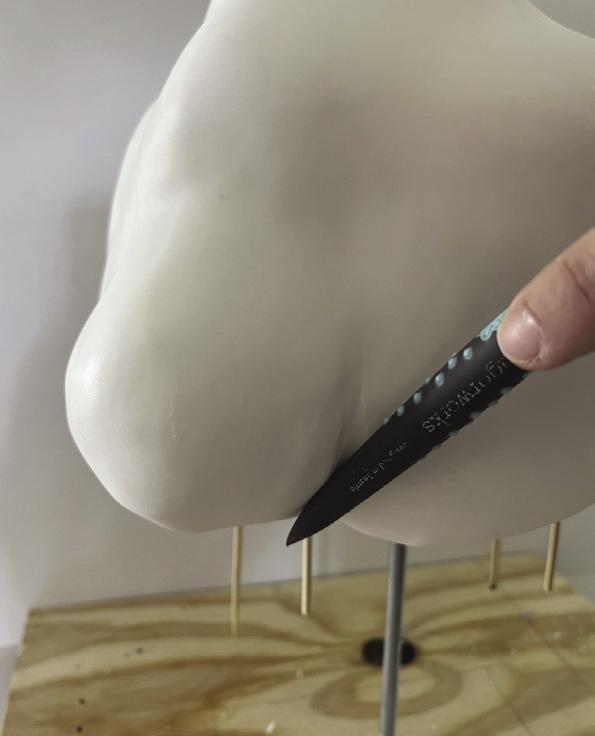
2. Using sugar shapers, press into the rounded indentations to try and highlight the roundness of the cloud.
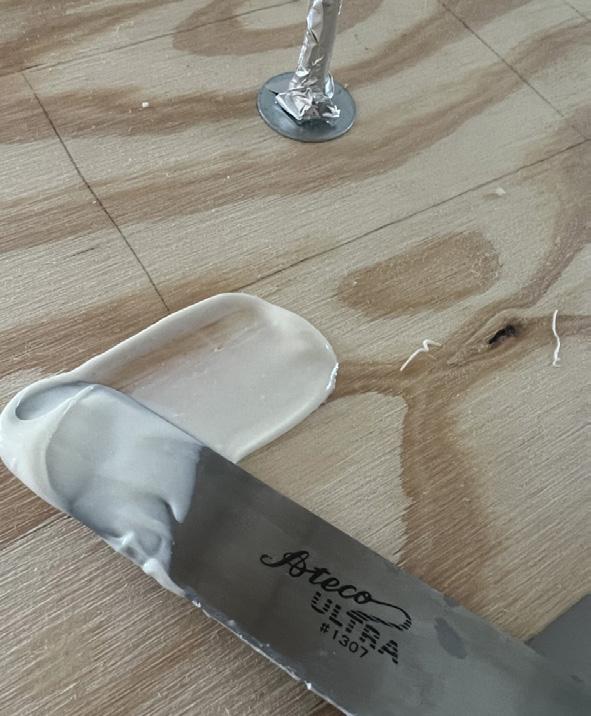
3. Cover the base with a thin layer of melted chocolate candy. 4. Cut out 5 or 6 strips of
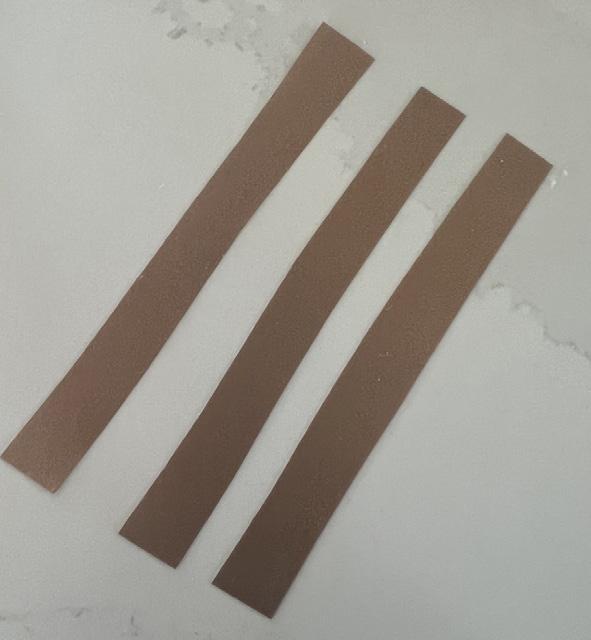
FlexFrost sheets and lightly brush the back sides with water. Wind the strips around the skewers and around the central rod until covered.
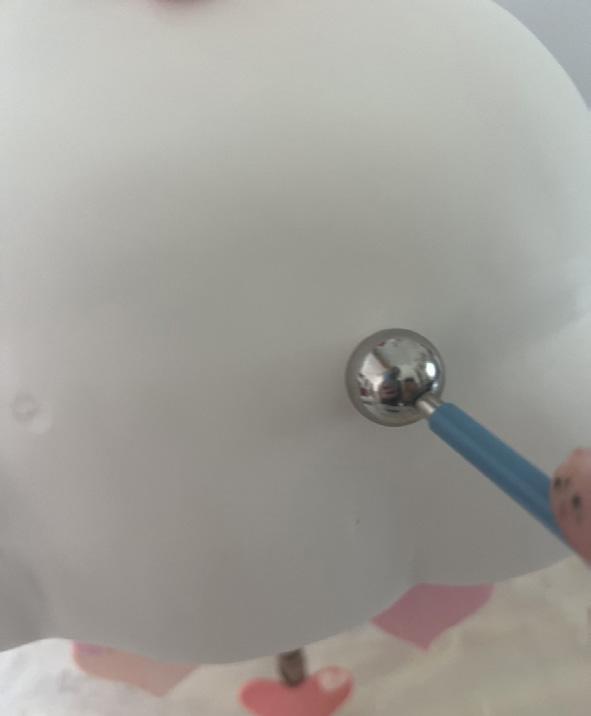
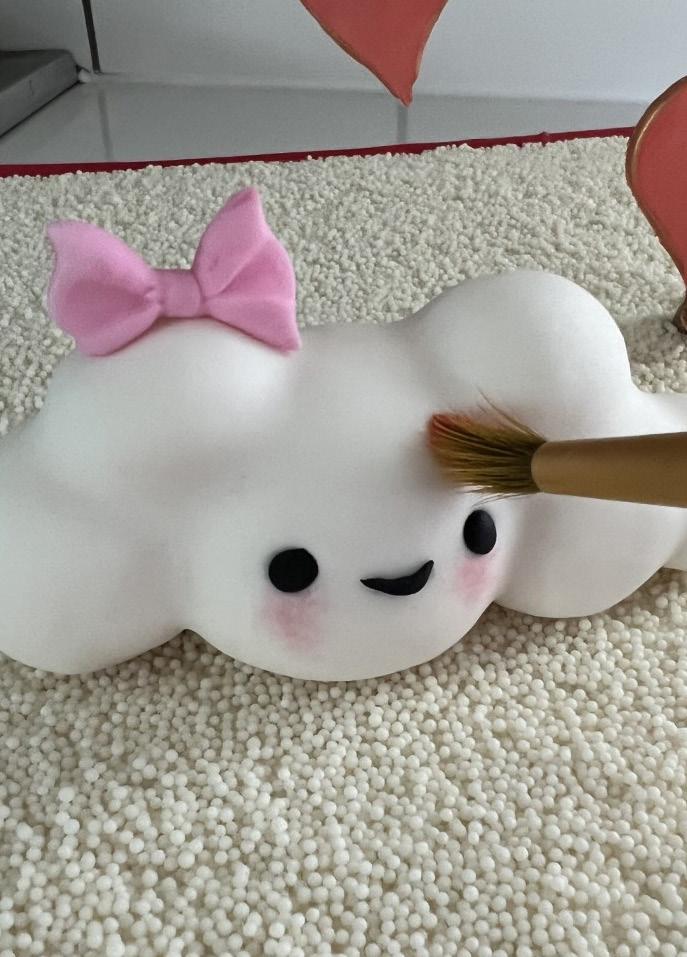
5. Using a ball tool, make 2 round indentations for the eyes. Brush the indentation lightly with water.
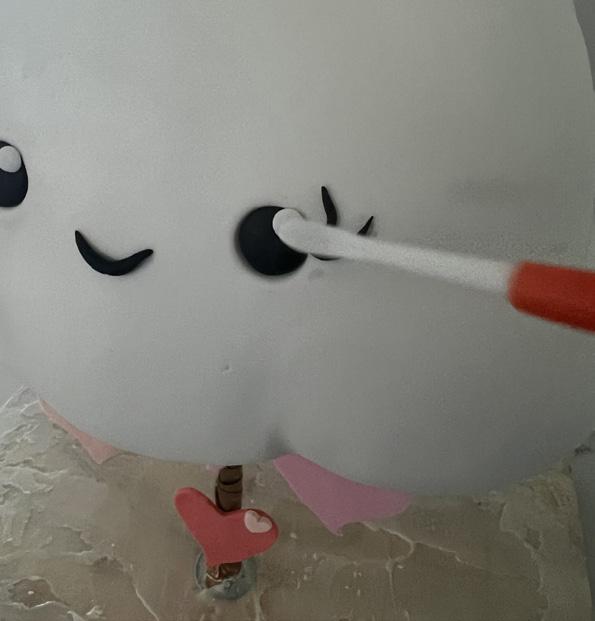
6. Press a small round ball of black fondant into each indentation to form eyes.
Make a small white ball of fondant and press it into the upper right area of the black eye to make a little glimmer. Roll a thin strip of black fondant to make small eyelashes. 7. Using soft pink petal dust, lightly dust blush around the cheek area with a soft brush.
1
2 5
6
1
3
4
ADD THE FINISHING TOUCHES
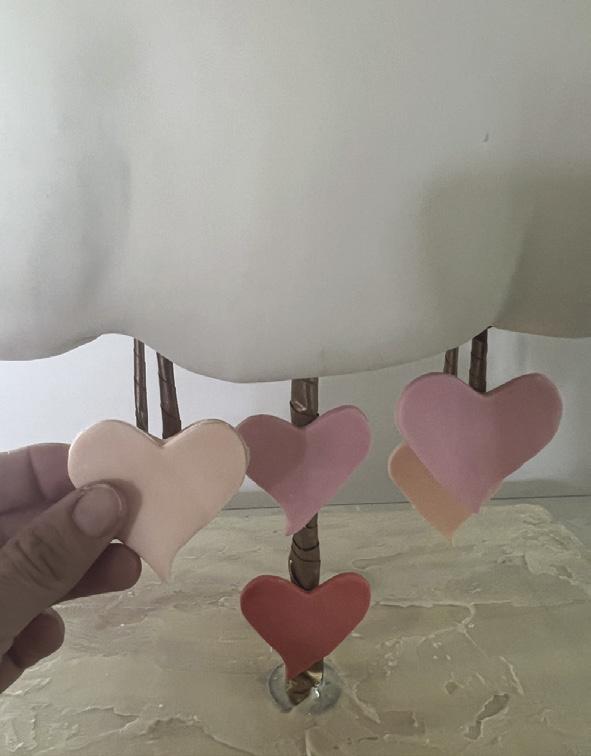
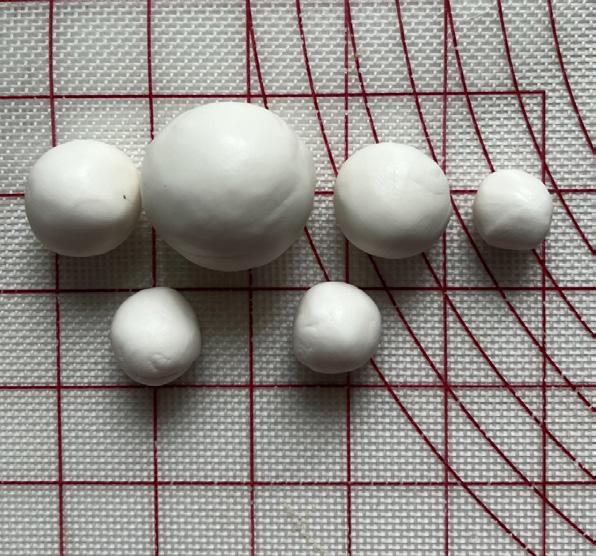
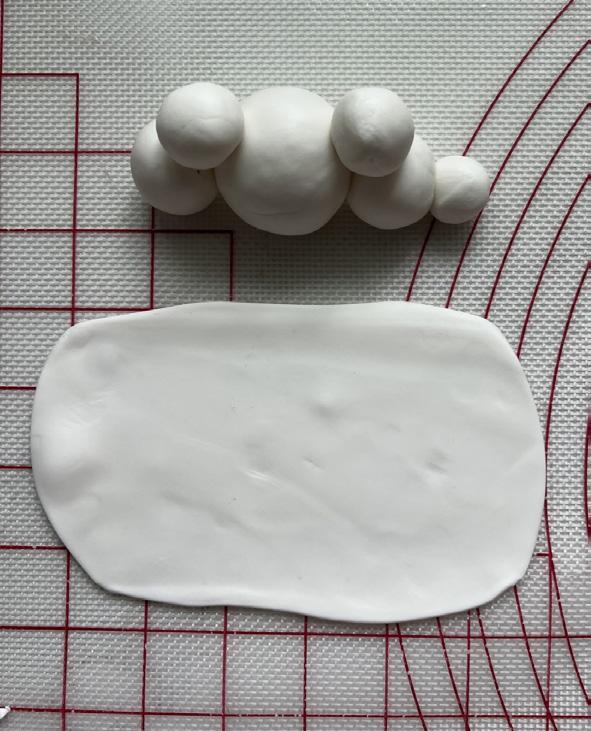
1. Using pink fondant, make a fondant bow to top her off. 2. Roll out the 3 shades of pink and cut out 2 hearts in each color. Lightly brush the back of each heart with water and gently press them onto the center rod and the 4 skewers as though the hearts are hanging from the cloud. 3. Spread a thin layer of buttercream on the cake base, then cover it in nonpareils. 4. Roll 6 balls of fondant into different sizes.
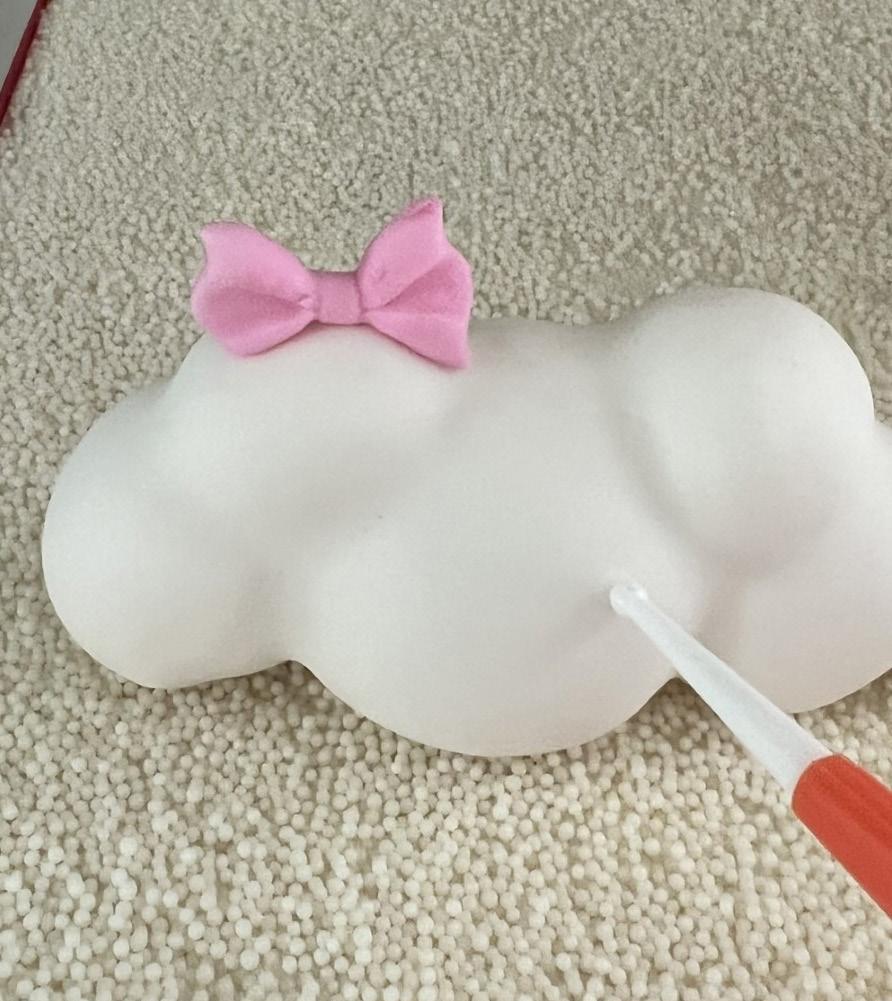
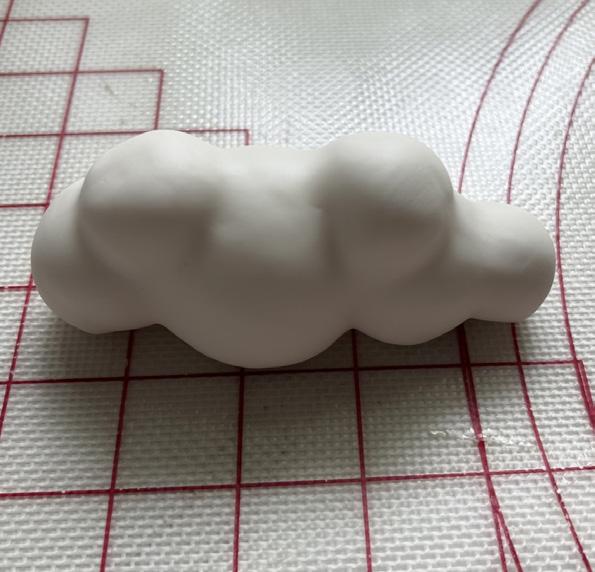
5. Stack the balls next to and on top of each other to form what looks like a mini cloud, then cover it with white
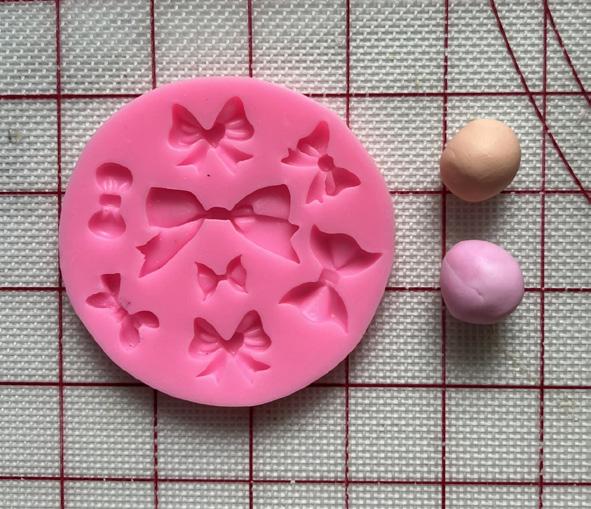
fondant, tucking the edges in underneath. Create a second one the same way. 6. Decorate the mini clouds as you did the larger cloud. Use a silicone bow mold to make mini bows.
7. Using pink petal dust, lightly brush in the rounded creases to lightly accentuate them. 8. Using gold petal dust diluted in Everclear, brush some of the edges of the hearts and bows to add a little glitz and dimension. ACD
2
4
5a
5b
6
7
