9 minute read
AMA GARAGE


Tips,Tweaks, Fixes and Facts: The two-wheeled ownership experience, explained
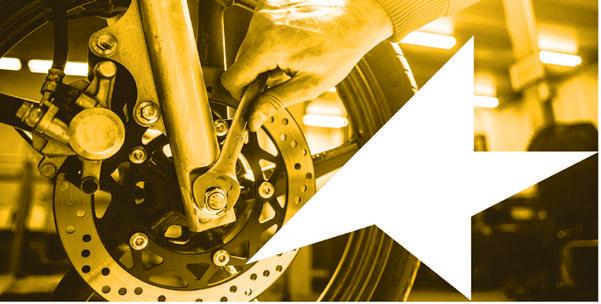
STREET SAVVY Emergency Braking 101

Even the best riders get surprised, so here’s how to optimize your stops
BY MITCH BOEHM
In March we covered the scan technique, which nearly everyone does, though not always as optimally as they could. Doing it right will keep you out of most iffy situations out there on the mean streets, but even the best rider/scanners can get surprised by a sudden-left-turner (or sudden-lanechanger) — and then you’ve gotta decide what to do, and almost always in a split second.
Basically, your options are brake, accelerate or swerve, or some combination thereof, and none are easy or a guarantee of success, especially given the short time frame. We’ll deal with emergency braking here, as getting slowed down quickly can give you more time and space to react and deal with the situation — and slower speeds are often helpful if you do end up being punted by an errant four-wheeler.
First off, emergency braking on the street is totally different than braking on the track despite the fact that both demand technique and skill to do correctly. Unlike on the track, pull off a perfect braking application (if braking is your best choice).
The big issue with street-going emergency braking is that, while you can practice the actual braking part (we’re getting there, trust me…), you can’t practice the decision-
where repetitive laps allow you to plan, practice and revise your braking acumen over and over, emergency braking on the street almost always happens suddenly and out of the blue, which leaves you little time to a) come up with the right reaction (brake, accelerate or swerve?) and b) making element. Success there only comes with experience — or luck, unfortunately.
Most of you know this, but it bears repeating: The majority of stopping power comes via your bike’s front wheel, though unlike on the racetrack, where the front brake rules
the roost, a proper mix of front and rear brake will stop you faster and with more control and stability than the front brake alone. (Note: We’re talking conventional braking systems here, not ABS or linked systems.)
The keys here are twofold. The first is getting that optimal braking mix right, that proper level of frontlever and rear-pedal pressure. This ideal mix will vary a little based on the motorcycle you’re riding and the traction situation at hand, but my fourplus decades of street-riding, roadtesting and roadracing experience tell me a 70-front/30-rear ratio — and a 60/40 one for heavier and/or longerwheelbase bikes — works best.
The key there is to practice this as often as you can, preferably on a clean and dry section of pavement. Start with medium-intensity stops, and slowly work your way up to higher-intensity ones, varying the level of front vs. back lever/ pedal pressure so you can feel the differences in stopping power — and learn what it feels like through the lever and handlebar when one (or both) wheels begin to lock up and slide. You want to become familiar with those particular sensations, and brake just hard enough with both wheels to remain just below that threshold. Ideally, you’ll practice often enough that stopping quickly and emergency-like becomes second nature, almost a muscle-memory sort of thing.
Getting to that point will help with the second key, which is the more difficult of the two by far: Achieving that ideal front-to-back braking mix suddenly, and without warning, and without thinking about it. And that is what will get you stopped most effectively in an emergency situation.

KEVIN WING
Practicing your emergency stops as often as possible is a big help for when you need one in an ugly traffic situation. But the real key to successful emergency braking is doing the right thing on a moment’s notice — and that’s just not an easy thing to practice.

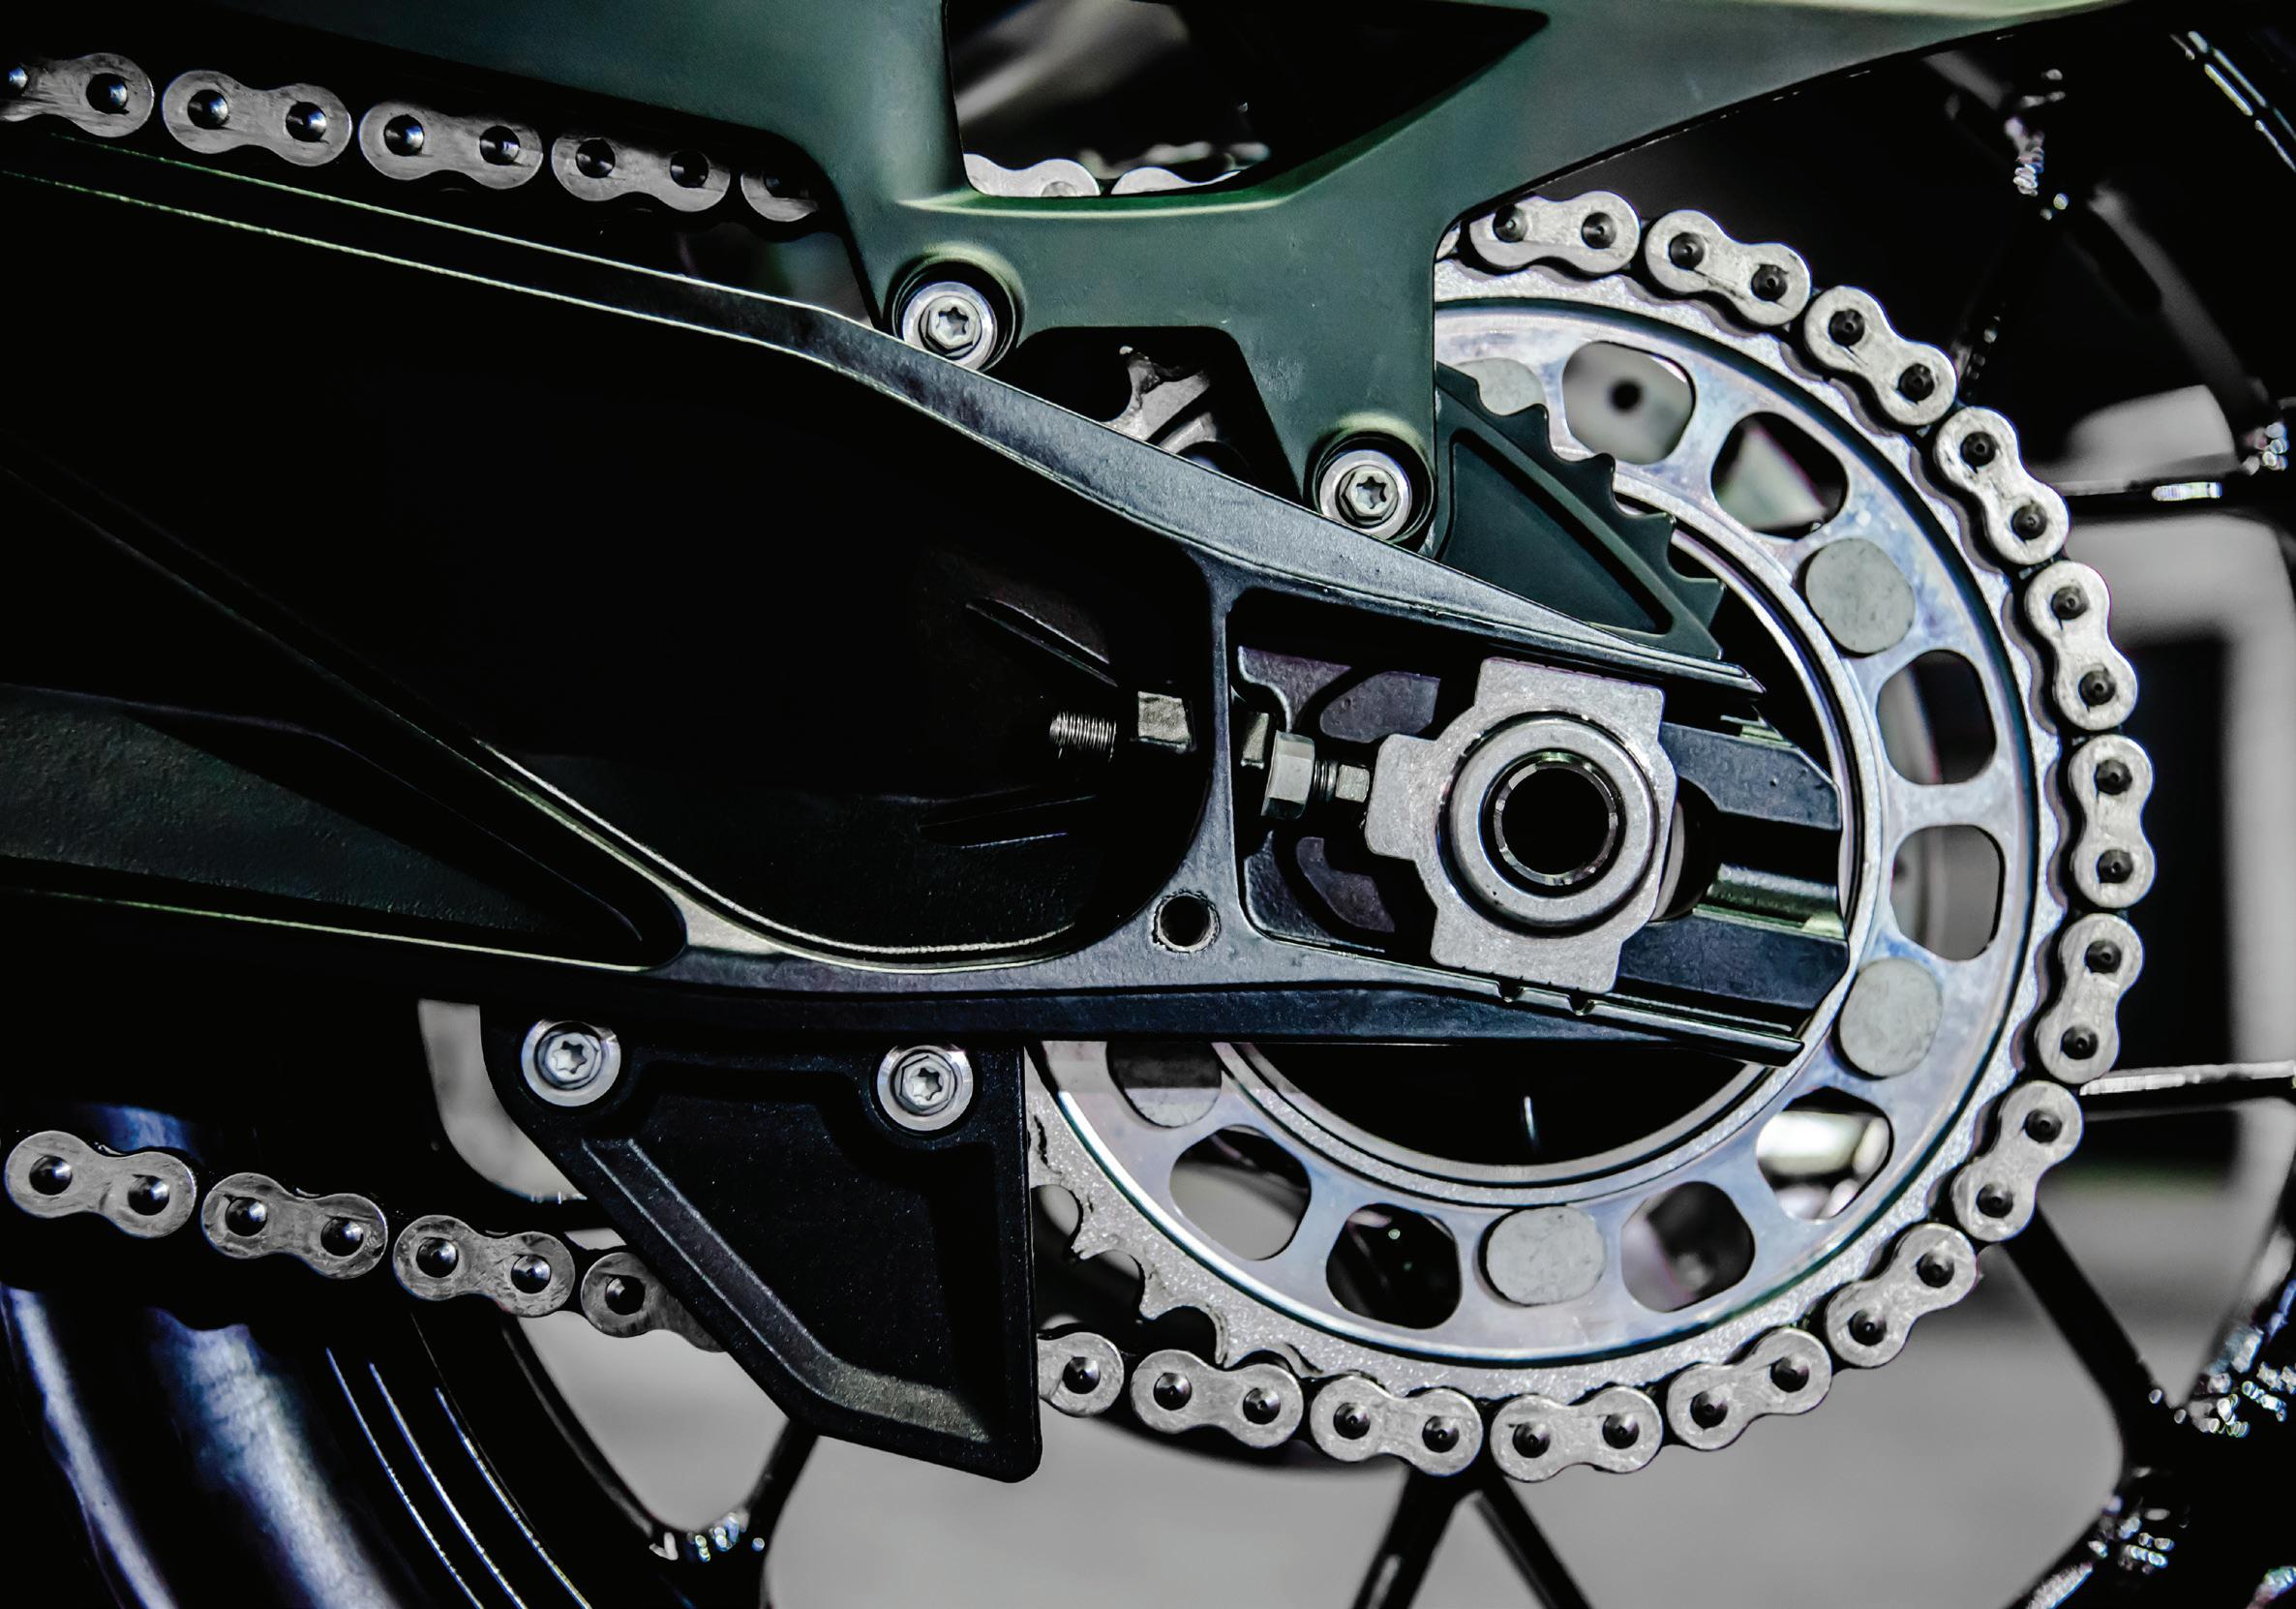
Garage Springtime Drive-Chain Maintenance
Check, adjust, clean, lube, ride — and repeat
BY MITCH BOEHM
You’ve got shaft- and chain- and belt-drive systems out there driving the rear wheels of a lot of motorcycles, and while the three are totally different in makeup and maintenance needs, many riders treat them the same, which ends up being, basically, “just run ’em until something bad happens.” Obviously, not smart.
Chain drive remains the most predominant design out there, especially given all the off-road machines in use, so we’ll concentrate on it this month, with a look at proper cleaning, lubrication, tension and adjustment.
INSPECT
First, if your bike has a centerstand, use it. It’ll make things much easier. If not, use a rear-wheel stand, as you’ll want your rear wheel off the ground and straight up and down so you can spin the wheel by hand as you inspect, adjust, clean and lubricate.
Now do a quick inspection of the chain and sprockets. Does your bike’s chain look reasonably clean and serviceable, or is it a rusty, cruddy and greasy mess? Is there excess side-to-side play (grab the lower run and move it side to side). If there’s more than a tiny bit of movement, it’s time for replacement. Is your chain an endless variety, or is there a master link with a clip? If the latter, inspect the master link and be sure the clip is secure and the link is serviceable.
Now check the sprockets. Are the teeth troughs symmetrical, or are they misshapen, with pointy, sharktoothed (or missing) teeth? Putting a new chain on worn-out sprockets is a quick way to ruin a perfectly new chain and flush your dollars down the drain.
CLEAN
If your chain is overly dirty, greasy or grungy you’ll want to clean it, and for that you can choose between a commercially available chain cleaner (such as Maxima’s CleanUp spray-on cleaner) or regular old kerosene, both of which are kind to O- and X-ring chains, which seal grease in the chain and keep a lot of muck and dirt out. Maxima recommends hosing off mud and larger debris with a steady stream of water first, then spraying on the CleanUp, allowing it to work for a minute or two, then rinsing.
Note: Do not succumb to the temptation of starting your bike, putting it in gear and letting the
engine spin the wheel while you clean and lube your chain! Many a finger have been lost this way, and it’s simply not worth the risk.
If you’re using kerosene, use a spray bottle and soak the chain liberally as you spin the rear wheel by hand. You want to flush as much of the crap and grunge from between the rollers and pins as you can. Once you’re done and there’s a nice puddle of dirty kerosene on the floor of your garage, wipe off the excess with a rag.
TENSION CHECK & ADJUST
First, find out what your bike’s manufacturer says about proper chain tension. Typically it’s between Do not succumb to the temptation of starting your bike, putting it in gear and letting the engine spin the wheel while you clean and lube your chain! Many a finger have been lost this way, and it’s simply not worth the risk.
(one per side) a quarter-turn at a time, being sure the adjusters are in the same position as one another by syncing them with the marks on the swingarm. This ensures proper rearwheel alignment.
As you tighten or loosen the adjusters (depending on whether you’re loosening or tightening the chain), they’ll pull the axle rearward, or push it forward. If you’re loosening the chain (by loosening the adjusters), you’ll want to push the rear wheel (and axle) forward with a mild push or kick from the back — but be careful to not push your bike off the stand. Adjust until the chain tension is at the
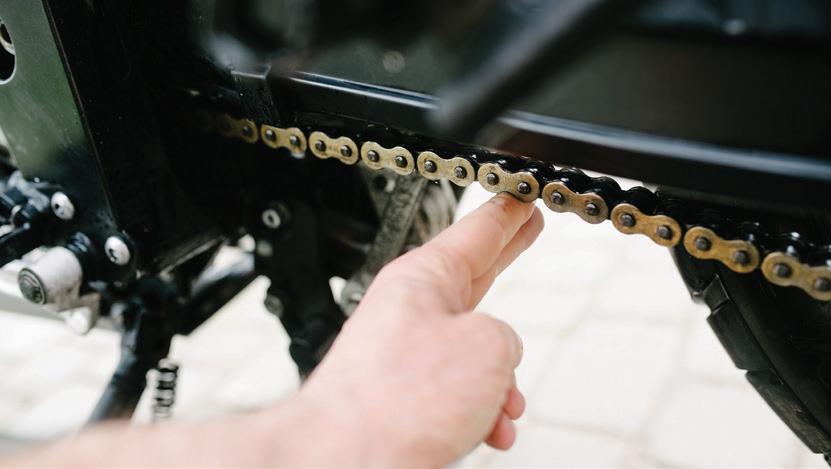
25mm and 40mm, but check the manual or the sticker on your bike’s swingarm to be sure. Next, check your bike’s current tension, measuring it in the middle (midway between the sprockets) of the bottom run. Grab the chain, push it to its upper and lower limits, and measure the distance with a ruler or tape measure.
If it’s too loose or too tight, an adjustment is needed. Too loose and the chain can jump and damage teeth, not to mention add driveline lash and wear things out prematurely. A too-tight chain can restrict suspension movement and also cause extra wear.
To adjust things, break the axle nut loose just enough to allow axle movement; a turn or two is usually plenty. Then, depending on the design of your axle adjusters, loosen the locknuts and turn the adjusters

When checking slack (left) and lubricating it’s important to do both jobs along a chain’s lower run.
minimum limit, then tighten the axle nut and locknuts. Recheck tension after you’ve tightened everything up, but understand that doing so can sometimes affect the axle’s position, so you might have to repeat this process until things are just exactly perfect.
LUBRICATION
Now that your chain is clean and properly adjusted, it’s time to lubricate it. First, find out if you’re dealing with an old-fashioned, plain-style chain or a now-common O-ring (or X-ring) chain, which has rubber O- or X-rings between the plates to seal grease in and keep dirt out.
Generally speaking, if it’s an old-style chain, almost any type of chain lube product will suffice, and you can feel free to douse the chain with the stuff, wiping off the excess later. If it’s an O-ring chain, much of the lubrication is already being handled by the grease hiding under the O-rings, so what you’re looking to do here is add lighter application of lube that is designed for O-ring chains, such as Maxima’s Chain Wax product.
Most lubes will go on liquidy and then firm up, so keep that in mind. Also, where you apply the lube matters. Don’t think just spraying it on the outside of the rollers and plates (from behind the bike, for instance) will be good enough; not much will penetrate between the plates, and when you ride and the chain heats up, much will just fling off.
So, be sure to spray the lube, using the supplied straw if possible, on the top of the chain (to both sides) along the bottom rung. This will allow the lube, as you spin the wheel (again, by hand only!) or actually go riding, to penetrate between the plates via centrifugal force. Feel free to give the outside of the chain (at the top of the sprocket run, for instance) a light coating of lube, as well. Wipe off any excess and you’re ready to roll!


