8 minute read
HOW TO UPGRADE YOUR TESLA WITH A RASPBERRY PI, INSIGHTS FROM ROBIN VAN HET HOF
by AMGroup
HOW TO UPGRADE YOUR TESLA WITH A RASPBERRY PI
INSIGHTS FROM ROBIN VAN HET HOF
Advertisement
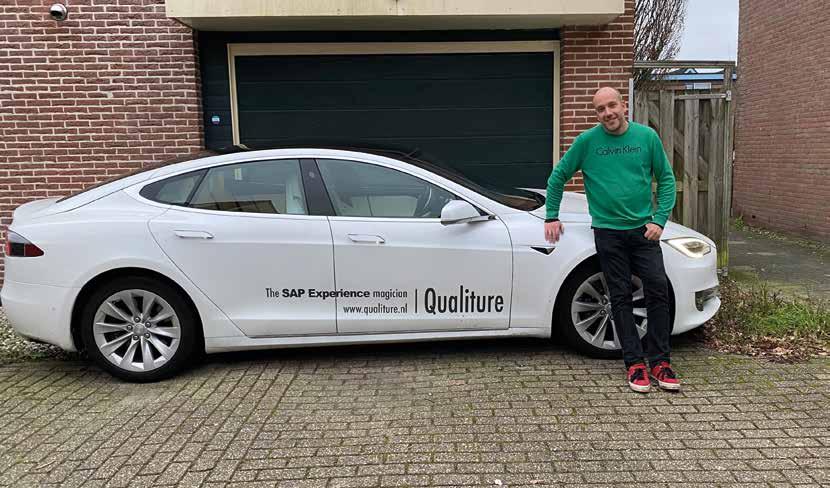
Robin Van Het Hof is a freelance SAP designer, UI5 Expert, Mentor and integrator who lives near The Hague. Since becoming a Tesla driver in 2017, he has been using his creative engineering skills to design Tesla upgrades on Raspberry Pi in his spare time. Twitter Call sign : @qualiture
Text Joanna Pays & Martin Gillet – Pictures Robin Van Het Hof
Robin’s full time work entails lending his expertise in software and the SAP ecosystem to the likes of banks, finance and oil & gas companies. Part of his skill is making enterprise software more accessible and easier to use. “I look at the problems and tasks that the software needs to perform for each client and how to make it interoperable with their other systems” says Robin. “As I had a strong interest in electronics and consumer systems, I studied industrial automation. Back then, in the 1990s, the internet was booming and I began my career as a web developer. When the internet bubble imploded, I switched to SAP, electronics and computer networks.”
A GREAT CHOICE - MY CONVERSION TO TESLA
“I first became interested in EVs because of the enthusiasm of Martin Gillet, who was one of the first to buy a Tesla in the Benelux. At first I thought they were too expensive, but then someone else said to me “Do the maths over four or five years for total cost of ownership and see if a petrol car is really cheaper”. What I found was, although the initial outlay is more expensive, when you calculate all the running costs of maintenance, fuel and road tax over five years, an EV actually turns out a lot cheaper. My wife also encouraged me to move to Tesla and we have never looked back. In September 2017 we bought a Model S 90D. A bonus was that as it was one of the last 90Ds Tesla built, they gave me a nice price reduction!”
“Driving the Tesla is fantastic – I am happy to drive for hours and in fact it’s the most wonderful car I have ever driven. I’m very happy with the range, the economics and charging. Our next car will almost certainly be another Tesla. I can’t see anything else that could replace it and I’ll probably keep this one for another four years. My family love it too. For my wife, we have bought a hybrid car as a transition to full electric. Her father also drives a hybrid and my brother-in-law is fully EV.”
MCU2 UPDATE
Robin’s Model S came with the first generation of MCU software for navigation, Sentry Mode and media. “I soon had that upgraded to MCU version 2, so I can still have Sentry Mode once I have parked and walked away from the car. The MCU2 has 8 cameras. With the updated Sentry Mode, when someone approaches the car, it starts filming and recording. This can be stored on an SD card and so you can retrieve footage if there are any incidents while you are away from the car.”
“That’s when I decided to see if more was possible, using a Raspberry Pi” says Robin. “I wanted to be able to view footage directly, without needing to take out the memory card or USB stick and plug it into a laptop. In other words I wanted to view footage directly in the car – or from a distance using my mobile phone. I was able to do this using an open source contribution I found on GitHub. This also contains a functionality where notifications are sent directly to my mobile phone when footage is archived. This happens even when the car is in sleep mode because I have the Raspberry running on a powerbank - something which is not possible with a USB stick. Previously you would only have got those notifications if the car was not in sleep mode, so that was a drain on the battery. Tesla is constantly updating its software, so they have now also solved these problems themselves. That is one of the great things about Tesla. My car is now smarter than when I first bought it. Nevertheless the Raspberry Pi project was fun to do – and it works really well. I have my car parked outside, in front of the garage and I can connect to the Raspberry Pi in the car via my mobile, wherever I am. Another thing that’s useful is that when the Sentry Mode is triggered, the headlights flash – which discourages birds and cats from walking on my car!”
RASPBERRY PI
For those who are not familiar, the Raspberry Pi was created to make the smallest and cheapest computer possible in order to make computing available to everyone, particularly in education. Developers and geeks use them to develop all kinds of applications imaginable – connecting non-connectable devices, domotics, hosting websites, time lapse photography – the list is endless. “People like me use Raspberry Pi’s for all kinds of stuff” says Robin. “In a nutshell it’s a cheap computer, with an integrated transmitter, that you can get for around 15 euros.
One of the things I use them for is as a home meter, so I can measure my energy use. As it’s based on open source, there is a large community of developers who have built tons of applications on top of it that you can use. It’s also great to get kids starting on computing and that is why it was developed in the first place.”

ROBIN’S NEXT PROJECT
Robin is always working on new development projects. “For my next Tesla Raspberry Pi project, I’m thinking of ways to gather more telemetry from the car” says Robin. “That will give me a lot more data on things such as battery use in different kinds of conditions. For example I’ll be able to see how the outside temperature affects the battery use.


This project is still in the very early stages of development and I’m still working on the software scaffolding. When I have got this to a certain state, I like the idea of collaborating with people on projects and my intention is for this to be open source.”
TRY IT FOR YOURSELF IF YOU ARE IN A GEEK MOOD ! (AT YOUR OWN CONVENIENCE AND RISK)
If you want to develop your own Raspberry Pi updates for your Tesla, you first need to download a copy of the operating system with the TeslaUSB software from GitHub and transfer it onto an SD card. You can then put the card in your laptop to make your own modifications in a configuration file. To be able to connect with your phone to the Raspberry for instance, you will need to create your own Wi-Fi name and password for the Raspberry Pi network. Then take out the SD card and put it in the Raspberry Pi. It will take about 5 minutes to install the software on the Raspberry. You can then plug it into the USB port in your Tesla. When it starts blinking, it’s ready to use.
Getting started
You could use one of these two Raspberries:
• Raspberry Pi Zero W (Cost : approximately EUR 15) • Raspberry Pi 4 (Cost : approximately EUR 35) (The benefit of the Raspberry Pi Zero W is it’s cheaper, smaller, and doesn’t need cooling, which the Pi 4 does need).
High-level Installation:
Step 1 : Download latest image from github and install using Etcher (free program) onto SD via card reader
Step 2 : Modify config file to boot directory, containing your home WiFi SSID and password
a. Additionally, enable the Raspberry to act as a WiFi access point so you can access it with your phone from home or while on the road -- when not driving of course :-)
b. Optionally enable IFTTT notifications to notify user when copying of footage is done (so NOT when Sentry is triggered, as I originally thought)
c. Optionally enable saving to local NAS or cloud storage (Google Drive, DropBox, Microsoft OneNote)
Step 3 : Put SD in Raspberry and boot it up. Will take approx 5-15 minutes to boot up until LED starts pulsating steadily
Step 4 : Connect to Raspberry via SSH terminal and check if installation was successful
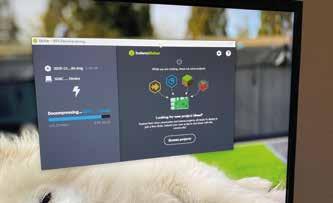

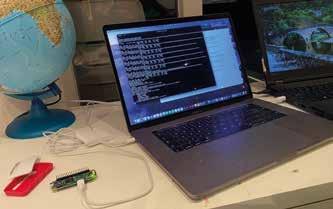
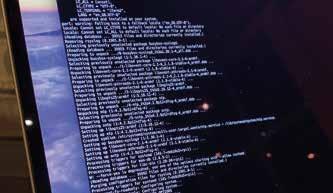
Step 5 : Plug Raspberry into a free USB port in your Tesla, and off you go
Final thoughts
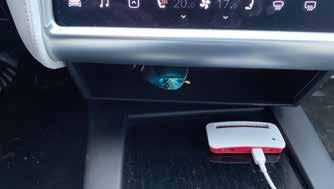
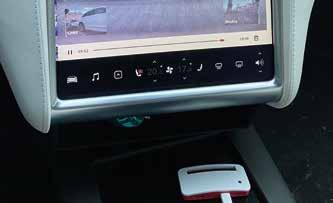
Until recently (April 2020, see https://electrek.co/2020/04/03/tesla-update-teslacam-sentry-mode-video-viewer/) it wasn’t possible to view the Sentry / Dashcam footage from within the car. Since then, the Tesla in-car software has caught up and you are now able to access the sentry footage from within the car’s main screen. This basically defeated the whole purpose of the Raspberry Pi with the TeslaUSB software running.
However, since it does work flawlessly in what it’s supposed to do in the first place – storing sentry footage as well as dashcam footage – I’ll just keep it running for now.
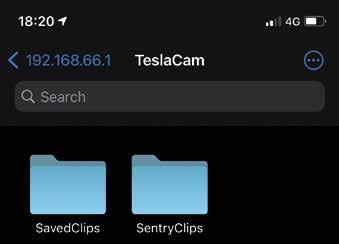
If needed, connecting to the saved footage from your phone as opposed from the in-car viewer is fairly simple:
1. Connect to the ‘TESLAUSB WIFI’ from your phone
2. On iOS, there’s a standard app ‘Files’ which allows you to connect to the default IP address of the Raspberry Pi file server (server address: smb://192.168.66.1). I expect Android phones to have a similar app available
3. You can now browse your videos
Useful links:
“TeslaUSB” GitHub repository containing all neccesary files and in-depth instructions:
https://github.com/marcone/teslausb Really helpful video tutorial to see what is actually going on: https://www.youtube.com/watch?v=FWjv3X9ex0Y Background on Raspberry https://www.raspberrypi.org/about/


