4 minute read
Once cooled, remove from the
PROJECT FOCUS
These aims are guidelines which ensure that the project remains consistent and is focused on achieving the end goal of repurposing plastic waste for a longer life. There are three key sections that are vital for this project to be successful, these are experimentation, the design and the story. Below are the key aims for each category.
EXPERIMENTATION
Develop a technique that can be controlled in order to produce a professional material.
Ensure that the process produces a consistent output.
The process must be a batch production process.
The material that has been created should be tested to have a good understanding of the properties and boundaries.
Creating a process that doesn’t create a great deal of waste
THE DESIGN
Ensure that the design of the product enhances the material created. Using the properties to improve the product (for example the material could be waterproof so used for outdoor applications).
To create a product or a range that are suitable for Marks and Spencer’s.
The design must be able to be manufactured by the process.
Other materials can be used if they are repurposed or sustainable.
TELLING THE STORY
Explore ways to show that the material can have a value.
To show how plastic waste can be used to recreate aesthetically pleasing products.
Ensure that there is a visual element to help explain the process e.g. a diagram.
Explore ways to promote the products.
R I S K
RISKY BUSINESS
Due to this idea being a relatively new prospect, it was not certain that it would be possible to create a suitable material with the resources available. This was a huge risk to take, as there was not a definitive answer whether this material would be useable to take forward and if a suitable process would be discovered. The question is, was it worth the risk?
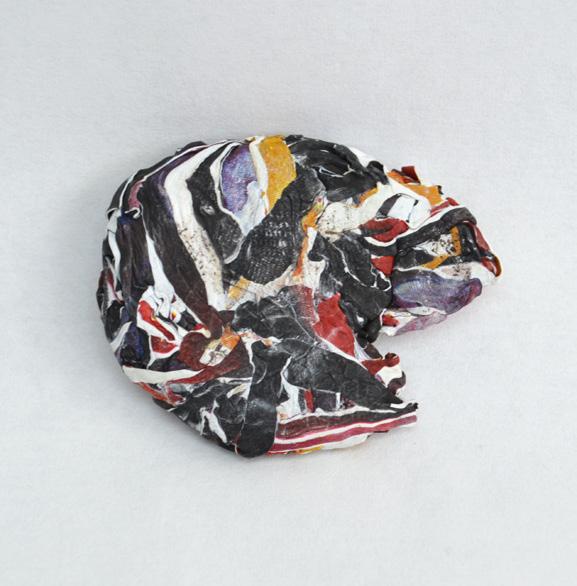
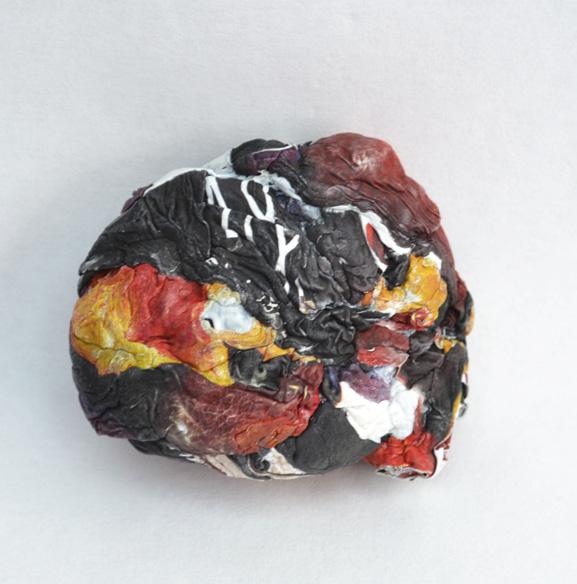
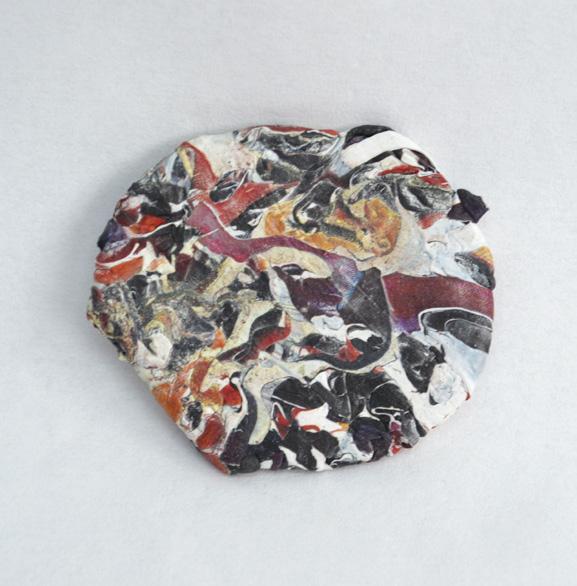
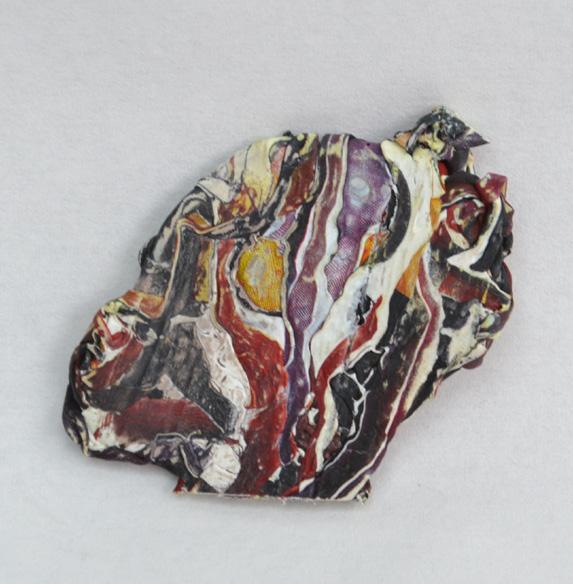


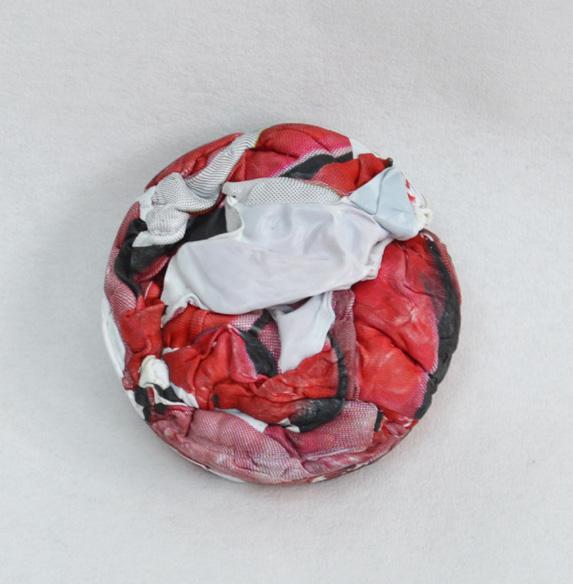
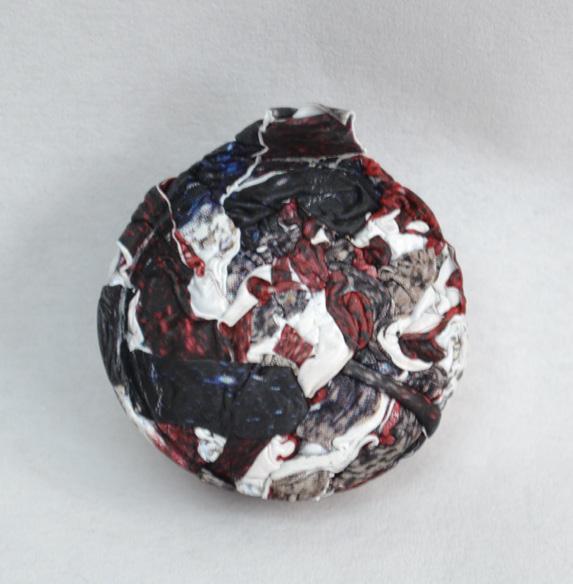
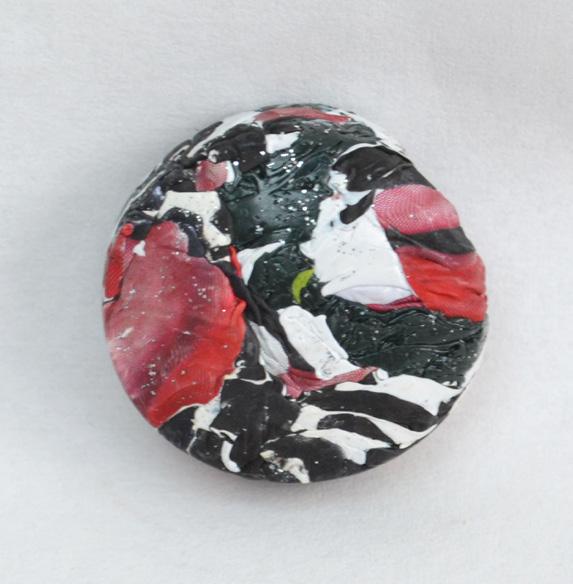
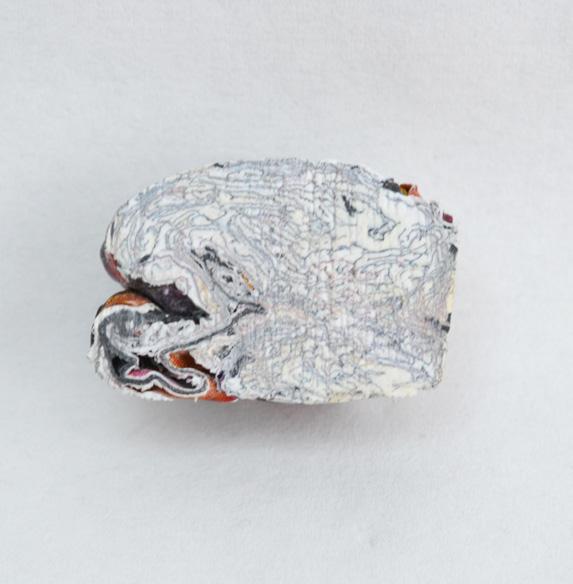


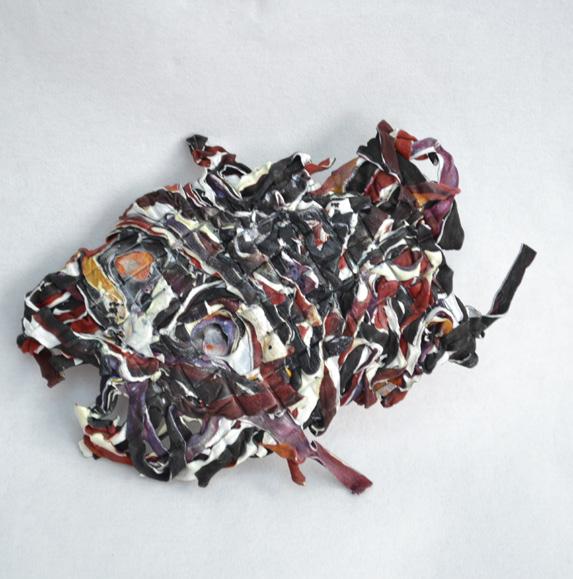

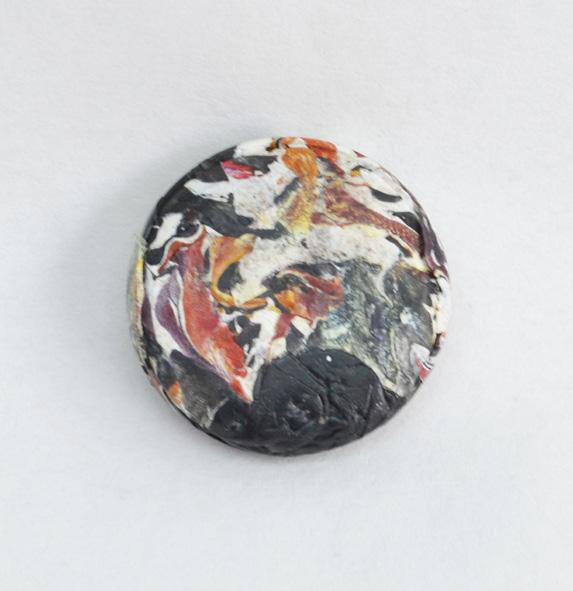
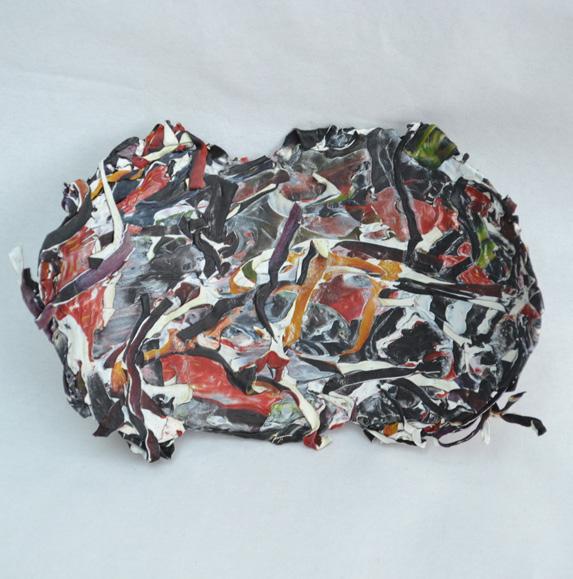
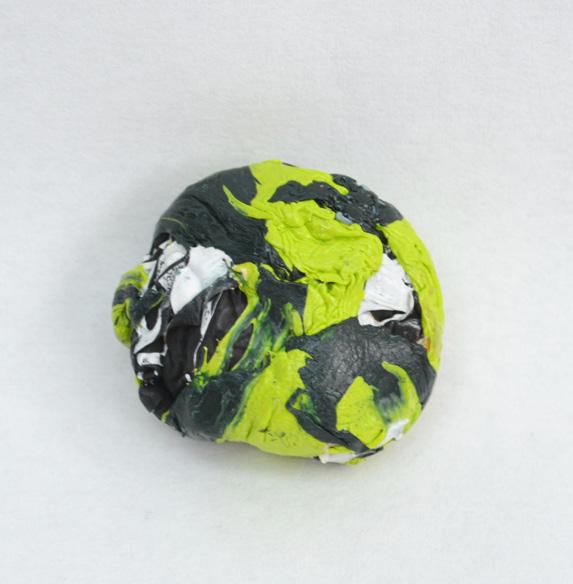
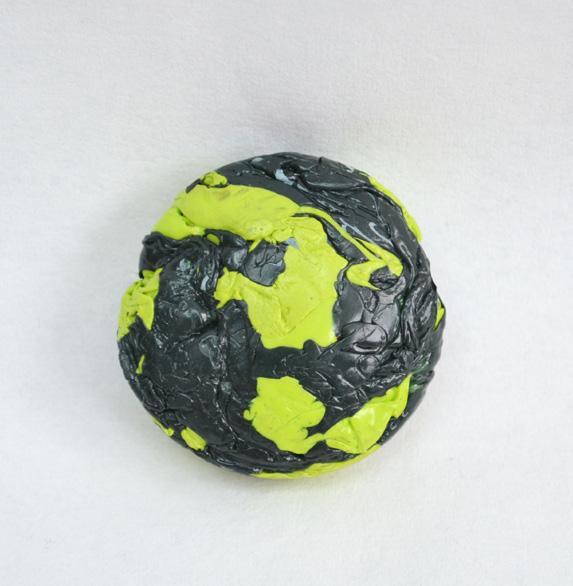

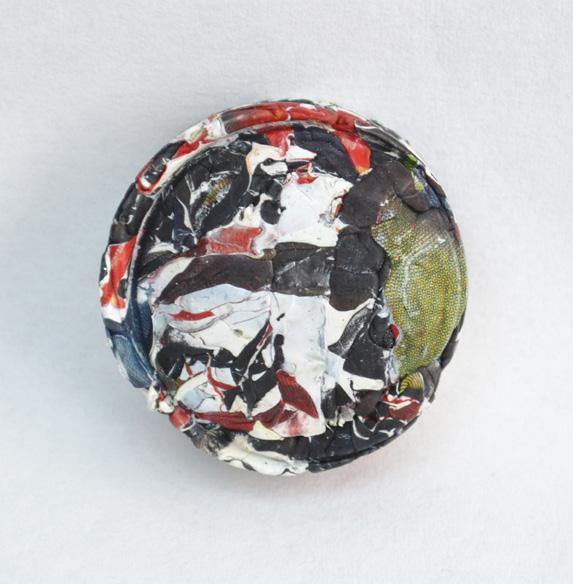
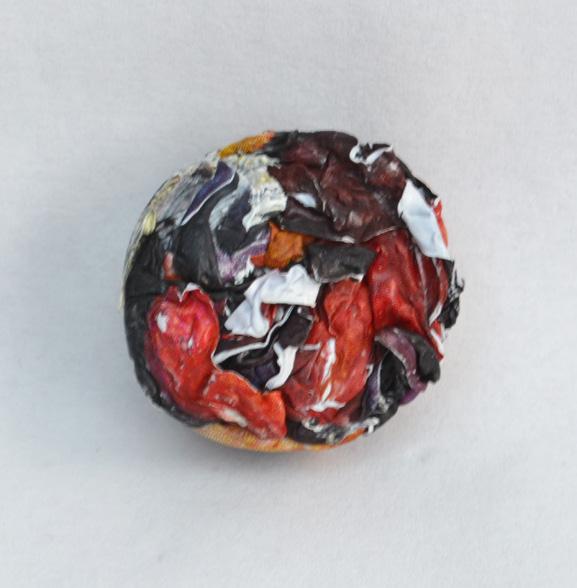

TRIALS AND TESTING
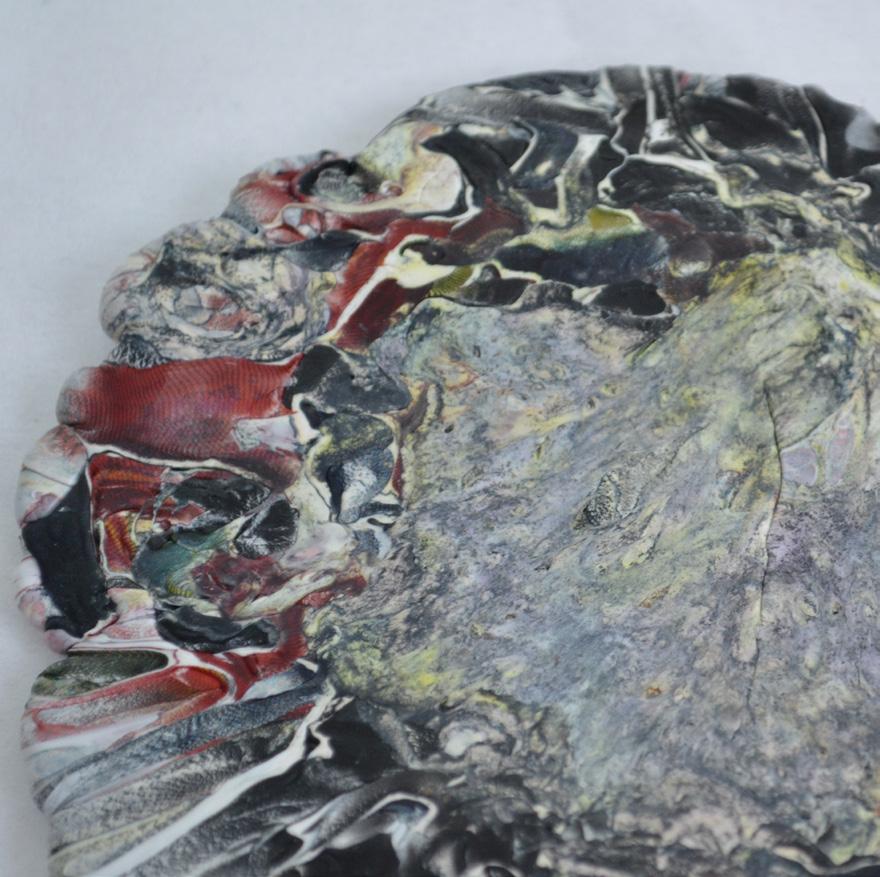
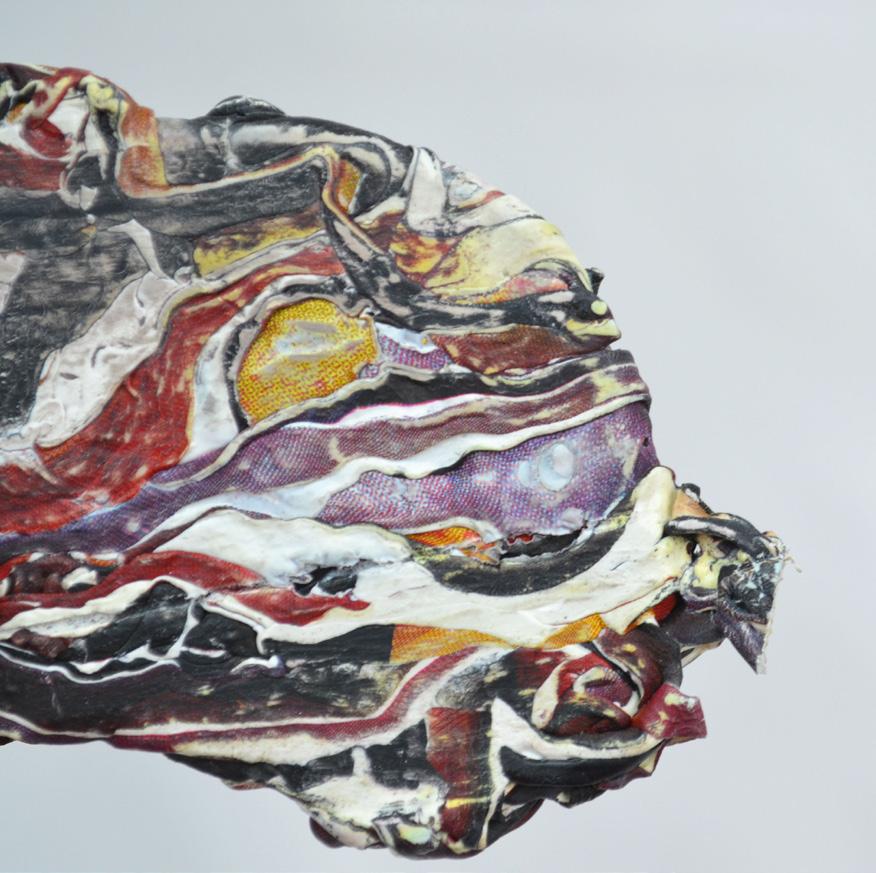
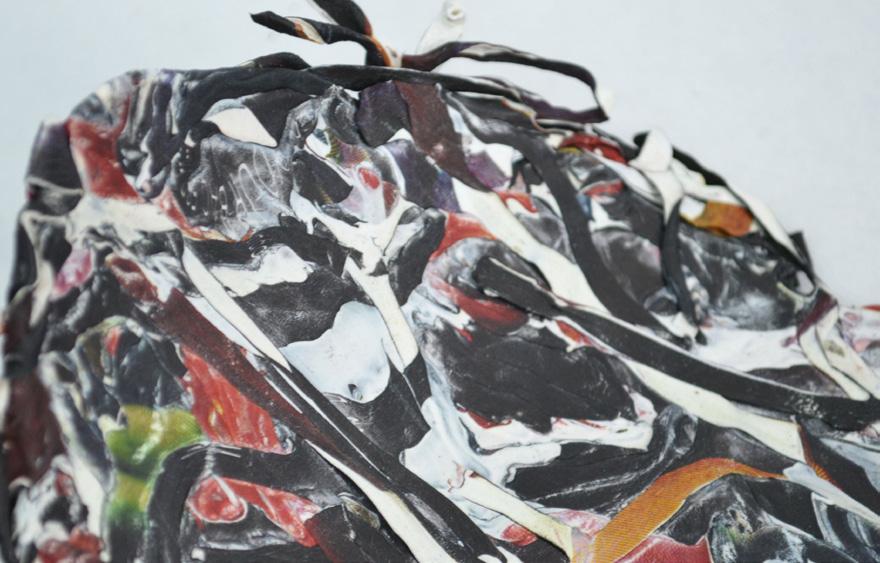
Left to right shows the order of the experimentation.
THE PROCESS
Testing the initial proces and changing aspects to improve it.

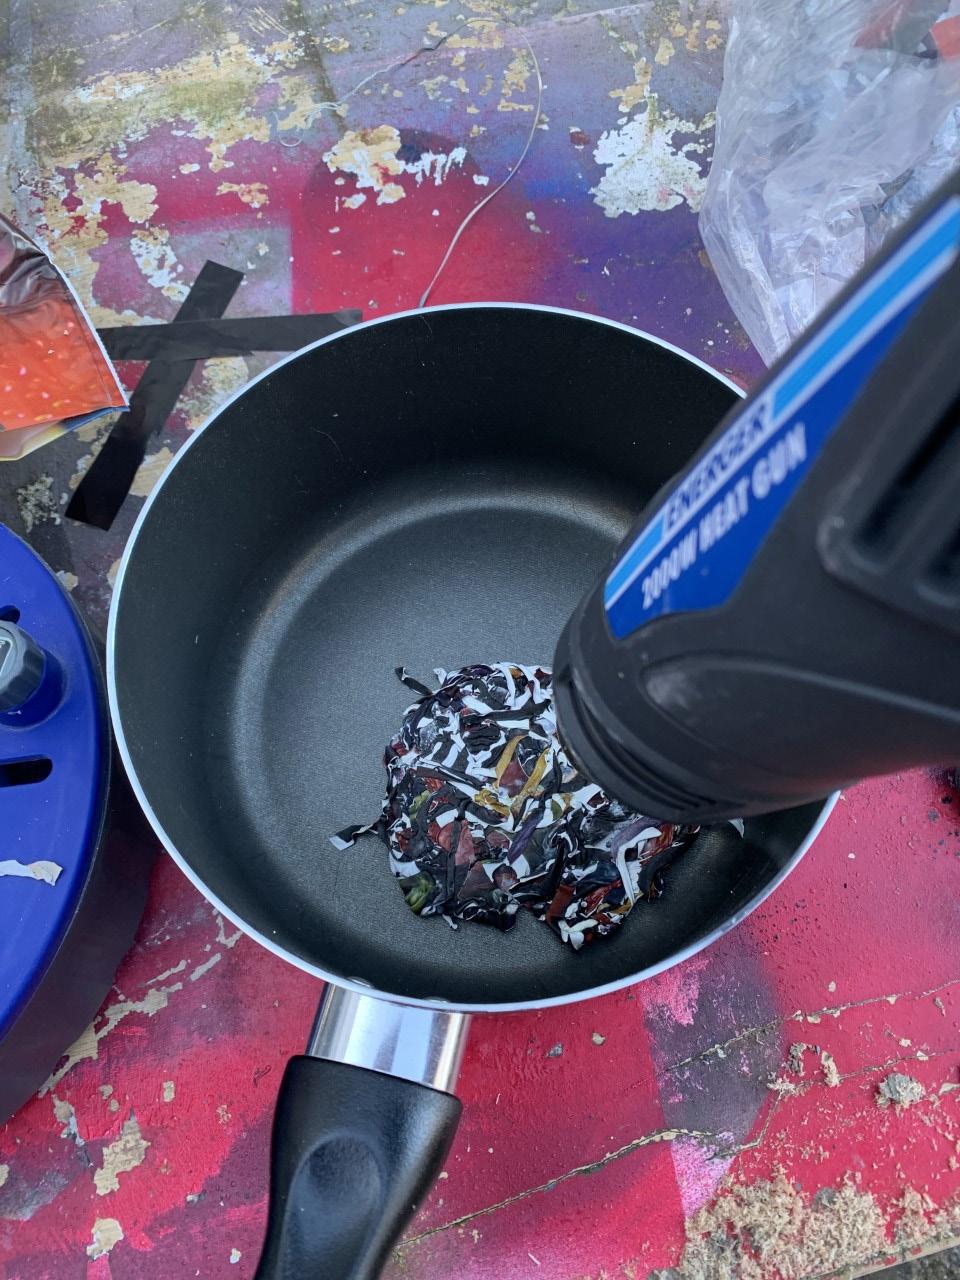
STEP ONE preparing the carrier bags
Remove any contaminants for example receipts. Removing the black handles from the bags (set these aside as there could be a future use for these). Cut the bag into 25mm strips (vertically). Each strip should then be cut into 60mm sections (one vertical strip should produce 5 pieces).
POSITIVES TO KEEP
Size of the pieces remove the black handles remove contaminants
ASPECTS TO CHANGE
Wipe the bags with an antibacterial substance to remove bacteria
STEP TWO melting the bags
Place 20g of the cut bags into the heat proof bowl and melt using the heat gun. Use a metal rod to help combine the material together. Apply heat depending on the state of the material (stop if burning occurs).
POSITIVES TO KEEP
The method
ASPECTS TO CHANGE
Add more material Try a different heat source as the heat gun is too powerful
STEP THREE additional material
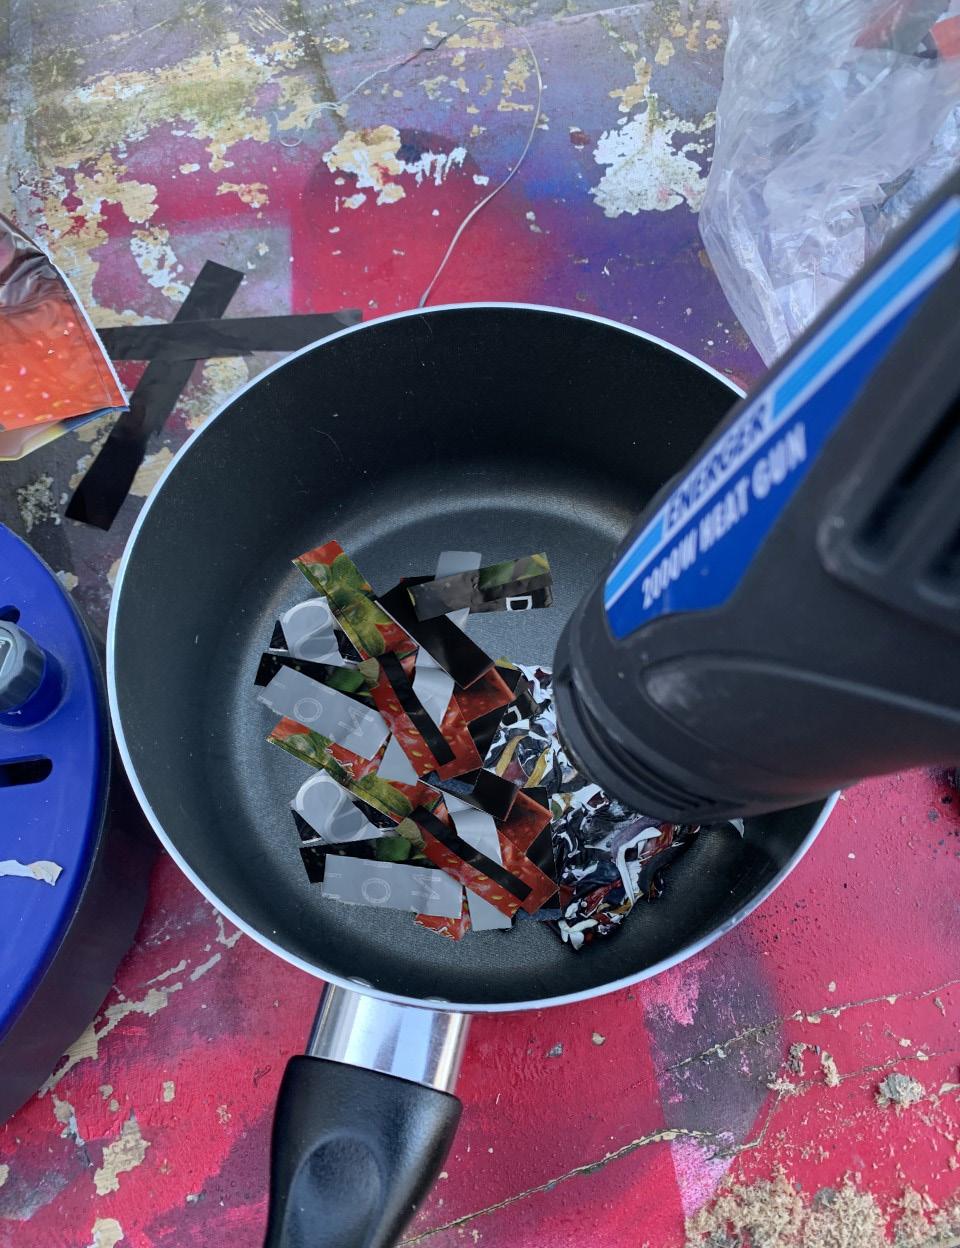

Once the material in the pan is combined, add another 20g of strips. Ensure it is bonding to the pervious material. Keep adding additional strips until enough material is created.
STEP FOUR using a mould
Take the material and place it into a heat proof mould. Apply force to the mould in order to ensure that the material is taking the shape of the mould. Leave until cooled.
POSITIVES TO KEEP
The method Adding more material once combined
ASPECTS TO CHANGE
The time this step takes as after too long the material doesn’t seem to bond
POSITIVES TO KEEP
A variety of moulds The method
ASPECTS TO CHANGE
Find a better way of applying the pressure consistently Knowing when the material is cool.

