14 minute read
SPECIAL FOCUS Tips for Home Inspectors Inspecting Pre-20th Century
from May Reporter 2021
by ASHI
TIPS FOR HOME INSPECTORS INSPECTING PRE-20TH CENTURY MASONRY
By Michael G. Bryan
Advertisement
Michael G. Bryan is an ASHI Certified Home Inspector and a Virginia State Certified Home Inspector. He is President of Inspection Services of Central Virginia, DBA MGB Inspection Service, in Rockville, VA, and has inspected more than 16,000 homes and light commercial buildings since 1993. Prior to that, he owned and operated a disaster restoration contracting company, and was a sales representative and conceptual designer for the additions and renovations department of a custom home builder. Michael is a former journeyman Mason specializing in masonry restoration. He offers one-hour and two-hour seminars on masonry; the complete seven-hour program provides information about history, installation practices, characteristics of materials, fireplaces, restoration and more. He has presented his educational seminars to Mike Casey’s Super Conference, CVASHI, and Kenny Hart’s school. Contact him at mgbinspect@gmail.com. The masonry that we home inspectors scrutinize generally falls into one of two broad categories: pre- and post-20th century. The transition point centers around the introduction of Portland cement–based masonry mortar, which began to replace lime mortar around 1920. The conditions we observe and document between earlier and modern masonry are often starkly different because Portland cement–based mortar transitioned masonry to a near maintenance-free system. Lime mortar is a softer mortar, which offers masonry the flexibility to better manage significant stress, but it does not weather as well as Portland cement–based mortar. Masons of earlier eras fully expected to perform routine maintenance on masonry as one of the normal and necessary skills of their craft. It should come as no surprise, then, to realize that most of the adverse conditions we observe in old masonry were never supposed to develop and are, in fact, the result of decades of neglect. The restoration of historic masonry has only come into existence as the remedy for extreme neglect.
The opinions expressed in this article are those of the author only and do not necessarily reflect the opinions or views of ASHI. The information contained in the article is general and readers should always independently verify for accuracy, completeness and reliability.
COMMON CONDITIONS
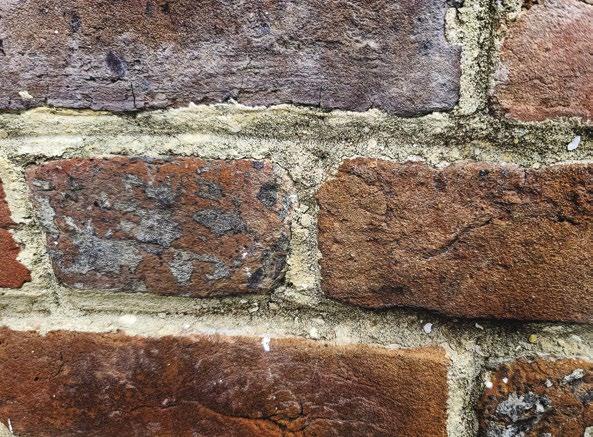
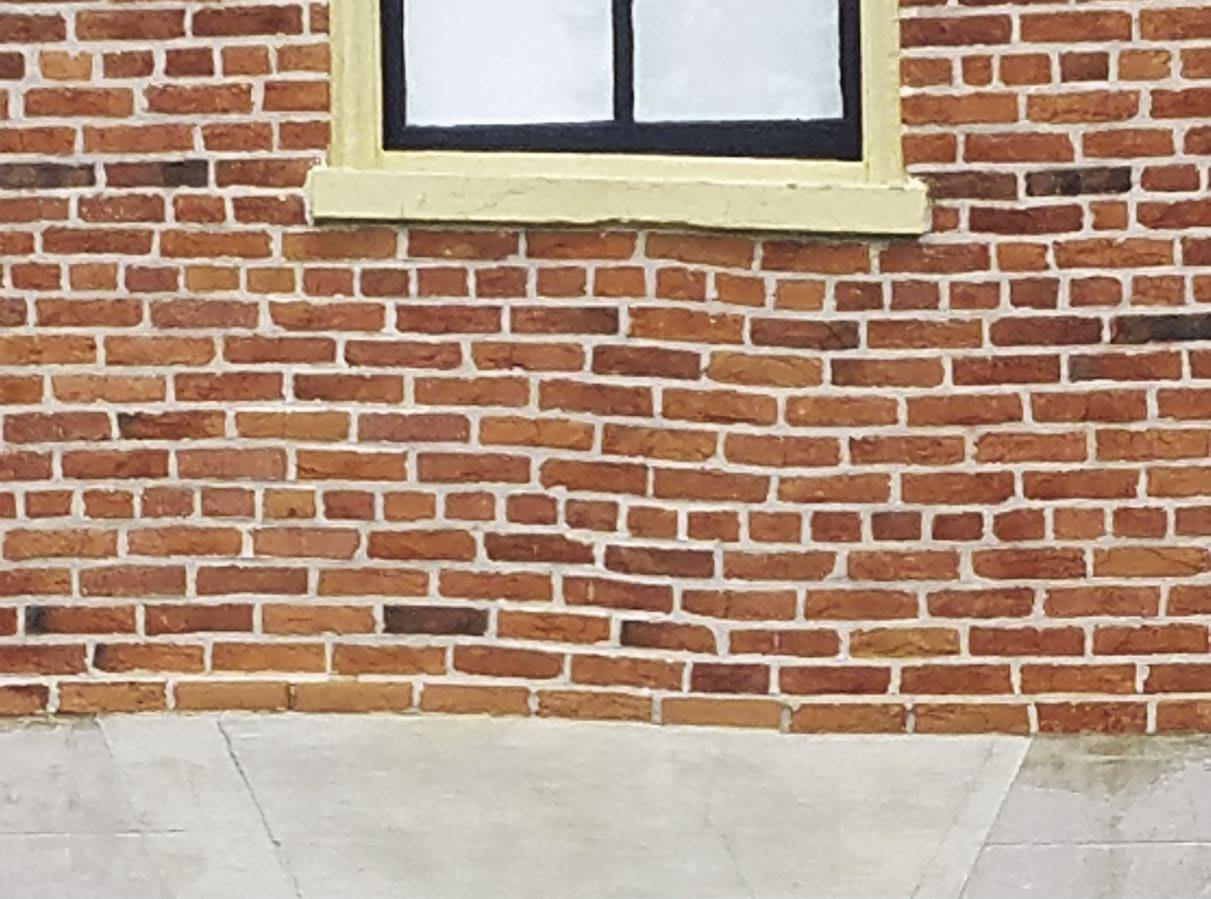
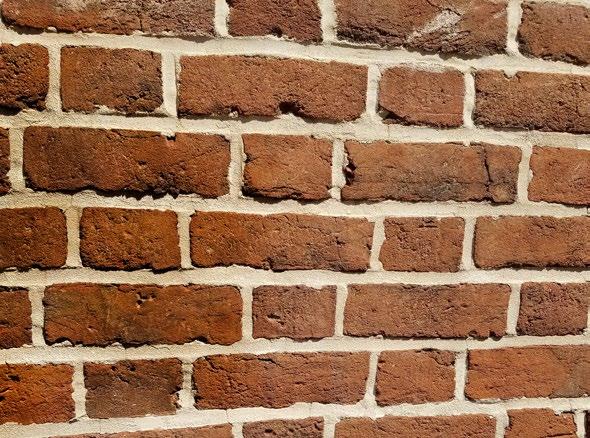
Eroded mortar. The condition that we most regularly see in old masonry is mortar eroded out from head and bed joints. This is normal and is the main reason that early masonry must be routinely pointed when the condition gets excessive. Failing masonry arches. Masonry arches that are failing is another common condition present in old masonry buildings. I occasionally hear fellow home inspectors claim that shallow masonry arches are destined to fail, but that is not true. Masonry arches of any configuration are incredibly strong and designed to last forever. They fail when neglected. As mortar erodes out of the joints, an arch drops down out from under the masonry above. The arch can then even begin to rotate forward or backward out of the system. Notice that, in most cases, only a small portion of the masonry over the arch settles down with the arch. This reveals another interesting fact about arches: The hardest an arch ever works is during construction, when all the work above is green and completely saturated, making it a significant dead load. Once the work sets up, an arch no longer supports much load thanks to the interlocking of the masonry units in the system. Occasionally, we see arches that are failing due to foundation settlement or upheaval, but most fail due to neglect. Uneven brickwork. Sometimes, we see brickwork that is no longer straight and level or even slightly bowed outward, and yet there are no significant cracks in the masonry. Certainly, the brick was originally laid to a line and the work was once both straight and level.

HOW THEN DID THIS OCCUR?
Lime mortar is surprisingly durable. Among its most valuable assets is the ability to survive ongoing settlement by constantly re-sealing, resulting in small separation cracks between the mortar and bricks or in the mortar. This phenomenon is known as “autogenous healing.” Portland cement–based mortar can do this to a small degree, but not as well as lime mortar. This self-healing process is easier to comprehend once the fascinating science behind how lime mortar sets up is fully understood.
An inspector might occasionally notice bits of seashells in the mortar of old masonry buildings near the coast. It would be easy to conclude that the shells were crushed and used as aggregate in the mortar, but shells are an unlikely source of calcium carbonate from which lime is extracted.
Limestone is the most common source of calcium carbonate, but chalk, marble, aragonite and coral are other sources. Any of these various forms of calcium carbonate, when sufficiently heated, release carbon dioxide to become calcium oxide (also known as quick or burnt lime). The super-heated material usually retains its original shape. When water is added, the material disintegrates into a mush known as slaked or hydrated lime (calcium hydroxide). The moisture in calcium hydroxide locks out carbon dioxide, preventing it from naturally re-bonding with carbon oxide to return to its original state—calcium carbonate. To be clear, carbon dioxide and calcium oxide are attracted to each other and will bond together to return to calcium carbonate (limestone) when moisture evaporation permits it.
THE SCIENCE OF LIME MORTAR
Lime mortar is sand mixed with hydrated lime and water. The setting of lime mortar is a slow, ongoing process that occurs as moisture evaporates from the mortar, permitting hydrated lime to return to carbon oxide, which then bonds with carbon dioxide to return to its original state, calcium carbonate. This natural and automatic return of hydrated lime to calcium oxide and then calcium carbonate is what makes lime mortar set up.
The calcium carbonate has set up to become limestone in the pores, nooks and crannies of the brick. You might recall a time when a bag of hydrated lime in your shed dried out to become one solid, hard mass. That is exactly how the lime in mortar sets—through evaporation and exposure to carbon dioxide.
Autogenous healing then occurs because the transition from hydrated lime back to calcium carbonate is a slow ongoing process. Hydrated lime can remain in the system for decades and migrate into cracks where it finally dries to bond with carbon dioxide and set as calcium carbonate (limestone). As cracks develop through settlement, they are constantly filled with hydrated lime that re-bonds to the bricks and re-seals the system. That is why one can see old brickwork that shows significant settlement and bulging and yet cracks are not present. The system is constantly healing itself if hydrated lime remains in the system. Mortar is generally what offers a masonry system a degree of flexibility. Anyone who has been inspecting homes for a few years has probably observed that cracks more readily develop in foundation blockwork than in the brickwork.
THERE ARE TWO REASONS FOR THIS:
• Concrete blocks are larger units (six bricks to one block). • Brick masonry has a significantly higher percentage of mortar (roughly 20% for brickwork and 5% for blockwork)
EXAMPLES OF MASONRY DEFECTS
Brittle brick. In the 1970s, the company I worked for was installing the masonry for two new schools in the Herndon, Virginia, area. The architect had called for an extremely dense and brittle brick to be laid up with type-S mortar (highly cementitious, with an above average pounds-per-square-inch [psi] rating). Within a year or two, both buildings had significant vertical settlement cracks. The architect learned the hard way what is obvious from these observations— mortar offers masonry flexibility, and lime mortar is particularly flexible and durable. A good mortar will also act as a wick to draw moisture out of the masonry to evaporate. Lime mortar is especially flexible and permeable. Exterior wall bowing. Occasionally, I have seen an entire exterior wall surface significantly bowed outward. In these cases, the interior wall surface, which typically bears the weight of the floor and roof framing systems, remained plumb and level. Apparently, the outer wythe of brickwork in these instances separates from the inner wythes.
I CAN ONLY GUESS WHAT CAUSES THIS CONDITION, BUT TWO LOGICAL CAUSES MIGHT BE:
1. Expansion of the mortar, year after year, from freezing.
Typically, this occurs in a wall surface that does not experience direct sunlight and remains perpetually saturated. 2. Moisture intrusion down through the center of the wall from a neglected parapet or flashing. Sometimes, the interior masonry was not set in lime mortar, but rather in clay mortar, which can easily wash away.
The real cause remains a mystery until the wall is disassembled to reveal what was going on, but I believe the first scenario to be the most likely cause.
Continued on Page 16

DO YOU HAVE AN IDEA FOR AN ARTICLE IN THE ASHI REPORTER?
The Reporter is always looking for new articles on topics such as technical reviews, marketing ideas and helpful business practices for home inspectors. Personal or business-related stories that share a new spin on the home inspection world are also welcome. Send your article ideas or submissions to stories@ashi.org. THANK YOU!
Continued from Page 15
IMPORTANCE OF POINTING
The main task of an historic masonry restoration is the replacement of mortar that has eroded away or simply fallen out. The proper term for this practice is pointing the masonry. It is often wrongly termed re-pointing or tuckpointing, but re-pointing would suggest that the system has been pointed before and tuckpointing is a process through which mortar joints are made to look smaller than they are.
Pointing or “pointing up” are the common terms used to describe the process.
THERE ARE TWO MAIN GOALS IN POINTING HISTORIC MASONRY:
• restore the masonry, as much as possible, to its original appearance • match the original mortar ingredients to preserve the flexibility and permeability of the system Over time, as the mortar erodes out of the original masonry, the sharp corners of the bricks weather (spall away) to become rounded. The rounded edges of the weathered bricks make pointing the masonry challenging because installing new mortar out to the face of the brick makes the joints appear larger than they originally were due to the rounded corners. The appearance of the masonry has thereby been changed and cannot be considered a true restoration of the masonry. Mortar then needs to be installed only out to where the brick edges begin to round out. Another common mistake is pointing the masonry with a standard type N or O mortar, both of which have Portland cement in them. The cement makes the mortar harder and less flexible. It also repels moisture more, which holds moisture in the system longer than lime mortar. Using a cementitious mortar and installing the new mortar out to the face of the bricks is especially harmful. The larger cementitious mortar joints curving up and over the weathered bricks hold the moisture in the bricks where it freezes and spalls away brick material. In short, pointing historic masonry improperly not only makes the masonry look unsightly, but accelerates the deterioration of the system.

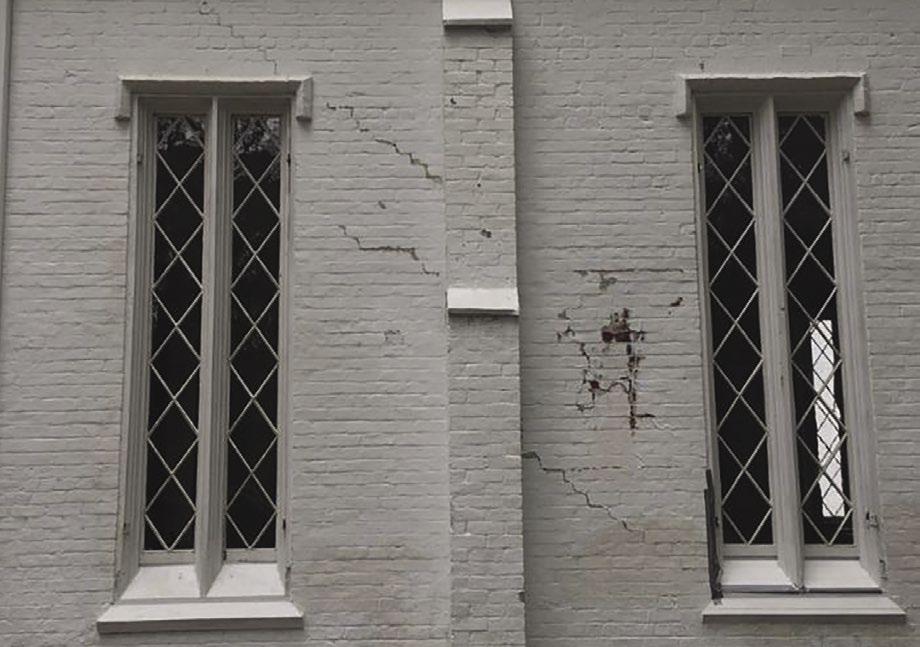
General decay. One of the most tragic conditions we see in historic masonry is harm caused by masons who lacked the knowledge and expertise needed to correctly restore old lime mortar-based masonry. Some of these conditions result in excessively large and smeared mortar joints and the surface of bricks spalling away. An explanation of the science behind historic masonry restoration will touch on why these conditions develop.
RESTORING HISTORIC MASONRY
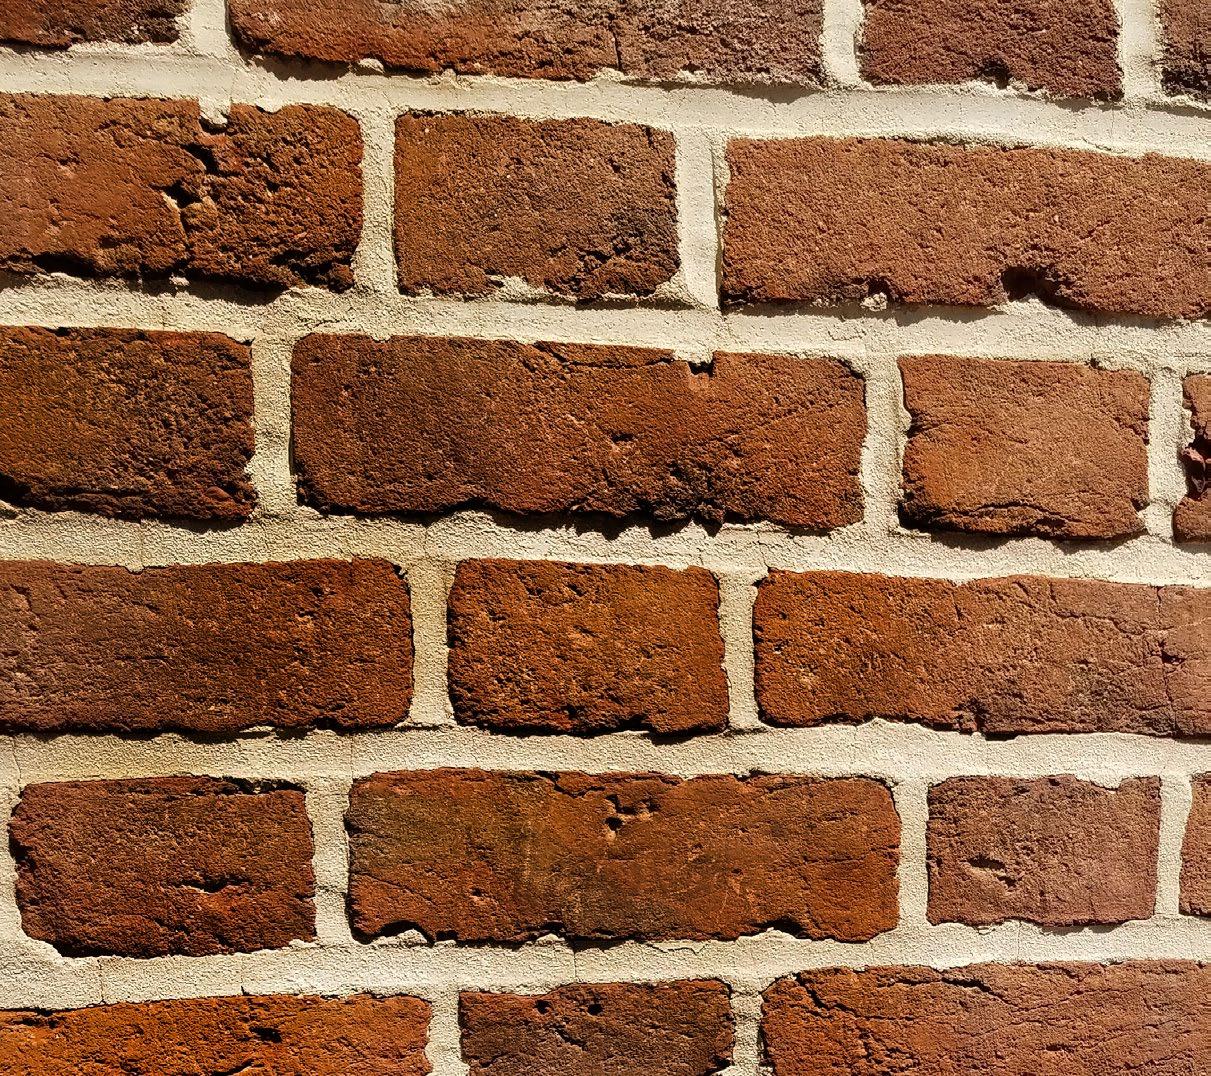
For those interested in how to best restore historic masonry, it begins with the development of a near identical match of the original mortar in both color and softness. First, find a sand in your area that best matches the size of the sand in the original mortar. I was fortunate in that Riverton Corporation, a cement and mortar manufacturer in Front Royal, VA, had a laboratory. I was able to send a sample of the sand I intended to use, along with samples of the original mortar, to their lab where they analyzed it and reproduced it, even adding any tint needed to match the color. Unfortunately, Riverton Corporation was purchased by another manufacturer and that lab might not still be in operation. If the mason cannot find a lab in the area to arrive at the composition of the original mortar, the mason must experiment with the portions of sand, hydrated lime and tint to arrive at the right cured mortar. Where mortar joints are to be pointed, the existing mortar needs to be removed to a depth of roughly two to three times the height or width of the joint (0.75-1.5 inches). Clean out the open joint with compressed air or water. Soak the masonry the night before you intend to point it. This is a critical step. If the masonry is too wet, water will pool between the new mortar and the brick. If the masonry is too dry, it will pull the moisture out of the mortar. Either of these conditions will prevent the mortar from properly setting and bonding to the bricks. The mortar should be installed to the point that the edges of the bricks begin to round to the face, which will keep the head and bed joints the thickness that they originally were. The mortar should be tooled smooth to bring lime up to make the joint surface dense and thereby weathertight. Finally, keep the mortar damp for several days for it to properly cure. The completed work can be cleaned, if necessary, with water and a solution made specifically for cleaning masonry.
REPAIRING HISTORIC MASONRY
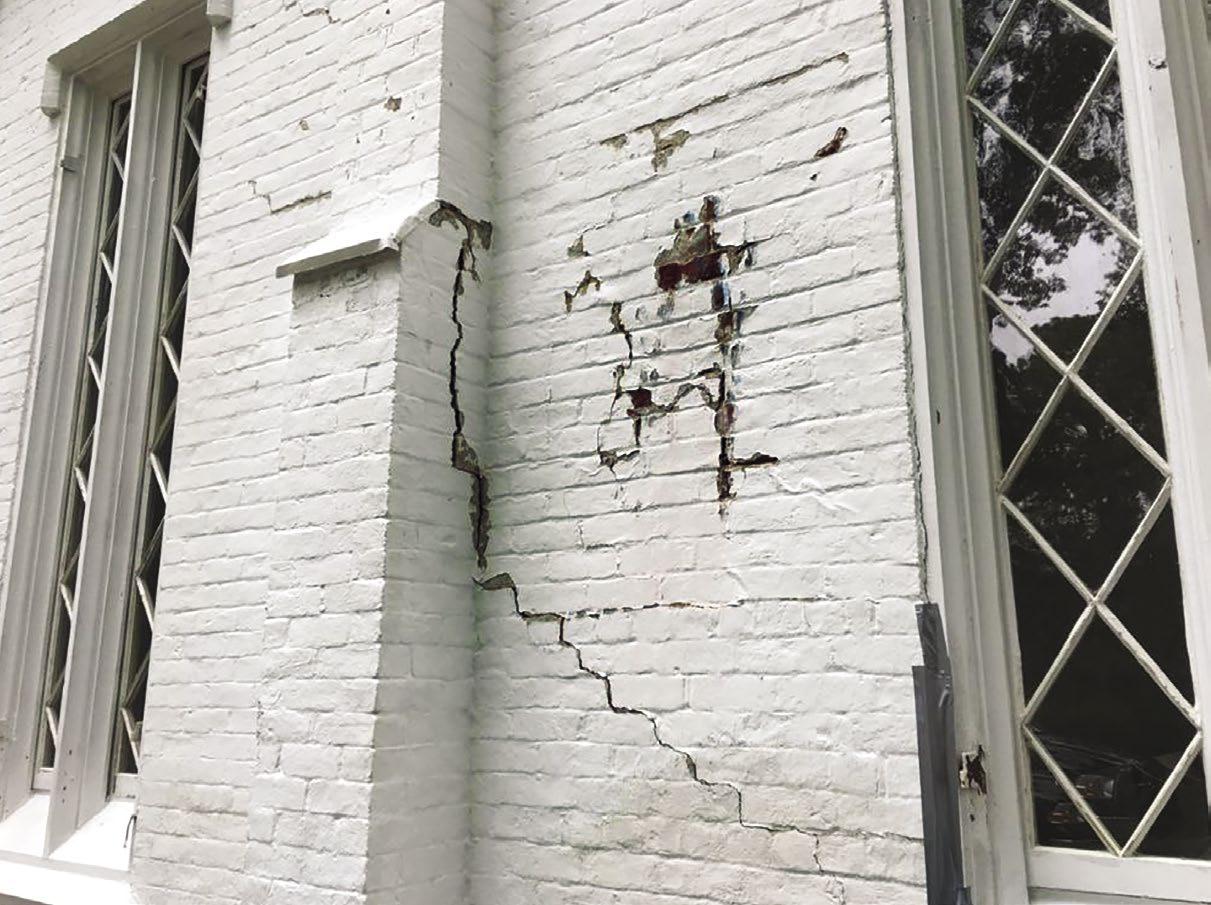
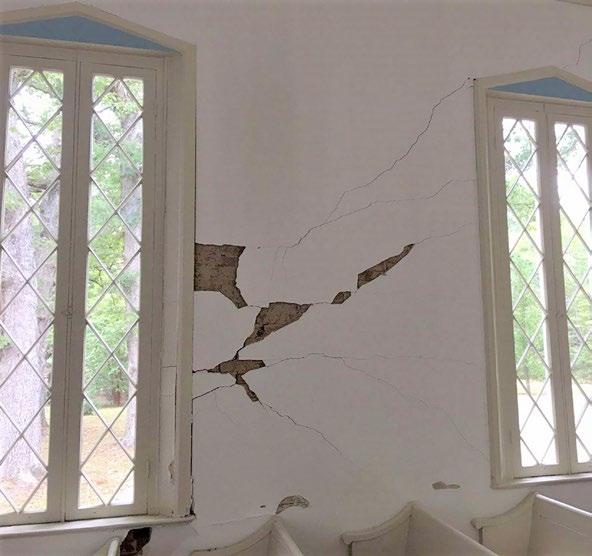
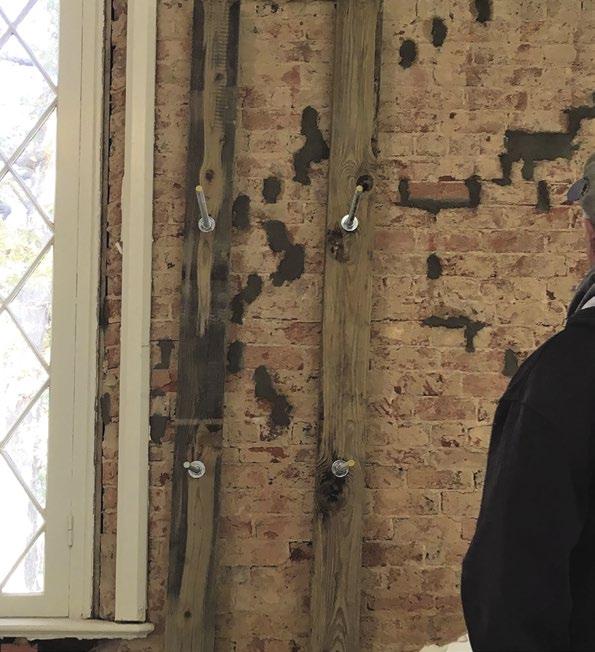
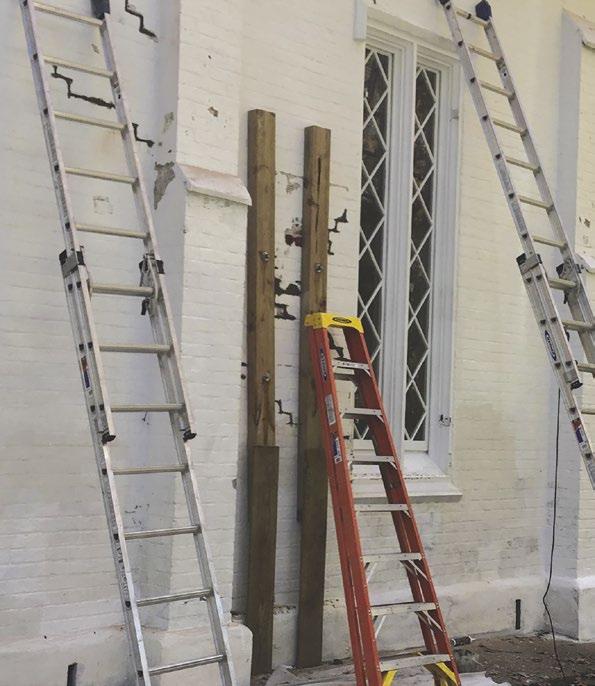
Repairing historic masonry can be equally challenging, requiring the ability to think outside the box. Recently, a fellow home inspector contacted me because his congregation’s historic masonry church, built in the 1840s, was severely damaged by the arm of a bucket truck while the structure was being painted. The solid masonry wall was pushed inward several inches. The inner wythes of brickwork fanned inward and apart, which separated the plaster from the wall and caused some stair-stepped cracks to radiate out through the system. They wanted advice on how to best repair the masonry. After seeing the damage, I told them I would have to ponder the condition for a day or two before making a recommendation. Taking a few bricks out at strategic locations might allow everything to settle back down to close, but in the end, I recommended placing lumber against both the inner and outer surfaces of the masonry and drawing the lumber together with threaded rods, washers and nuts, much like a vice. The mortar joints had separated so cleanly from the bricks that the masonry all came back together perfectly. There is no way to know if autogenous healing will occur, but this was the least obtrusive way to restore the masonry. Once the plaster was reapplied to the inner surface and the exterior painting was complete, no one would never know that the damage ever occurred.
Sometimes, it does become necessary to remove and replace bricks. When individual bricks are soft and have either worn to become too rounded or the face is spalled away, then it is best to remove and replace them.
Lime mortar is easily chiseled out around these bricks, but if the work has been pointed with highly cementitious mortar, the task can be much more difficult. It actually can become less damaging to chisel the brick out of the hard mortar so the mortar can then be more easily separated from the remaining bricks. Again, restoration requires an adaptive approach—thinking outside the box.
THE ROLE OF THE HOME INSPECTOR
Historic masonry is a testimony to intelligent, skilled craftspeople who fully understood every aspect of their trade. Many of these structures have suffered greatly due to a lack of knowledge regarding how to best repair and restore them. The restoration of historic masonry is a science and expertise that has been evolving since the 1980s. Trial and error over that time have revealed that if the work is not properly done, the alleged repairs are not only unsightly, but accelerate the future deterioration of the system. It is paramount that home inspectors alert buyers of these structures of the importance of seeking the services of only a reputable mason who specializes in the restoration of historic masonry.


