1 minute read
SOME PHOTOSHOP INSPIRATION (CONT.......)
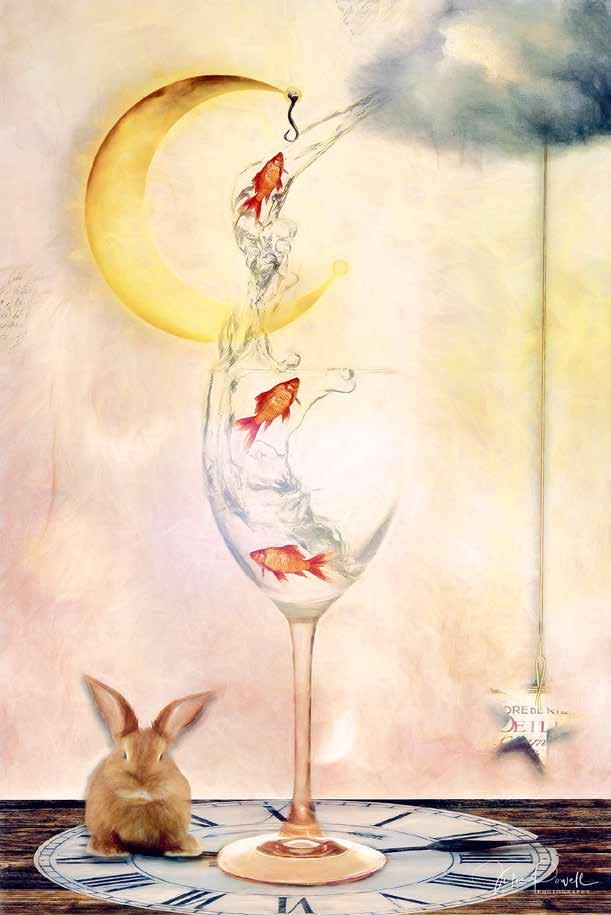
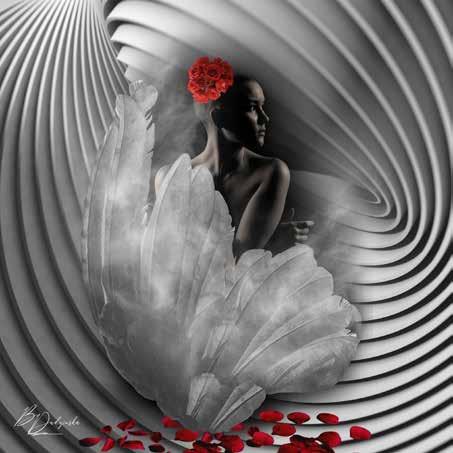
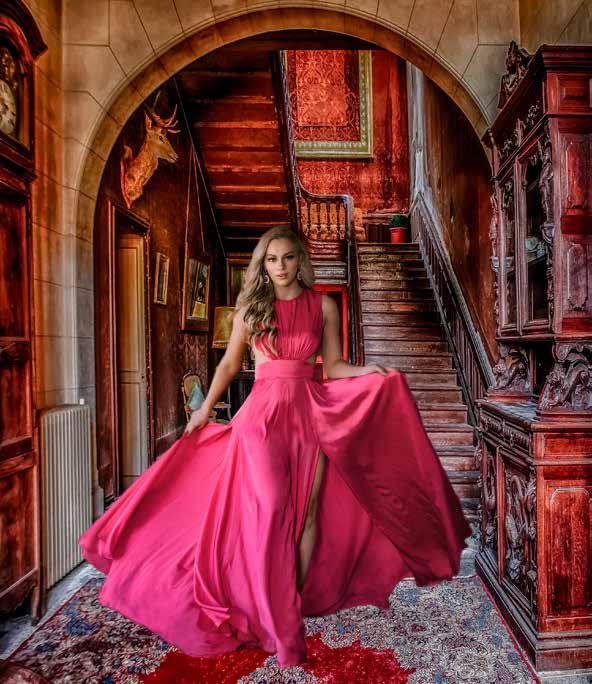
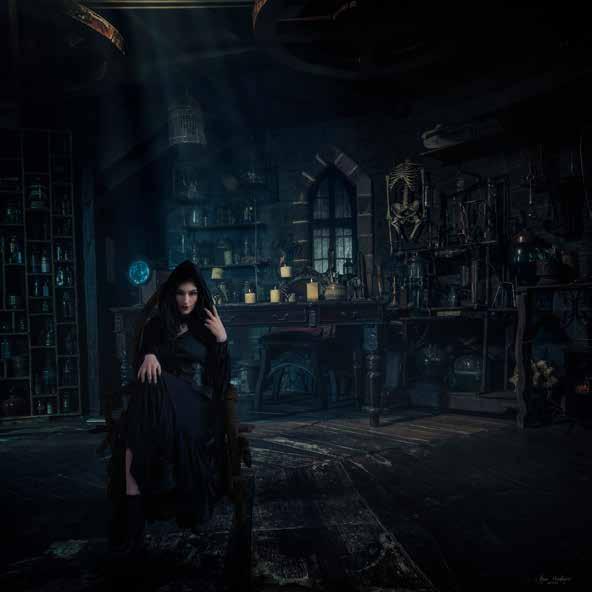
This will give an effective blend of the images, but you can alter the layer opacities to suit your images, for example if you have certain images that have elements in them you want to emphasise or de-emphasise. You can also use layer masks to include or exclude elements of certain layers. If you have significantly moved some layers for alignment for example you might need to use a soft black brush on the mask to get rid of any noticeable harsh image edges. Changing the order of the layers is worth trying too, which may require a revision of the opacities.
Don’t be disheartened if you think your blended image looks a bit muddy, or like it’s lacking contrast – it’s often the case, but there are a hundred ways to fix this in Photoshop. Two of my favourite ways of improving the detail and contrast in the images are two of the presets in Nik Color Efex Pro, Detail Extractor and Pro Contrast (using the Dynamic Contrast slider). If you don’t have Nik then use the contrast, highlights, shadows, texture, clarity or dehaze sliders in the Adobe Camera Raw filter or a Curves adjustment layer, or a self-blend layer set to Soft Light blend mode.
The ”In the Round” method is fun to try, and the “Inverse Layer Opacity” blending method works well as a starting place for any multiple exposure project.
You can see more examples of Pep Ventosa’s work on his website https://www.pepventosa.com/
Andrew Haysom
https://www.facebook.com/snapnshootdesigns/
THE WAITING GAME


