1 minute read
WELCOME TO WAINSCOTING: A Step-By-Step guide For Gorgeous Results!


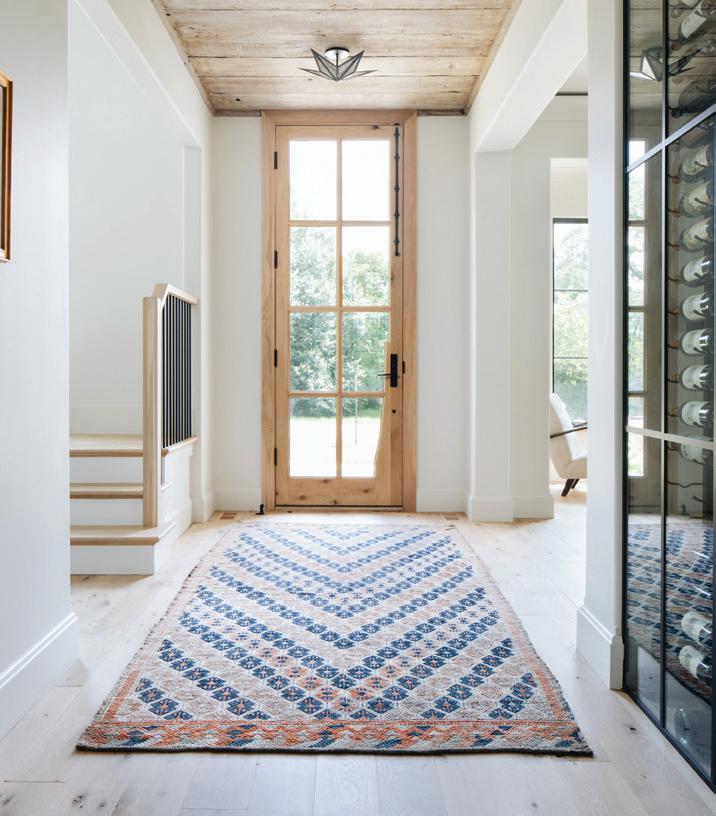
Wainscoting is a tried-and-true way to elevate the architectural elements in your home, and although the results are elegant and sophisticated, the process need not intimidate you. In fact, it’s one of the easiest and least expensive upgrades you can give your home, and it truly provides a unique and dynamic charm to your space.
01 02 03 04 05
You’ll need:
Nail Gun Finishing Nails
Primer Miter Saw Glue Wood Filler
Paint (White is classic, but don’t be afraid to be creative!)
Moulding pieces (Can be found at your local hardware store)
Do your research. Pay attention to trim detailing and look at photos of other wainscoting to figure out what works best in your home. Once you’ve dialed in your design, you can mark it out on your wall using a level.

Install your top piece of moulding and your bottom baseboard using glue and finishing nails. Plot your desired inner panel design using a pencil, measuring tape, and level. Try to be as meticulous as you can!
Cut your moulding pieces for the inner panels using your miter saw and install using glue and finishing nails.
Once your moulding pieces have all been secured using finishing nails and glue, use wood filler to cover up your nails. Sand and clean so it’s ready for paint.
Prime and paint your masterpiece!
Knowing how to cut 45 degree angles is key here to make sure your corners fit together perfectly.
If you’re a beginner, you might want to purchase some extra moulding pieces to use for practice.
Ready to get rolling on this project? Get all the advice, materials, & confidence you need by talking with the experts at Hirshfield’s.


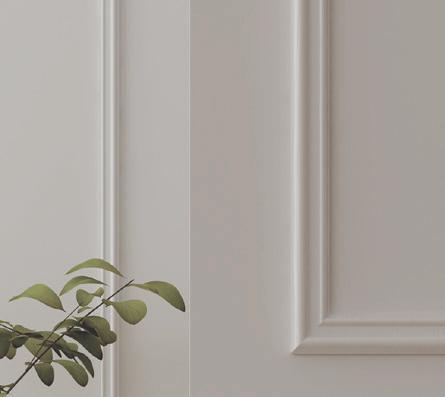
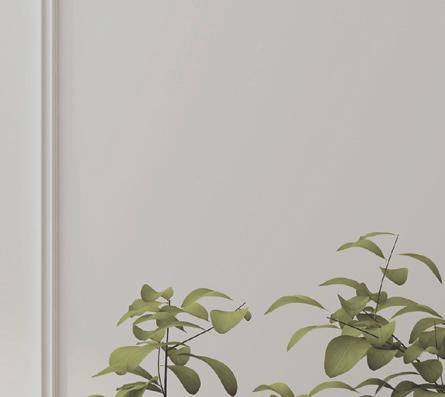
WHITE ICE OC-58
With all of the whites, how do you know this is the right one? This refreshing white is a pale, gray, sepia white with an umber undertone, making it inherently sophisticated and versatile. Apply this shade to rooms with plenty of sunlight or as a trim paired with deeper toned walls.