2 minute read
BricsCAD
from AUGIWORLD
by AUGI, Inc.
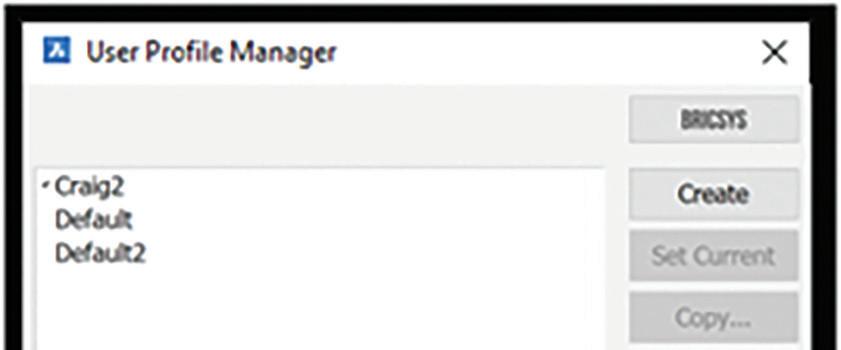
Whether that is the profile, CUI, or the settings, file/folder locations, it will take more than one attempt to get it perfect. Continue to test and make adjustments. Grant wants to remind us that, “Before modifying the settings, best practice recommends exporting or creating a copy of the default profile in case there is a need to revert.” Excellent point Grant! See Figure 3.
Notice that the BricsCAD CUI contains tabs for the Menus, Toolbars, Ribbons, Workspace, etc. Adjustments to these features are completed within the CUI. Add toolbars or create your own.
Command Alias’
Cui
Now that we’ve completed our comparison and transferred the appropriate file pathing to BricsCAD, let’s move over our custom CUI’s. While we cannot migrate proprietary tools from other software, we can easily migrate your custom, inhouse tools. As long as those tools are contained within their own CUI, it is simple to migrate them. Access the Customize Dialog Box with the “CUI” command.
Right-Click on the BricsCAD file menu header to “Load a Partial CUI”. Assuming you have already exported your CUI’s from your current software, locate/select that CUI to import. See Figure 4.
BricsCAD commands and functions are very familiar, so familiar that your current muscle memory should kick in just a few minutes. However, if you are accustomed to your current command alias’ and keyboard settings, you can make those modifications with the Command Alias tab in the BricsCAD CUI in the Default.pgp file. Allowing users to get immediately familiar with how they have been working for decades. Grant suggests, “Just make sure not to overwrite the entire .pgp file, and only take the custom alias’ you created.” Absolutely Grant. Keep in mind, some commands in BricsCAD may be slightly different than what you’ve been used to. For example, “Attach” is a common command. The BricsCAD equivalent is “XAttach.” While that may not seem like much, it stops any LISP routine, command alias’, or macro.
Tool Palettes
Tool Palettes are also an essential part of any CAD user’s workflow. Before we wade into migrating tool palettes, Grant is waving his hand to let us know that tool palette pathing is also stored as a part of the settings. Within the settings, the tool palette pathing should be set to the out-of-the-box location. If your desire as a company is to have no user customization allowed with the tool palettes, then a read-only network location is where these should be stored, and that location can be added to the palette pathing.
The transferable tool palette file we want to import is the .xtp file. This is the file to be exported out of your current software and the file we will import into BricsCAD. Once again, only in-house blocks and customizations are allowed to be migrated. If you are familiar with importing palettes, creating groups, and modifying individual palette properties, you will feel right at home. (See Fig.5)

Pro Tip
“Hey Craig,” Grant exclaimed. “Before we go, let me show you how the best way to navigate the settings dialog box. Hear me out, chaps. Often we think of search bars as a bit of a pain, but not this one. Especially if you are new to BricsCAD settings, the settings search bar is a thing of beauty. Located at the top of the setting box, and using the arrows, it toggles you right to the search term, eliminating monotonous searching.”

Awesome Grant, and thank you for the pro tip. He’s right, chaps. The settings search bar greatly assists with locating the correct settings, system variable, or related search term in milliseconds. Speaking of milliseconds, that’s about all of the time we have left for today.
Conclusion
“Wait Craig,” Grant uttered. “We have a lot more to discuss regarding migration and implementation, and what about sheet sets, templates, blocks, and drawings?


