3 minute read
Air suspension: Compressor replacement


WIND POWER
The electrically-operated compressor lies at the heart of an air suspension system, leading Rob Marshall to consult with Arnott and outline how you can replace them quickly and easily.
As the air compressor is designed to work only occasionally, it risks overheating and subsequent damage by having to compensate for leaking air springs. Should you encounter a vehicle that requires replacement shock/spring units, check that the compressor is in good order. Melted adjoining air lines/connectors indicate not only that the compressor has become too hot but also the valve block and switching relay may be damaged, too.
As air suspension tends not to require special tools and employs neither high voltages, nor super-high pressures, firsttimers need not be dissuaded. Yet, you should not be blasé. The following overview details compressor replacement on the third and fourth generations of Land Rover's Discovery and Range Rover Sport models, for which you should perform a software update if replacing the original Hitachi compressor.
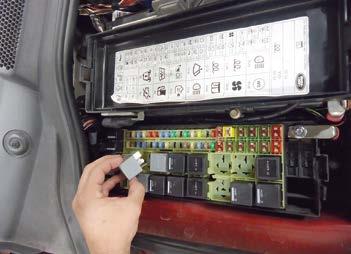
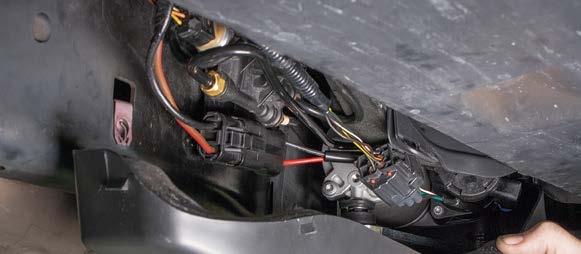
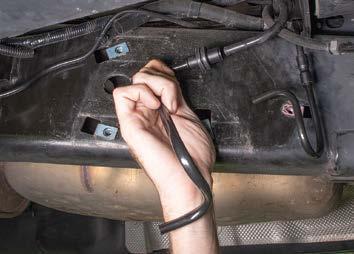
1. Remove the air suspension compressor relay. It is good practice to renew the relay, regardless of its condition. Set the steering to its straight-ahead position, then raise and support the vehicle body. 2. Remove the three bolts that secure the compressor cover, ahead of the N/S/R wheel. Check the wiring for condition and disconnect the electrical connections. 3. While the orange air line is removed as the compressor is dismounted, depress the fitting and pull the blue connector's air hose carefully from the unit.
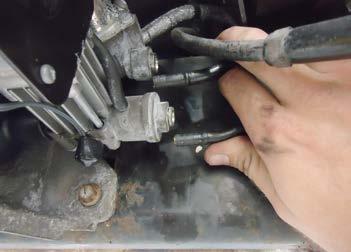

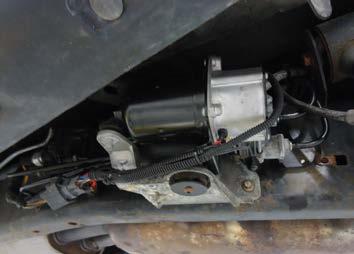
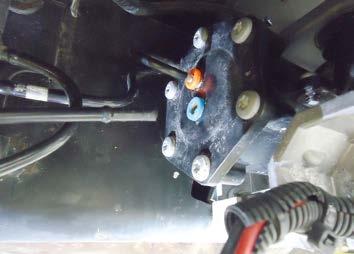
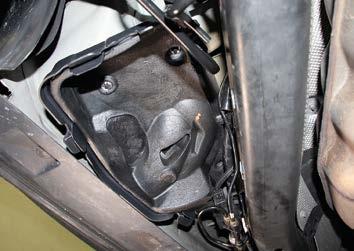
4. Working from the front to the compressor's rear, disconnect the two other air lines. Ensure that dirt/grit cannot contaminate the system, by plugging the apertures. 5. Remove the three bolts and manipulate the combined motor/compressor assembly from the vehicle. 6. As the unit is lowered, disconnect both the J-shaped hose from the distribution block (pictured) and the aforementioned blue connector hose.
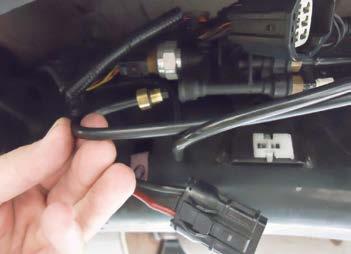
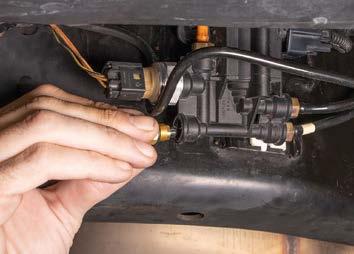
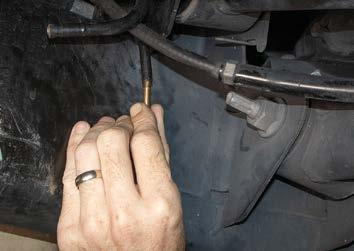
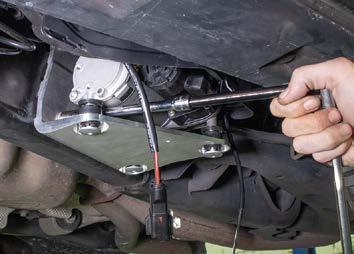
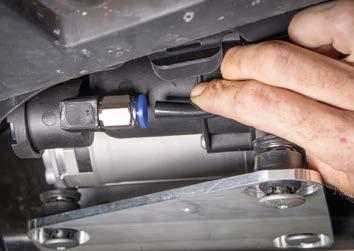
7. Arnott's replacement connector kit includes a replacement threaded connector for the hose, pictured in the previous step. Overtightening is a major cause of subsequent leaks, so do not exceed the 2Nm tightening torque. 8. Expect some compressor kits to include airline modification parts. Here, you need to cut the pictured air feed pipe and insert a brass ferrule, after greasing it sparingly. 9. Additional air lines are supplied with this kit, two of which connect to the pictured lines on the vehicle, only one is pictured being fitted.
10. This Arnott P-3431 kit includes a replacement cover, bracket and relay.
Prior to fitting the compressor, fit the top cover section to the floor pan. 11. When installing the new compressor into place with its new bracket, note the anti-vibration rubber supports' positions. 12. Connect the hoses to the compressor and refit the electrical connections.
Pictured is the compressor's air exhaust hose, which locates into the compressor's pressure release valve.