9 minute read
Bearings: Step-by-step guide
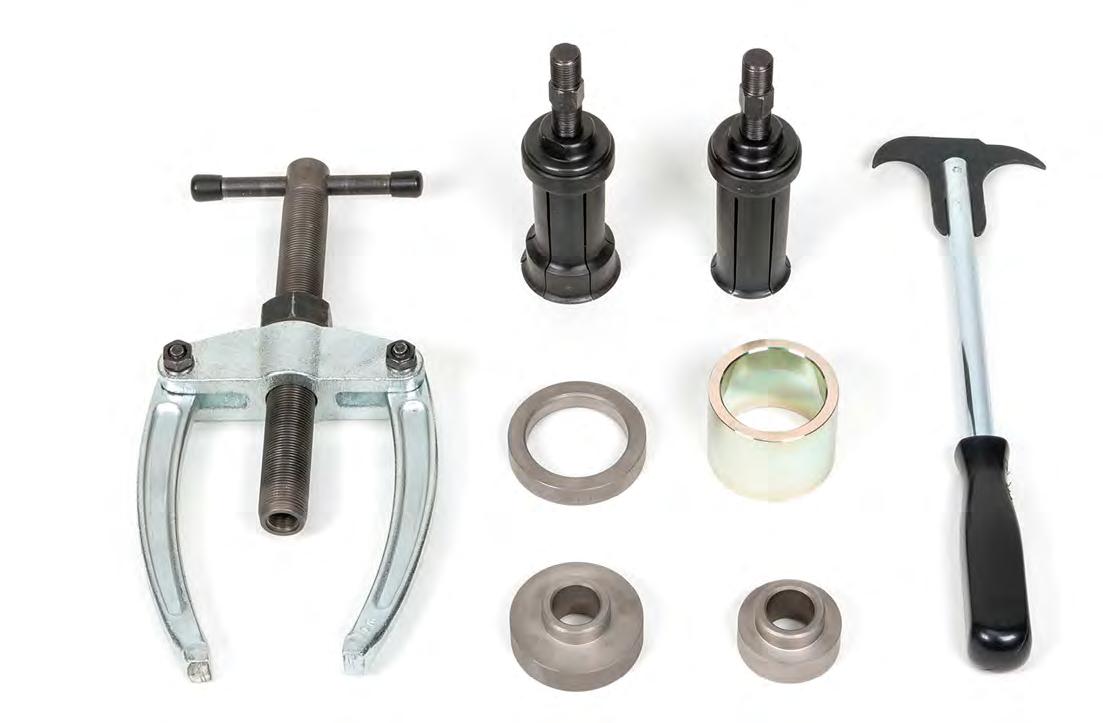
Going the extra mile includes not misusing basic tools. Pictured left to right is a race puller, thrust pieces and the oil seal removal tool, all of which are useful for removing Generation 0, or tapered roller wheel bearings.
Round and round we go...
Long replacement bearing life is not only down to decent parts but also correct installation. Rob Marshall contacts leading manufacturers for their top advice about how you can go the extra mile
Despite performing the same primary task since the motor car's birth, bearings have evolved considerably in both design and detail. While technicians need to keep up with fitting techniques, even long-established methods can be bettered to make the task easier and reduce damage and injury risks.
While this feature covers several different bearing applications, front tapered roller type wheel bearings are our focus. While you might presume that this bearing design has been around for aeons on rear-wheel-drive applications (and you would be correct), going the extra mile, in this case, means not using screwdrivers as levers, or makeshift chisels, and a hammersocket combination as a makeshift press.
While you might get away with using generic tools on taper wheel bearings, dedicated installation tools are crucial to correct fitting of other wheel bearing generations. While we shall look at these types in a later issue, we are grateful to FAG, Schaeffler’s OEM chassis brand, for its advice on installing front tapered roller type wheel bearings to a BMW 6-series, using the latest tools with no improvisation necessary.
Bearing quality
The consequences of a failed bearing are considerable. While a collapsed bearing could destroy an engine within minutes, the consequences of a road wheel becoming detached are even more severe. All of the companies that assisted with technical advice for this feature emphasise their products' OE quality. Regular readers will know that this standard is nothing new in relation to parts generally, but AT thinks it worthwhile to emphasise the point for bearings especially, because there are many bearing manufacturers globally, not all of whom uphold the same standards. Therefore, ensure that you buy bearings from respected and wellknown companies with an OE-quality heritage.
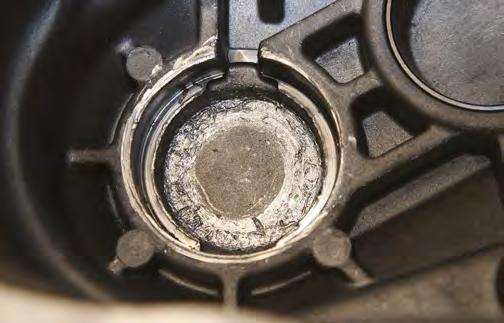
Correct installation is another issue, which is emphasised especially in our wheel bearing example. Even the finest quality bearing will not last if fitted incorrectly. Occasionally, VMs get it wrong. Pictured is the damage caused to an end casing of a GM M32 gearbox (fitted to a variety of Vauxhalls, Fiats, Alfa Romeos and Chryslers), caused by a collapsed taper bearing. The problem is not caused by bearing quality (as far as AT is aware) but insufficient preload. So, when the gearbox is assembled, the pinion shafts are too tight and this situation over stresses the bearings.

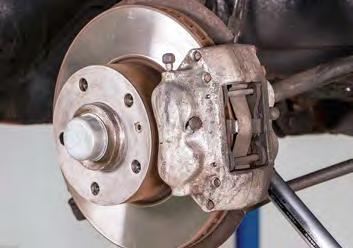
1. With the vehicle raised and the wheel removed, dismount the brake disc. Note that the calliper should never be allowed to hang by the brake hose, so support its weight by other means.
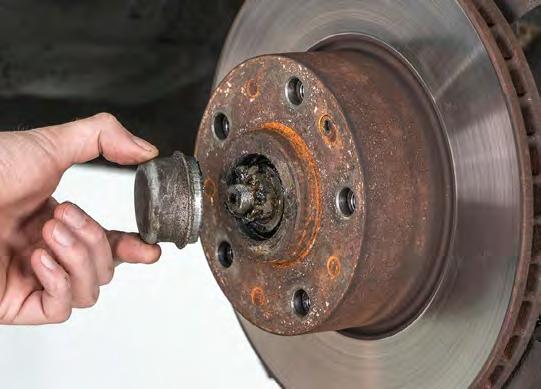
2. If you are to refit it, take care not to distort the protective centre cap. Once removed, clean it, so dirt, or grit, cannot be introduced into the bearings post-repair.
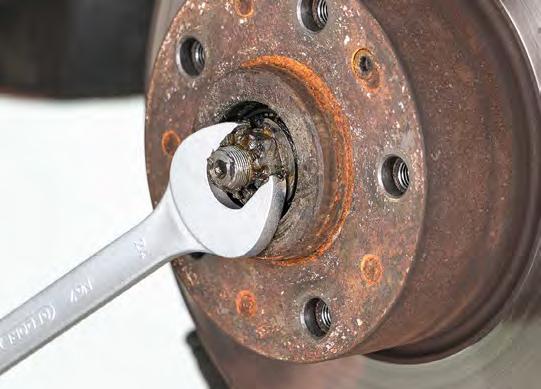
3. Remove the split pin and note that the castellated nut should not be very tight, especially on an historic vehicle. Schaeffler adds that its FAG wheel bearing kits are a complete repair solution, so include all the ancillary components, such as the protective cap, thrust washer, castellated nut and split pin, where required.
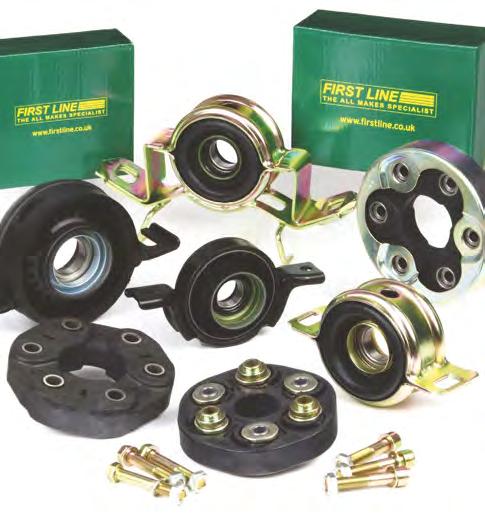
Driveline bearings
Sudden failure of a driveline bearing can be extremely dangerous. Aside from the obvious hazards of component failure, inferior quality bearings can lead to fitting difficulties and reduced lifespans. Furthermore, the resultant noise and judder can not only be annoying, but it can also harm surrounding components; increased tyre wear is one such issue.
First Line reports that all bearings in its Wheel and Propshaft Centre Bearings range meet OE specification, because they are manufactured in ISO approved facilities, using the correct specification materials, such as SAE grade steel for wheel studs, high carbon steel for bearing / housings and, where required, high specification glass-fibre reinforced composite plastic elements. In the case of propshaft centre bearings, incorrect rubber shore hardness can cause NVH issues, at the very least, but First Line reassures technicians that it evaluates and approves the shore hardness for each part, as part of its approval process.
For technicians, First Line advises that the original position of the propshaft, and any additional components, are noted so that they are refitted in their original positions. Technicians should inspect the propshaft as a complete system, including any rubber mounts, joints, and washers. When re-fitting a propshaft centre bearing, incorrect bearing alignment and angle might cause noise, vibration and premature wear to not only the bearing but also the universal joints. First Line also emphasises that all of its driveline bearings are supplied with the necessary fittings, such as nuts, bolts, clips and grease and are backed-up by a 2 year/24,000 warranty.

4. Lift away the thrust washer; degrease and dry it. You can then extract the hub's outer bearing but take care not to drop it on the floor, as this risks contaminating it with abrasive dirt.
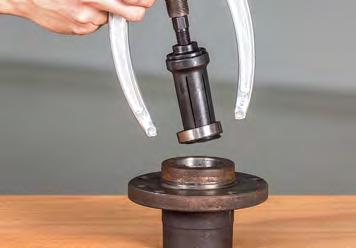
7. Using a hammer and chisel to extract the hub's outer bearing races increases the chance of damage or injury. The pictured appropriate tool also reduces the time needed.
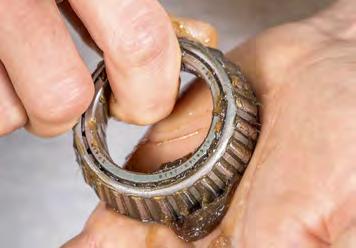
10. Keep the working area clean and do not massage grit into the bearing as you lubricate the inner race and rollers with multipurpose grease.
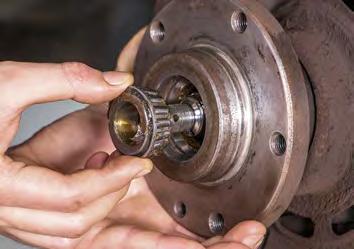
13. Refit the hub to the stub axle, being careful not to damage the new rear seal. Once in place, insert the freshly lubricated new front taper bearing into its new outer race. Never fit new bearings into old races. 5. Lift off the entire hub assembly before cleaning the stub axle. Inspect the bearing races closely for wear grooves, or pitting. Check the threads for damage, too.

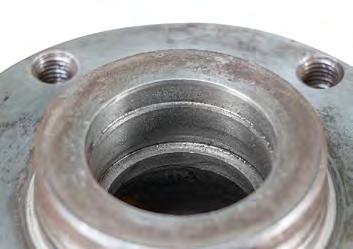
8. After degreasing the wheel hub void, inspect both bearing outer races for grooves and pitting, noting that the races butt against the casting where indicated. When refitting, be wary of fitting the outer races the wrong way round.
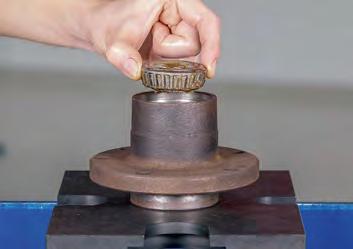
11. Pictured is a freshly greased hub rear bearing being inserted into the new outer race. Ensure that it not only locates fully but that it also rotates smoothly.

14. Fit the new thrust washer, if the washer is not included, ensure the original washer is thoroughly cleaned. Locate and tighten the nut to settle the bearing, and then slacken it enough so that you can turn the hub by hand. It should rotate smoothly, with no tight spots. 6. This oil seal removal tool reduces the risk of causing harm, or injury, compared to improvising with a screwdriver. You can then access and lift out the hub's rear tapered roller bearing.
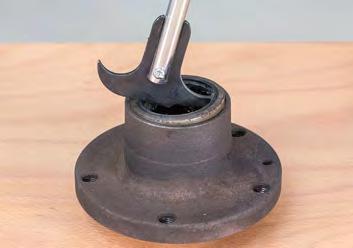

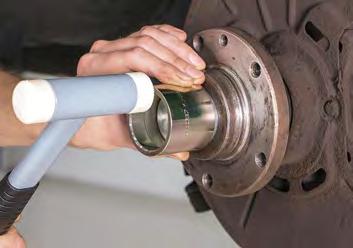
9. When pressing in new outer bearing races, a press and a suitably sized thrust piece are preferable to the less predictable method of striking a socket with a hammer, or mallet.
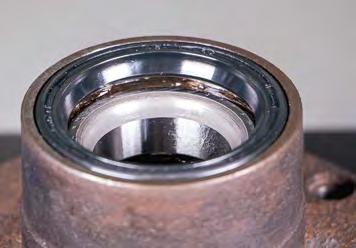
12. Once pressed in evenly, grease the rear seal lip lightly. Turn the hub over and lubricate the void between the front and rear bearings with a finger but do not pack in the grease excessively.
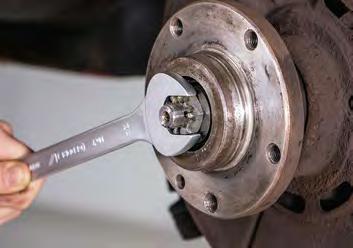
15. The end-float is set by the castellated nut's position. On this BMW, the thrust washer should still be able to be turned with very slight resistance. The hub should still spin smoothly with no evident binding.
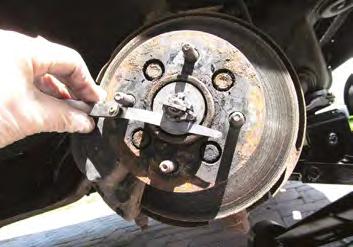
16. Older vehicles tend to be provided with an end-float setting, measured using an appropriate feeler gauge, inserted between the castellated nut and the washer. A degree of free play tends to be normal on such models. 17. Install a new split pin. Unless fitting a new protective cap, clean and dry the original part, before refitting it, being wary of not distorting it as you do so, which might cause it to pop-off, while the car is driven. 18. Refit the brake disc, calliper and road wheel. Prior to undertaking a road test, depress the brake several times to reseat the pads.
Timing gear bearings
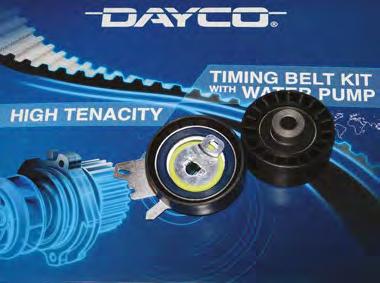
While most people refer to belt breakage as the cause of violent and extreme engine damage, it can be forgotten that the bearings that are incorporated within the idler, tensioner and water pump can be responsible. Again, many technicians know that timing belts should be renewed as a complete kit. Dayco's confirmation that it sells more kits than timing belts alone confirms this. However, it is interesting that Dayco sells more front-end-auxiliary drive (FEAD) belts than kits, which include the tensioner. Even so, attitudes are changing, and garages are realising the relevance of servicing the entire FEAD system. Dayco told us that its FEAD kits, which include all the relevant components, are not only becoming more popular now but sales growth is expected to continue for the next few years.
Keeping it Rolling
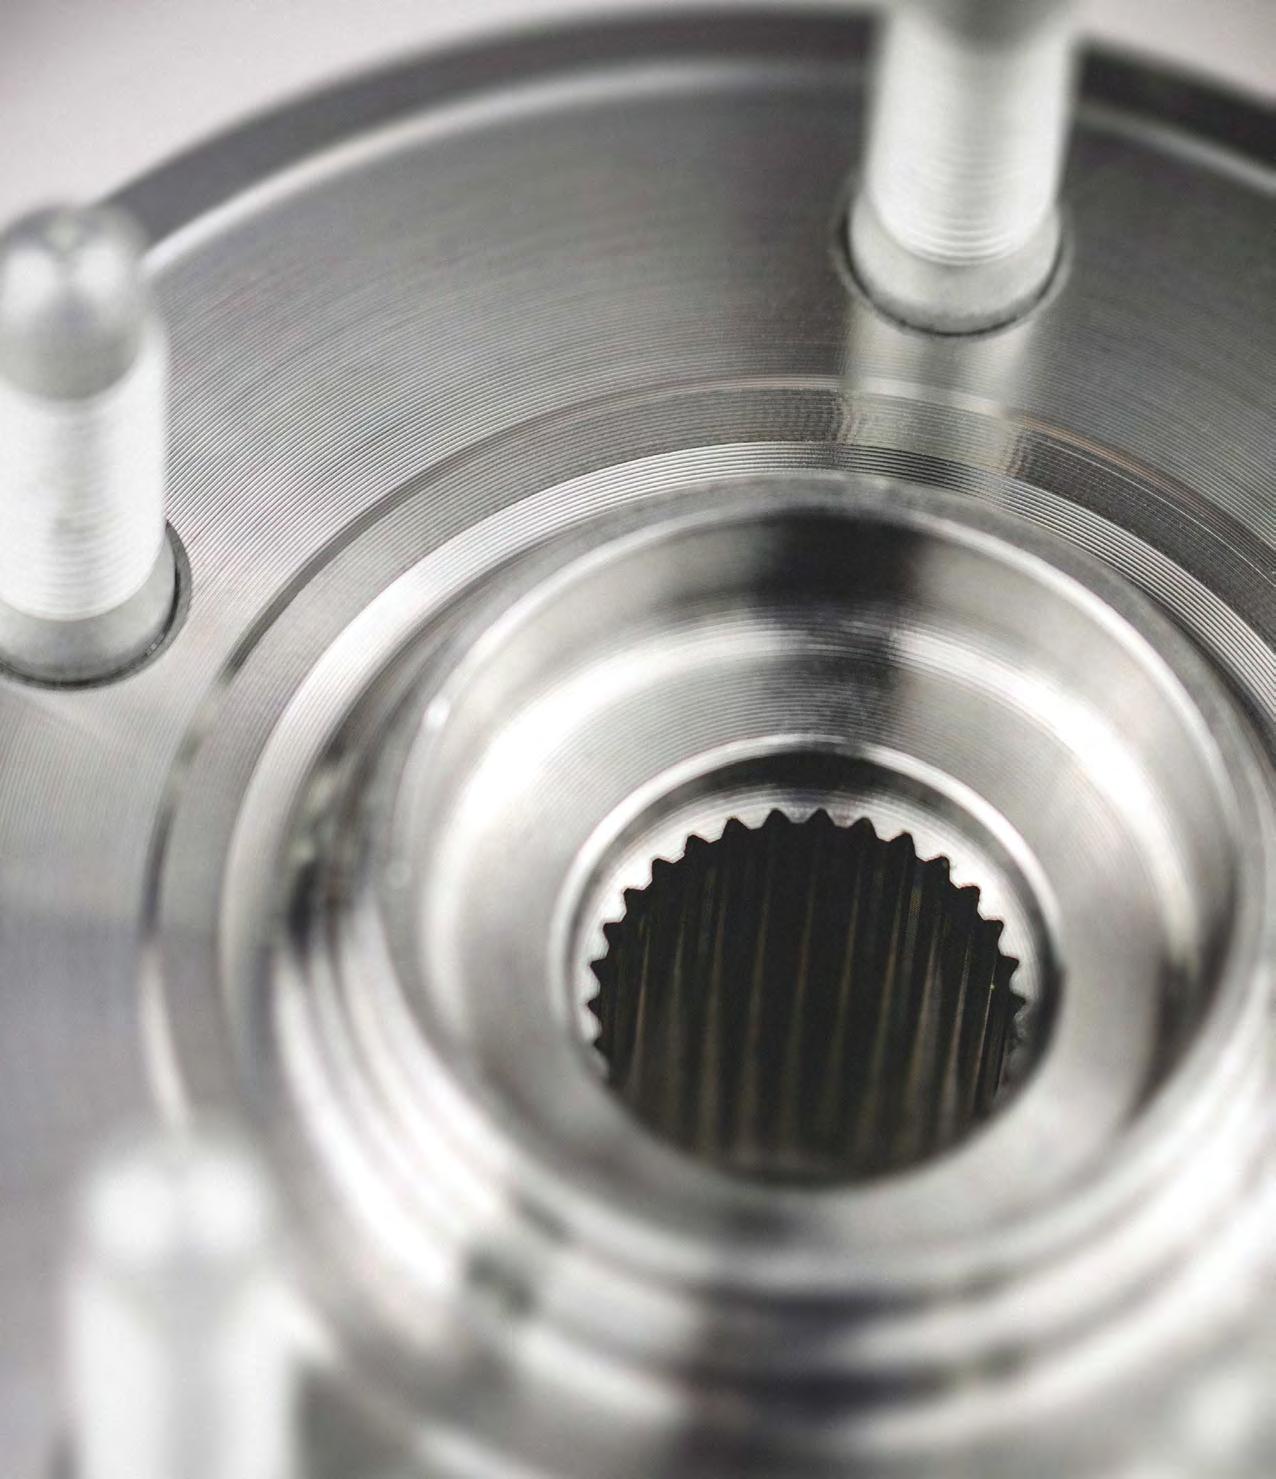
febi Wheel Bearing Kits
Highest Quality - all febi products are designed, specified and manufactured to be direct OE replacements and our wheel bearing kits are no exception to this.
In-House Production - at bilstein group Engineering, we use our expertise in the production of a select number of wheel hubs. febi is recognised for having the correct know-how and manufacturing competence.
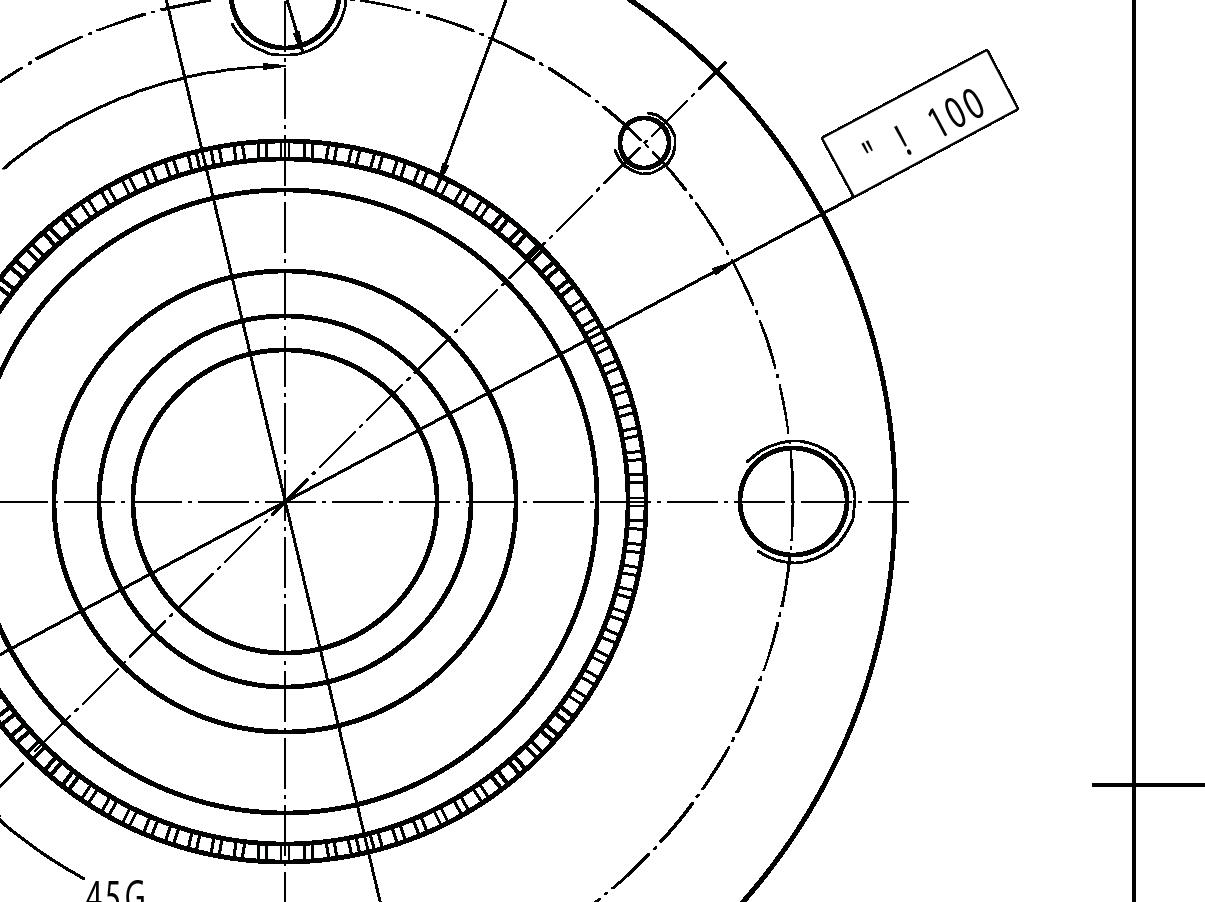
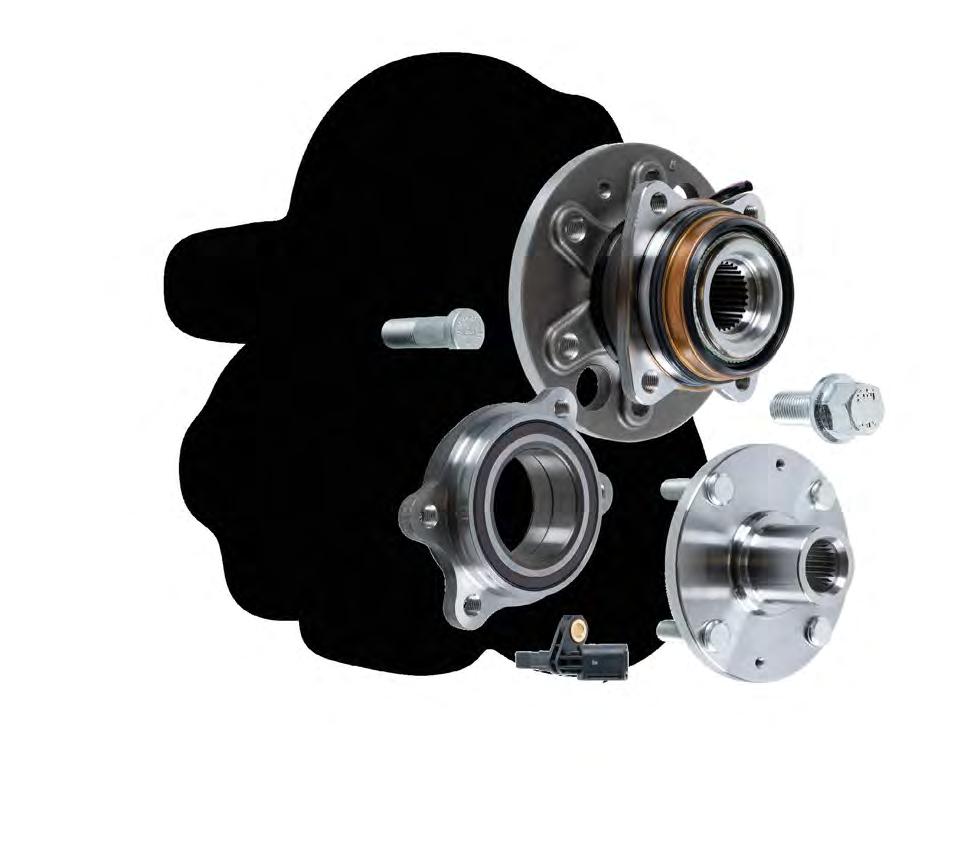
Fit & Forget - you will have peace of mind with our febi wheel bearing kits. Protected by our 3 Year Manufacturer Guarantee, all products are precisely produced, easy to fit and ensure the highest levels of safety & durability.
Your No.1 for Wheel Bearing Kits & Wheel Hubs
SOLUTIONS MADE IN GERMANY


