12 minute read
2CT Clutch replacements
GOING IN DRY – 2CT CLUTCH REPLACEMENTS
With 2CT dry clutch replacement demand increasing by 20% every year, should you miss out on the opportunity? Rob Marshall provides a guide on how the procedure differs from that of conventional three-piece clutches
The ingenious twin-clutch automated manual transmission (2CT) became a credible alternative to a conventional epicyclic-geared fluid-flywheel automatic gearbox, predominantly by virtue of its relative efficiency. Early versions were paired with larger engines and possessed internal 'wet' clutch packs, so-called because they were lubricated by the transmission oil. They were fairly reliable, provided that the oil change intervals were heeded and glycol was not permitted to enter the gearbox, via a failed transmission oil cooler.
While huge improvements have been made to conventional automatics in the last 20 years, 2CTs have also been refined. To make them less costly to make, easier to repair, more efficient and less maintenance intensive, dry clutch packs appeared on lower-powered models, typically those of a sub-2.0-litre engine capacity. The clutch pack assembly contains the relevant friction discs and steels but it cannot be dismantled. As Volkswagen Group's seven-speed DSG is the most common 2CT type, this feature will focus on vehicles from that manufacturer fitted with the DQ200 transmission. Thus equipped vehicles include 1.4-litre and non-turbo 2.0-litre Seats, Skodas, Volkswagen and Audi petrols, plus 1.6-litre TDI and some lower-powered 2.0-litre TDI diesels. More powerful models, which produce over 250 Newton Metres (Nm) of torque, tend to employ wet clutch DSGs.
The following overview gives you an idea of what to expect. Notably, the DQ200 is available in two generations, with a May 2011 date change. The variances include differently shaped bearing shims for the clutch that controls input shaft 1 and the clutch engagement levers being pressed from steel, rather than cast, on the second generation, with featured differentstyle pivots. Therefore, you will need to identify the correct transmission generation before you order the parts and identify which installation tools you need, because they also differ.
As the cost of the clutch pack kit can exceed ~£300+ (~£450+ with a Dual Mass Flywheel), some parts warranties are valid only if the installer is suitably qualified and uses the correct tools. Attempting to complete the task without the relevant training and installation equipment could turn a profitable job into an annoying ramp hogger.
IT’S BETTER TO GO ALL INCLUSIVE
OESAA
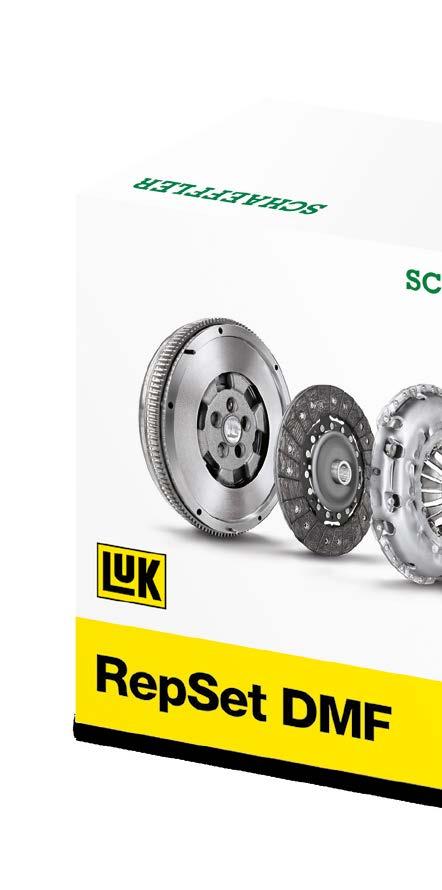
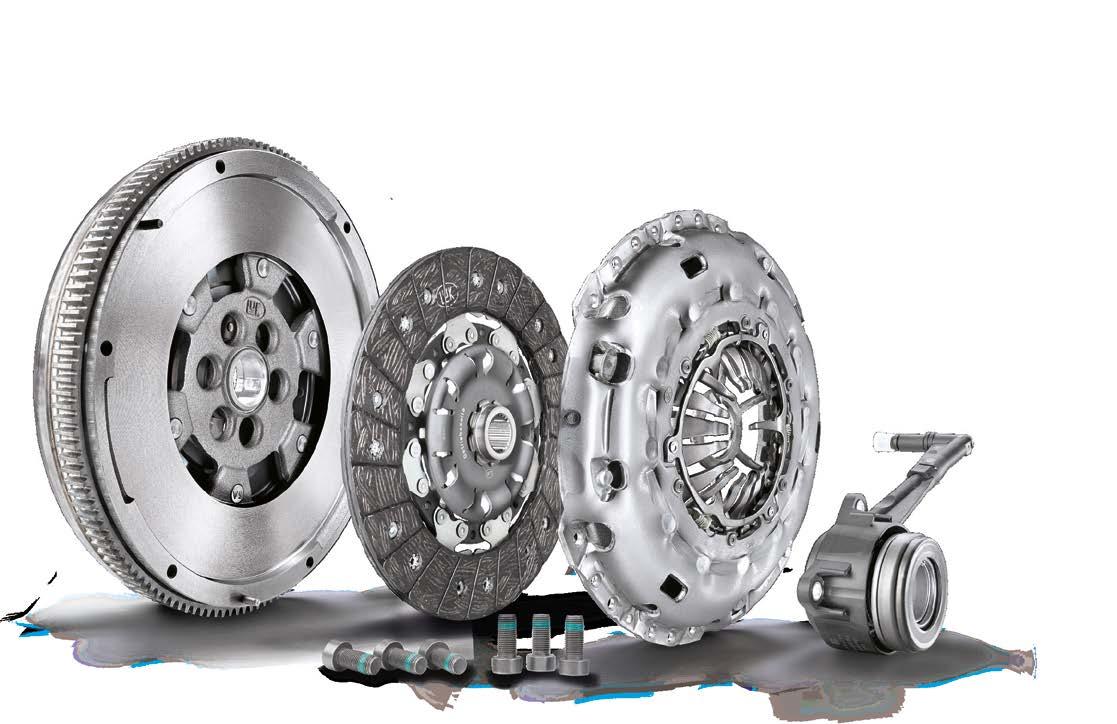
A LuK RepSet DMF contains every part you need to carry out a professional repair in just one box, all in genuine OE quality.
All components are precision matched to work together for a fast and efficient installation, so you can save time, effort and money by getting it right first time - every time. It also includes a bonus points coupon that you can exchange for technical know-how, or even workshop tools, clothing and POS materials on REPXPERT, Schaeffler’s knowledge portal for workshop technicians available via website or app. Don’t risk your reputation by using mis-matched clutch parts for a complete and professional repair backed up by our market leading warranty and technical support system - fit LuK. APP
Download now for free!

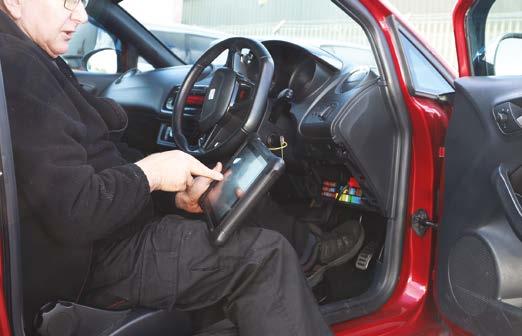
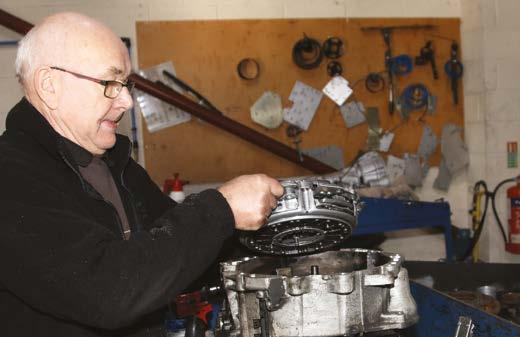
1. The TCM module highlighted a clutch adjustment limit fault code, indicating that the clutch friction linings had worn out and no further wear compensation was possible. Follow all pre-transmission removal instructions, such as engaging neutral, before disconnecting the battery. If a mechatronics failure means that this is impossible, it is possible to engage neutral with the gearbox removed. Oil plugs require fitting to avoid lubricant leaking from either the transmission, or mechatronic's breathers. 2. With the transmission removed, the most obvious difference is that the clutch pack remains within the bell housing. The integral teeth on the clutch pack engage with those on the flywheel, pictured inset. Do not forget to renew the spigot bearing. The bell housing contains evidence of an oil leak, which had to be cured, in case it contaminated the new clutch. In this case, the cause was a weeping camshaft oil seal.

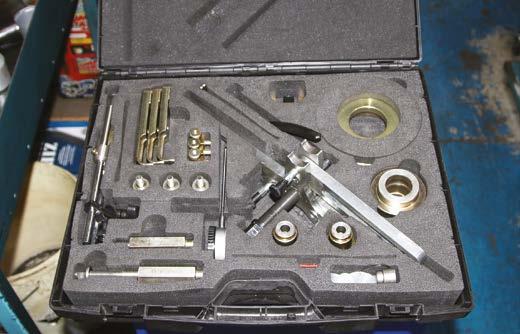
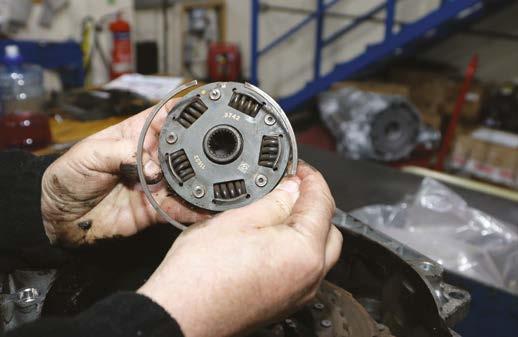
3. The correct tool kit is crucial. LuK, for instance, supplies two tool kits. The first generic type contains the basic equipment needed to remove and refit every dry clutch pack from the transmission input shaft. The second kit is make and model-specific. For the Volkswagen Group DSG7, there are further two options. The tools for the first generation DQ200 (2008 to May 2011) possess tools defined by their shiny plating; the second generation (post-May 2011 transmissions) are darker. The kits may contain handles that can be screwed onto the casting, to aid manoeuvrability. 4. The central clutch hub is held in place by a large spring clip, which is prised and lifted from its groove. The hub and spring clip can then be removed. Note the white marks (also pictured inset), which indicate the circlip gap position, when it is installed.
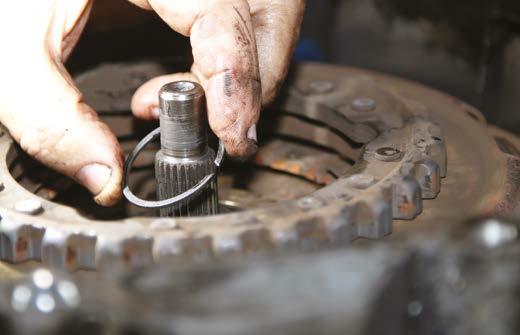
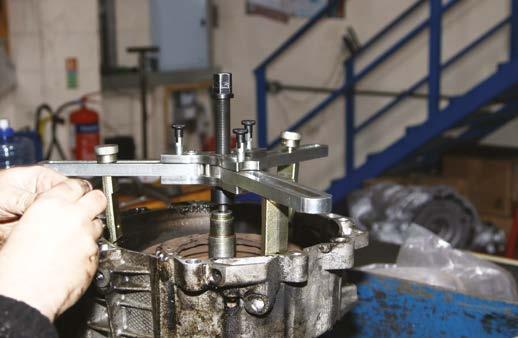
5. The small circlip prevents the clutch pack from being lifted over the larger of the two input shafts. To relieve any forces upon it, you can place an appropriately-sized mandrel over the input shaft and tap it gently to move the clutch pack down the splines. 6. Pulling the clutch pack assembly from the input shafts requires a dedicated puller, the three legs of which are positioned behind the outer 'ears' that protrude from the clutch pack's parameter. Thankfully, on this Seat, there is plenty of room between the clutch and bell housing. When operating the puller, force must not be applied at an angle. Never try to improvise; we have heard of DSGs being ruined, from attempts to hammer the clutch pack from its splines via the starter motor aperture.
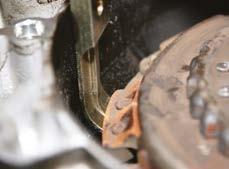
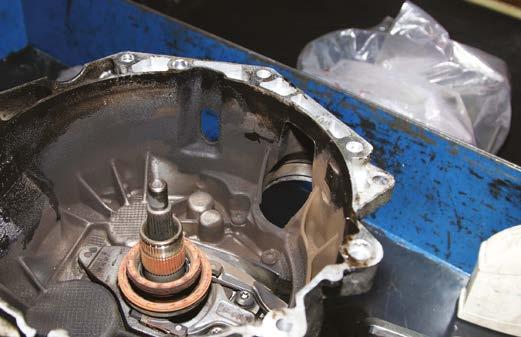
7. With the clutch pack removed, the release bearings remain in place. They are really engagement bearings, because the DQ200 clutches default to the open position and the bearings provide the clamp forces. The smaller engagement bearing and shim for the K2 clutch are lifted off, first. Note the slots that are machined into the bearing base that engage with tabs within the transmission. 8. This first-generation DSG7 has the other clutch's (K1) engagement bearing shim resting on top of the bearing, so it lifts off. Yet, because the K1 bearing is attached to the operating arm, it is easier to manipulate the operating arm complete from the bell housing.
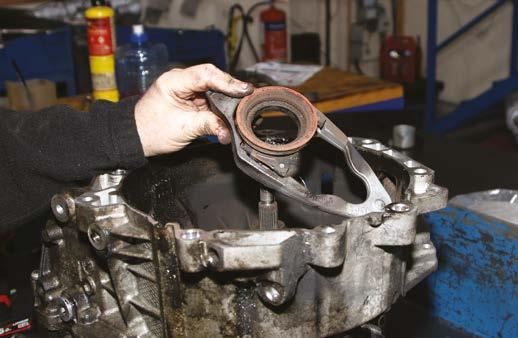
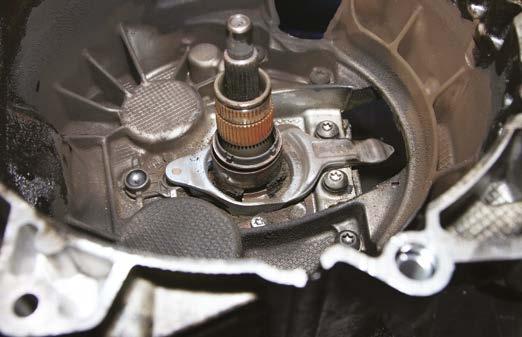
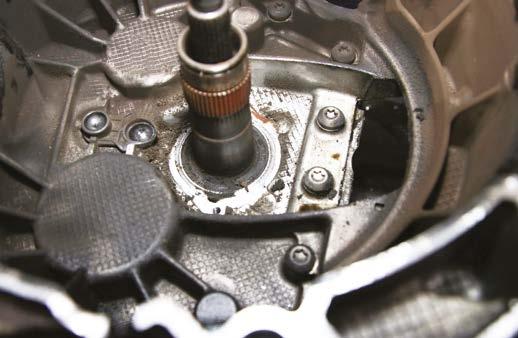
9. The K2 bearing possesses its own operating arm, too. After a pair of Torx bolts is removed, the K2 operating arm can be lifted from the gearbox, complete with the collar and nose. A first-generation DQ200 is pictured with the mechatronics unit removed. Note that the post-May 2011 gearboxes differ slightly. 10. Inspect the input shafts for oil leaks, indicating that the seals need replacing. Replacement seals are not included in clutch kits, however. As with conventional manuals, clean the bell housing of congealed friction dust, grime and oil. Clean up any corrosion on the splined input shafts, noting that any lubricant must be applied extremely sparingly. On Generation One DQ200s, replace the engagement bearing operating arms' cups, the position of which is indicated. Post-mid-2011 units have arms that pivot on a bar.
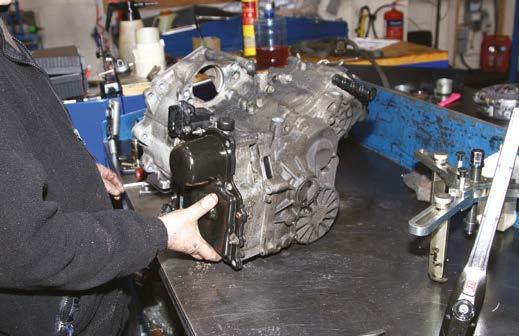
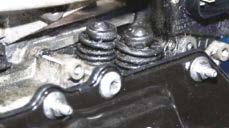
11. The Mechatronics unit possesses a black cover that contains hydraulic plungers that control the clutch engagement bearings' operating arms. Ensure that the protective gaiters (pictured inset) are undamaged. Should the unit be faulty, workshops can remove the unit but remanufacturing is best conducted by a specialist company, such as ACtronics of Colchester. Mechatronics units can and do fail, as we investigated in May 2020: https:// autotechnician.co.uk/dsg7-mechatronics/. Note the dedicated oil reservoir with no level plug. Should any be spilled, the unit requires draining and refilling with the specified quantity and grade. 12. The new K2 operating arm requires pre-assembling before fitting. The angled spacer locates on top of the nose and the arm is positioned over them both. Note the positions and minute quantities of high melting point grease that is applied to this operating arm casting. The arm is refitted with its pair of Torx bolts, tightened to 8Nm, plus 90 degrees. The K1 operating arm and bearing are pre-assembled and refitted, nothing there are no bolts to hold them in place. CLUTCHES
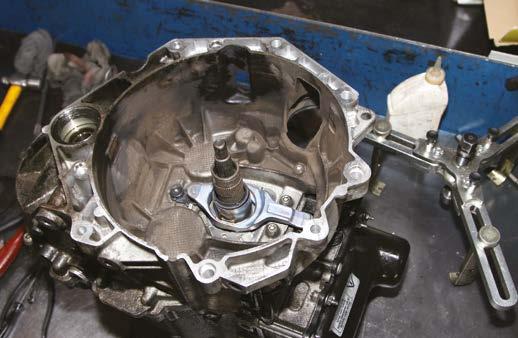
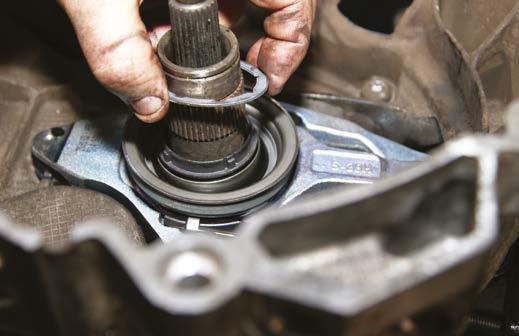
13. Each bearing must be shimmed individually. Reusing old parts is unnecessary and undesirable, because a set of new shims for each bearing is supplied in 0.2mm increments. Starting with the smaller K2, position the thickest shim on top of the engagement bearing mount (pictured), ensuring that it is seated flat and the tabs engage with the cut-outs. Place the K2 bearing itself on top of the shim(s). 14. The official toolkit is vital. K2 shimming requires a 32.92mm 'known distance gauge', which is placed on the bearing. A large circular weight is supplied with this tool kit that rests on the known distance gauge's outer shoulders, although it is not pictured here. The kit also includes a special feeler gauge. When it slides in and out of the input shaft circlip groove, putting up only very slight resistance, shimming is correct. If too tight, or loose, repeat Steps 13 and 14 using a thinner shim.
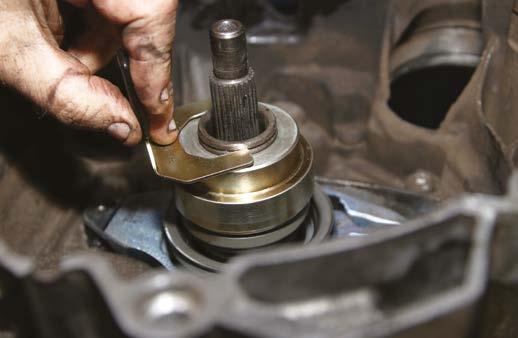

15. To compensate for production tolerances, shimming specifications are printed clearly on the new clutch pack. Separate figures for the K1 and K2 clutches specify how much should be added, or subtracted, to the shim you have fitted. In this example, the ideal shim dimension for the K2 clutch was 1.8mm but the specifications dictated an additional 0.2mm. Therefore, a 2.0mm thick shim was measured and installed. The K2 clutch is now shimmed correctly. 16. The shimming procedure is repeated for the larger K1 operating bearing, which does not require preassembling. A larger known distance gauge (48.63mm) is needed for the K1 clutch, which is placed over the input shaft, so it sits on top of the bearing.
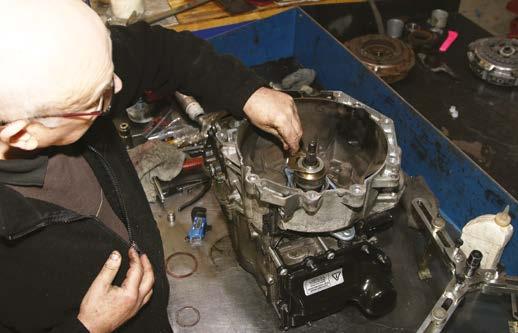
17. Once you have shimmed the K1 bearing, consult the specifications on the new clutch pack face (see Step 15). In this case, no additional shimming work is needed. After lubricating the bearing seat and splines very sparingly, the clutch pack can be lowered onto the splines. 18. Handle the new clutch pack carefully - dropping the unit can damage it internally. Measure between the top of the transmission's hollow shaft and the clutch pack's inner bearing race. If you find it to be greater than 8mm, the input shaft splines are not engaging with those of the clutch plates, in which case, lift off the clutch pack, rotate the shafts and try again.

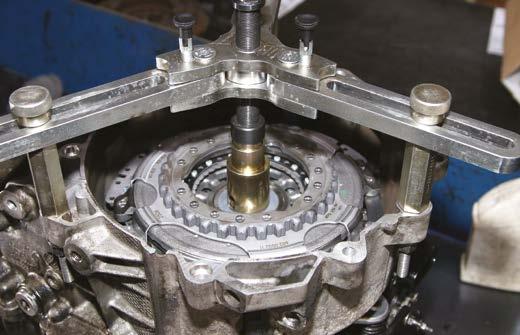
19. The special tools must be employed to press the clutch pack evenly onto the spines. The pictured mandrel applies the pressure to the inner bearing race, the slot within which lets you see when the circlip groove becomes visible. Apply 12Nm to the press's spindle, noting that the clutch is fully home, when the circlip groove can be seen. Dismount the tool and fit the circlip from Step 5, noting its original orientation. 20. Measuring the free play confirms correct shimming and an undamaged clutch pack. Check the K2 clutch, by positioning the kit's two hooks where indicated and, using a DTI gauge, ensure that the clearance is between 0.3mm and 1.0mm, as you raise the plate.

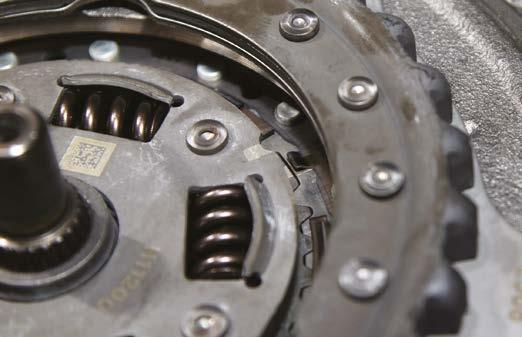
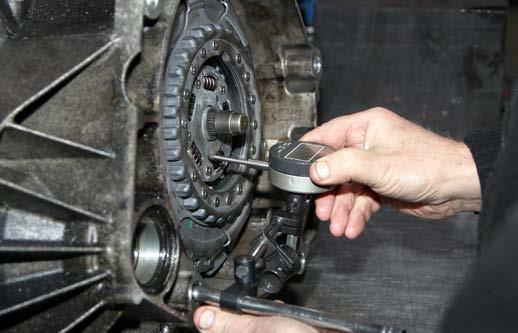
21. Fit the new clutch centre disc, ensuring that the white painted alignment mark, referenced in step 4, aligns with the white mark within the clutch pack. Refit the circlip, noting that its opening ends should be positioned on either side of the widest teeth. 22. K1's clutch plate free play measurements are taken from the centre hub, with measurements taken in three different positions, no more than 120 degrees apart from each other, using a dial gauge mounted as pictured. The clearance should measure between 0.3mm and 1.0mm but the difference between the three measured points should also not exceed 0.3mm.
Training opportunities
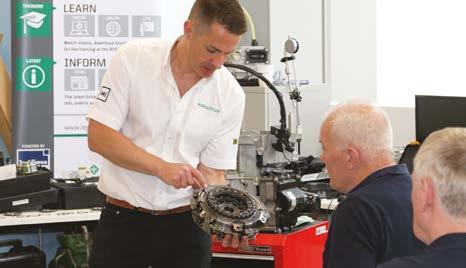
Clearly, this feature cannot replace detailed training but suppliers are working hard to help you grasp the opportunity. While Schaeffler hosted a taster session at its Academy Live event a Bridgend college during May, it is providing detailed two-day training sessions. More information about which can be accessed at: www.repxpert.com/en/training/transmission/repair-solution-2cttraining-day
23. Once the transmission is refitted to the car, the new clutch pack will require adapting diagnostically. The transmission tends to make noises as it does so. Do not forget to ensure that the separate gearbox and mechatronics oil levels are correct, before embarking on a test drive. CLUTCHES
