13 minute read
BAKING ON A BUDGET
Get drizzling, dripping and swirling with these fun, thrifty bakes. Whip up an easy, showstopping birthday cake or try new twists on old favourites like red velvet cookies or sticky toffee banana bread – with just a few clever tricks you can make them look extra special
recipes ANNA GLOVER photograph MIKE ENGLISH
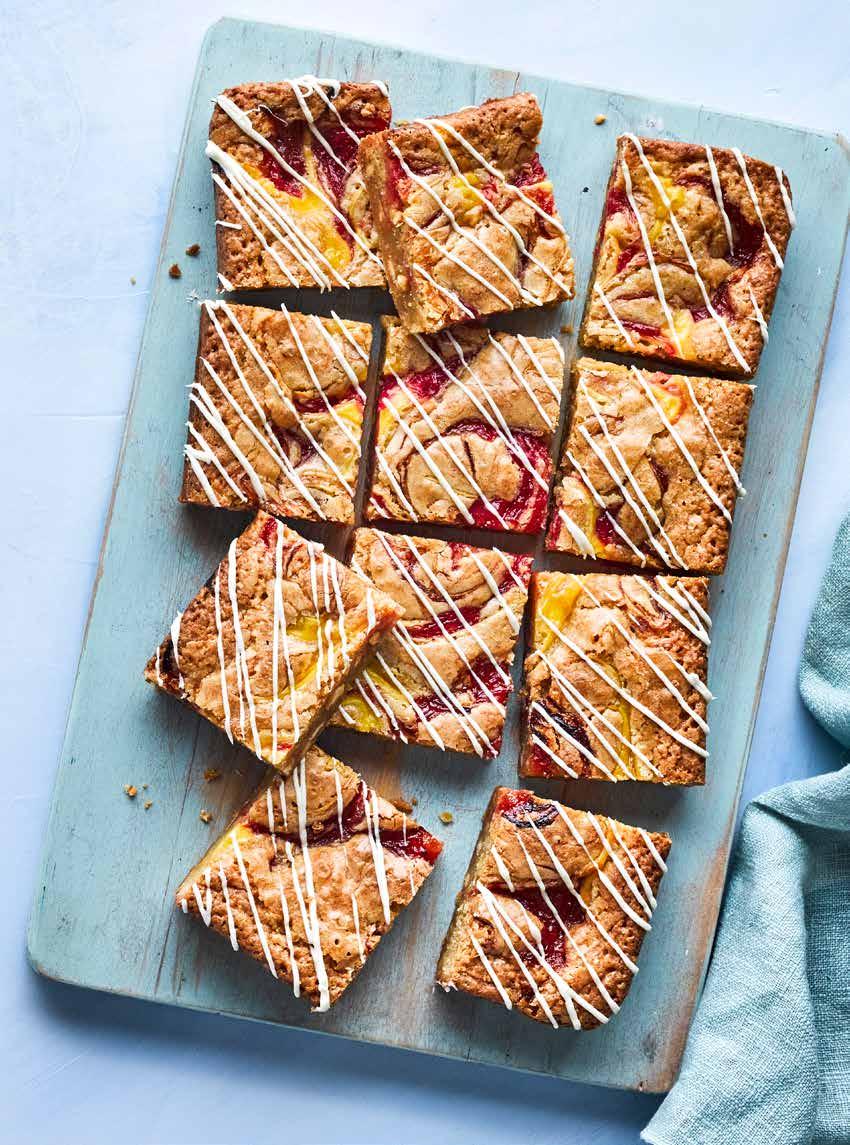
Rhubarb & custard blondies
Blondies are brownies made with white chocolate instead of dark, and flavoured with vanilla instead of cocoa. Custard powder in the cake mix makes them extra fudgy and, if you don’t have rhubarb, you can use any jam or compote – swirl through ready-made raspberry jam, or a homemade pear and apple compote for a crumble-inspired blondie.
SERVES 12 PREP 15 mins plus cooling COOK 55 mins EASY V ❄

225g salted butter (or unsalted with a pinch of salt), plus extra for the tin 200g light brown soft sugar 100g caster sugar 150g plain flour 50g custard powder ½ tsp baking powder 3 medium eggs 250g white chocolate chips or white chocolate finely chopped 2 tsp vanilla extract For the rhubarb & custard swirl 200g rhubarb (frozen, or canned and drained is fine) 75g caster sugar pink or red food colouring (optional) 4 tbsp ready-made custard (from a carton is fine, or made up from powder)
1 For the rhubarb & custard swirl, put the rhubarb and sugar in a wide pan with 2 tbsp water (or omit the water if using canned rhubarb). Cook over a medium heat, stirring frequently for about 10 mins, until the rhubarb breaks down and turns jammy. Add a few drops of food colouring if you want a pink rhubarb swirl, but the flavour will still be great if you’re using greentinged rhubarb. Leave to cool. 2 Heat the oven to 180C/160C fan/ gas 4. Put the butter and both sugars into a pan and put over a low heat.
Melt together until smooth and shiny, then remove from the heat, and leave to cool for 10 mins while you sieve the flour, custard powder and baking powder in a bowl. Butter a 20 x 30cm baking tin and line with baking parchment. 3 Beat the eggs into the cooled sugar and butter mixture, then fold in the dry ingredients until you have a smooth batter. Stir in 150g of the chocolate chips and the vanilla. Pour into the brownie tin, then use a teaspoon to swirl rhubarb compote on top of the batter. Add dollops of the custard, then swirl a skewer or cocktail stick through the compote to create a marbled pattern. 4 Bake for 35-40 mins until set and the edges are coming away from the sides of the tin, then leave in the tin to cool. Melt the remaining 100g chocolate in short blasts in the microwave or in a bowl set over a pan of simmering water. Use a spoon to drizzle the chocolate over the blondie in a zig-zag pattern. Cut into squares to serve. Will keep for three days in an airtight container, or freeze the squares individually.
PER SERVING 464 kcals • fat 24g • saturates 14g • carbs 57g • sugars 44g • fibre 1g • protein 5g • salt 0.6g
tip
USING RHUBARB
Frozen or canned rhubarb is available all year round, but while in season, rhubarb can be picked up cheaply in bunches. It freezes well, too – just chop and put in a container in the freezer until you’re ready to make a compote (without the colouring). You can spoon it over porridge, yogurt or make a crumble. It keeps for up to four days covered in the fridge.
Chocolate & raspberry birthday layer cake
Like a Victoria sponge, but better. Frozen raspberries are much cheaper and last a lot longer than fresh, and when swirled into cream between chocolatey layers, who could resist a slice?
SERVES 12 PREP 20 mins plus cooling COOK 40 mins EASY V ❄ sponges only
225ml sunflower oil, plus extra for the tins 250g caster sugar 3 large eggs 225ml milk 250g self-raising flour 4 tbsp cocoa 1½ tsp bicarbonate of soda For the raspberry layer 150g raspberry jam 100g frozen raspberries, defrosted 300m double cream 2 tbsp icing sugar 1 Heat the oven to 180C/160C fan/ gas 4. Oil and line two round 20cm springform cake tins with baking parchment. Whisk the oil, sugar, eggs and milk in a bowl until smooth. Sieve the flour, cocoa and bicarb into another large bowl, then gradually mix in the wet ingredients. 2 Divide the mixture between the tins and bake for 35-40 mins until the cakes are risen and spring back when pressed. Leave to cool in the tins for 10 mins, then transfer to a wire rack to cool completely. 3 For the raspberry layer, stir the jam and the defrosted raspberries together. Once the cakes are cool, whip the cream with the sugar to soft peaks, then gently fold half the raspberry mixture through the cream to create a ripple effect. 4 Spoon most of the reserved raspberry mixture over one of the cakes, then dollop on half of the cream. Smooth over with a palette knife, then place the other sponge on top. Swirl over the remaining cream and swirl the last of the raspberry mixture through it. Will keep in the fridge for two days.

PER SERVING 549 kcals • fat 36g • saturates 12g • carbs 49g • sugars 33g • fibre 2g • protein 6g • salt 0.6g
tip
SIMPLE SWAPS
Making chocolate cakes and buttercream icing can be expensive when baking, but using vegetable oil instead of butter and cocoa instead of melted chocolate keeps costs down here. It means the cake also keeps well (it won’t go stale if it’s wrapped and left for a few days, or you can freeze the sponges to decorate later) and it creates a texture that ensures the layers will stack and slice beautifully for guests. Adding lashings of whipped cream looks lavish, but it’s usually more cost-effective than making buttercream.

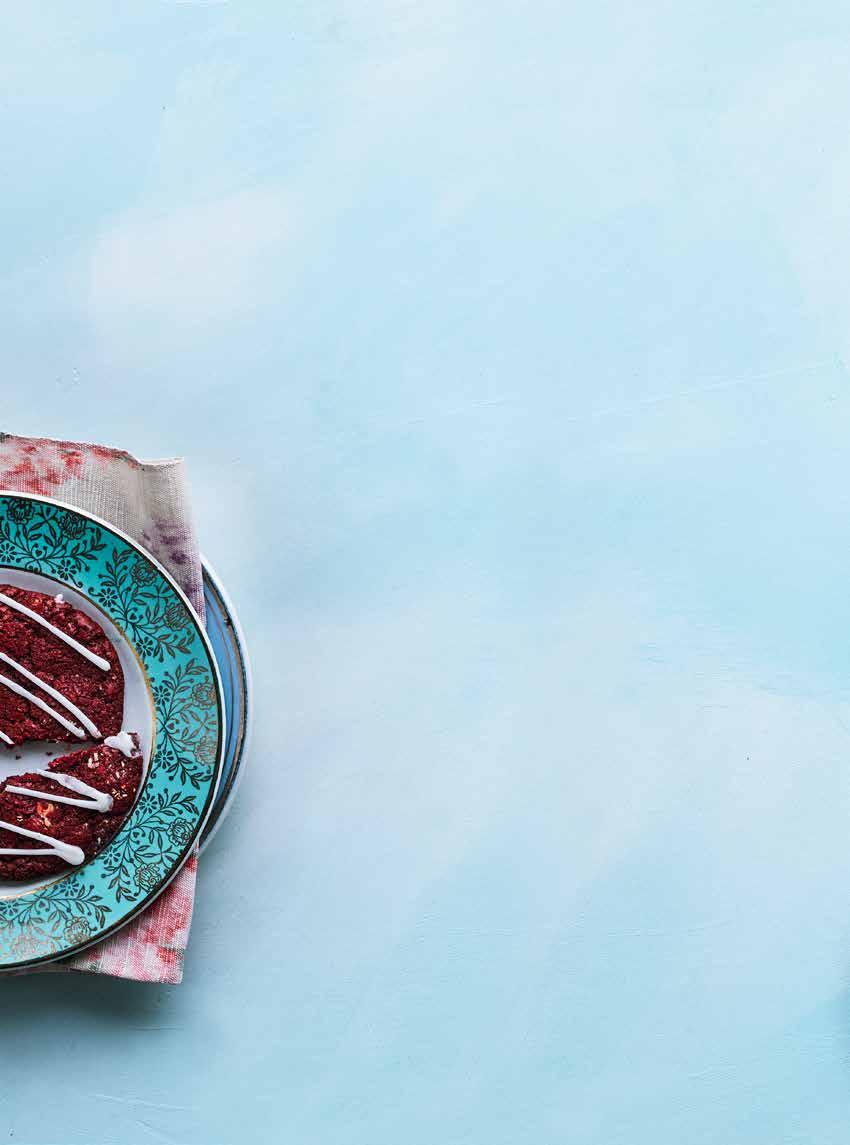
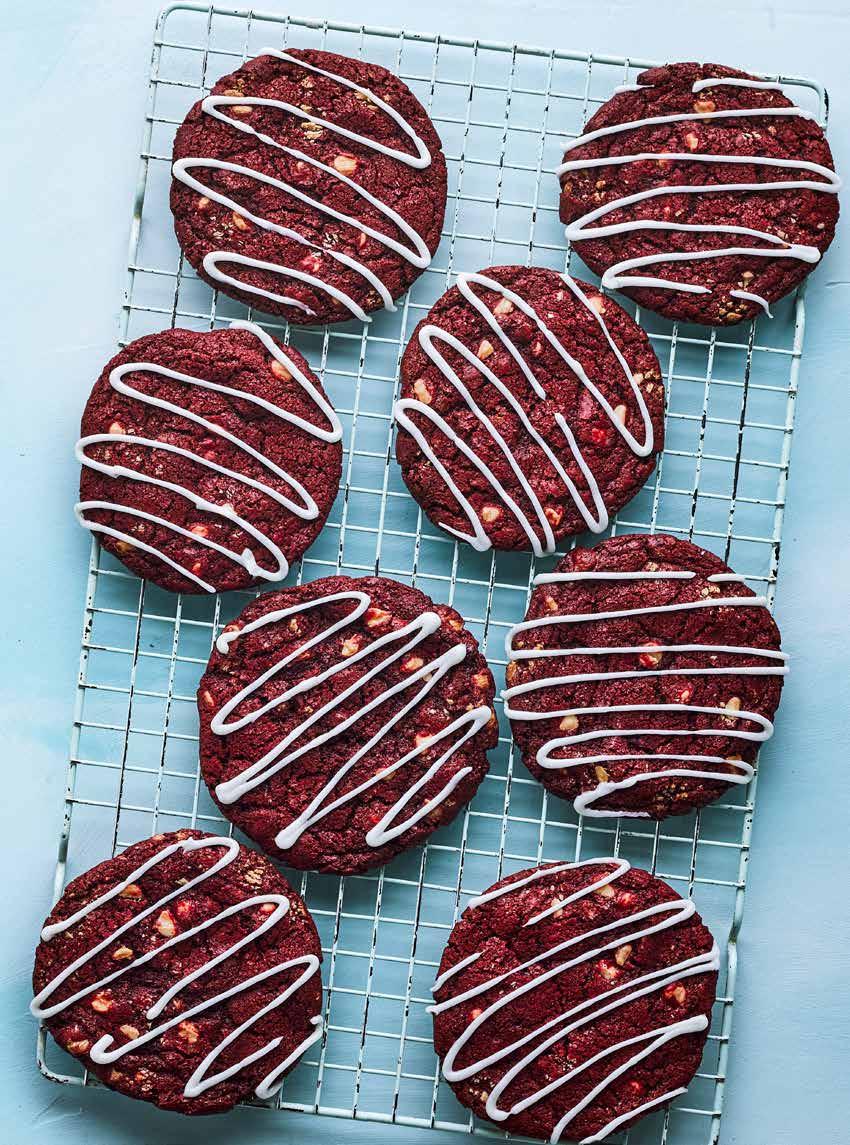
Red velvet cookies
We’ve turned the popular cake into chewy cookies, complete with cream cheese icing. Baking them is much cheaper than buying a box of chocolates for Valentine’s Day, and something homemade is always appreciated. Box them up to give as a gift, or make a batch of dough to keep in the fridge so impromptu guests can enjoy freshly baked cookies.
MAKES 16-18 PREP 20 mins plus chilling COOK 15 mins EASY ❄ dough only
175g soft salted butter 200g light brown soft sugar 100g caster sugar 1 large egg 2 tsp vanilla extract ½-1 tbsp red food colouring gel, depending on strength 225g plain flour 25g cocoa powder ½ tsp bicarbonate of soda 150g white chocolate chips or chunks For the drizzle 2 tbsp soft cheese 6 tbsp icing sugar
tips
BEST BUYS
Chocolate chips can be cheaper than bars, but check for special offers. You only need a small amount of soft cheese for these cookies, but if you don’t have any, a simple icing of milk or water mixed with sugar would work. Gel food colourings are best when baking, as they keep their colour when baked and less is needed to achieve a good result. Vanilla extract is cheaper than bean pastes or pods, but use whatever you have to hand. This dough keeps for a long time, so bake as many as you need and chill or freeze the rest so there’s no waste.
1 Beat the butter and sugars together with an electric whisk until pale and fluffy. Beat in the egg, vanilla and food colouring until you have a bright red batter. Sieve over the flour, cocoa and bicarb. Fold everything together to make a stiff evenly-coloured dough, then fold in the chocolate chips. 2 Put the dough on a sheet of baking parchment, fold the parchment over the dough and mould into a sausage shape about 6cm wide. Chill until ready to bake. Will keep for a week in the fridge or one month in the freezer. 3 Heat the oven to 190C/170C fan/ gas 5. Cut the cookie dough into 1cm thick slices using a sharp knife and arrange on two large baking sheets lined with baking parchment well-spaced apart so they have room to spread in the oven. Bake in batches, keeping the unbaked cookies on the sheet in the fridge while the rest are baking. 4 Bake in the middle of the oven for 13-15 mins until the cookies are crisp at the edges, but still soft in the centre. Leave to cool on the baking sheet for a few minutes, then transfer to a wire rack to cool completely. Beat the soft cheese in a small bowl to a loose consistency, then stir in the icing sugar. Use a piping bag or spoon to drizzle the icing over the cookies. Un-iced cookies keep for five days in an airtight container, or two days iced.
PER BISCUIT 268 kcals • fat 12g • saturates 7g • carbs 36g • sugars 26g • fibre 1g • protein 3g • salt 0.3g
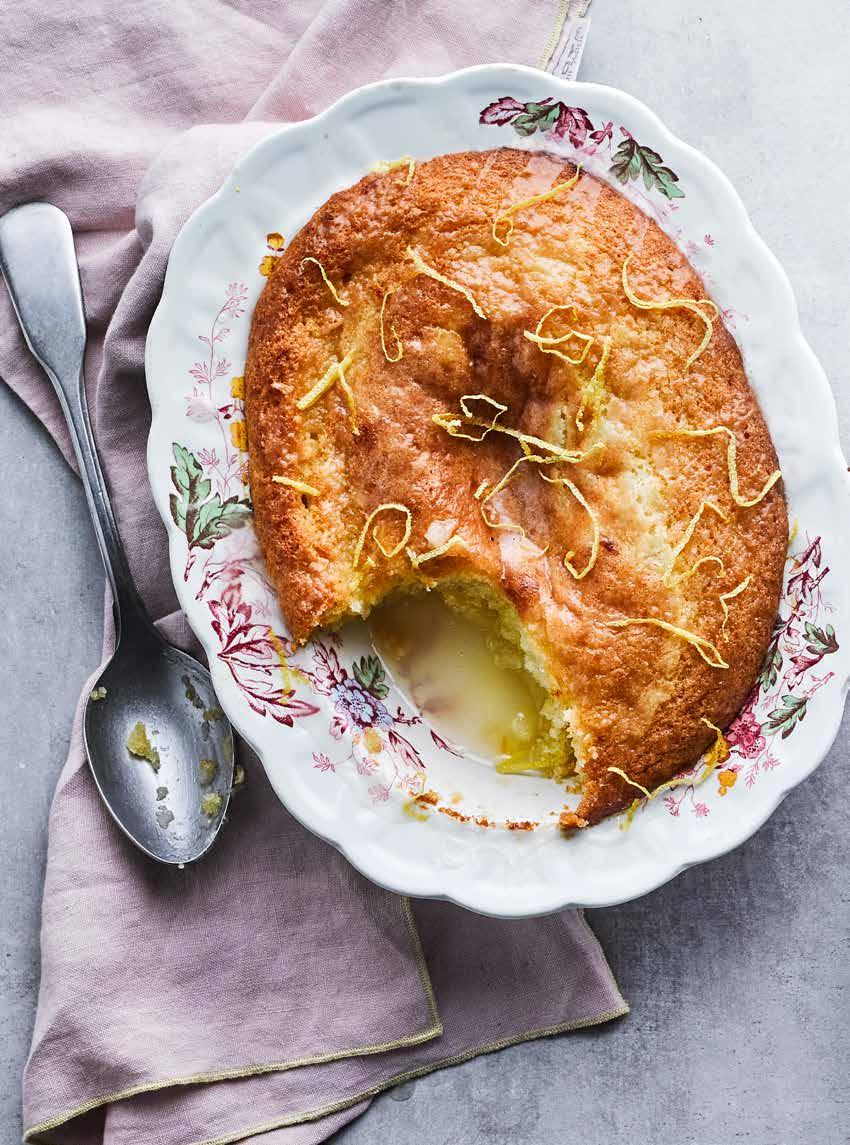
Lemon drizzle sponge pudding
We’ve turned a classic lemon drizzle cake into a self-saucing pud for a money-saving, retro dessert that is comfort food at its best. Sweetened lemon juice poured over just before baking thickens and puddles in the bottom of the dish to create the sauce. Serve straightaway, with cream or custard if you fancy. It’s the perfect way to round off Sunday lunch.
SERVES 10 PREP 15 mins COOK 50 mins EASY V
250g soft butter, plus extra for the dish 380g caster sugar 4 eggs 250g self-raising flour 1 tsp baking powder 3 lemons, zested and juiced 2½ tbsp cornflour custard or cream, to serve For the drizzle 50g icing sugar 1 lemon, juiced and zested 1 Heat the oven to 180C/160C fan/ gas 4. Butter a 30 x 20cm deep baking dish. 2 Put the butter and 250g caster sugar in a bowl and beat for 5 mins until pale and fluffy. Whisk in the eggs, then sieve over the flour and baking powder and fold in until you have a batter. Stir in the lemon zest, reserving a little for decoration. 3 Spoon the sponge batter into the dish and smooth over the top. 4 Mix the lemon juice with the cornflour in a heatproof bowl to make a smooth paste. Mix the remaining 130g caster sugar with 300ml boiling water in a jug, pour over the cornflour mix and whisk until smooth. Pour this over the sponge. Bake for 45-50 mins until golden and set, and the sponge springs back when touched. 5 While the pudding is baking, make the lemon drizzle. Mix the icing sugar with enough lemon juice (about half of it) to create a loose consistency. Drizzle over the sponge while it’s still warm and decorate with the reserved lemon zest. Serve straightaway with cream or custard.

PER SERVING 492 kcals • fat 23g • saturates 14g • carbs 66g • sugars 43g • fibre 1g • protein 5g • salt 0.9g
tip
QUICK LEMON CURD
Lemons are a cheap and easy ingredient to have on standby for a last-minute pudding. Combined with a bit of sugar and cornflour from the storecupboard, it creates a cheat’s lemon curd that transforms a simple sponge into a crowd-pleasing dessert.
SARAH BIRKS Stylist ELLIE JARVIS | Food stylist ELIZABETH GALBRAITH | Shoot director
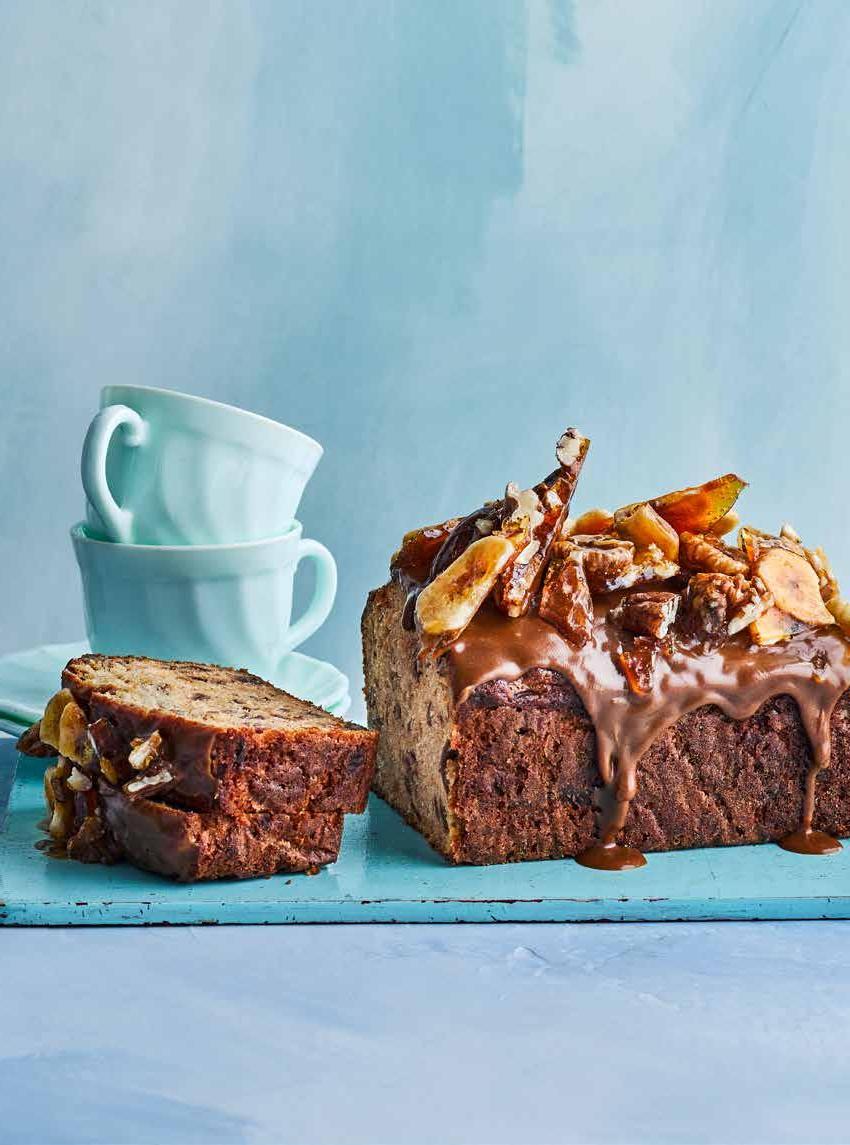
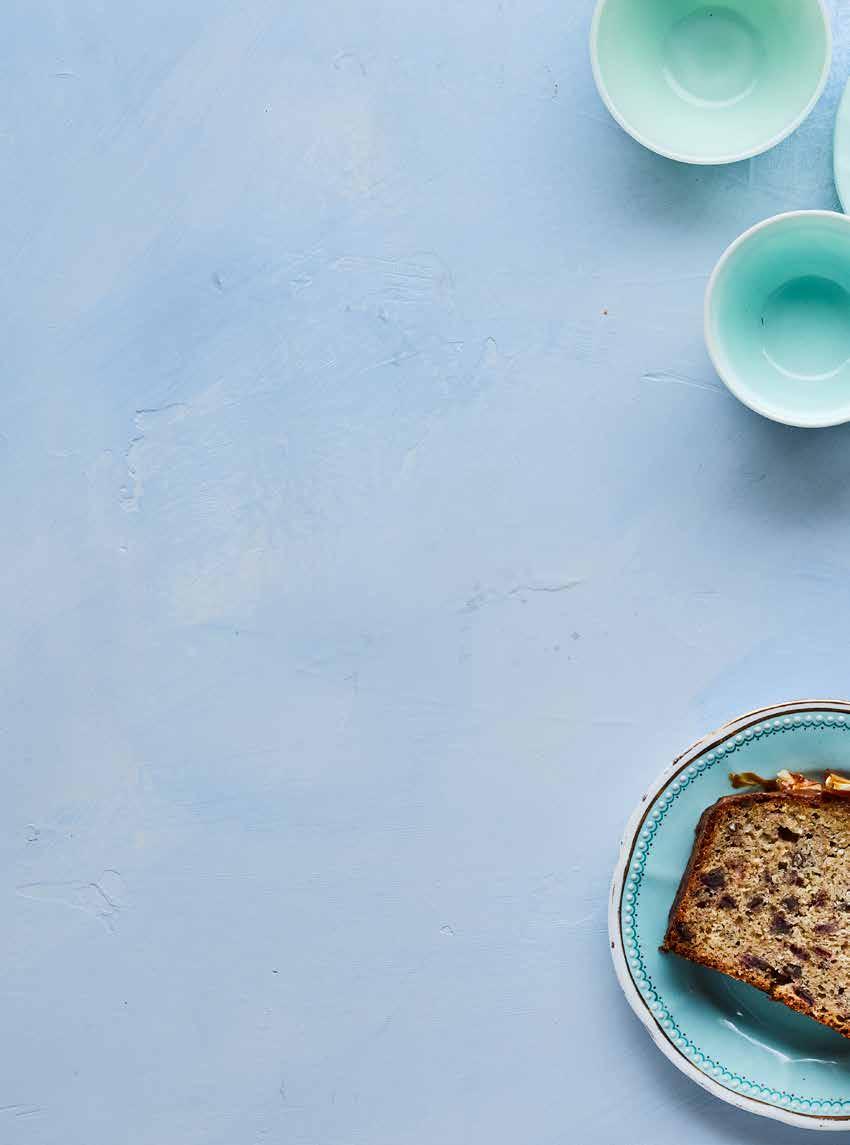
Sticky toffee banana bread
Use up any overripe bananas to make this loaf cake that’s been given an indulgent makeover with toffee sauce and nut brittle. Adding dates to the sponge batter also lends a jammy sweetness reminiscent of sticky toffee pudding, so you can serve it warm with extra toffee sauce and ice cream for an easy dessert as well as cutting it into slices for breakfast.
SERVES 10 PREP 25 mins plus cooling COOK 1 hr 15 mins EASY V ❄ banana bread only
125g soft butter, plus extra for the tin 75g caster sugar 50g dark brown soft sugar 3 medium eggs 2 large ripe bananas, mashed 50g natural yogurt 200g plain flour 2 tsp baking powder 50g pitted dates, chopped (about 10) 50g pecans or walnuts, chopped (or mixed chopped nuts) For the toffee sauce 100g light brown soft sugar 25g butter, cut into cubes 100ml double cream For the banana & nut brittle 150g caster sugar 50g pecans or walnuts (or mixed nuts) 50g banana chips ½ tsp sea salt flakes
1 Heat the oven to 160C/140C fan/ gas 3. Butter and line a 900g loaf tin with a strip of baking parchment. 2 Beat the butter and both sugars in a bowl for 5 mins with an electric whisk until really fluffy. Whisk the eggs, banana and yogurt in a separate bowl until mostly smooth, then whisk this into the butter and sugar mixture. Fold in the flour and baking powder until just combined, then fold in the dates and nuts. Spoon into the tin, smooth over the top and bake for 1 hr-1 hr 15 mins until a skewer inserted into the middle comes out clean. Leave to cool in the tin for 10 mins, then lift out using the strip of parchment. You can serve it warm now, or leave to cool completely on a wire rack. Will keep for four days in an airtight container. 3 Meanwhile, make the toffee sauce. Put the sugar in a heavy-based frying pan and melt over a medium- low heat until light golden brown and liquid – don’t stir, just tilt the pan to melt the sugar. Carefully whisk in the butter until smooth, then pour in the cream slowly and bring to a bubble. Mix until the sauce is smooth and shiny. Pour into a heatproof bowl, cover and leave to cool to room temperature. 4 For the brittle, put the sugar in a frying pan with 2 tbsp water over a medium heat, stir briefly, then simmer for 10 mins until the caramel turns amber. Don’t stir after the initial mix, just tilt the pan to get an even deep golden colour. 5 Meanwhile, line a baking tray with baking parchment. Carefully stir the nuts, banana chips and salt into the caramel, until well coated, then pour onto the tray. Tip the tray (or use a spoon) to make sure the nuts are in a single layer – or they will be harder to separate later. Leave to cool completely before breaking the brittle into shards. 6 Stir the toffee sauce to loosen if it’s become stiff, or warm for a few seconds in the microwave (add a splash more cream if you need to), then drizzle over the cake so it drips down the sides. Top with the shards of brittle. Will keep for two days in an airtight container.
PER SERVING 464 kcals • fat 24g • saturates 14g • carbs 57g • sugars 44g • fibre 1g • protein 5g • salt 0.6g
tips
MAKE A LITTLE GO A LONG WAY
Mixed nuts are the cheapest nuts to buy, but use whatever you have – just check the use-by date as they go rancid quite quickly. Hazelnuts, walnuts, almonds or peanuts all work well in this cake. A simple toffee sauce and brittle add extra flavour and texture to the cake using everyday, storecupboard ingredients. Banana bread keeps well in the freezer. Any extra sauce and brittle keeps for four days stored in separate airight containers.


