BOTANICAL CUSHION

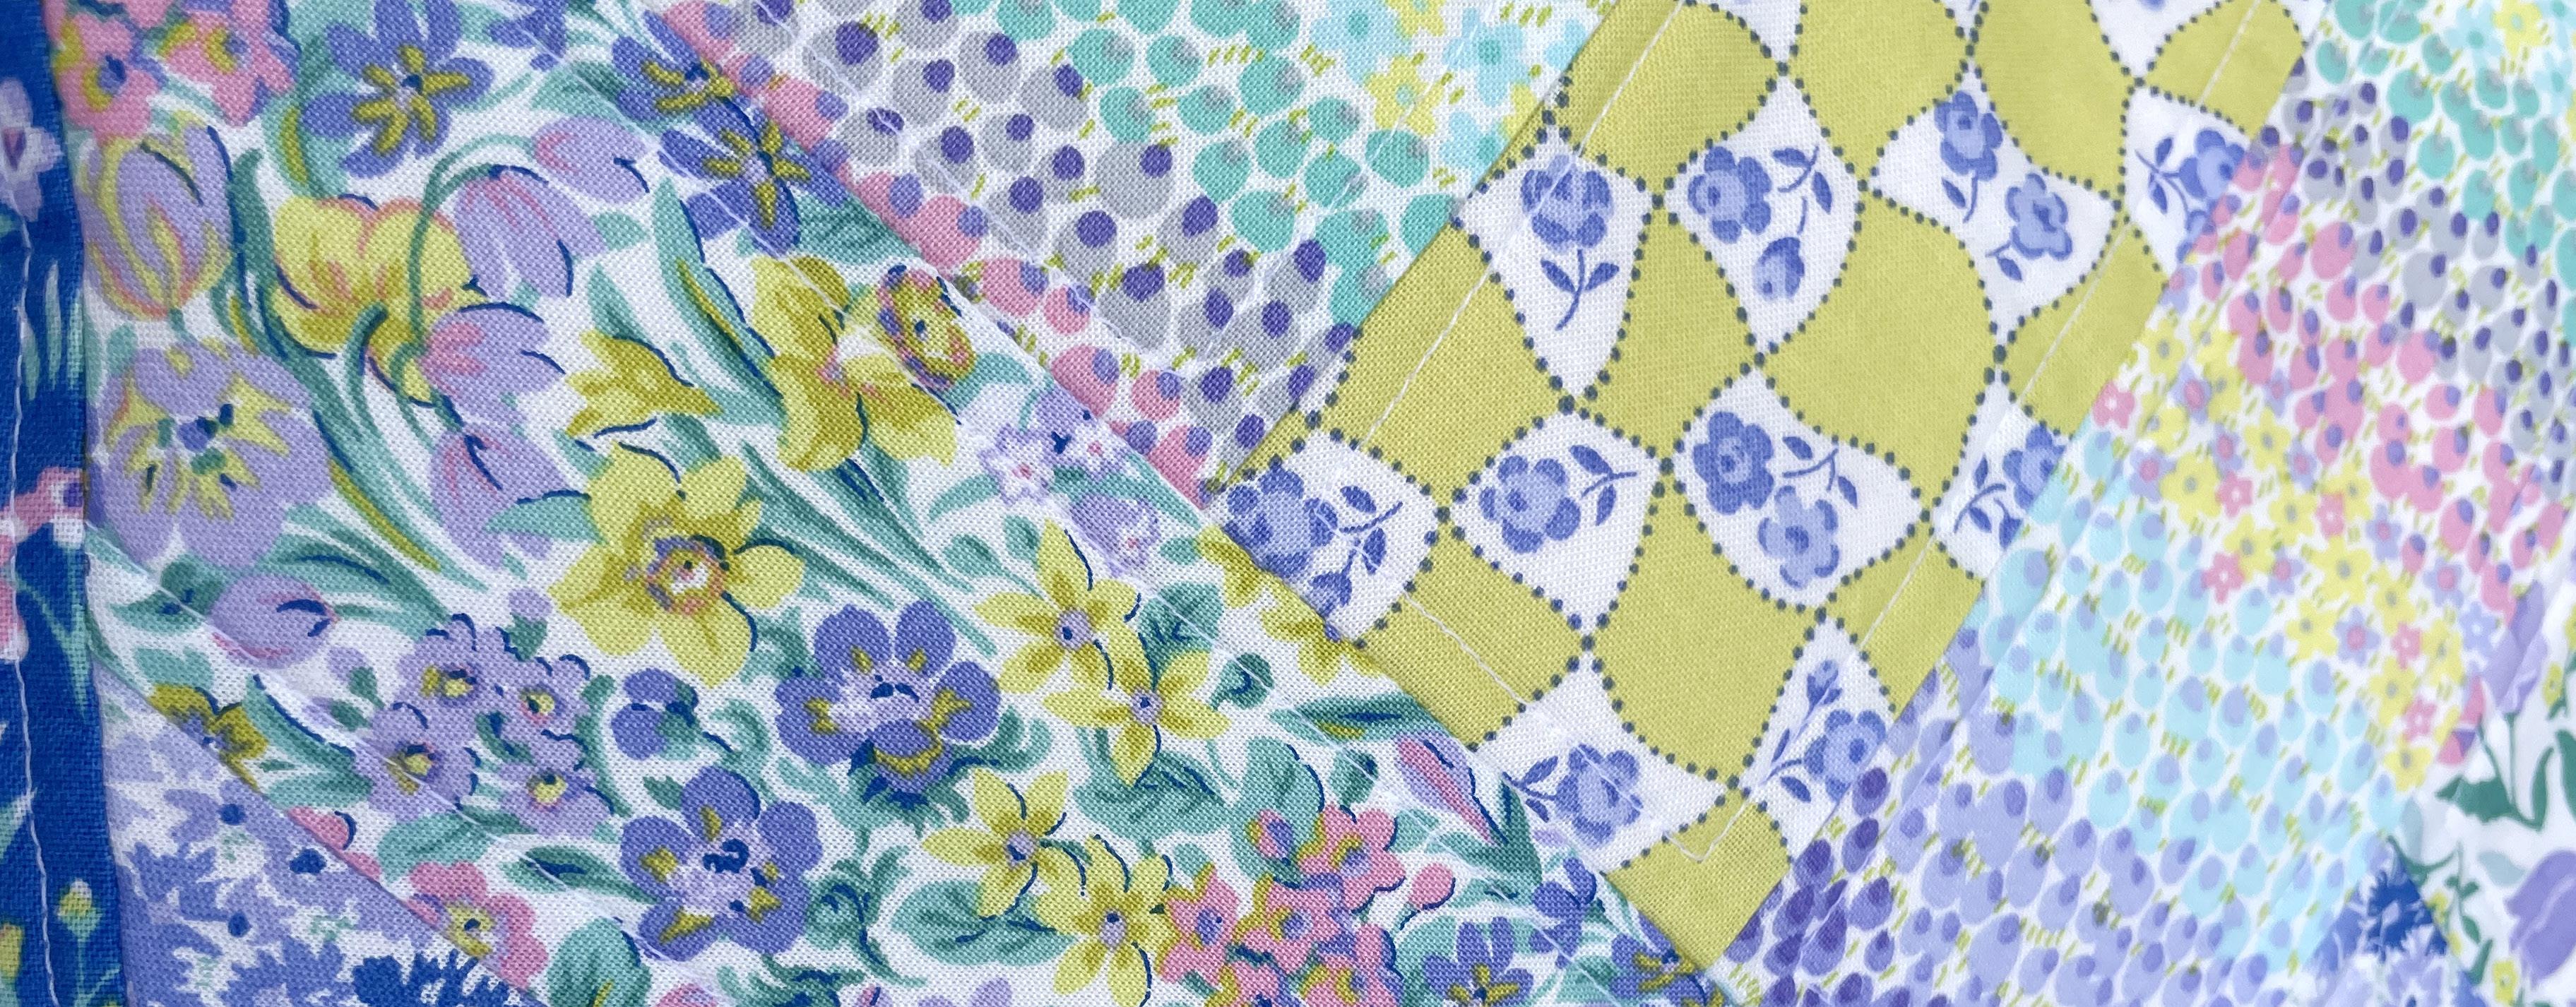
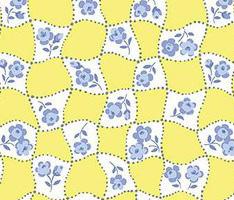
Picnic Posy - A
• 1 strip 2¾ x 10”
Tiny Tulips - B
• 1 strip 2¾ x 10”
ASSEMBLY
Sew strips together and trim to 9½” square Cut the pieced square diagonally. Repeat it for one more set of strips.


Tiny Tulips
Regents Border
Picnic
Posy
Kew Blooms - B
• 1 strip 2¾ x 10”
Kensington Confetti - B
• 2 strips 2¾ x 10”
Regents Border
Kew
Blooms
Kensington
Confetti
Tulips
Triumph
Tulip Triumph - B
• 1 strip 2¾ x 10”
Regents Border - B
• 2 strips 2¾ x 10”
Battersea Botanical - B
• 2 strip 2½” x WOF for the border
•18 x 17” and 18 x 6½” for backing
•45 x 45cm piece of batting
•cushion insert
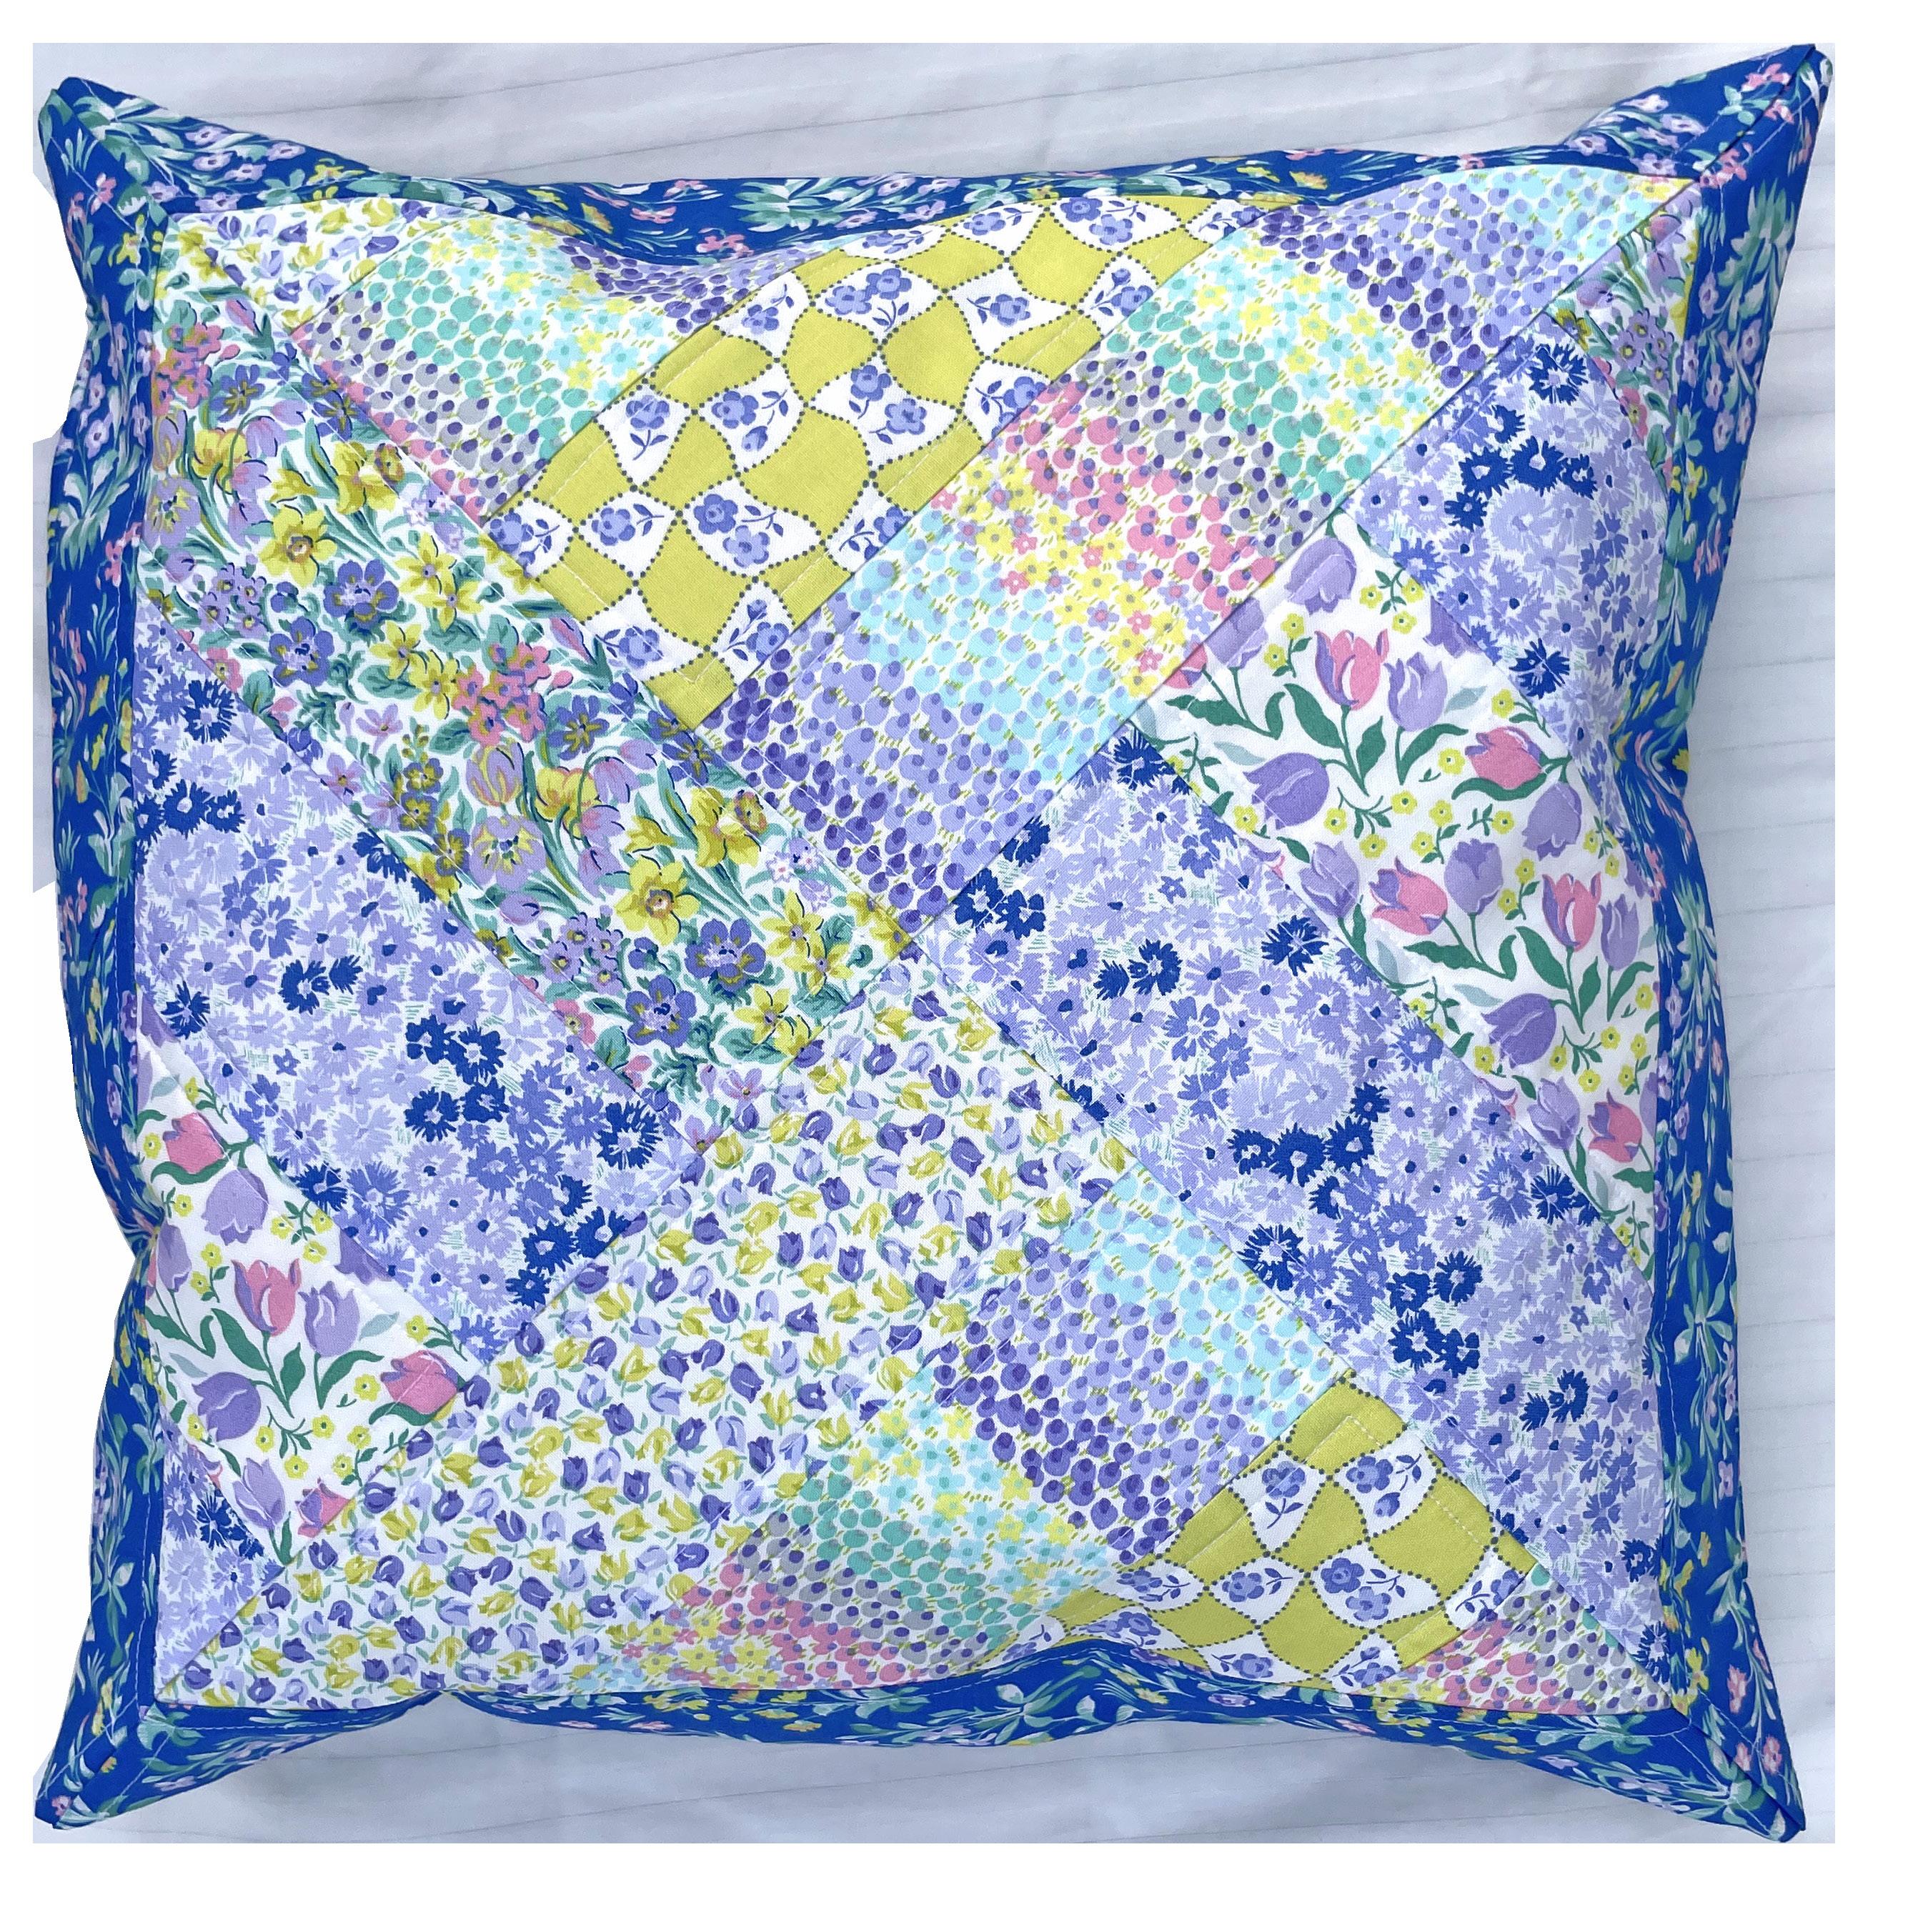
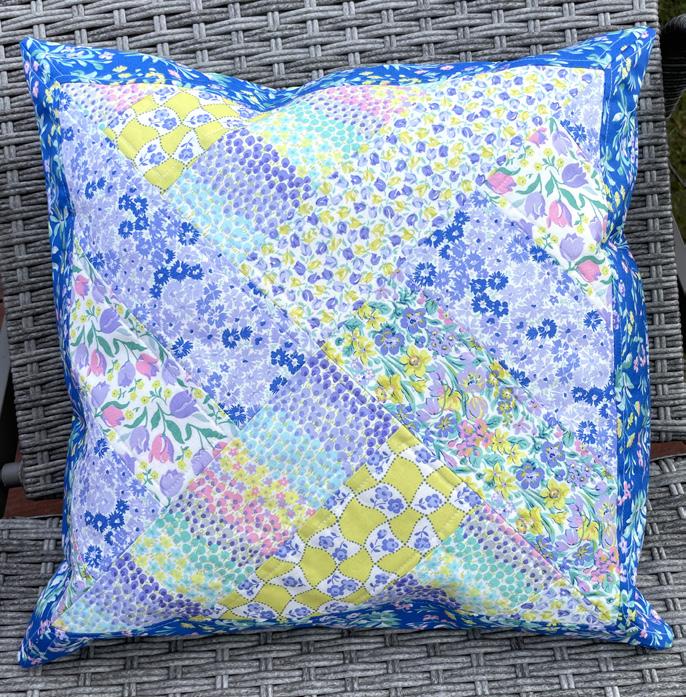
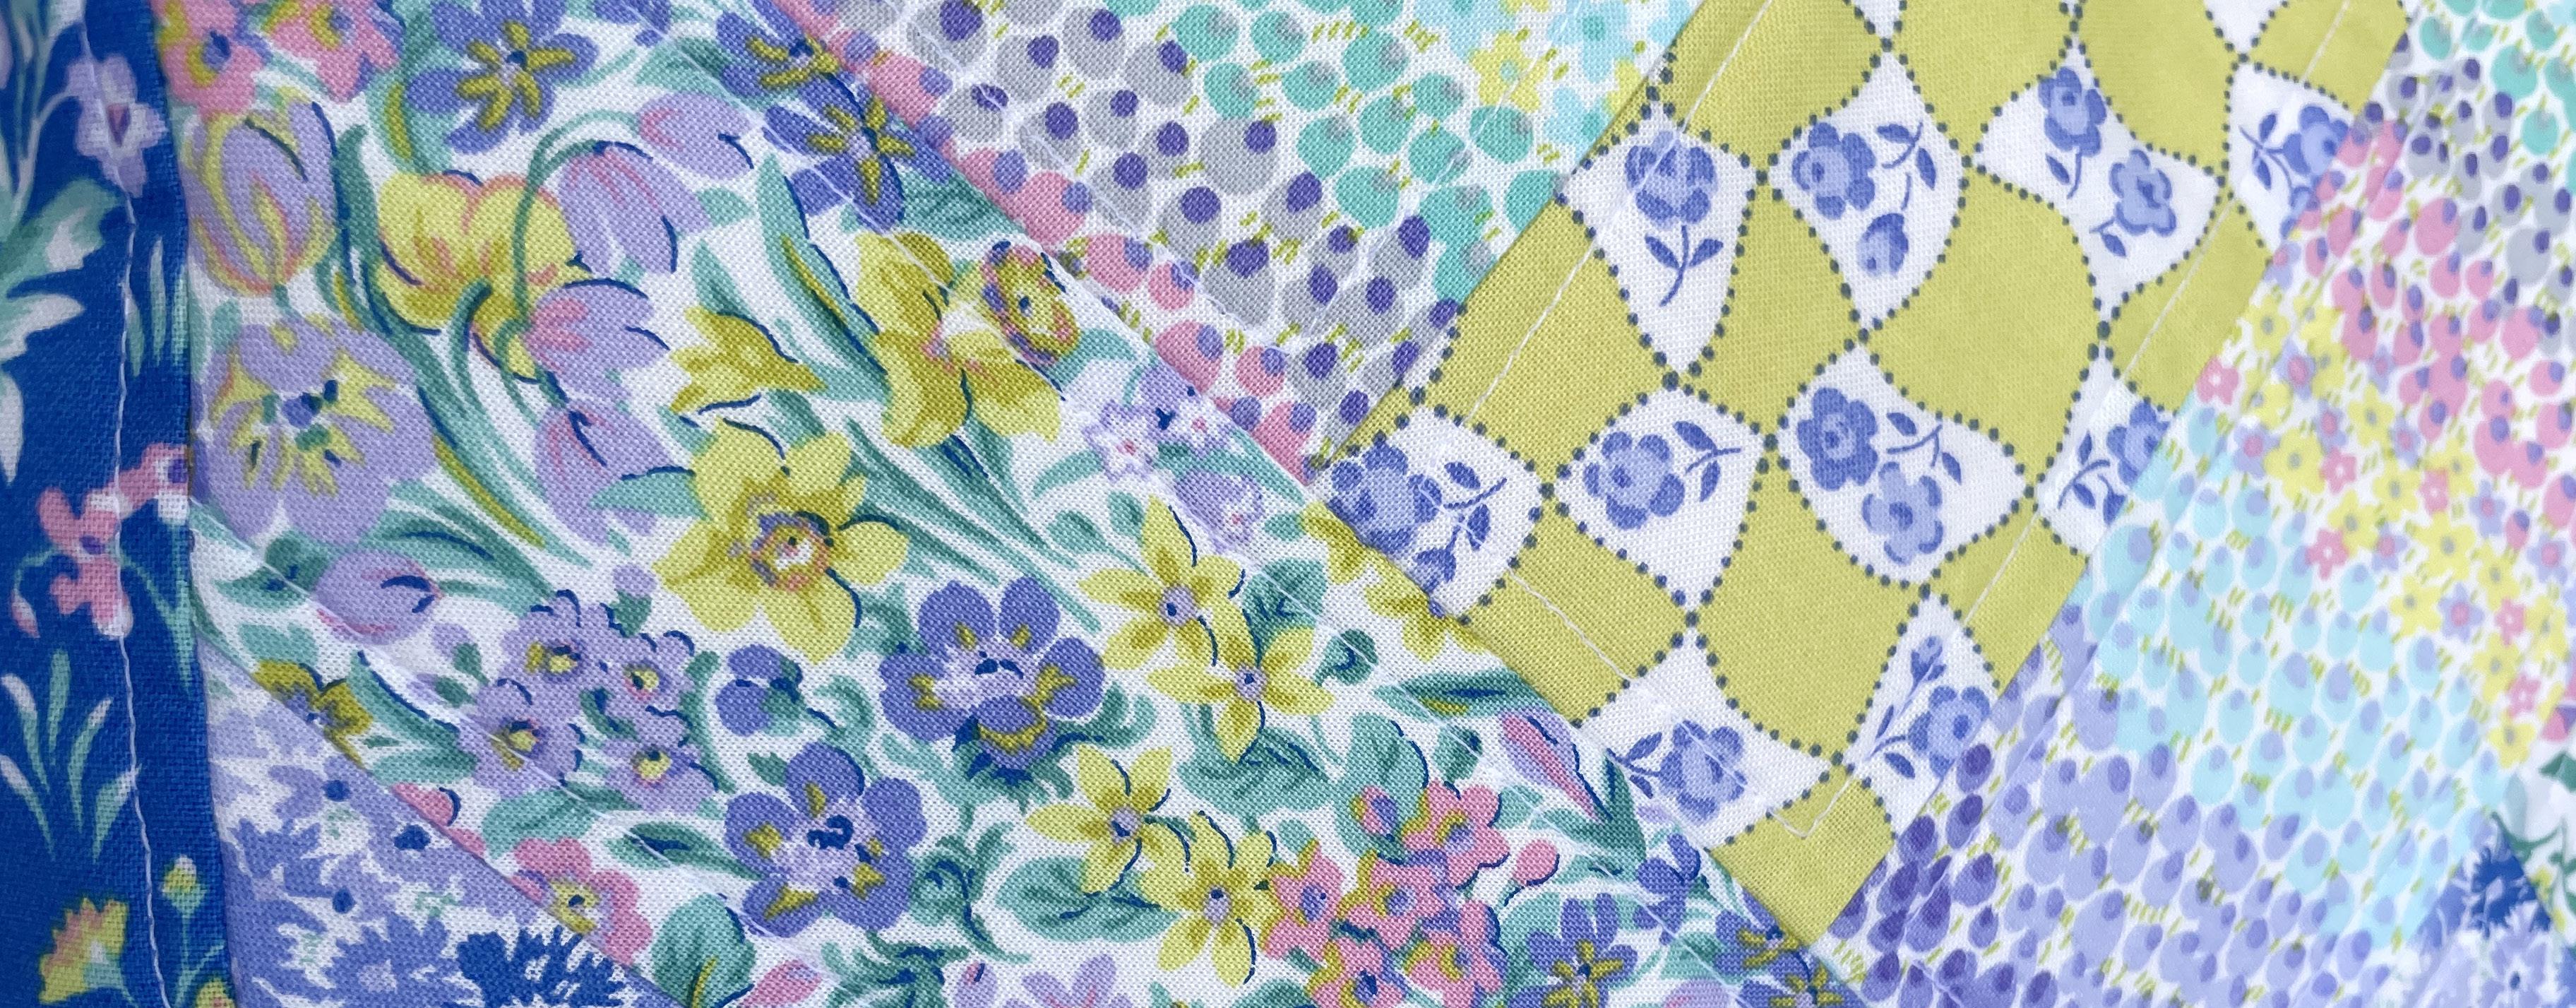
The fabric requirements is for making cushion as shown in the photograph. Before cutting review the placement of colours in case you want to make you own choices.

NOTE: All seam allowances are ¼”. Sew pieces right sides together.
© BIRCH CREATIVE, 2023. For personal use only. Pattern not for resale. Items made using this pattern must not be resold.





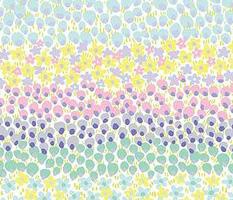


Kensington
Confetti
Place plain backing fabric on a large surface wrong side up. Place batting on top of backing fabric. Place the cushion center in the center of the batting with right side facing up. Smooth away wrinkles using your hands.
Pin all layers together. Machine or hand quilt. Trim excess batting leaving 2” of extra batting around the entire perimeter.
batting 2”
Fold the strip away in a motion of 45°, pressing with your fingers. Hold this fold, bring the strip in line with batting edge. Fold it over and start sewing at ¼” of the border, stitching all the layers. Do the same in the four corners.
Join strips from Battersea Botanical on diagonal. Pin the strip to the edge of the cushion center approx. 3” away from the corner. Start stitching strip, leaving approx. 2” tail. Keep sewing until you reach a corner of the cushion center, and stop ¼” before the corner.
© BIRCH CREATIVE, 2023. For personal use only. Pattern not for resale. Items made using this pattern must not be resold.


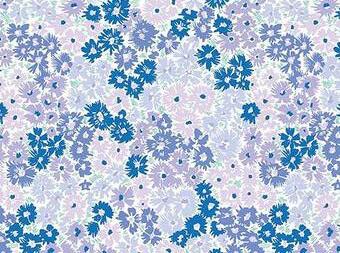








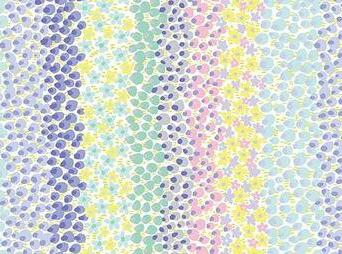








Stop stitching before you reach the last 2in. Lay the loose ends of the binding flat along the edge, folding the ends back on themselves where they meet. Press them together to form a crease. Using this crease as the stitching line, sew binding pieces together. Trim excess fabric and complete stitching.
Press and topstitch along the edges of the border.
CUSHION BACK
Turn one long edge of the backing piece under ¼” press. Turn same long edges under 1” again and press. Topstitch folded edges to hem.
Repeat for the other backing piece.
Place backing pieces on top of quilted cushion top with wright sides facing overlapping hemmed edges of cushion back pieces. Stitch along the edges.
Trim excess batting in the corners. Zig zag along the edges. Turn cushion right side out.
