6 minute read
DIY WATER SMART MAKEOVERS
DIY Water Smart Makeovers
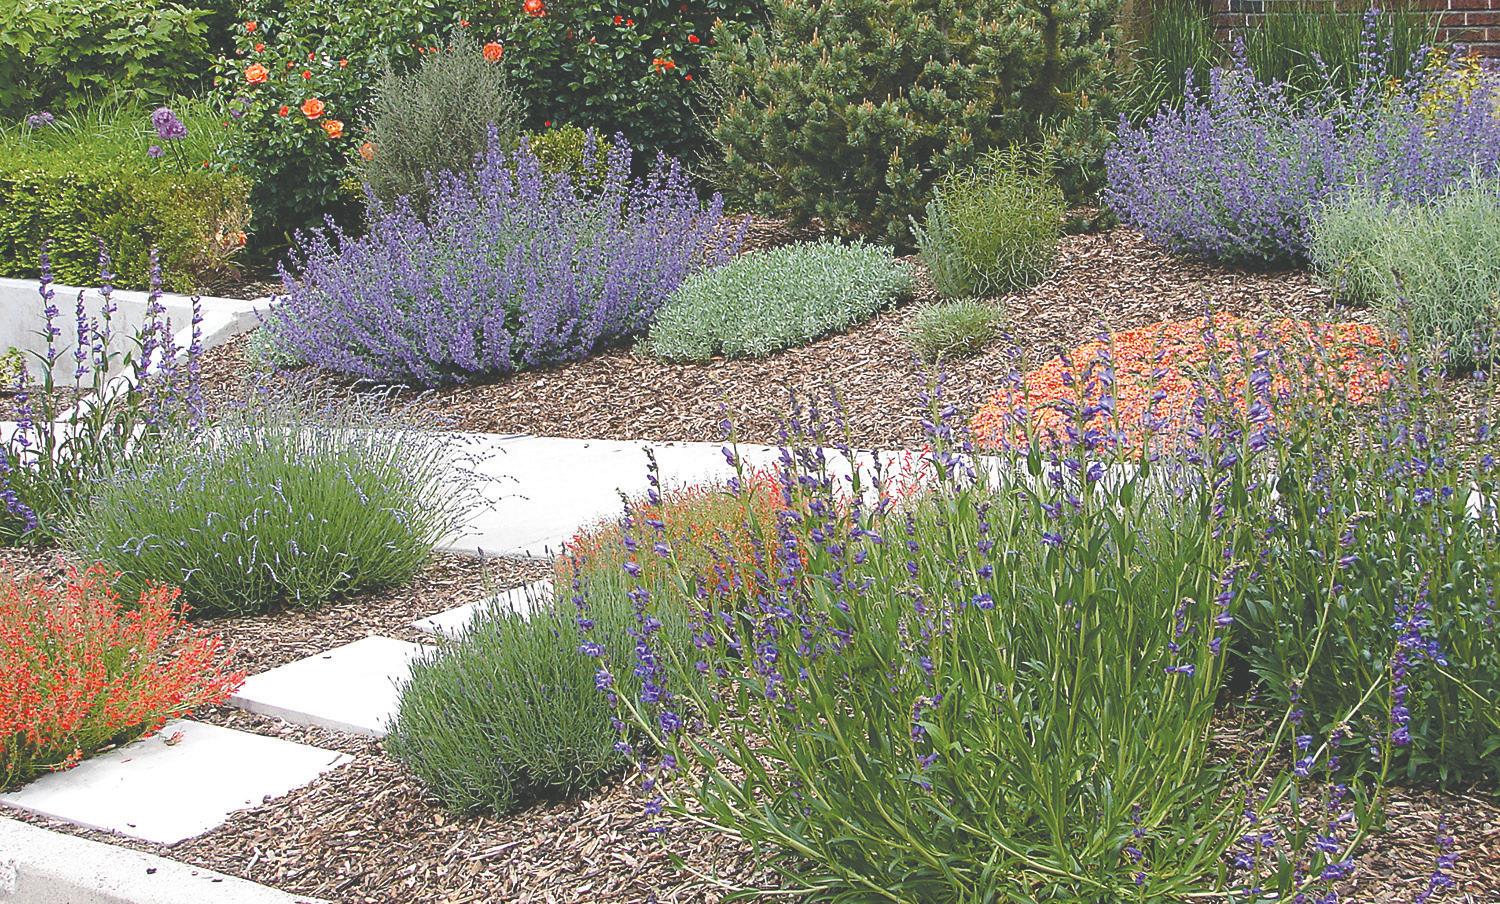
Ready to roll up your sleeves and put the water smarts you've soaked up through this guide to work? Use this step-by-step guide to transform your thirsty turf into a colorful, drought-tolerant wonderland. You'll learn how to remove turf, convert sprinkler heads, select plants, and install your new landscape.
Get the most bang for your backyard buck when you use the City’s turf removal, drought tolerant plant and drip irrigation rebate programs while you DIY your way to an OMGorgeous landscape.
PLANNING
Thinking through your drought-tolerant landscape before you start planting can pay off big-time later.
1. Draw a map of your property (see page 19).
· Note trees, fences, walkways, and buildings. · Indicate areas of sun and shade. · Study drainage patterns and note sloped areas.
2. Think about how each area will be used. Consider:
· Outdoor living and play areas. · Pathways and visual barriers to create privacy. · Access to and ease of mowing grass areas. · If your yard is sloped, terraces reduce erosion and run-off. · Trees and shrubs located near buildings offer heating and cooling.

DESIGNING Familiarize yourself with drought-tolerant plant choices.
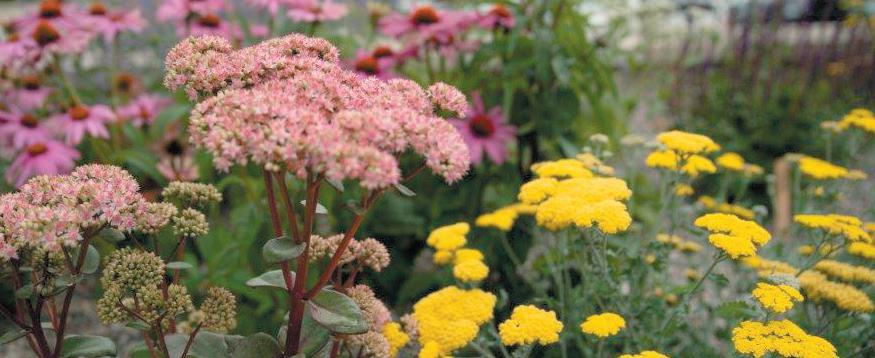
· The Bozeman area is hardiness Zone 4. Select plants that are listed as Zone 4 or lower. These plants will thrive in Bozeman’s climate based on Bozeman’s annual minimum winter temperature. · Consider the height, spread, bloom time, color, form and function of plants to make sure they fit your project’s space and purpose. · Consider how much sun your DIY space gets and choose plants that won’t need supplemental watering. · The drought tolerant plant guide, starting on page 20, will help kick-start the selection process. · Visit one of our community gardens (see page 4) for inspiration.
16 | Water Smart Planting Guide for the Bozeman Area | bozemanwater.com
DIY Water Smart Makeovers
TURF REMOVAL
Now that you have identified areas of your landscape to convert to drought-tolerant plants, make some space by removing your existing turf grass. To earn money back from the City for your turf removal - complete a turf removal pre-application to get pre-approval from the City before starting your project. Here are two methods for removing sod to create a water smart landscape:
Sod Cutter Method Sheet Mulching Method


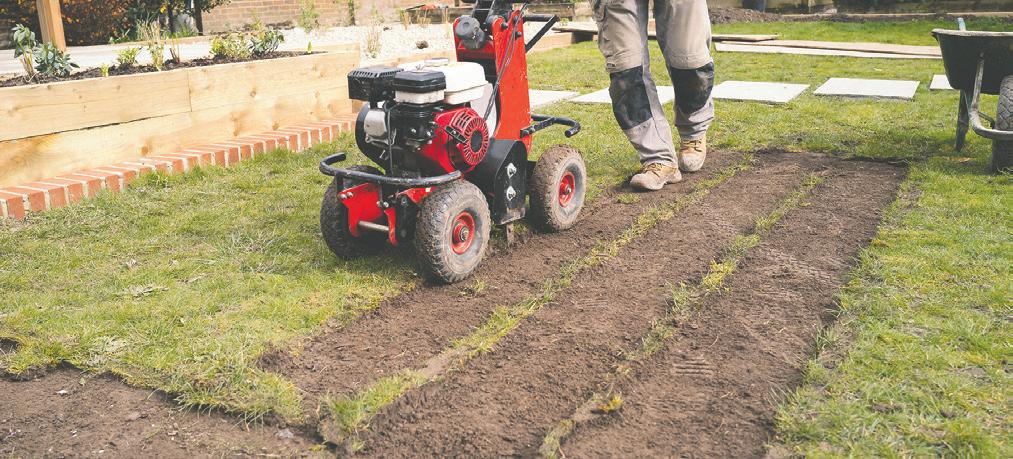
This method provides instant results and is the most efficient method for permanently removing turf grass.
1. Based on your plan and design, outline the grass area that needs to be removed. You can use a garden hose, string, or anything that can clearly define the edges of the project area. 2. Contact your utility services and flag all sprinkler heads before digging to avoid damage to your utility lines or sprinkler system. 3. Hand dig a trench next to sidewalks, driveways, corners, and any other areas that might be difficult to access with the sod cutter. 4. Reserve a sod cutter available for rent (or use a garden spade and/ or broad fork) to cut the turf into narrow strips and roll them up as you go. 5. Some options for the turf you’ve removed: · Convert it to compost (see page 7). · Salvage the soil. Turn the turf upside down, water thoroughly, then cover with cardboard, a layer of compost, and then a top layer of mulch. Water this landscape lasagna thoroughly again. It may take up to a full summer season before grass dies off and you can use the dirt in other projects. This turf removal method is best suited for flat, small to medium-sized areas, but could take 1-2 seasons before it is ready for conversion into a water smart landscape.
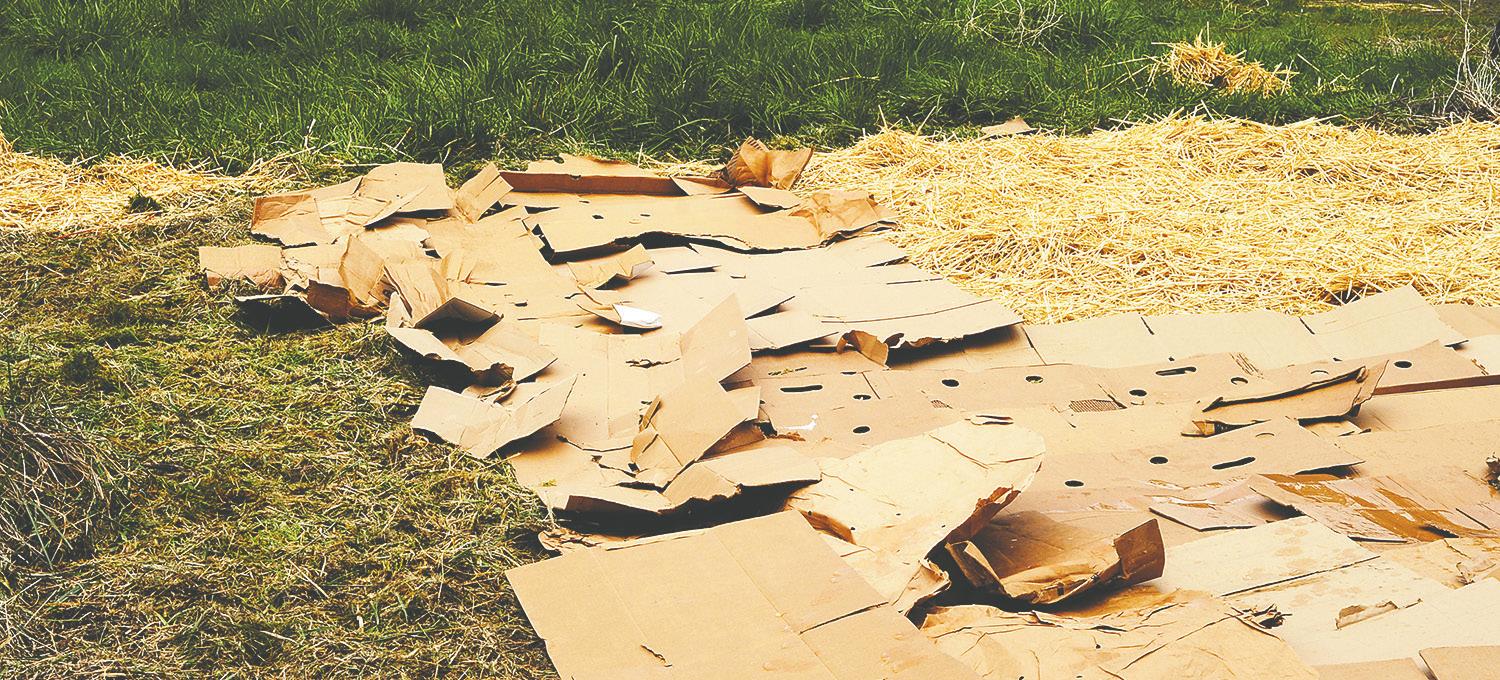
1. Based on your plan and design, outline the grass area that needs to be removed. You can use a garden hose, string, or anything that can clearly define the edges of the project area. 2. Cut the grass in the project area as short as you can, leaving the grass clippings in place and water thoroughly after mowing. 3. Locate all sprinkler heads in the area and cap them, turn off the sprinkler system zone, or convert to a drip irrigation system (see page 18). 4. Apply a layer of compost over the grass (1” if animal based, 2-3” if plant based) and water thoroughly. 5. Block light on the area by covering with painter’s paper, newspaper, or cardboard making sure to overlap the edges by 6-8”. 6. Add another layer of compost over the light blocking layer. 7. Cover the entire area with wood mulch and water thoroughly. 8. Wait for grass to die off completely before planting.

Water Smart Planting Guide for the Bozeman Area | bozemanwater.com | 17
DIY Water Smart Makeovers
SPRINKLER CONVERSION
Chances are, the sprinkler system in the area you’re converting to a water smart landscape isn’t ideal for the drought-tolerant plants you’ll be installing. If you removed turf, the rotor or spray irrigation left behind should be converted into drip irrigation to optimize water savings and the health of your new landscape.
TIP: If you have an older irrigation system, we recommend checking the specifications on your automatic irrigation zone control valve before starting your project to make sure the existing valve can handle the low flow rate of the new drip system.
Drip Conversion Kit:
· ½” female to male conversion elbow · 1/2" drip tubing · Backflow preventer · T filter (with male thread facing downward near the ground) · Pressure regulator attached to the T filter · Swivel hose tubing adapter (attached to pressure regulator)

18 | Water Smart Planting Guide for the Bozeman Area | bozemanwater.com
PLANTING
Now is when all the planning and groundwork you’ve done can come to life. Here are some tips for success: · Purchase plants when you have time allotted to plant them. · Before planting, give your soil some amendment love (see compost on page 7). · Dig holes to match your plant’s depth and 2 times the diameter of the pot it’s in. · Plant in morning or evening to reduce stress from the sun. · Gently loosen the plant from the container by turning it upside down and squeezing the container’s base while you help release the plant from the pot. · Place your plant in the hole, then fill 1/3 of the way up with soil around the sides, add water and repeat until the soil meets the base of your plant. The extra layers of water will help alleviate the stress of being placed in a new environment. · If needed, add emitters to the drip line to target plant roots. · Add mulch to finish off your landscaping.
See page 7 for mulch tips.
MAINTENANCE AND TIPS
· Prune shrubs and trees when they are dormant. Pruning during the growing season will spur growth and increase watering needs. · Avoid pruning more than 1/3 of the plant material at any one time. · Weed regularly to leave more water and nutrients available for your plants. Weeding in spring and fall is best. · Add mulch to your landscape bed (about 2-3” in depth) to hold in soil moisture. · Check your sprinkler system for leaks and repair as needed. · Deadhead perennials throughout the summer months to keep them blooming.
LET'S GET STARTED
· Use the grid at right to draw a map of your property. · Start making a list of plants you want to use, see the Plant
Lists on the following pages to determine what plants will work best for your new landscape.
Water Smarter DIY Water Smart Makeovers
Water Smart Planting Guide for the Bozeman Area | bozemanwater.com | 19


