


High-Accuracy Height Gauge
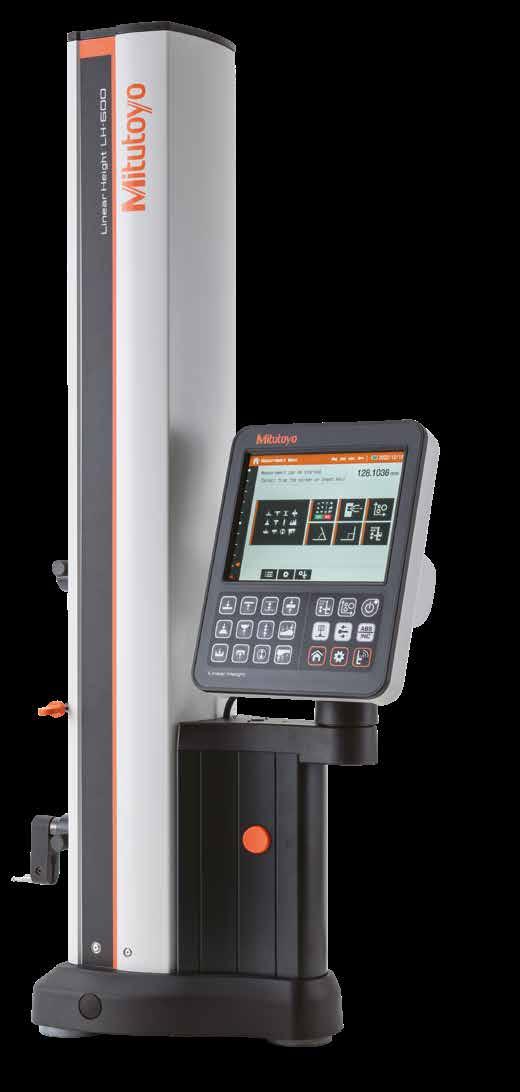
LH-600F/FG
Suitable for even beginners, navigate easily via keypad and touchscreen operation
Conduct various measurements such as 2D measurement and perpendicularity measurement with just one tool
Optional probes provide versatile measurement capabilities
Enhanced data output functions make it easier to manage your measurement data


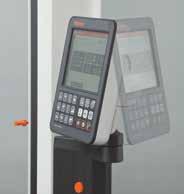
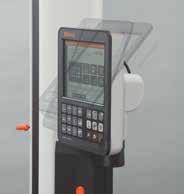

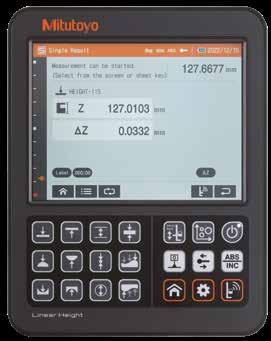
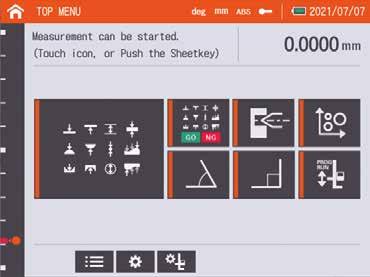
Simple, straightforward keys with icons
Icons allow the user to find the required operation at a glance.
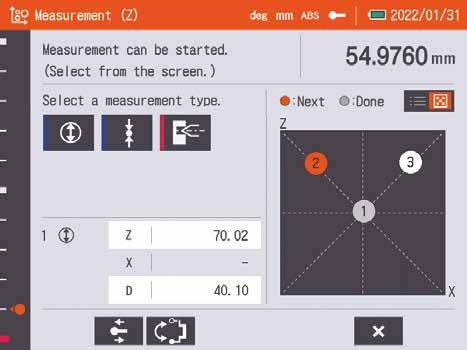
Touch panel with guidance
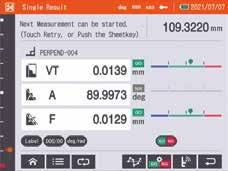
Measurement guidance is displayed on the large touch panel of the 8,4-inch color LCD, enabling intuitive operation.
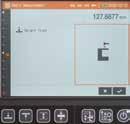
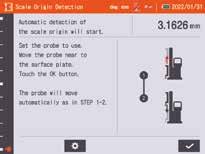
Automatic scale check
use
On start up the user is led through the menu to set the scale origin and run the automated procedure to check the scale for contamination.
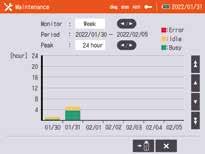
A notification will be displayed before the calibration due date that the user has set.

even beginners, navigate
Home screen
With the intuitive menu, even beginners can easily access various operations and settings.

Measurements
Basic measurements (ABS)
· Basic measurements (ABS, INC×5)
Angle measurements
Hole position measurements
· Perpendicularity and straightness measurements

2D measurements
· Part program measurements (1D, 2D)
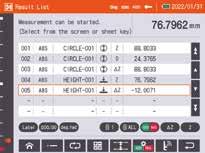
Operation log data is retained for up to 2 months, and can be output to a USB memory device.
To enable efficient measurements the user can repeat the last measurement with the optional footswitch or on-screen button.


This function allows the user to register the hole position of the workpiece before measurement.
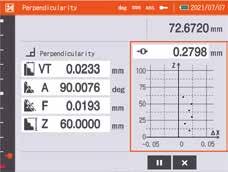

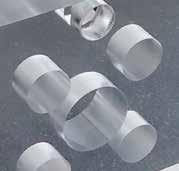
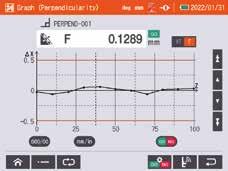
Perpendicular/ straightness measurement "Graph Creation"
You can check the measurement results of perpendicularity and straightness in real-time during measurement. After the measurement, you can easily see the trends of the measurement results in a graph.

You can easily access and use the functions of Create, Run, Edit, and View results of part programs.
or Touch panel Notes
Part program contents
Sheet key

Part program list
Create a new part program
Example of performing part program measurement
Save part programs
Execute Edit part programs
Display measurement results from a part program
Run the program repeatedly (when the number of executions is >1)
Set the number of times to repeat measurements and run the program. Run the registered contents one by one.


Copy part programs to other devices
Display the result for one execution of the program.
You can copy part programs to other devices via USB storage device.
Display all results for one execution of the program.
Display all results of N times of executing the program.


With the new optional probes, you can now measure areas that were beyond the capacity of conventional probes.
Example of deep hole measurement
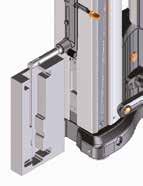
An extension holder and a depth stylus extend the measuring range both horizontally and vertically
Three types of optional probes:
1. The holder and the stylus can be freely combined according to the purpose of measurement, and the measurement area can be changed.
2. This type is used for single-use measurements such as measuring a tapered hole or a knife edge.
3. This type is used to measure straightness and perpendicularity.
You can adjust the balance of the slider by adjusting the number of auxiliary weights. (Magnetic auxiliary weights are easy to add and remove.)
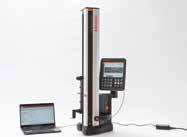
LH-600F (without grip)
518-360-13
U-WAVE PAK-BM *1
U-WAVE Navi *2
LH-600FG (with grip)
518-361-13
*1: Available at Apple Store and Google Play for free download. *2: Available at Google Play for free download.
*3: Excel is a registered trademark of Microsoft Corporation. *4: It is also possible to connect with a Bluetooth-compatible PC.
*5: MeasurLink® is a registered trademark of Mitutoyo Corporation (Japan) and Mitutoyo America Corporation (USA).


Part No.
Product name
12AAY483 Receipt printer (for EU countries, excluding the UK)*6
12AAY484 Receipt printer (for the UK)*6

12AAN052 Printer paper for receipt printer (set of 10)
12AAY485 Printer mounting attachment
12AAN146 Connection cable for printer (USB memory device)*7
12BAF812 USB cable (type A - type B) (2 m)

543-700B Digimatic indicator (ID-C0512NXB)


543-701B Digimatic indicator (ID-C0512MNXB)
519-521 Lever head probe MLH-521
519-561 Mu-checker M-561
936937 Digimatic cable (1 m)

965014 Digimatic cable (2 m)
*6: A small printer (optionally battery-powered) that can be mounted on the main unit. It includes a printer cable and mounting bracket.

*7: USB memory devices should be formatted with FAT16/32. NTFS and exFAT are not supported.
(DP-1VA) (with AC-Adapter BS Type)
USB Input Tool Direct (Digimatic USB Cable)
USB Input Tool
(Buzzer type)
U-WAVE-T (IP67 type)
02AZD880G U-WAVE-T (Buzzer type)

12AAY486 U-WAVE T mounting bracket
02AZG011 Bidirectional Diaimatic S1 cable (160 m)

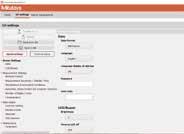
You can easily create and save inspection reports and configure device parameters.
• Available at Mitutoyo website for free download.
• To connect to a PC, use a USB cable (type A-B).
Specifications
Model
Order No. mm/inch
LH-600F
518-360-13
LH-600FG
518-361-13
Power grip Without power grip With power grip
Measuring range (Stroke)
Digital step
Accuracy (at 20 °C)
Indication accuracy*8
Repeatability*8
Perpendicularity (forward and backward)*9
Straightness (forward and backward)*9
Driving method(speed)
Scale unit
Measuring force
Main unit moving mode
Display unit
Adjustment of display unit
Preventive maintenance
Probe diameter compensation
0 to 977 mm (600 mm) 0 to 38 in (24 in)
0,0001/ 0,001/ 0,01/ 0,1 mm (selectable)
0,000001/ 0,00001/ 0,0001/ 0,001 in (selectable)
± (1,1 + 0,6L / 600) μm, L= Measured length (mm)
Plane: 0,4 μm (2 σ), Hole: 0,9 μm (2 σ)
5 μm (after compensation)
4 μm (mechanical accuracy)
Motor-driven (5, 10, 15, 20, 25, 30, 40 mm/s: 7 steps) / Manual
Photoelectric incremental encoder STVC-20Z
1 N (automatic constant-force function)
Full-floating (moving) / Semi-floating (measuring) Air bearing (built-in compressor)
8,4 inch touch-screen, LCD
Stepless tilt adjustment: 0 to 40°
Stepless swivel adjustment: -30 to 180°
Scale status notification, calibration schedule notification
· Semi-automatic compensation using the probe diameter calibration block (standard accessory)
· Compensation by inputting the probe diameter
Power supply AC adapter 100-240V±10% 50/60Hz/ Battery (NiMH)
Battery operation time*10
Battery powered(standard): 4 hours, Powered by 2 batteries: 8 hours
Battery charging time*11 Approx. 3,5 hours (can be used while charging)
Dimensions (W×D×H) 238 (W) × 492 (D) × 996 (H) mm
Mass 26,1 kg 26,6 kg
Operating temperature / humidity ranges 5 to 40 °C/ 20 to 80% RH (non-condensing)
Data output Digimatic d2/ S1 (bi-directional communication)
*8: Specification determined at in-house ambient temperature
*10: In-house standard(floating and motor-driven vertical movement, operated at 25%)
Dimensions
LH-600F (without grip)
Standard accessories
*9: Guaranteed when using the Lever Head (519-521) and Mu-Checker (519-561).
*11: When ambient temperature is 30 °C or higher, the battery may not be charged sufficiently.
mm
LH-600FG (with grip)
ø5 stepped probe, ball-diameter compensation block (with cover and base), auxiliary weight (2 pcs. pre-mounted), battery pack (1 pc)*12, AC adapter, power cable for AC adapter (optional), clear cover, conveying handle, cap, hex wrench, manual set, inspection certificate, Touch pen, protective sheet, Phillips screwdriver
*12: One piece included as standard. Optional additional battery (using a total of two batteries) for longer battery-powered operation.
Special accessories
Additional battery pack (Part No.: 12AAF712), model workpiece (Part No.: 12AAA879)
Whatever your challenges are, Mitutoyo supports you from start to finish.
Mitutoyo is not only a manufacturer of top quality measuring products but one that also offers qualified support for the lifetime of the equipment, backed up by comprehensive services that ensure your staff can make the very best use of the investment.
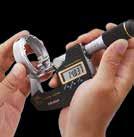
Apart from the basics of calibration and repair, Mitutoyo offers product and metrology training, as well as IT support for the sophisticated software used in modern measuring technology. We can also design, build, test and deliver measuring solutions and even, if deemed cost-effective, take your critical measurement challenges in-house on a sub-contract basis.
www.mitutoyo.eu
Note: All information regarding our products, and in particular the illustrations, drawings, dimensional and performance data contained in this printed matter as well as other technical data are to be regarded as approximate average values. We therefore reserve the right to make changes to the corresponding designs, dimensions and weights. The stated standards, similar technical regulations, descriptions and illustrations of the products were valid at the time of printing. In addition, the latest applicable version of our General Trading Conditions will apply. Only quotations submitted by ourselves may be regarded as definitive.
Mitutoyo Europe GmbH
Borsigstraße 8-10
41469 Neuss
Tel. +49 (0) 2137-102-0
info@mitutoyo.eu
www.mitutoyo.eu