14 minute read
Domestic bliss Discover the how-to behind the MIH laundry makeover


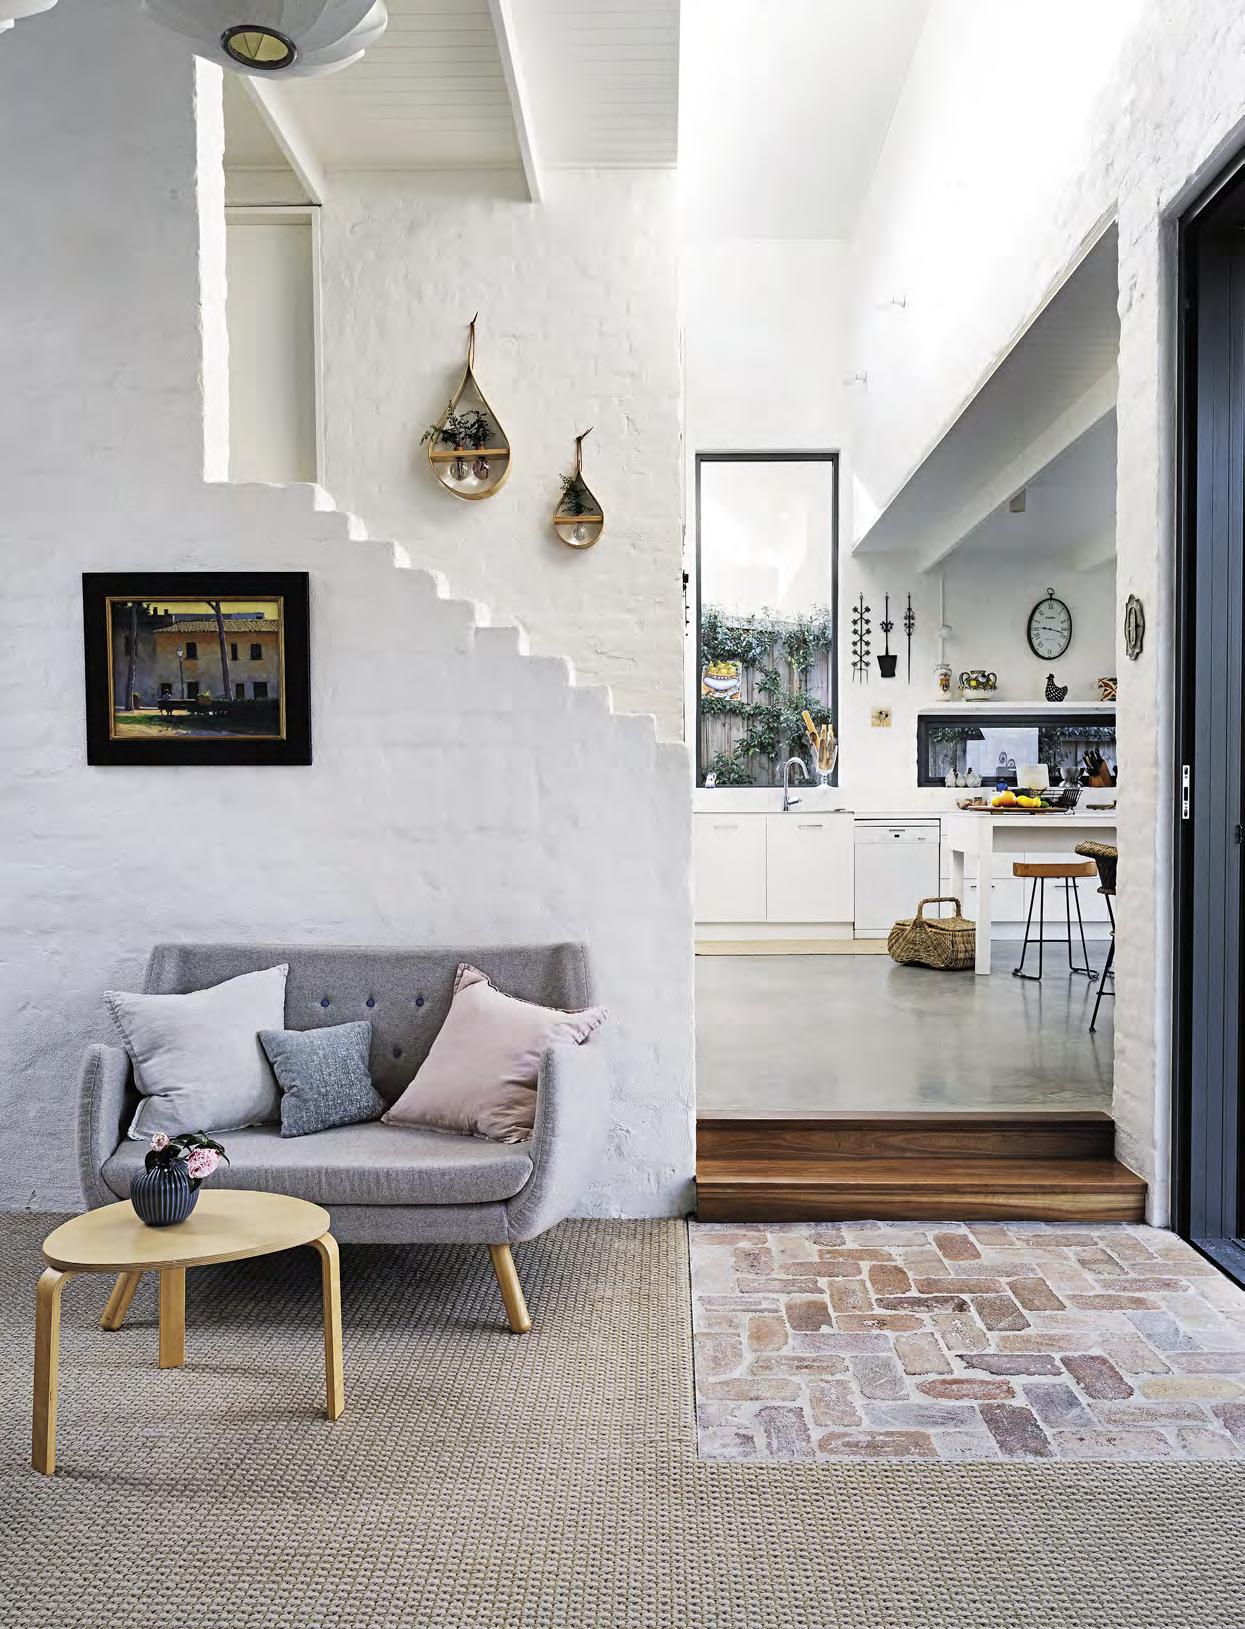
53 Update it
Laundry projects
The drying drawer was positioned over an existing heating vent, perfect for catching moving warm air


Domestic bliss
Borrow these DIY ideas from Make It Happen episode 4, for a better and brighter laundry at your place
With the help of the Bunnings Make It Happen crew, Dave and Lisa transformed their laundry into a space that looks lovely and functions beautifully. Upgrade your own laundry with these DIY projects – a creative drying rack hack and an easy tiling job – for a fab new look.
PULL-OUT DRYING RACK
This pull-out drying drawer is an affordable and easy DIY that offers another spot to dry clothes when it’s wet outside. However, unlike traditional drying racks, it can be neatly packed away when not in use, leaving your laundry free of clutter. All you need is an existing drawer to transform!
Your DIY toolkit
1
2 3
1 Flexi Storage 565mm walk-in wardrobe hanging rail, $6.30, I/N: 0064798. 2 Craftright 300mm tubular hacksaw, $4.95, I/N: 5710239. 3 Ryobi ‘ONE+’ 18V drill driver, $99.98/skin only (battery and charger sold separately), I/N: 0096074. Some products are not available at all Bunnings stores, but may be ordered. TOOLS & MATERIALS Safety equipment (ear and eye protection) Drill with driver and 2mm bits Screwdriver Tape measure and pencil Hacksaw Phillips head screwdriver Combination square 565mm robe hanging rails with supplied brackets and screws Quick-grip clamp Painter’s tape
TIP
When selecting your drawer, consider what’s underneath and around it to make sure it won’t be a hindrance when in use

1Remove the drawer from the cabinet and use a drill with driver bit to remove the runners and unscrew the sides to slide out the base. Reassemble the drawer and tighten the screws. Tip: If the sides don’t unscrew, use a jigsaw to cut out the base. 2Measure the inside length of the drawer to check how many rails will fit, allowing at least 60mm between them. Measure the inside width for the rail length and subtract 5mm to allow for the brackets. Tip: The rails are 20mm thick; we used five.


3On the hanging rails, mark the length of the drawer rails. Clamp each rail to a flat surface and cut to size with a hacksaw. Tip: Position a drop sheet or cardboard underneath to catch the shards.

5Secure the brackets into the holes with the supplied screws, then drop in the rails. 4Use a combination square to mark a line along the sides at least 40mm up. Mark out the rails. Use a bracket as a template to mark holes, then pre-drill with a 2mm bit. Tip: Wrap tape around the bit 10mm from the end to indicate the depth.
6Reposition drawer runners and secure with screws, then slide drying rack back into the cabinet. }
54 Update it

Laying tiles vertically can help to draw the eye upwards and create the illusion of height

1Spread a drop sheet over the benchtop and prepare the wall by using a paint scraper to remove flaking paint or bumps. Tip: Clean up with a dustpan and brush, then remove dust from the wall with a damp cloth. 2Measure each row and mark the back of the tiles that need cutting with a pencil. Position them upside-down in the tile cutter, scoring along the mark with the blade and pushing the handle down to snap the tile.


TILE A SPLASHBACK

A new splashback can transform any laundry space, introducing a fresh and bright new look that makes doing the washing that bit nicer. Best of all, with the right tools and preparation, tiling is a task you can do yourself. To work out how many tiles you’ll need, carefully measure the width and height of the area and allow for spares in case of breakage while cutting to size.
TOOLS & MATERIALS Safety equipment (eye protection, gloves and mask) Paint scraper Dustpan and brush Cloth Tape measure and pencil Measuring jug Bucket 6mm square-notch trowel Sponge Rubber trowel Spray bottle Drop sheet Tiles Tile cutter Tile adhesive 3mm tile spacers Grout Wet-area silicone with caulking gun
Your DIY toolkit
1 2
3
4
1 DTA ‘Handyman’ 300mm tile cutter, $32.99, I/N: 6651774. 2 QEP 3mm cross type tile spacers, $3.52/pack of 100, I/N: 6821850. 3 Sabco jumbo wash sponge, $4, I/N: 0065282. 4 DTA 6mm bright steel notch trowel, $19.85, I/N: 6820927. Some products are not available at all Bunnings stores, but may be ordered. 3Following package instructions, use jug to measure tile adhesive into a bucket, slowly adding water and mixing to a smooth paste with a scraper. Beginning with the base row and working in sections, apply it evenly onto the wall with a 6mm square-notch trowel.

5To lay the next rows, add spacers along the base and between tiles for even gaps, checking they line up vertically and horizontally. When complete, wipe over the tiles with a damp sponge to remove excess adhesive. Leave to cure for 24 hours.

7Clean off excess grout with a slightly damp sponge, wiping diagonally to ensure the gaps are filled evenly. Leave for 24 hours, then wipe away remaining grout residue from the face of the tiles. Tip: Keep the sponge clean by regularly rinsing in cold water and squeezing out the excess. 4 Push the first tile into the adhesive so it stays against the wall, but not so hard it squeezes out the sides. Position the next tile, adding spacers for even gaps. Tip: At the end, place the cut tile with the raw edge facing outwards, away from the row.

6Following package instructions, measure grout into a bucket, gradually adding water and mixing to a smooth paste with a scraper. Apply onto tiles with a rubber trowel, using a swirling motion to fill the gaps diagonally, removing excess and leaving to dry for 30 minutes.

8When grout has cured, apply silicone around the outside of the splashback, holding the caulking gun at 45° and running it along the edge of the tiles with constant pressure. Spritz silicone with water from a spray bottle and run a finger along it to remove excess, then leave to dry. ◆
DIY and organising expert Ange (@eversohomely) demonstrates handy cleaning hacks using
30 Seconds ‘Window Wonder’

Spring fling

The secret to stress-free spring cleaning is using the right products. 30 Seconds takes the hard work out of deep cleaning, inside and out
Before
30 Seconds ‘Mould Off’ cleaner, $11.50/1L, I/N: 4460441.
An annual deep clean is an opportunity to tackle surfaces inside and out, and leap into spring feeling fresh! Go beyond mere maintenance cleaning and deal with things like manky windows, mildewed cupboards and mossy pavers. It’s a daunting job, but you’ll be rewarded with a house that’s sparkling, shipshape and ready for summer entertaining.
Grab a high-quality cleaning product like those from New Zealand brand 30 Seconds. They’ll have you covered for every corner and cranny.

CLEAR VIEW
Getting your windows sparkling is the best way to welcome in spring sunshine. 30 Seconds ‘Window Wonder’ with rapid hose technology puts the shine back into outdoor windows, French doors and sliding glass doors, even reaching second storey windows without the hassle or danger of clambering up and down a ladder.
OUTSIDE FAVOURITE
30 Seconds outdoor cleaner with rapid hose technology laser-targets almost everything the elements can throw at your home, from algae to moss, mould and mildew, treating surfaces including timber, paint, concrete, bricks, paving, terracotta and plastic. The signature rapid hose technology includes a three-mode, no-waste nozzle that connects to your garden hose and makes quick work of grimy driveways, paths, patios, decks, garden furniture (avoiding fabrics) and external walls.
INSIDE JOB
Household dirt comes in many forms. The toughest kinds to clean include mould and mildew, which are typically found hanging out in bathrooms, laundries and other humid spots. Off-putting musty smell aside, mould can be harmful, triggering conditions such as asthma. Cue 30 Seconds ‘Mould Off’, which treats and eradicates mould and mildew from hard surfaces including timber, painted walls and ceilings, tiles, benchtops, sinks, floors and glass – no damaging scrubbing required. Apply Mould Off (following the safety instructions on the pack), then simply wipe with a sponge and rinse.
To tackle the soap-scummed bath, sink and shower, reach for 30 Seconds shower cleaner, which inhibits future mould growth into the bargain.
After
Take old furniture back to brand new with
30 Seconds outdoor cleaner
1 30 Seconds ‘Window Wonder’ outdoor glass cleaner with rapid hose end technology, $25.80/2L, I/N: 4460840. 2 30 Seconds outdoor cleaner with rapid hose end technology, $29.90/2L, I/N: 0130860. 3 30 Seconds shower cleaner, $11.50/1L, I/N: 4461009.
HANDHELD HEROES
When it comes to tools, the biggest model isn’t always the best – or most powerful. Case in point: the ONE+ HP brushless compact cut off tool is light enough to be used with one hand and squeezes into spots too tight for a conventional angle grinder, such as under sinks. The ONE+ HP compact recip saw is similarly made for tight spaces and light enough for one- handed cutting, but with the heart of a bigger tool, delivering 3,000 strokes per minute so you can cut quickly and smoothly. Also designed with access in mind, the ONE+ HP brushless angle drill has a head height of just 89.5mm and single-hand functionality in different grip positions, so you can use it where other drills can’t go.

RYOBI ONE+ HP™ 18V brushless compact recip saw, $199/skin only*, I/N: 0249435

RYOBI ONE+ HP™ 18V brushless angle drill, $229/skin only*, I/N: 0249433

POWER UP
Level up your DIY and gardening tools with RYOBI’s new 18V ONE+ High Performance Brushless range. Tackling tricky jobs is easy with RYOBI, Made by ONE+You
You’re no pro, but your reno, repair and gardening skills have grown to the point where you need to ramp up your toolkit. Cue RYOBI’s new ONE+ HP brushless range, which builds on the popular ONE+ collection and takes things up a notch into the realm of the skilled and passionate amateur – all using the same ONE+ battery platform. Every tool in the range is powered by a brushless motor designed to last longer and deliver extra power and battery run time. Whether it’s cutting hard-to-reach piping or blasting the driveway clean, there’s a gadget for all those tasks that call for a little more power, finesse and speed.

PLUG & PLAY
You may be upgrading your kit, but you don’t want to chuck out all the great tools you've already got. Fortunately, the ONE+ HP brushless range shares the same universal battery platform as the ONE+ collection and the rest of the ONE+ HP brushless products launching later this year. All up, your plug-and-play 18V battery will power more than 100 tools, covering you for just about any project you could think of and allowing you to build the ultimate collection.
RYOBI ONE+ HP™ 18V 9.0Ah lithium+ battery, $199, I/N: 6210807
RYOBI ONE+ HP™ 18V brushless compact cut off tool, $169/ skin only*, I/N: 0249438

RYOBI ONE+ HP™ 18V brushless impact wrench, (available in spring)
POWER HOUSE

For the really tough jobs, you need powerful tools. The RYOBI ONE+ HP range has just what you need for complex DIY and larger garden jobs, those tricky tasks that other tools can’t handle, like an impact wrench to tighten nuts or bolts, or loosen rusted nuts that have frozen in place. Need to punch into concrete or masonry? The ONE+ HP rotary hammer drill has the muscle to drill through even the hardest materials.

RYOBI ONE+ HP™ 18V brushless SDS rotary hammer drill, (available in spring)
SHED CRED
As every keen gardener will tell you, the only sure things in life are death, taxes and leaf litter. Make short work of garden debris with the RYOBI ONE+ HP brushless jet fan blower – minus the annoyingly loud whine of most blowers, thanks to its whisper-quiet noise-reduction technology. And you’ll be that much closer to achieving your dream lawn with the ONE+ HP brushless lawn mower, with a signature EasyEdge feature to trim borders without the need for another tool.
RYOBI ONE+ HP™ 18V brushless jet fan blower, $219/skin only*, I/N: 0238941 RYOBI ONE+ HP™ 18V brushless lawn mower, $399/skin only*, I/N: 0238994


One for all

Even if you reckon you know the drill, these revolutionary self-piloting screws from Bremick® will turn your head

Using the same screw to attach timber screening to aluminium, and steel artwork to a concrete wall, might seem like a pipe dream, but it’s not science fiction – the Bremick® MultiONE® is an innovation that blows everything else out of the water.
ONE-SHOT WONDER
Anyone who knows what they’re doing will pre-drill before driving screws into hardwood. Ordinary self-drilling screws are nothing new, but while they’re good for whacking down a few deck boards, they don’t give you the same quality result as pre-drilling properly. How much time would you save if the screw drilled a true pilot hole for itself? Enter the Bremick® MultiONE®; it has a legit drill point that can handle metal as well as timber, even some masonry (including fibre cement sheet). These screws plunge into steel, ironbark and most other materials just like brand-new, razor-sharp drill bits – because that’s what they are at the pointy end.
ANY WAY BUT LOOSE
Many DIYers fear those awkward material combinations, like securing hardwood to softwood, or fibre cement to steel. With MultiONE®, the guesswork disappears – its precision-engineered thread will bite into almost any material. You can even drive the MultiONE® into higher-density or solid masonry, such as concrete or blockwork; in this case, you will need to pre-drill with a tungstentip masonry bit, but no plastic plug is needed – the screw just grips the wall.
1 MultiONE 12G x 60mm ‘Countersunk Truss’ head screws, $54.95/pack of 250, I/N: 0280130. 2 MultiONE 10G x 40mm ‘Countersunk Truss’ head screws, $18.96/pack of 150, I/N: 0280110. 3 MultiONE 10G x 50mm ‘Countersunk Truss’ head screws, $7.50/pack of 35, I/N: 0280061. 4 MultiONE 8G x 28mm ‘Countersunk Truss’ head screws, $7.50/pack of 80, I/N: 0280049. 5 MultiONE 14G x 100mm ‘Countersunk Truss’ head screws, $18.96/pack of 50, I/N: 0280124. 6 MultiONE 8G x 25mm ‘Contour’ head screws, $7.50/pack of 60, I/N: 0280081. 7 MultiONE 10G x 40mm ‘Contour’ head screws, $7.50/ pack of 35, I/N: 0280088. 8 MultiONE 10G x 50mm ‘Contour’ head screws, $38.90/pack of 250, I/N: 0280157. 9 MultiONE 14G x 100mm ‘Contour’ head screws, $17.94/pack of 40, I/N: 0280154. A HEAD OF THE PACK


MultiONE® screws are available in two head types. The Contour head applies strong compressive force, clamping the surface material firmly to the substrate when driven. The Countersunk Truss head, on the other hand, features an ingenious collared thread that will ensure a flush, consistent finish, effortlessly, every time.
FEATURE PACKED
MultiONE® screws have yet more features to love. MultiONE®’s Torx®* compatible drive, as the name suggests, lets you apply monster levels of torque to the screw – and another advantage is that the positively engaged socket helps it happily stay on the free included driver bit, hands free. MultiONE® is also seriously built to last. Second only to solid 316/304 stainless steel, MultiONE® screws have the B8® coating, which is rated eight times tougher than even Class 4 galvanised, providing maximum abrasion and corrosion resistance. If you need more features, the B8® coating even provides 30 per cent faster drilling!