5 minute read
SB Living


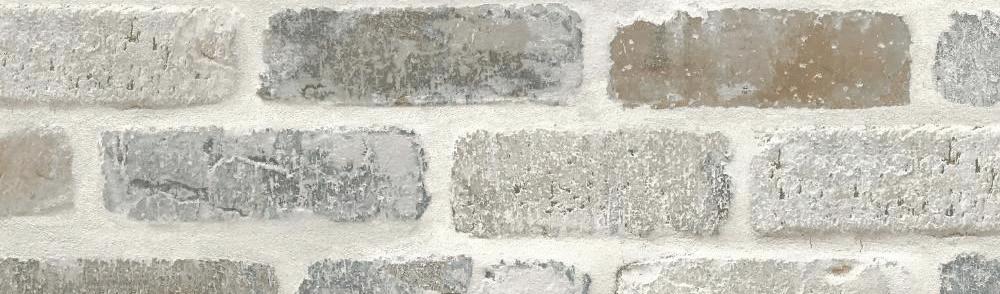
decorative custom FAUX BRICK
Have you been searching for an inexpensive way to add rich texture to your home without a complete remodel?
Faux brick panels are an amazing option! Whether you have a brand new home, or one that is older…the addition of textured walls creates an eye-catching statement in any room!
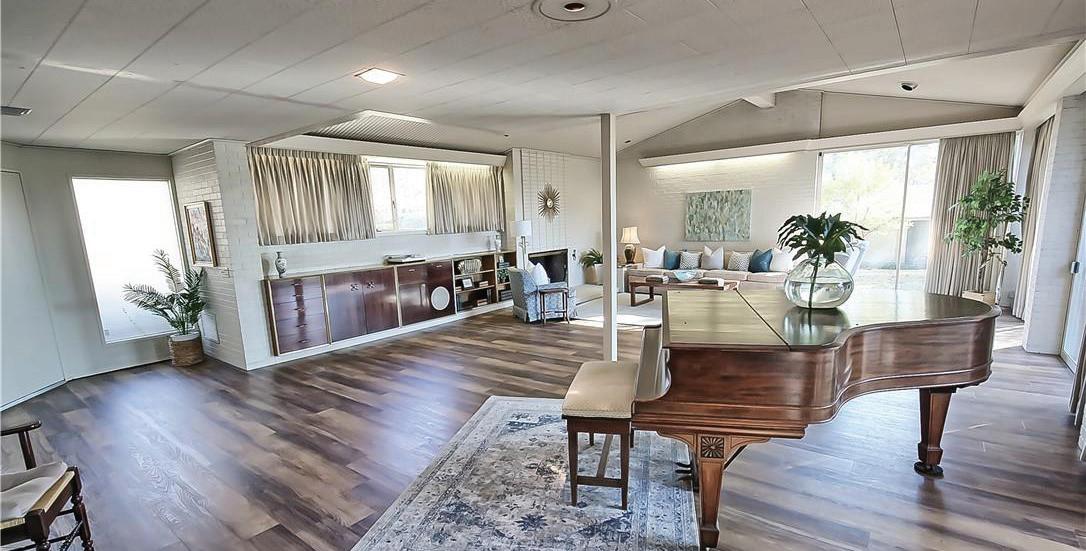
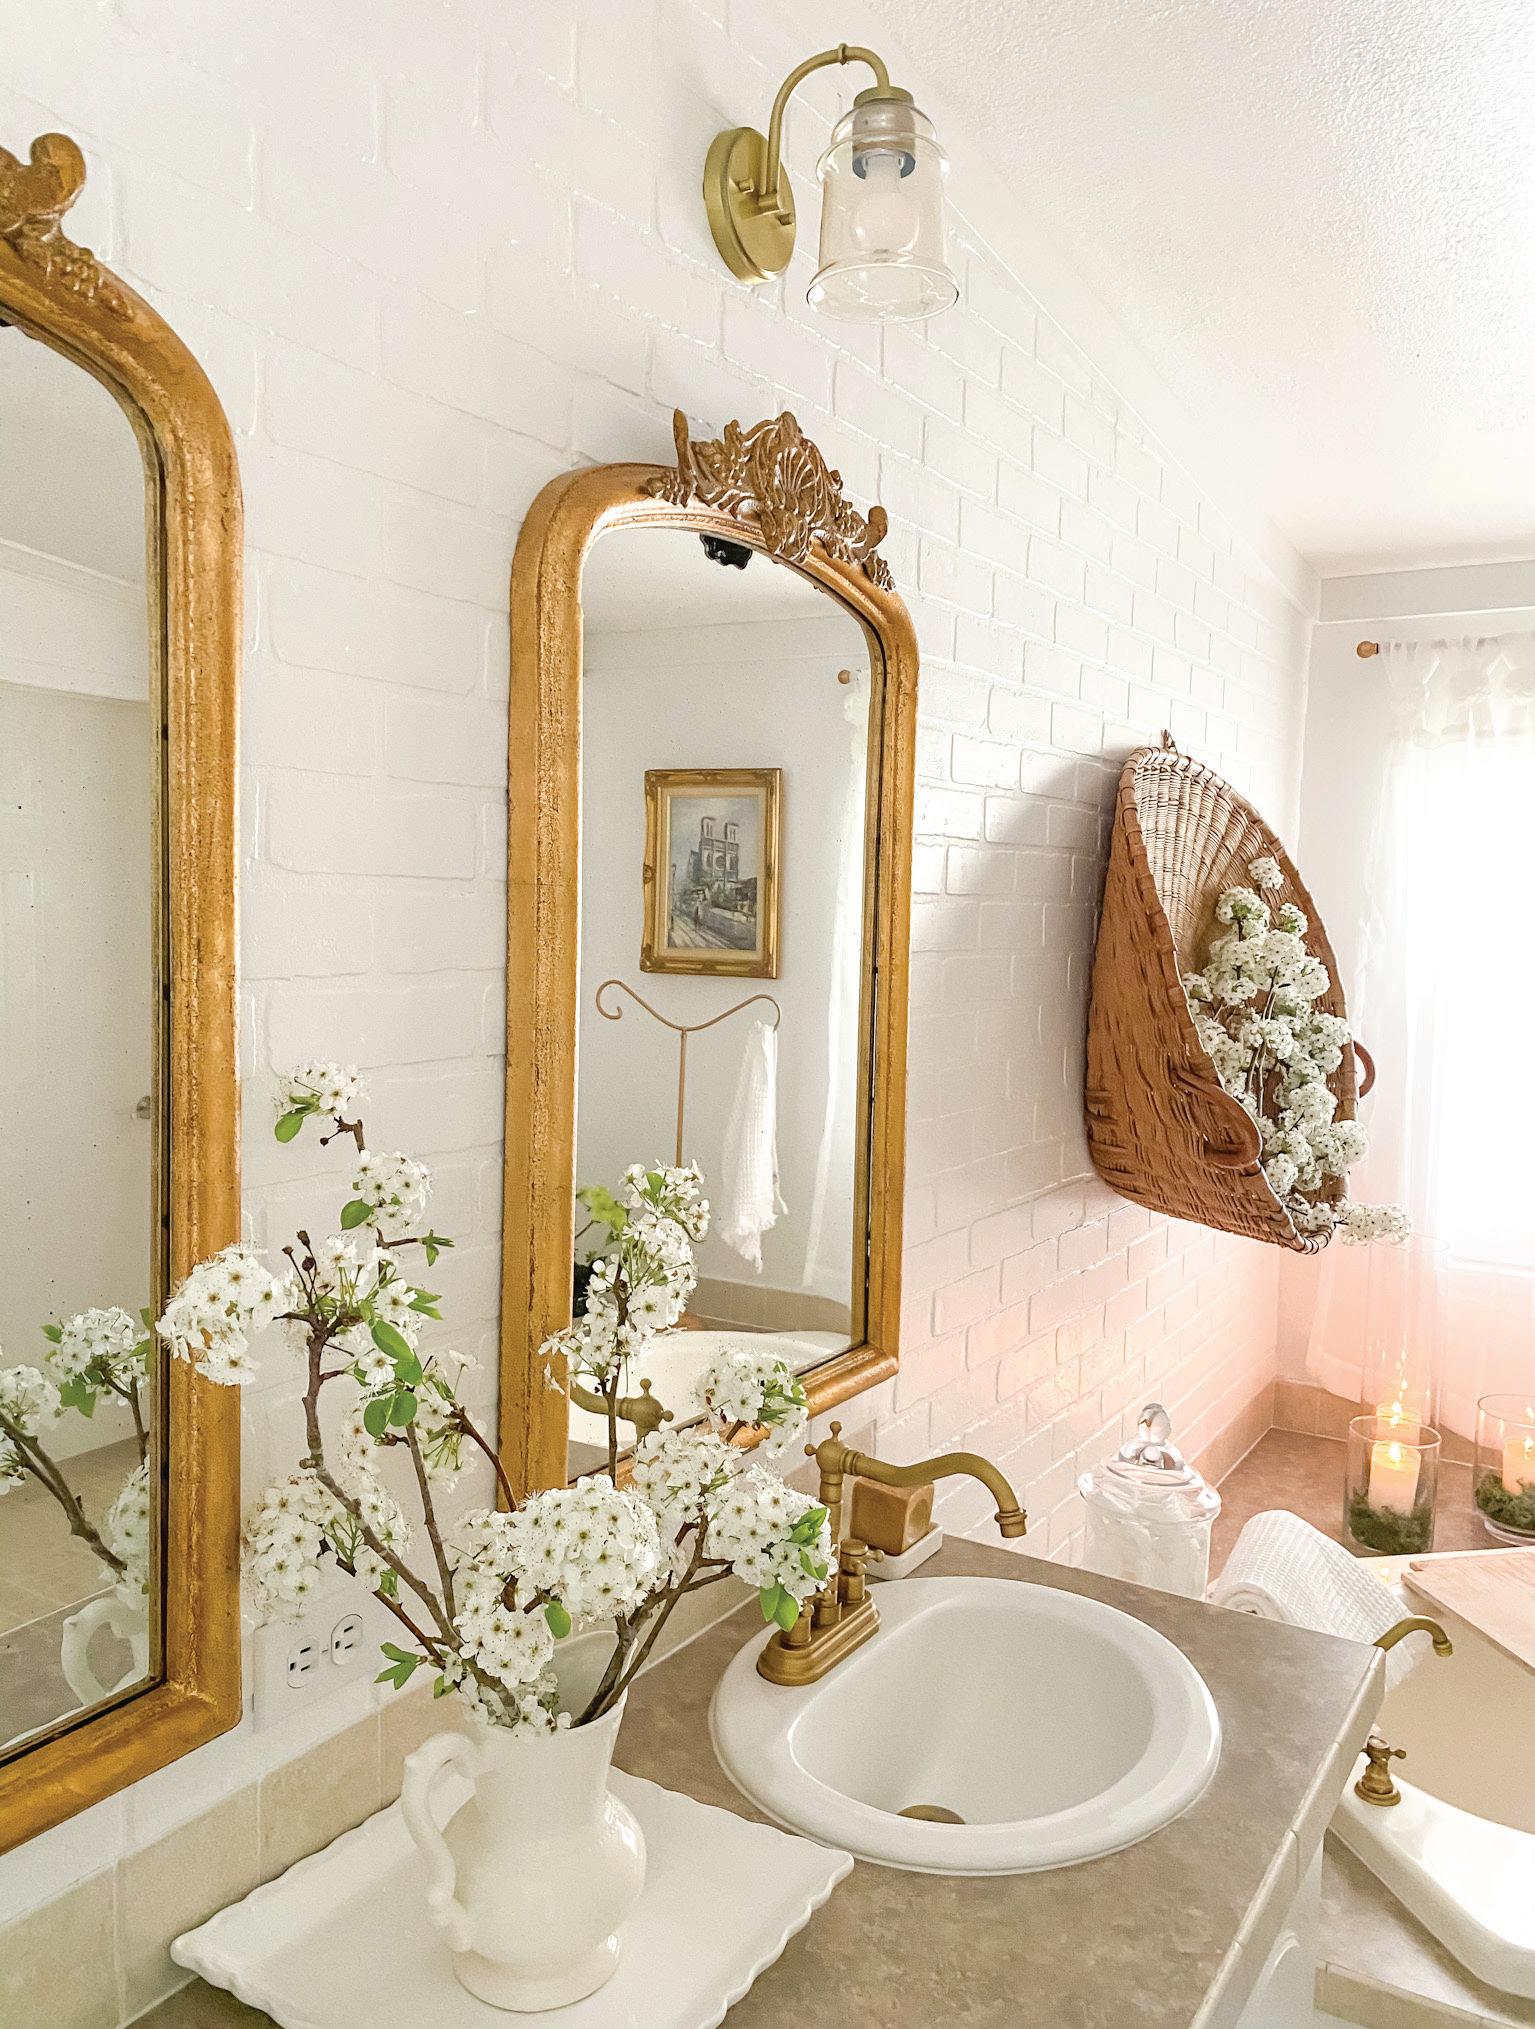
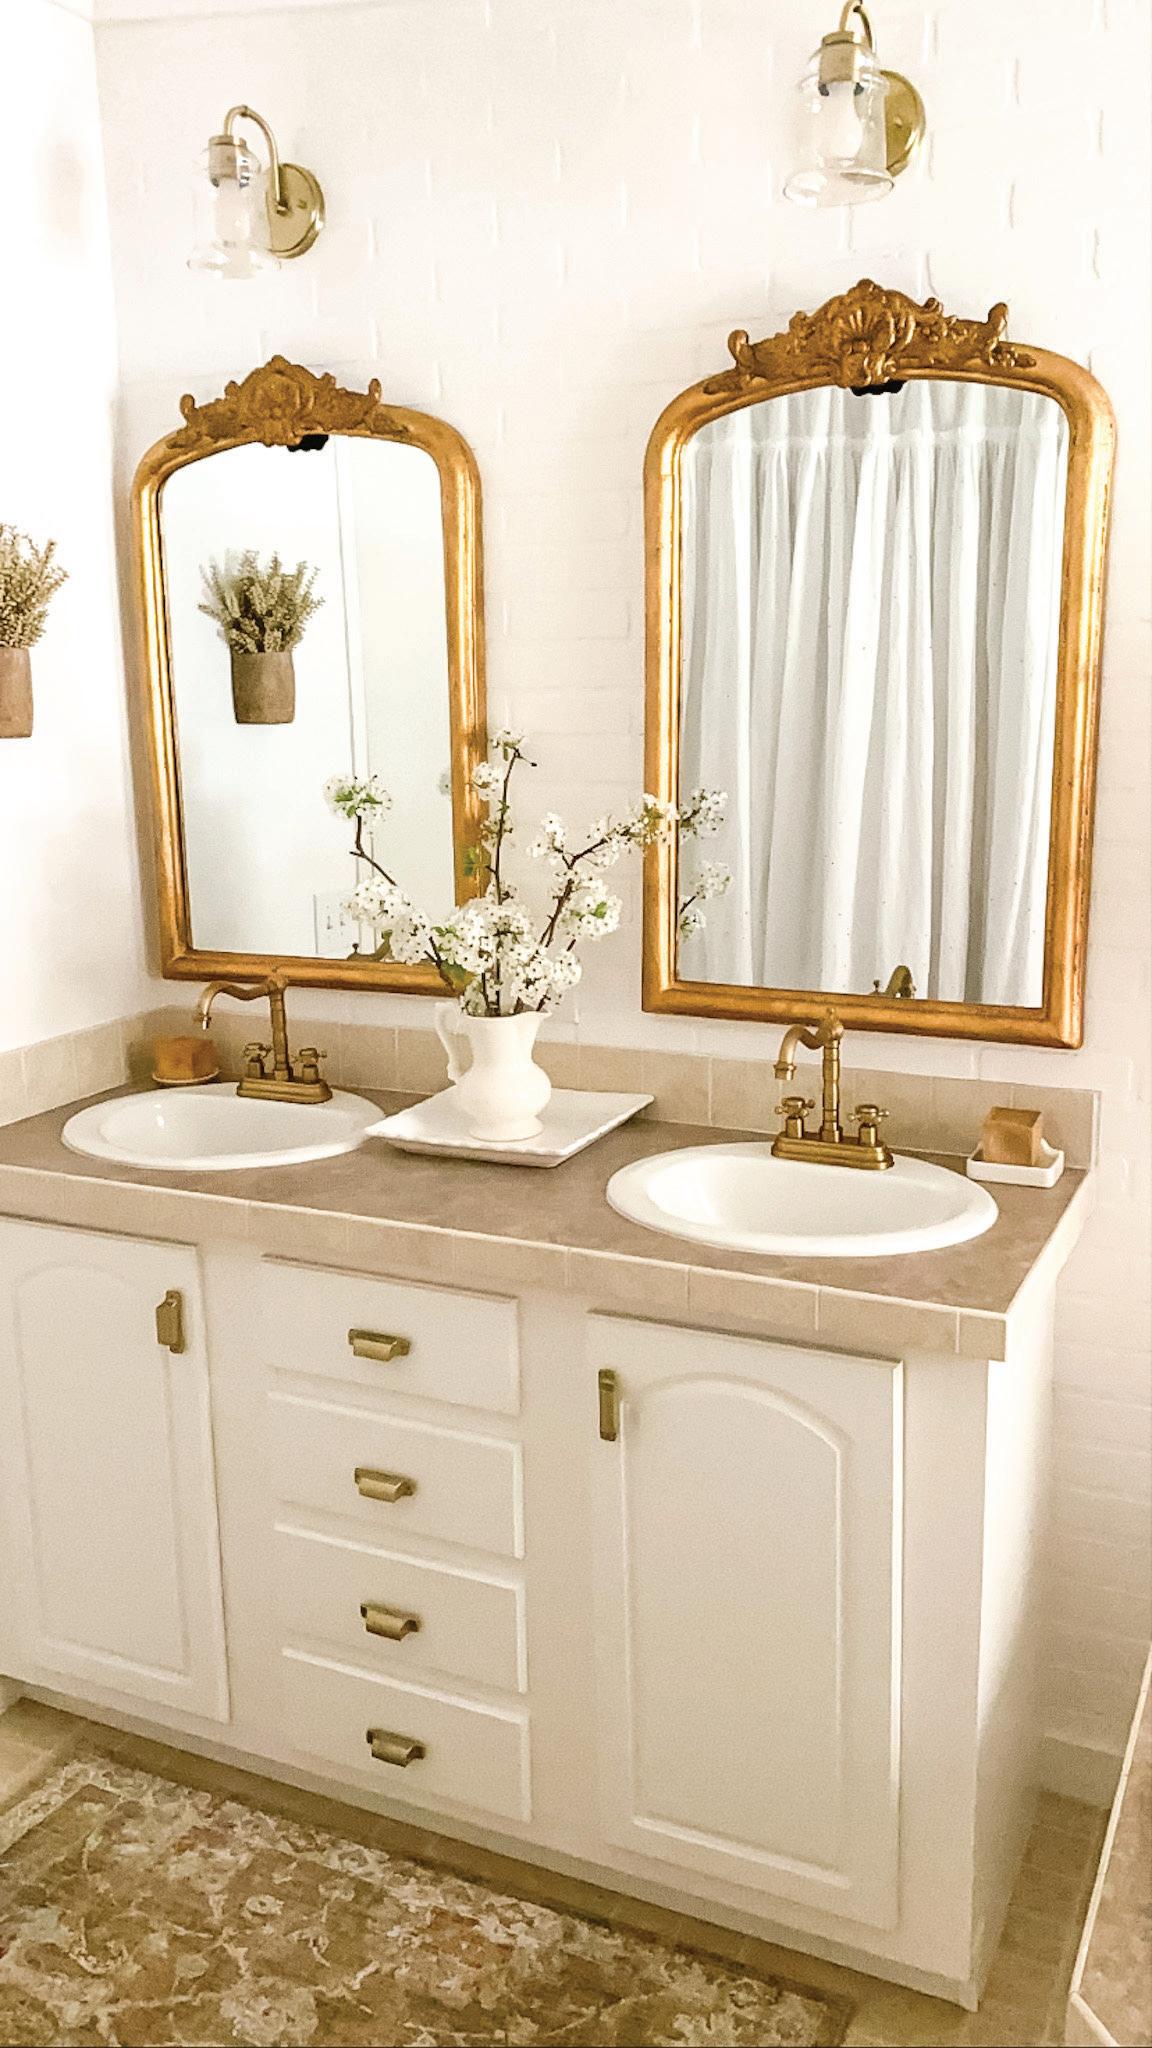
As avid DIY project fans, we were on a quest to find a textured wall treatment that would not break the bank and still provide a beautiful feature wall in our master bathroom. Our home is fairly young, at fifteen years old. However, at builder-grade status, we wanted to add patina and charac wanted to add patina and character to our home. And we have ac ter to our home. And we have accomplished this in most rooms by complished this in most rooms by adding architectural elements and accent walls. Shiplap has been our accent walls. Shiplap has been our go-to for the main areas. However, with the master bathroom re er, with the master bathroom refresh, we wanted to do something fresh, we wanted to do something different…and unexpected. After admiring some inspiration photos, we decided that faux brick panels (actually made of wood) would be our best, budget-friendly option.
In addition, the panels can be installed directly on top of the ex stalled directly on top of the existing drywall…making this a NO demo refresh!
Faux brick panels can be found at your local DIY Home Improve your local DIY Home Improvement store. Each panel comes in eight by four-foot sections, at ap eight by four-foot sections, at approximately $33.00 each. So, after measuring, we only needed three measuring, we only needed three panels to complete one accent panels to complete one accent wall in our bathroom. Here are the complete step-by-step instructions on covering drywall with tions on covering drywall with faux brick panels:
Step one: Choose and measure the wall that you want to install the faux brick panels. Calculate the faux brick panels. Calculate the square footage, then purchase the square footage, then purchase the number of panels that will be used to cover the wall.
Step two: Clean the wall by removing nails, light fixtures, electrical
ger to rub it onto the ex ger to rub it onto the existing seam and nail holes. When dry, sand it smooth When dry, sand it smooth with sand paper. Spackling becomes your best ling becomes your best friend during this DIY friend during this DIY project…because it covers project…because it covers all nail holes and cracks! all nail holes and cracks! Step seven: Choose your Step seven: Choose your paint color to cover the paint color to cover the faux brick. We choose faux brick. We choose Bistro White by BEHR. Bistro White by BEHR. It creates a beautiful, It creates a beautiful, timeless wall that compli timeless wall that compliments any style. Two coats of paint should be plenty for ments any style. Two coats of paint should be plenty for maximum coverage. After the paint is dry, replace light maximum coverage. After the paint is dry, replace light fixtures, electrical outlet plates, trim and switch plate fixtures, electrical outlet plates, trim and switch plate covers. Use caulk around trim and tile. Then stand back covers. Use caulk around trim and tile. Then stand back and admire your latest DIY achievement! and admire your latest DIY achievement! Our master bathroom went from dull and drab, to fan Our master bathroom went from dull and drab, to fancy French hotel vibes in just a few weekends! And if you cy French hotel vibes in just a few weekends! And if you are looking to create a classic, textured accent wall in are looking to create a classic, textured accent wall in your home- we highly recommend this treatment! In your home- we highly recommend this treatment! In addition, faux brick panels can be installed as a kitchen addition, faux brick panels can be installed as a kitchen backsplash or ceiling feature. For all the details on our backsplash or ceiling feature. For all the details on our master bathroom refresh…visit me @becky.cunning master bathroom refresh…visit me @becky.cunningham.home on Instagram. ham.home on Instagram. outlet plates, light-switch covers and all wall trim. Step three: Find where the studs are behind the dry-Step three: Find where the studs are behind the dry wall using a “stud finder” from a local home improve wall using a “stud finder” from a local home improvement store. Using a pencil, mark on the ceiling and floor ment store. Using a pencil, mark on the ceiling and floor where each stud is located. (pencil marks can be easily erased later) Studs are usually located every sixteen erased later) Studs are usually located every sixteen inches apart. This is where the panels will be attached to the drywall using a nail gun. Step four: Measure and mark all existing items on the panel that need to be cut out. For example, we had to cut panel that need to be cut out. For example, we had to cut around our tub surround, vanity, light fixtures, and one around our tub surround, vanity, light fixtures, and one electrical outlet. Then cut out the pieces using a jig saw. electrical outlet. Then cut out the pieces using a jig saw. All the straight lines can be cut with a circular or table saw. As you move to the next panel, be certain the grout saw. As you move to the next panel, be certain the grout lines and bricks are lining up, to give a seamless “real lines and bricks are lining up, to give a seamless “real brick” appearance. Step five: Use a nail gun with two inch nails to attach the Step five: Use a nail gun with two inch nails to attach the panels to the marked studs in the wall. We spaced our panels to the marked studs in the wall. We spaced our nails approximately twelve inches apart. Once the pan nails approximately twelve inches apart. Once the panels are all attached to the drywall, it is time to spackle els are all attached to the drywall, it is time to spackle and paint! Step six: To cover the seams that are created by attaching faux brick panels next to one another, any spackling paste is the perfect fix. Use a spackling tool or your fin-