6 minute read
Sew Sweet Stitching
We ❤ Sewing 42 Enjoy a guilt-free treat with Rebecca Cole’s calorie-free sweet makes Sew sweetStitching
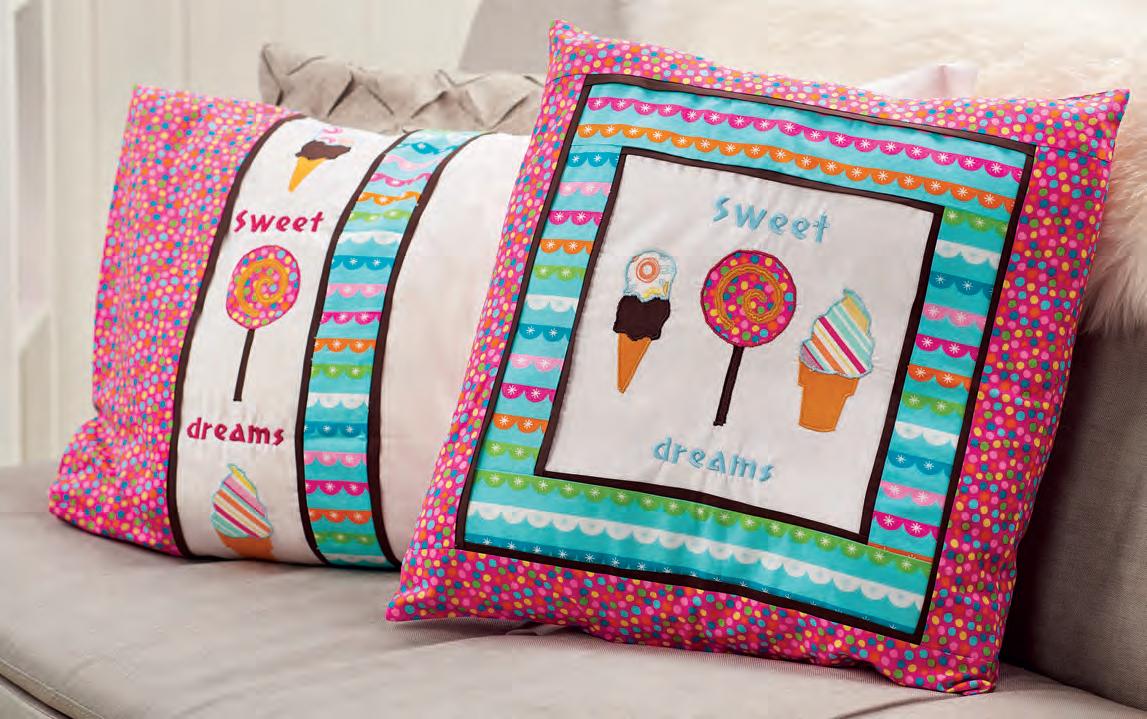
Bring on the summer sun! Rebecca’s bright appliqué makes are just what we’re after this season for a lovely bedroom makeover. The appliqué and embroidery parts are done in exactly the same way for both - you’ll just need to follow the individual steps to make up each project.
Advertisement
1 2


4
6
8
Kit List
Iron-on adhesive stabiliser ◆ Iron-on double sided bondaweb for appliqué ◆ Fabric pen ◆ Sewing machine ◆ Scan and Cut CM900 ◆ Brother M230E Embroidery machine (or similar) ◆ FABRIC FOR THE PILLOW CASE White fabric 121cm x 52cm; 14cm x 52cm; polka dots 32cm x 52cm; bunting 7cm x 52cm; dark brown 3 strips 3cm x 52cm; various scraps (ice cream) ◆ FABRIC FOR THE CUSHION White 27cm x 27cm; polka dots 4 strips, 7cm x 37cm; 2 panels 47cm x 30cm; bunting 4 strips 7cm x 47cm; dark brown, 4 strips 3cm x 27cm and 4 strips 3cm x 37cm; scraps (ice creams); cushion filler
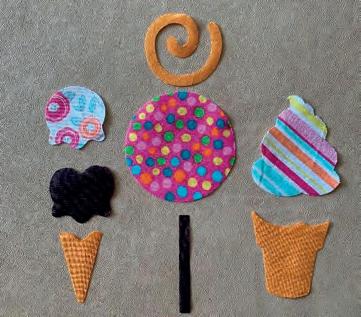
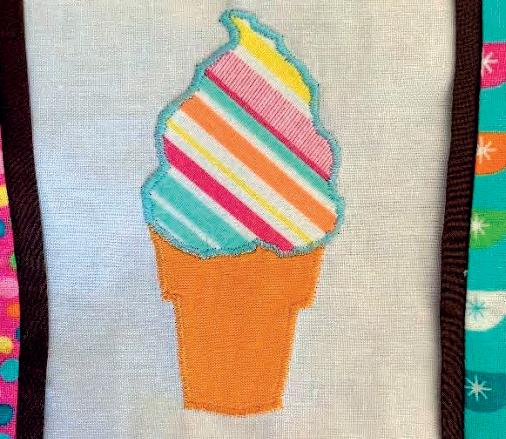
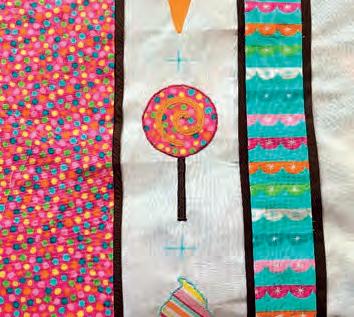
Appliquéing the shapes 1 Using your Scan and Cut CM900 select the appliqué designs you require. This design incorporates three different images. These are found in your machine’s catalogue and are numbered AR-B008 (lollipop), AR-B010 (large ice cream), and AR-B012 (double scoop ice cream). Apply your double sided bondaweb to the fabric that you are using to cut out your ap pliqué pieces and use you Scan and Cut to cut them out. Peel the backing paper off ready t o apply the shapes to the fabric. 2 Use a ruler and fabric pen to mark out the positions for each appliqué, starting with marking the centre of the white panel. Make sure you leave a 5cm gap between each appliqué to leave space for the embroidered text. Lay out your fabric shapes onto the white interfaced panel. Once you are happy with their positioning, fix them in place with the iron. 3 Thread up your machine with embroidery sewing threads in colours of your choice. Set your sewing stitch to a zigzag, stitch length 0.3, stit ch width 3.5. Stitch a narrow satin stitch around all of the edges of each of the shapes, making sure to catch in the raw edges of the shapes. Take your time in doing this to ensure a smooth even stitch.
Helping HAND
Try to be as accurate as possible with the surface decoration on these designs. Go slightly slower than you normally would; just take your time. Use a fabric pen that washes away. That way you can easily remove the pen marks with the water spray function on your iron when you are pressing your finished project.
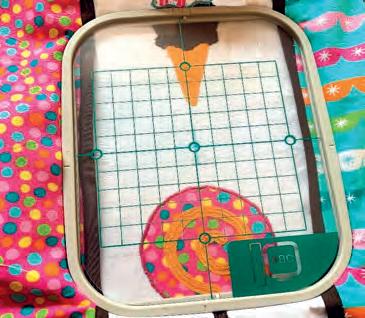
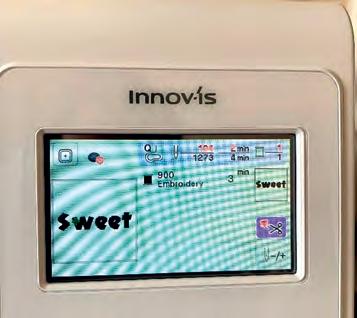
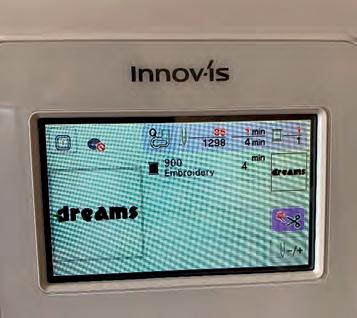
Embroidering the text 4 Using your fabric pen and ruler, mark a cross in the centres between the appliqué designs. 5 Use the grid that fits your 10x10 embroidery hoop as a guide to make sure the centre cross you have marked appears in the centre of the embroidery area. 6 Select your desired font and programme in the word Sweet in M size. Adjust the overall size until it measures approx 20.7mm x 90.5mm. 7 Check that the embroidery will sit over the central marks you have placed and embroider, using one of the colours you used to appliqué with. 8 Repeat this process with the word dreams, adjusting the size to be approximately 17.5mm x 92.4mm. Make the pillow case 1 Using the 14cm x 52cm strip of white fabric, apply iron-on stabiliser to one side. Fold the three brown fabric strips in half lengthways and stitch to the panel edges, raw edges together, using a long tacking machine stitch approx 0.5cm in from the edge. Attach one folded strip to one of the long sides of the polka dot fabric and one folded strip on each side of the bunting. 2 Stitch the interfaced white fabric panel in between the two brown-edged panels (so
Your Chance to Win! How did your cushions turn out? We’d love to see, so send a photo to editor@createandcraft.com that it is framed by brown edging on both sides) using a 1cm seam allowance and normal stitch length of 2.5. Attach the long white panel of fabric to the other side of the bunting fabric panel. Press the seams. You should now have one long continuous length of fabric approximately 167cm x 52cm in size. 3 Turn up one of the short ends of the fabric panel 1.5cm and then 1.5cm again into the wrong side of the fabric, creating a 1.5cm roll hem. Top stitch this down close to the edge of the hem. Repeat with the other short end. 4 Follow the steps to appliqué and embroider your pillow case. 5 To complete the pillow case, lay the fabric so you are looking at the emb roidered/appliquéd side and fold the white panel over to sit 15cm from the end of the first fabric panel. Fold the end of the fa bric panel over the top of the white fabric (this should measure 15cm). Pin along both edges and stitch a 1cm seam allowance along the top and bottom. Turn through to the right way and press the edges. Stitch a cushion cover 1 Apply iron on stabiliser to the back of the white fabric. Fold the four shorter brown fabric strips in half lengthways and stitch to the fabric edges, raw edges together, using a long tacking machine stitch ap proximately 0.5cm in from the edge. Trim away any excess. 2 Stitch the 7cm wide bunting fabric strip around the white square, one side at a time, using a 1cm seam allowance and standard stitch length. T rim away any excess fabric as you go. Press the seams. 3 Stitch the longer brown strips, all the way around the square, in the same way as step 1. Trim away any excess as you go. Repeat step 2 with the polka dot strips. Trim away any excess as you go. Press the seams after you have sewn them. You should now have a square measuring approx 47cm x 47cm. 4 Follow the steps to appliqué and embroider your pillow case. 5 Take the two 47cm x 30cm and stitch a narrow roll hem down the left long edge on one and the right long edge on the other. Lay the cushion cover front with the right side facing you. Lay one of the panels, right side facing down, on top of the cushion cover front, lining up the raw edges, with the roll hemmed edge lying just past the centre of the cover front. 6 Lay the second piece over the top on the other side, lining up the raw edges and with the roll hemmed edges crossing over the centre. Pin all the way around. Stitch along all four sides of the cushion cover using a 1cm seam allowance. Trim the excess away from the corners and turn the cushion cover through the right way. Press the edges to complete.


