2 minute read
Making an Interview Recording


Step by step guide to get you started
Connect the mains power supply to the rear of the recorder then the mains power plug into the suitable mains socket outlet.
Connect the two microphones to the rear of the recorder. place the microphones suitably spaced to record the interviewer and interviewee.
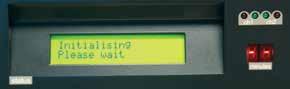
Press front panel power switch to switch on recorder and wait for the recorder systems to complete initialisation.
• Any media present will be ejected.
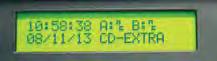
4• Wait until the display shows the time and the date then insert blank discs in all sections with CD label uppermost.
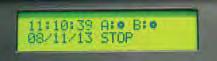
5• Wait until the status display shows STOP.
6• To start recording press the record button. Record can only be engaged if all the discs are inserted.
• The alarm sounds for a period of between 5 and 20 seconds.
All discs are now recording. Wait until the start alarm is silent before starting the interview. This is to ensure that all systems are ready before the interview starts.
• The record LED shows that recording is in progress.
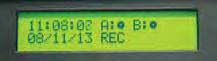
The display shows REC (recording).
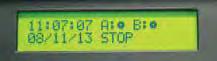
7• To stop recording press the stop button. This will cease recording on all recorder sections. The display shows STOP.
• If required you can again press record and re-commence recording, pressing stop to stop recording.
8• In order to eject the discs, the recorder must be in the stop mode.
Press the eject button.
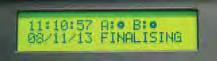
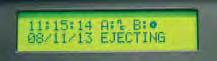
9• The recorder will eject the disks after finalisation, which takes a period of about two minutes. During finalisation and ejecting, the display shows FINALISING then EJECTING.
• To switch off press the power button. The display will indicate that the recorder is shutting down and will blank the display and the power will go off when this process is complete.
Note: During recording the power button is inoperative.
To disconnect the microphones press the release catch at the top of each connector.
10

11


