4 minute read
VENEER PRESS
C
How to Use This Book
Advertisement
Now that you’ve got the basics under your belt, here’s what you’ll discover in the rest of the book. Chapter 1 continues to explain what veneer is. Looking for more info on substrates, types of veneer, general rules to follow, and other special considerations? Give Chapter 2 a try. As you can imagine, glue is a make-or-break element of veneering. For all the detail you want (and more!), check out Chapter 3. For more about tools you’ll need, see Chapter 4—there’s also a list on page 57. Visit the glossary (page 180) for terminology definitions. Use resources (page 189) to locate specific tools and materials you might find useful in your exploits.
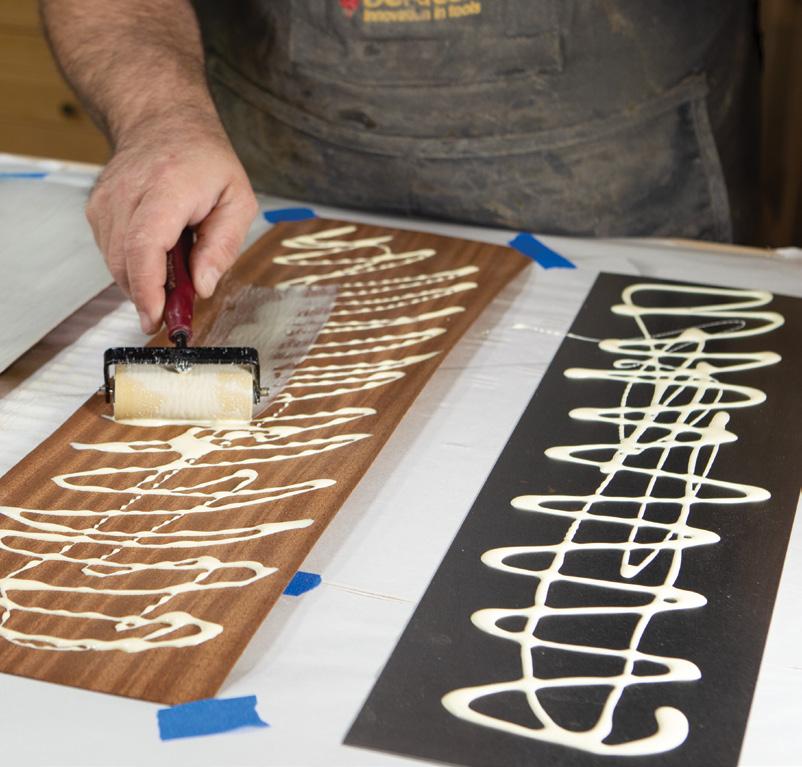
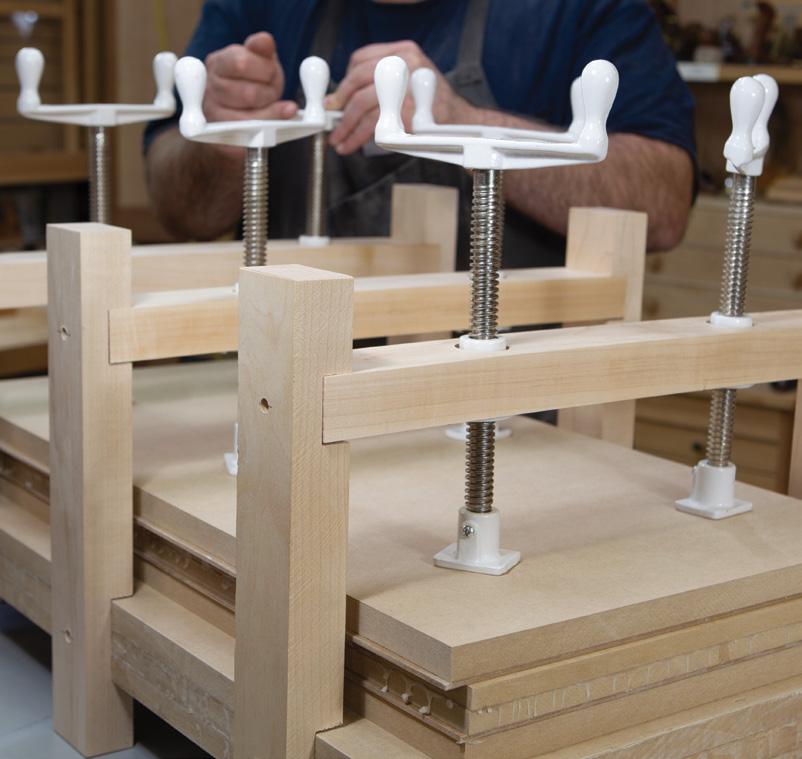
The projects themselves walk you through a progression of veneering lessons. We’ll start off simple by making iron-on veneer for a magnetic message board (page 58). Explore hammer veneering and hide glue with a nifty side table (page 72). After all that practice with normal clamps, craft your very own sixscrew veneer press (page 90) and put it to use creating a divided box and tray combo that utilizes solid edging (page 100). Next is the exciting universe of vacuum pressing! With the assistance of Mother Nature and
D

atmospheric pressure via a user-friendly kit, we’ll veneer a high-contrast holly and ebony box (page 120). The last project highlights the versatility of veneer as we harness vacuum pressure with a robust pump and bag to make a curved wall panel (page 148).
Each project has measured drawings and a list of materials and tools you’ll need. The cut list shows final dimensions of all components that must be a certain size. Keep in mind that veneer is easier to trim down—so start with a slightly larger piece than needed. NOTE In cut lists, if there are two parts that differ only by one measurement, such as a substrate and veneer face (thickness, in this case), they are shown in a single line with the differences in parentheses. Other measurements in that line without a parenthetical option are the same for both parts.
While I’ve given details about what I’ve used, change the sizes and wood choices to your preference. These are your projects and they should reflect your preferences. I would love to see your versions of projects and hear about them. Please feel free to drop me an email (www.veneeringessentials.com or info@blackwalnutstudio.ca) and a picture showing what you came up with. Have fun!
VENEER NEEDS BETTER PR
Veneering has suffered some negativity over the years, from woodworkers who see a difficult process requiring specialty tools, to the clients who see it as the mark of an inferior product. Quite the opposite is true, and I believe, like a lot of things looked down upon, veneer’s plight is simply due to a lack of knowledge or understanding. Its reputation is certainly not helped by the cheap, mass-produced furniture flooding the market that trades quality in exchange for an increased bottom line. In truth, expensive, high-end furniture is usually veneered. It’s a timeworn process that dates back to ancient and medieval times when pieces were handcrafted for pharaohs and royalty.
If you search the Internet for “the definition of veneer,” this is what you’ll get:
ve·neer
noun 1. a thin decorative covering of fine wood applied to a coarser wood or other material. verb 1. cover (something) with a decorative layer of fine wood.
Nowhere in the definition does it say “fake,” “not real,” or anything negative for that matter. This is a good place to start; a positive note. It is thin, I’ll give you that, but that makes it easier to carry.
WHY SHOULD WE VENEER?
There are many good reasons to integrate veneer into your woodworking. “What about special tools and adhesives and all that stuff?” you might ask. Take a quick look at the project in Chapter 5 (page 58), then come back. Chances are you’ve got some Titebond Original Yellow Glue and a clothes iron hanging around. If not, you’ll be able to pick them both up for about $30. That project ended up costing less than $25 in materials.
So Many Beautiful Wood Options
A big reason to veneer is the access to an expanded variety of premium wood choices. When lumber gets sorted, a large portion of the best pieces are sent off to be turned into veneer. Why? With veneer, more revenue can be squeezed out of a single piece. Not only can you buy all the essential woods you normally get as solid timbers, but with veneer you can access highly figured and rare, exotic woods, including those solid pieces like burls that would be a nightmare to work with.
Less Expensive
If you had to purchase planks of that figured or rare exotic wood, it would blow your materials budget out of the water. Veneer can significantly extend your resources and allow you to work with woods you never would have before.


