2 minute read
CREATIVE CORNER
Do it Yourself! Gilded Oyster Shell
Spruce up your space with a desk tidy or jewelry holder that provides an ambiance of sweet southern hospitality.
By Catie Moore
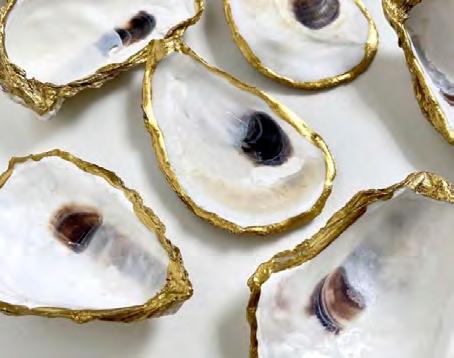
We’ve all been working from home for so long now, so I thought I’d introduce you to a fun, easy DIY project to add a little sparkle to your at-home office set up. This Gilded Oyster Shell can be used as a beautiful desk tidy organizer or even jewelry holder in a bathroom or closet. Its simplistic nature is quick, requires very few supplies and is fun for people of all ages, so the whole family can do it together. The result is an elegance provides that sweet southern hospitality feel to whichever room you choose to use it in.
The Benefits:
• Organization that matches your style for home office items or accessories • A true one-of-a-kind piece with your own customization • A creative outlet to keep you busy while you stay at home
What You’ll Need:
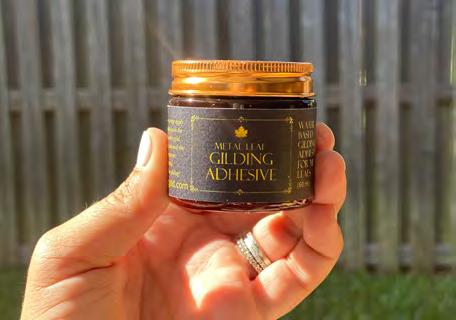
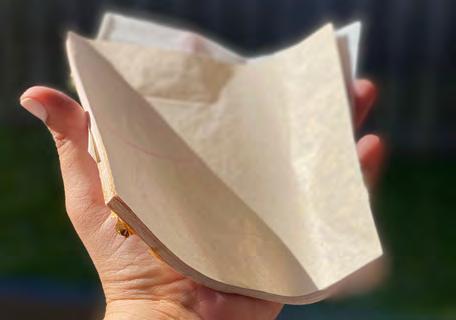
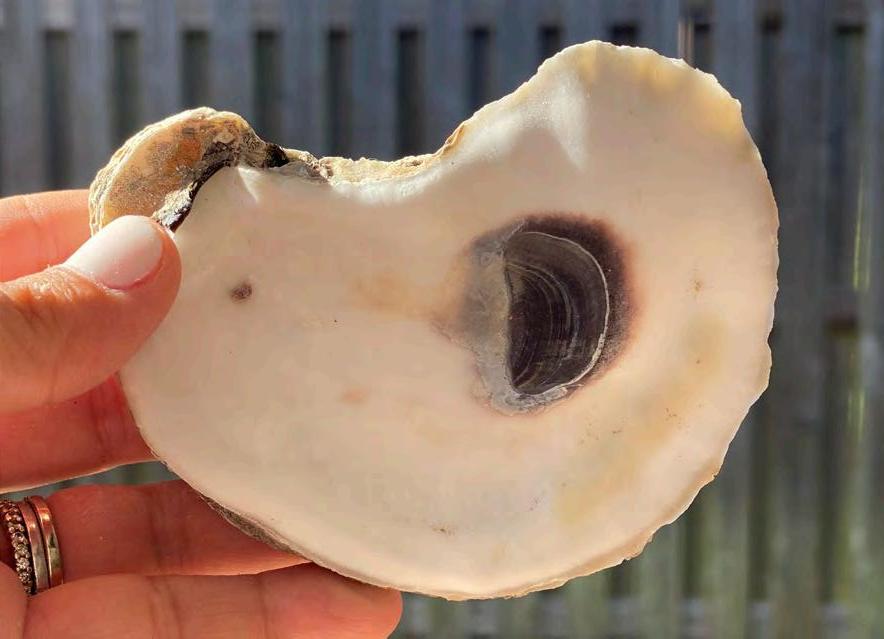
• Gold Leaf • Halved Oyster Shells • Gilding Adhesive • 2 Paint Brushes • Jar of Warm Water • Pearl-Colored Acrylic Paint • Towel
What You’ll Do:
Step 1: Once you’ve gathered your oyster shells and thoroughly cleaned them with soap and water, start the project by painting the oyster with the pearl-colored acrylic paint to give the inside of the oyster additional shine. Let this dry.
Step 2: Take your Guilding Adhesive and paint over the surface of the shell. It’s entirely up to you how much you’d like to use. You can paint the entire shell or specific areas only. Make it yours! Wash and dry your brush immediately following to reduce residue build up. Allow shell to dry five to 15 minutes until the color has disappeared and the surface appears tacky.
Step 3: Take a sheet of golf leaf and lay it over the surface of the shell. But be careful with this step! The leaf will be extremely flaky and sensitive to the elements. Consider doing this step in a sink for easier cleanup.
Step 4: With a dry brush, gently smooth the gold leaf over the shell and dab it into any creases of the shell. Use smaller flakes to cover any parts that have been missed. Repeat this process on the inner-edge of the shell to add even more gold!
Step 5: Let the shell dry for five more minutes before filling them with anything you desire.
Share Your Results!
We’d love to see how you did with your Gilded Oyster Shell! Share with us on www.CentralFloridaLifestyle.com or on our social media channels and tell us about your experience!
1


2
3


4


