5 minute read
Cheap Tricks
COLOR CODING
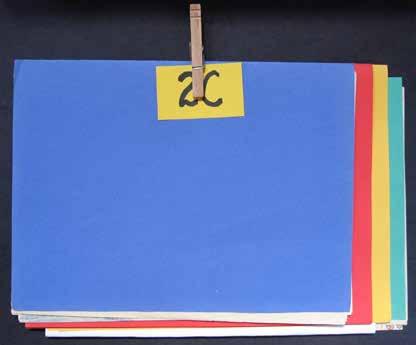
• Groups of 6-8 students are assigned a color identity, used for things like tools and group color folders. A rotating table leader distributes, returns and counts supplies, checks for names, empties trash, and returns everything to a central table. This process is fast and efficient, and encourages students to stay in their seats unless they have a job. Groups compete in various activities like “quick, quiet, and accurate clean-up.” • Assign each class a code: 2A, 2B, etc., so a student need only write name and code on paper or project. The code is used for grade book dividers, work in progress, kiln loading, etc.
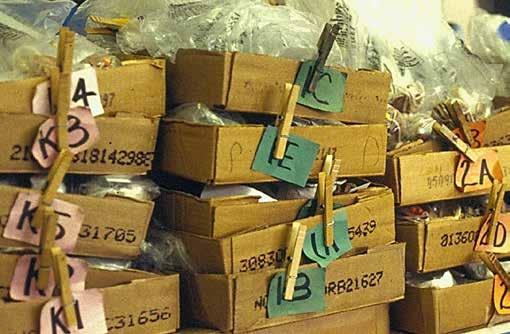
• A reusable 2”x3” color tag can be attached with a clothespin for each group’s work.
For example, one class would have a label
“4C” in a color assigned to that grade. So if
Sam is moving and wants the painting he’s started, you can go right to it by looking for
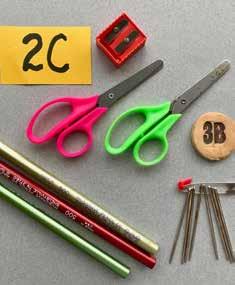
“4C / blue folder.” Plastic newspaper bags, pinned together by group, are helpful for small work. • For my first 20 years without a sink, each group had a color water pitcher with dishpan that doubled as a trash container. A spray bottle and a squirt bottle are also handy water sources. This actually works better than crowding around a sink. • Yarn needles can be placed on a color yarnmarked safety pin, passed out and collected by the leader who keeps the pin on his/her shirt. Any missing needles are to be paid for by the leader. Once I figured this out, we never lost another needle!
• Grade book binder is tabbed in schedule sequence, and one page can show color group seating, attendance, grades, points/prizes and more. A transparent overlay allows a washable pen to make notes for the next session. • Use spreadsheets listing all class rolls on a grade level, so highlighting can keep track of students’ exhibition participation, who’s moved, etc.

PROCESS HINTS
• Try to use the same materials all day (or week), for all grade levels. Lessons can easily vary, but it’s easier to do
“clay” things or “yarn” things. • After hanging paper towels to dry, I discovered phone books! What a help for color testing, finger wiping, gluing, etc., and they make printmaking and other media so much cleaner: just turn the page to a clean surface. Tear off the used portion at end of day. (I found that covering tables with protective paper was time-consuming and ineffective.) • For painting cover-ups, T-shirts work well. They’re donated, easy on and off, and can “dress“ the chairs (to keep shirts off the floor) for the next class, so you don’t have to take time to distribute.
• Tracking 1000’s of pottery pieces? Make clay disks marked with class code. Discs (1 1/4”) stay with the class shelf or box, and remain with class in and out of kiln. • Recycle clay easily. Drop dry clay scraps into a 5-gallon water bucket, and periodically remove wet clay to plaster bats (pour plaster into aluminum pie tins). When dry enough, knead clay and store in plastic newspaper bags.
This is a favorite student job during clay weeks! • Students respond well to an impersonal timer that sounds 5 minutes before clean-up, to ”remain silent and get to a stopping place.” A second bell means to do clean-up jobs, with incentives for points and prizes. “Please stand behind your chairs” ensures chairs are pushed in, and shows that students are ready. First group ready gets 3 points, second gets 2 points, third gets 1 point, and last group gets “0” – a useful incentive!
(Continued on page 36)
RESOURCES
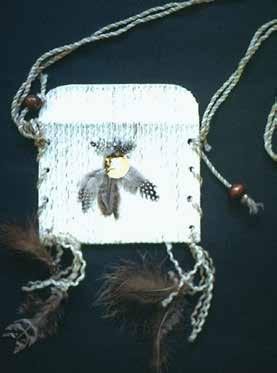
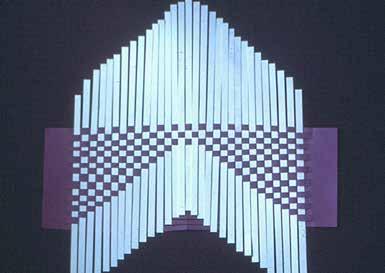
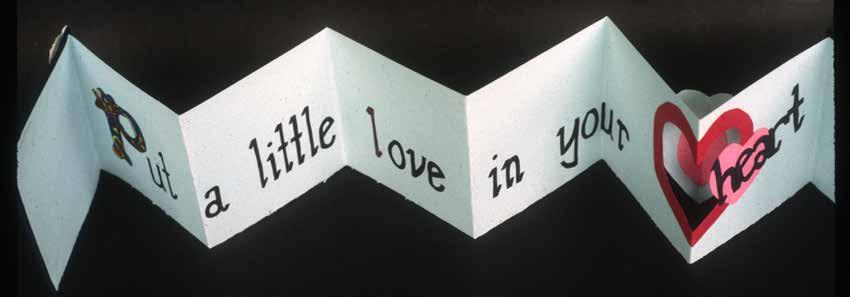
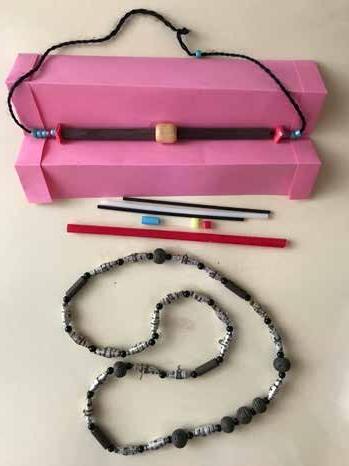
• Copy and frame shops are great sources for off-cuts, foam core and mat board. Strips from a copy shop come in many colors and sizes and often heavier weight; they simplify preparation for paper weaving and other work. • Wallpaper books are helpful for book binding, collage, paper beads and more. (Image 13) Cuts from colored plastic straws make beads, quills or spacers for jewelry.
Accordion-folded scrap paper will corral beads for stringing. Foam core and cardboard work well for weaving looms.
GOOD INVESTMENTS
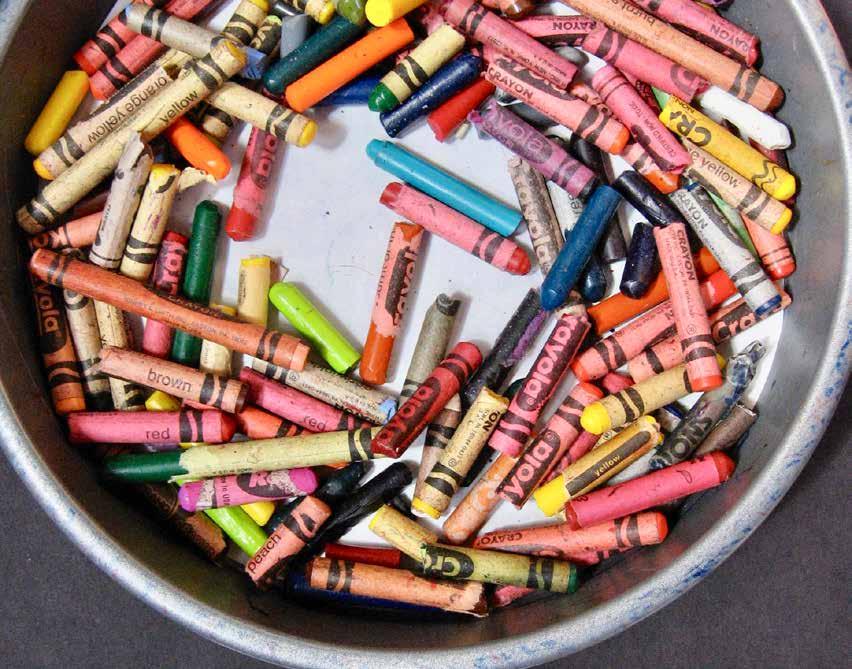
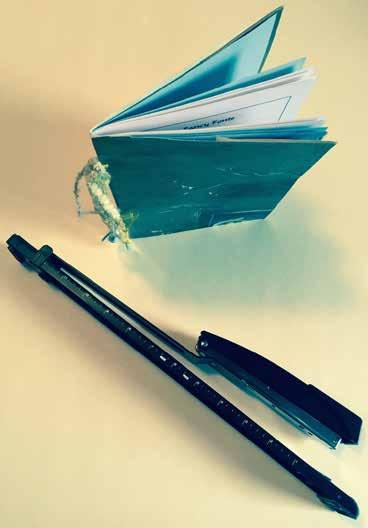
• Non-fade bulletin board paper, so backgrounds don’t have to change often • Long-reach stapler to bind booklets of many sizes • Dry-line white-out and glue (for your personal use) • For crayons, sturdy aluminum pans with piece of tag board in bottom for color testing,
There’s much more to discover every day, and it’s a joy to overcome obstacles. Conquering challenges is a rewarding part of teaching, enabling us to focus on providing substantive experiences for our students. Maintaining a practical, working environment is a bit like gardening; it’s sometimes fatiguing and messy, but the fruit is sweet!
This column provides FAEA members with Museum Spotlightinformation about Florida art museums and the academic offerings they provide. Journey with us to Southeast Florida to the Perez Art Museum Miami. Perez Art Museum Miami

Perez Art Museum Miami
Located in Museum Park at the north end of downtown Miami, the Perez Art Museum Miami (PAMM) is a remarkable sight with breathtaking architecture, luscious landscaping, and tempting views of Biscayne Bay. Founded in 1984 and renamed twice, PAMM has matured and grown immensely since opening on its current site in 2017. It is easy to understand its success by its collection and programming as well as its easy access.
(Continued on page 40)


