6 minute read
SOURDOUGH IS A SCIENCE


written and photographed by Shana Marx
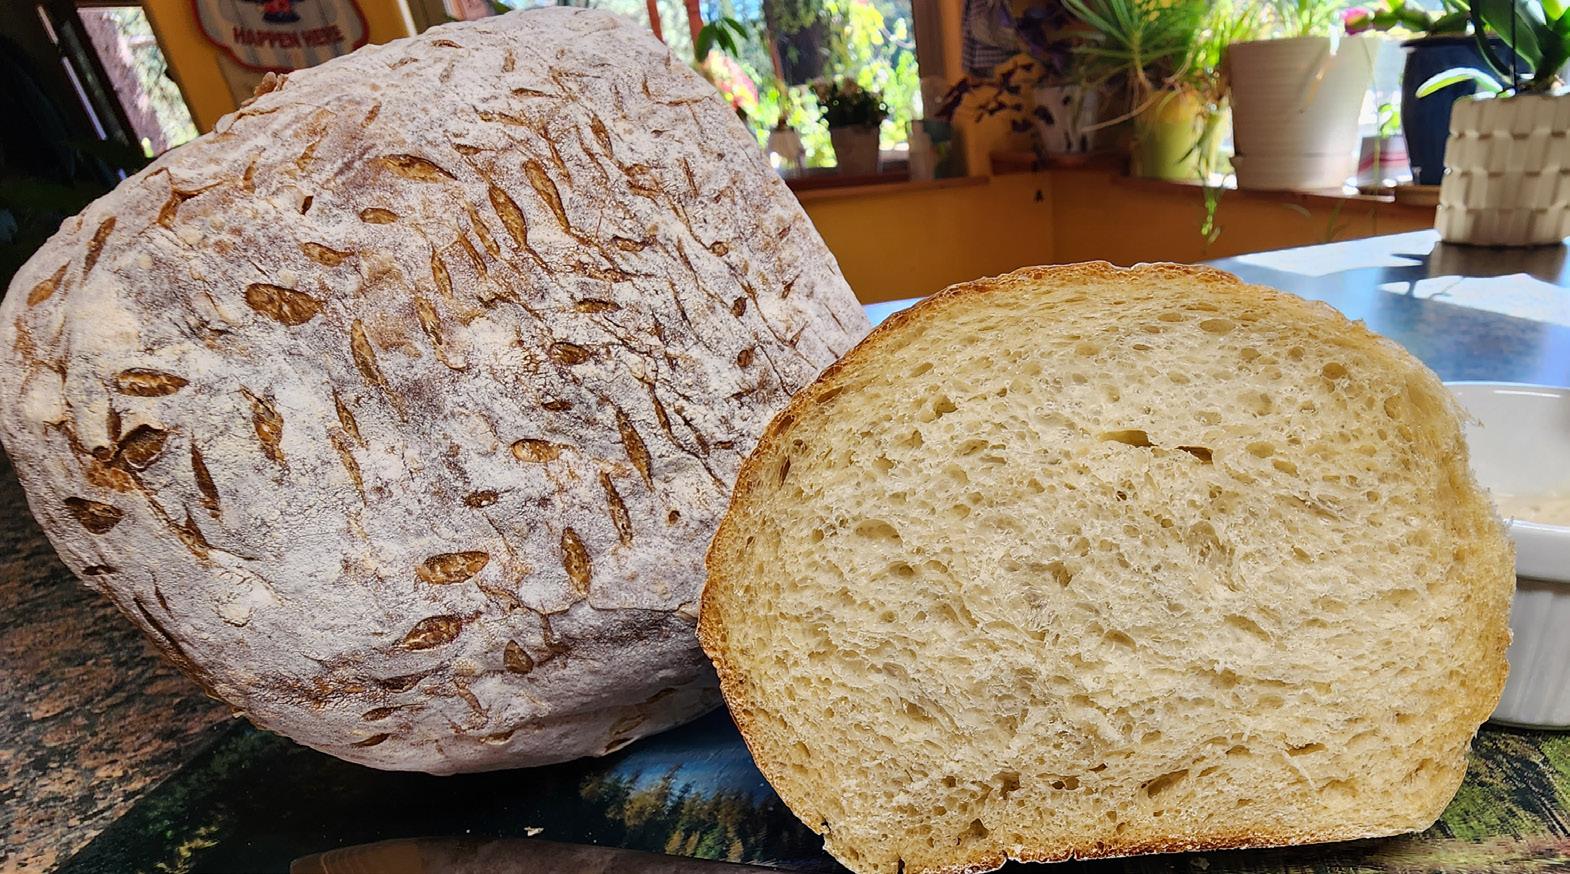
Flour, water, and salt––I’m in awe how this simple blend, combined in a step-by-step scientific fashion, metamorphoses into my favorite kind of bread…sourdough. A soft pillowy interior rimmed by a chewy, flaky crust carries a tang that lifts the goods from ‘just a dinner bread’ to star status.
My first exposure to homemade sourdough came during my first job as a nanny to a ranch family in Washington. Every Saturday evening, the mother would take a jar of goolike substance from the refrigerator, add flour and water (known as feeding it), give a stir and a swirl, and leave it at room temperature overnight. By morning the microbiological activity had triggered bubbly growth similar to childhood science experiments of baking soda and vinegar eruptions. She used the concoction to make her traditional Sunday morning pancakes for her children. While I’m not a huge fan of pancakes, those were the best!
Baking serves to appease my inner science geek, alongside my artistic side. To me, baking is a series of steppingstones using science to bring beauty to the table that will taste as pleasing as it looks. Combining ingredients in a particular manner and order, produces an expected end like working with chemicals in a science lab…the kitchen is my lab.
Adding fermentation into the mix certainly ups the game and the challenge is on. I find the introduction of this variable not only adds challenge, but the product brings a much more flavorful payoff. Sourdough starter offers versatility and allows me to add a punch of flavor to a multitude of foods beyond making bread. Sourdough brownies or sourdough pasta certainly kicks it up a notch.
As I progressed in my sourdough journey, I discovered there is a health benefit in sourdough for gluten sensitive people. The fermentation process breaks down gluten, so it reduces bacterial problems in the gut of the consumer. Although this was not my purpose for learning to bake sourdough, this was a bonus to be able to give my gluten sensitive friends homemade goods.
Many variables can affect the outcome of the sourdough product. For example, temperature, humidity, the kind of flour, the protein content of the flour and how much the dough is worked to form the (modified) glutens, all determine the structure and strength of the dough. Even normal bacteria in the home environment and bacterial flora on your skin makes sourdough starter and products made from this starter unpredictable––adding to the challenge of a developing the perfect outcome.
There is a plethora of online sources to guide you through the steps of employing exact scientific data that must be followed for the desired result. A recent conversation with a friend learning the ins and outs of sourdough by following strict scientific methods brought her great frustration. Her experience was overwhelming at the minutia of the variables. Everyone insisted each step must be followed in an exact sequence to produce the flawless loaf, leaving her discouraged. I reminded her that our ancestors did not have access to contemporary knowledge or technology, yet they managed to make amazing bread with a basic knowledge of the process and a minimum of tools, etc.
I had many failed attempts when I first starting learning how to create foodstuffs from my own jar of goo. The first thing I made was pancakes for my family that was an abject and utter failure. Over time I was able to hone my technique and conquered the sourdough challenge, adding one more skill to my toolbox.
If you are thinking of joining the sourdough baking community, the best advice I can offer is to be patient. Remember you are working with a constantly changing live culture. Be flexible and willing to tweak the recipe to fit your needs. Although there is some flexibility with all these elements to produce edible goods, there is a difference between edible and a perfectly tasty loaf… a crusty outside, chewy, yet soft inside.
Eventually you will gain a working knowledge of how the starter and dough should look, feel, grow, and increase in the ability to adapt accordingly. Failures are to be expected for the novice; but these failures are learning experiences for the next batch. The results of your trial and error can be turned into delicious croutons or breadcrumbs.
When the variables align perfectly and you have that beautifully rounded loaf, you will understand your tenacity was well worth the effort. When you make your first BLT with your homemade bread––from that first satisfactory bite––you’ll be hooked. You will be encouraged the future will pay delicious dividends.
Follow the steps below to make your very own sourdough starter.
Day 1: 50 grams of all-purpose, unbleached flour and 50 grams of lukewarm filtered water. Mix well, cover loosely, and leave out at room temperature.
Day 2: Repeat day one above (You’ll be adding to the mixture.)
Day 3-6: Each day throw out ½ the mixture* and add to it (the remaining mixture) 75 grams of all-purpose flour and 75 grams of filtered water. Mix well, cover loosely, and leave out at room temperature.
*Important Note: Do not discard the mixture into the sink! The dried flour/ water mix will harden and solidify like concrete and destroy the plumbing.
Day 7-14: Repeat the process to feed the goo as in day 3-6. However, you can now save the discarded portion in the refrigerator for future use in ‘discard’ recipes such as sourdough brownies or sourdough pasta and other goods. It adds an extra punch to ordinary recipes.
You will likely see the mixture producing bubbles and increasing volume after a feeding. Use an elastic band on the jar as a visual marker if you want to see where the levels rise and fall.
Day 15 and Beyond: If your starter begins doubling in volume between feedings, you can place it in the refrigerator. When needed, remove, feed it, stir, and leave at room temperature before using. The rule of thumb is that if you leave it at room temperature it will require daily feeding. Otherwise, if kept refrigerated, a weekly feeding is needed. If you happen to go longer between feedings, it will perk up after a new feeding.