4 minute read
BUILDING WOODROW
By Chuck Koehler with Lisa Adams
The last few issues have highlighted different teardrop kit manufacturers and Chuck Koehler shared a photo journal in which he documented his build. He used the Big Woody plans and followed their step by step process with building his teardrop. Chuck built a great teardrop as you will see through his photos on the following pages.
Thanks to Chuck for sharing his great teardrop project!
Be sure to check out the Big Woody ad on the inside front cover of the magazine.
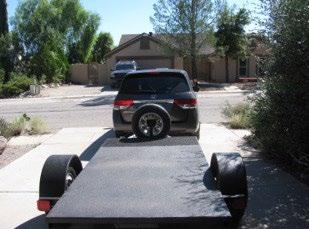
Chuck used the Big Woody plans and followed the manufacturers step by step process of building his camper. The plans allow many options for building and for being creative. The first step in building his teardrop camper (nicknamed: Woodrow) was to build the metal frame which included electric brakes. He found a local welder to build the foundation for the camper and he also worked in the early stages to insulate the floor. At this point, he covered the floor with particle board because installing a finished floor would come later.

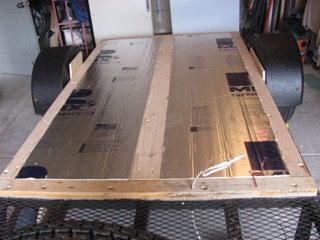
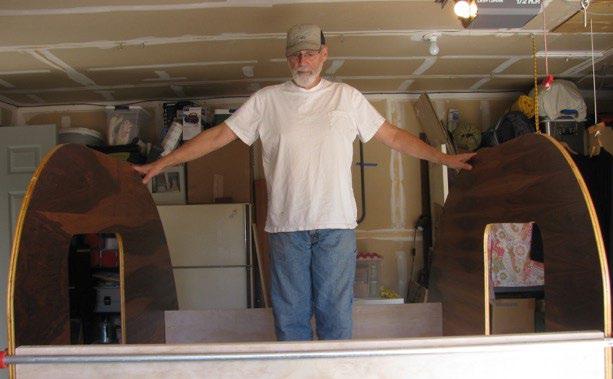
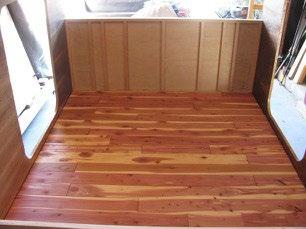
The 2"x4"s need to be attached to the frame of the trailer being sure to leave a gap of 3/4" to set the side walls to the trailer. Note the space at the front of the trailer for a toolbox, battery, and spare tire. The foundation for the teardrop is 5'x8'. The sides of the teardrop are made from 3/4" dual sided walnut plywood that he purchased in standard 4'x8' sheets. Chuck also installed a beautiful cedar tongue and groove floor.


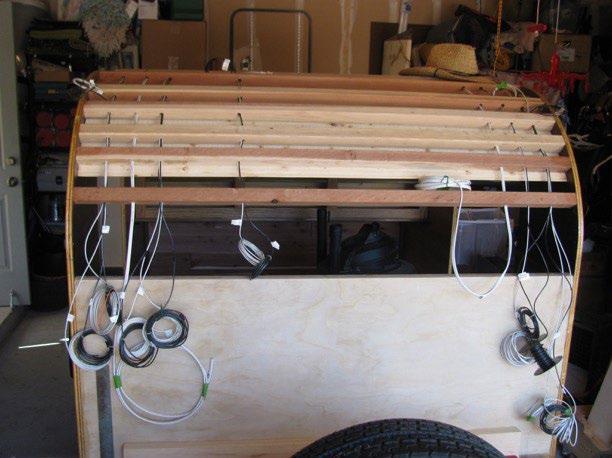
Next up, building the roof supports. Electrical wiring and the kitchen structures go in next.


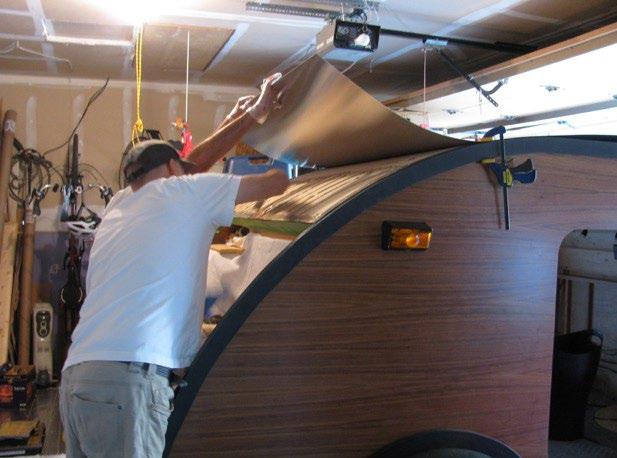
Chuck next worked on the foam insulation as sheets are cut to fit between the roof ribs and the tongue and groove ceiling boards. The 1/8" thick plywood bends over then, meeting up with the walnut sidewall curves. He then cut out moulding made from a 4'x8' sheet of plywood, that he painted black, glued and tacked in place. The 4'x8' sheet of aluminum was glued to the plywood roof with an all purpose heavy duty glue - Chuck adds, "it's best to have extra hands." He placed stainless steel screws every four inches, in pairs, on the edge of the black moulding. The hole for the fantastic fan used a lot clamps!

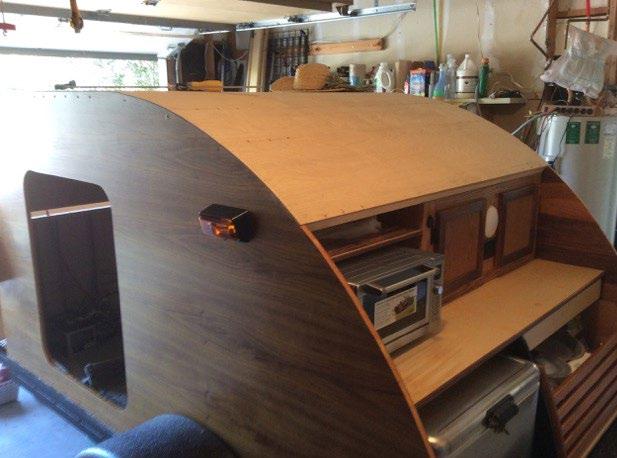

The curved hatch frame fits along the kitchen curve opening. He used a stainless steel piano hinge to attach the hatch. He performed the same aluminum skinning method on the plywood hatch as he had the rest of the teardrop roof. The bottom right image on the page shows the finished kitchen complete with 12v lights and 120v dual power plug. There is a slide out lobster cage drawer for large storage and a slide out drawer for utensils. The upper cabinets are 8" deep which is leaves enough space for a toaster or microwave oven. The floor in the galley is linoleum.


Chuck adds that the Big Woody Campers Manual had hundreds of photos that help guide you through the process of building your own teardrop. The instructions were clear and well written. Another bonus is that they sell parts and accessories for the build and the owner was helpful on the phone. The book really helps keep you moving with a step by step process.
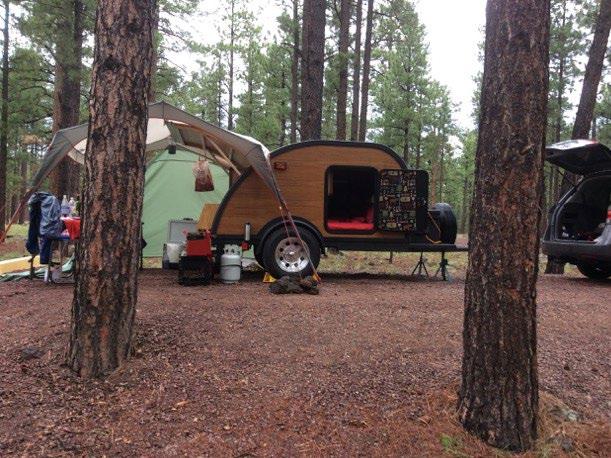
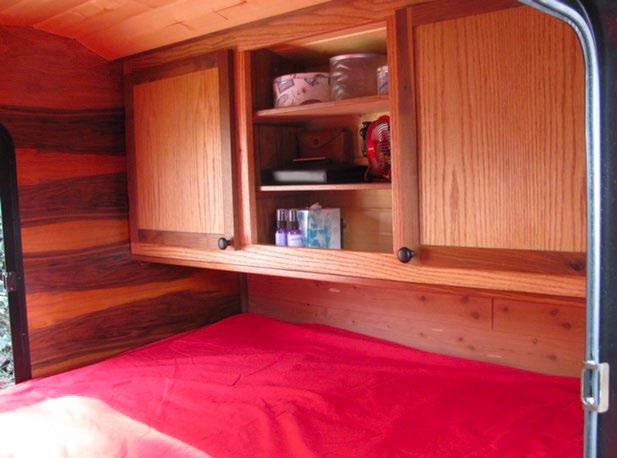
All of his hard work has paid off and he has an amazing teardrop! The last few pictures submitted by Chuck show the interior as well as a few of them enjoying their teardrop in Arizona state parks. Well done Chuck! Woodrow is a work of art!
Thank you for sharing your build with us! n http://www.bigwoodycampers.com
