2 minute read
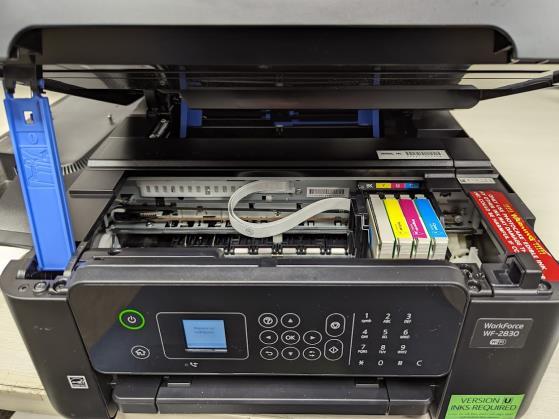
Press OK at the warning. 4. Lift the top of the printer and wait for the printhead to stop moving.
1. Press the right arrow until the “Settings” icon, then press OK.

5. Press the diamond shaped button. Wait for the print head to stop moving.

2. Press the right arrow until it says “Maintenance”, then press OK.

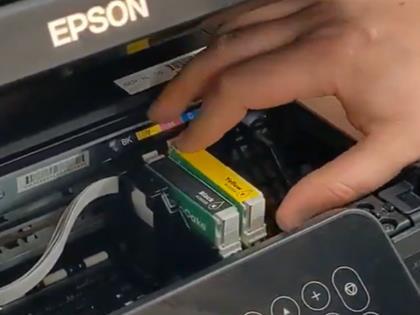
6. Remove the new cartridge from its packaging, then remove the yellow tab.

3. Press the right arrow until it says “Ink Cartridge Replacement”, then press OK. 4. When the screen says, “Replace ink cartridges”, lift the top of the printer.

7. Insert the cartridge with the label facing left, then gently press down until it clicks.


8. Shut the top and press OK. The printer will initialize the cartridges, which may take a few minutes.

Running a Color Test helps to keep print nozzles clear and will help to identify clogs. Doing this quick process will help your printer to have a longer life and have fewer printing issues. A great best practice is to include the Color Test in your bakery’s daily checklist.
What you’ll need: A sheet of plain printer paper Required time: About 30 seconds

1. On the Home Screen, press the Printer Maintenance button. 2. Press the Color Test button. 3. Place a piece of plain printer paper into the printer, then press the Print button. 4. If the printed lines have no breaks or a few, press the Done button. If there are a significant number of breaks in the test lines, we suggest trying a Print Head Cleaning. Begin the cleaning by pressing the Clean button.


