3 minute read
Making Tracks
IK MULTIMEDIA’S ARC SYSTEM 3
By Wesley Bryant-King
Advertisement
The music products universe seems to be dominated primarily by companies that get their reputation by doing one or two things really well. Of course, there are exceptions, and one interesting company I’ve been keeping an eye on for years now is Italy’s IK Multimedia. I first became familiar with the company as it made its mark by creating innovative music-related products for the mobile market. Among the first to do so for smartphones, and later tablets, the company still seems to have that market pretty much to itself, at least when it comes to breadth and depth of mobile-centric music-product offerings — most of which are offered under its iRig brand umbrella. But, from my perspective, it also feels like the company will try just about any idea it thinks has merit.
It was on that basis that I was surprised (but not really at all surprised) when I got the opportunity to review the company’s new ARC System 3 (often referred to simply as ARC 3), the latest iteration of IK’s Advanced Room Correction (ARC) system. Despite its earlier iterations, it was nevertheless one of IK’s products with which I was not familiar — but one in which I was keenly interested. Why?
Well, if you produce music at home, one of the biggest single challenges to doing so is getting an accurate, well-balanced, professional-sounding master. And the reason is that, unless you have an audio engineering degree and a hefty budget, it’s highly unlikely that you’re going to have a home-studio environment that’s acoustically perfect (or particularly close to it).
Even if you deploy common room treatments like sound baffles, absorption panels, bass traps, etc. — and you should — the room and its furnishings will almost certainly still cause sound reflections that are uneven across the frequency spectrum, and which will in turn fool your ears into making inappropriate mixing and mastering decisions. If you’ve ever taken your freshly mastered recording to your living room or car and wondered why it sounds nothing like what you intended, that’s the reason. (Personally? Been there, done that.)
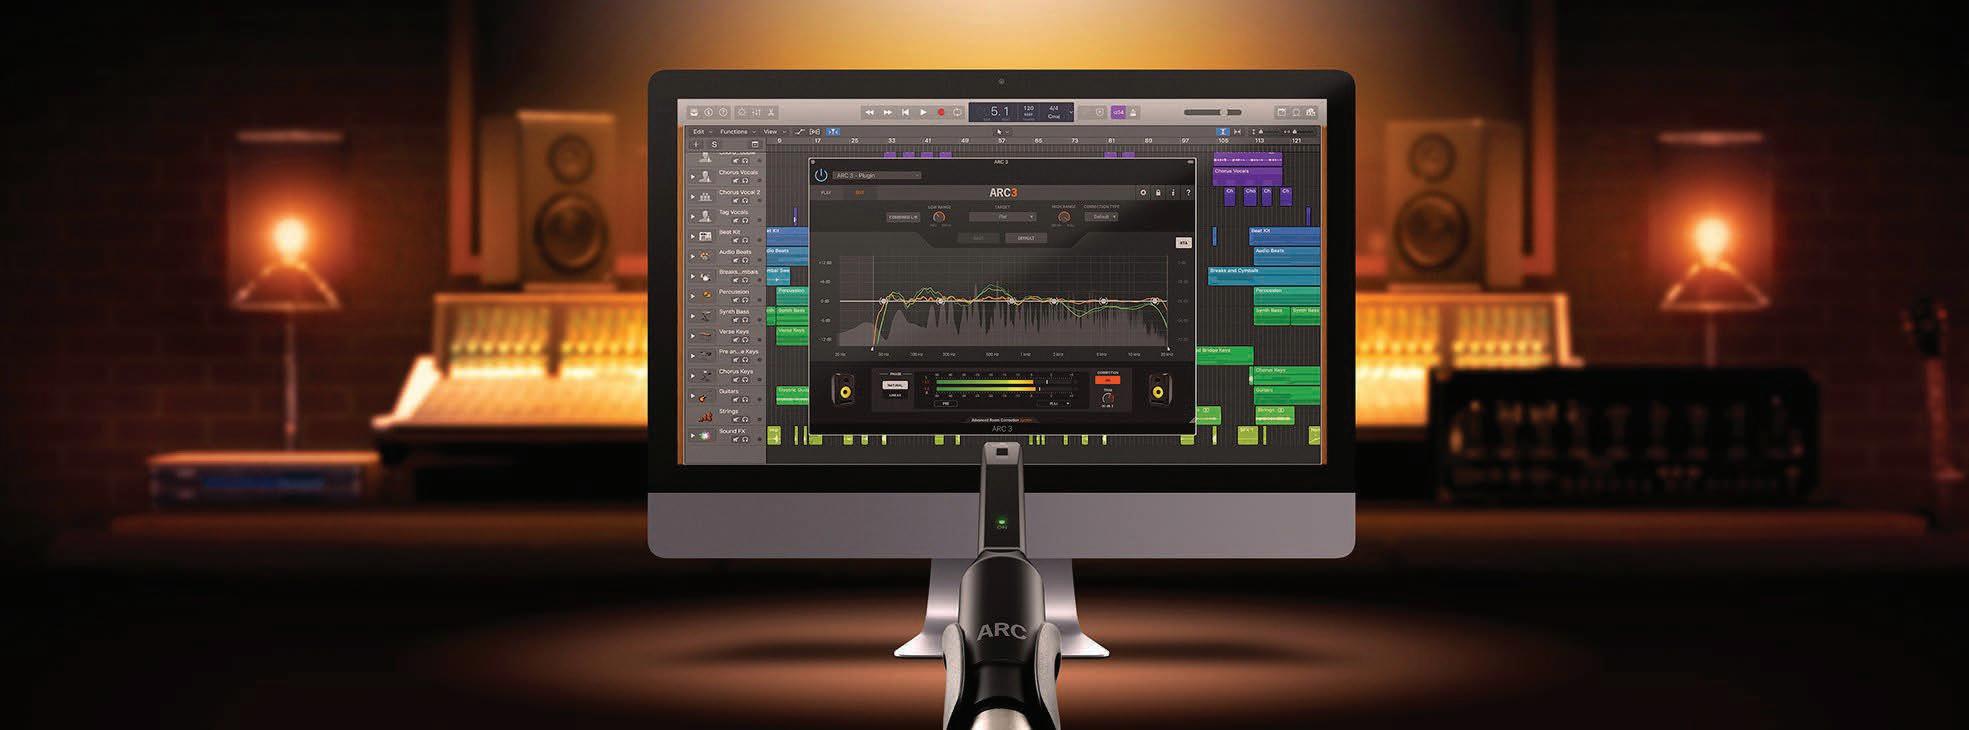
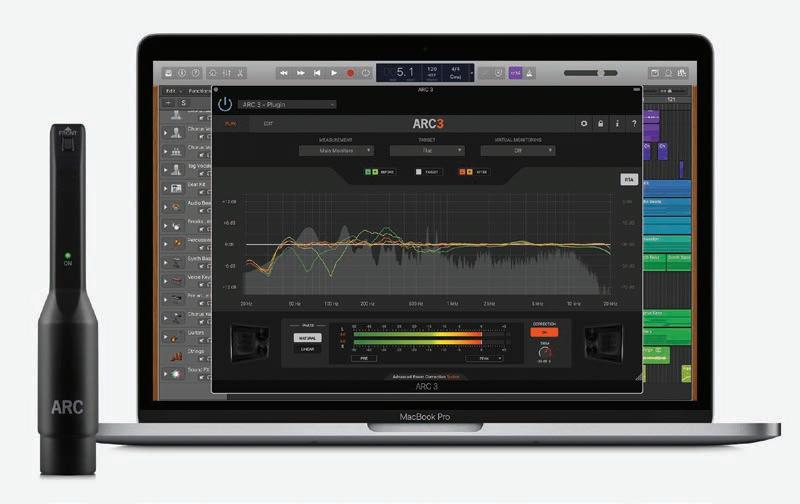
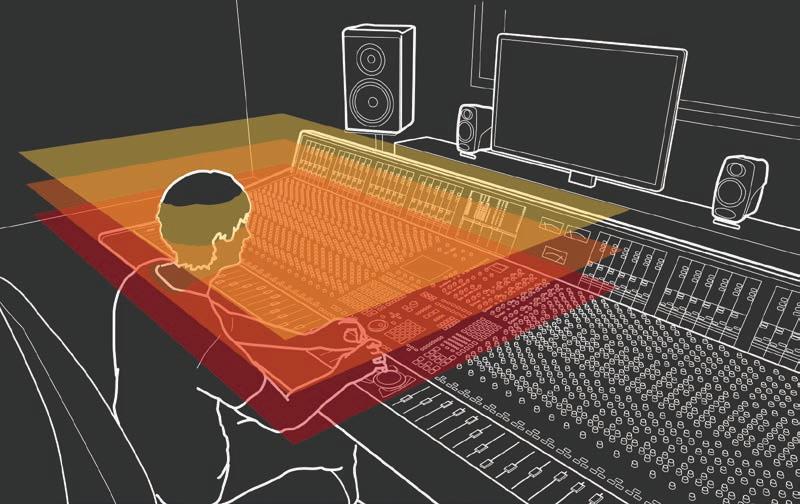
That’s where ARC System 3 comes in. In much the same way that many home-theater receivers are set up at the time of installation, ARC 3 uses a specialized microphone coupled with software that produces a signal through your studio monitors. The microphone can “hear” the frequency reproduction of your monitors and reflections in the room — from the same position as you sit at your mixing desk — and know where things are coming across too strongly, or not strongly enough.
ARC 3 is available in three versions: software only, microphone only, and bundle. While ARC 3 can use other specific types of mics, to be candid, I see no real value in the product unless you choose the bundle, which at around $150, is an excellent value for the benefits that ARC 3 provides – and it’s the bundle that I evaluated for this review.

Hands-On With ARC 3
The software portion of ARC 3 is a two-part system: room analysis and DAW plug-in. The first step to installing and using ARC 3 then is that first part of the system: conducting the room analysis itself. For that, ARC 3 provides a simple, easy-to-follow, wizard-based approach that’s wrapped in a very attractive user interface.
The mic comes with mic clip for mounting the microphone on a stand, and based on previous experience with these types of systems, it’s my preference to use a stand during the analysis process. Once mounted, I wired the mic to my studio audio interface. Which brings up a requirement: you do need to have microphone input available, one with phantom power both available and enabled. For most home-studio users with even a relatively basic dedicated audio interface, that shouldn’t be an issue. Before analysis, I adjusted the mic stand so the microphone was at ear level, and positioned it on the floor such that it would be in the same position as my head while seated in my desk chair in working position during my studio production sessions.
The wizard guided me through all the steps, including an option to choose
(contnued on page 32)

Read us on issuu


