5 minute read
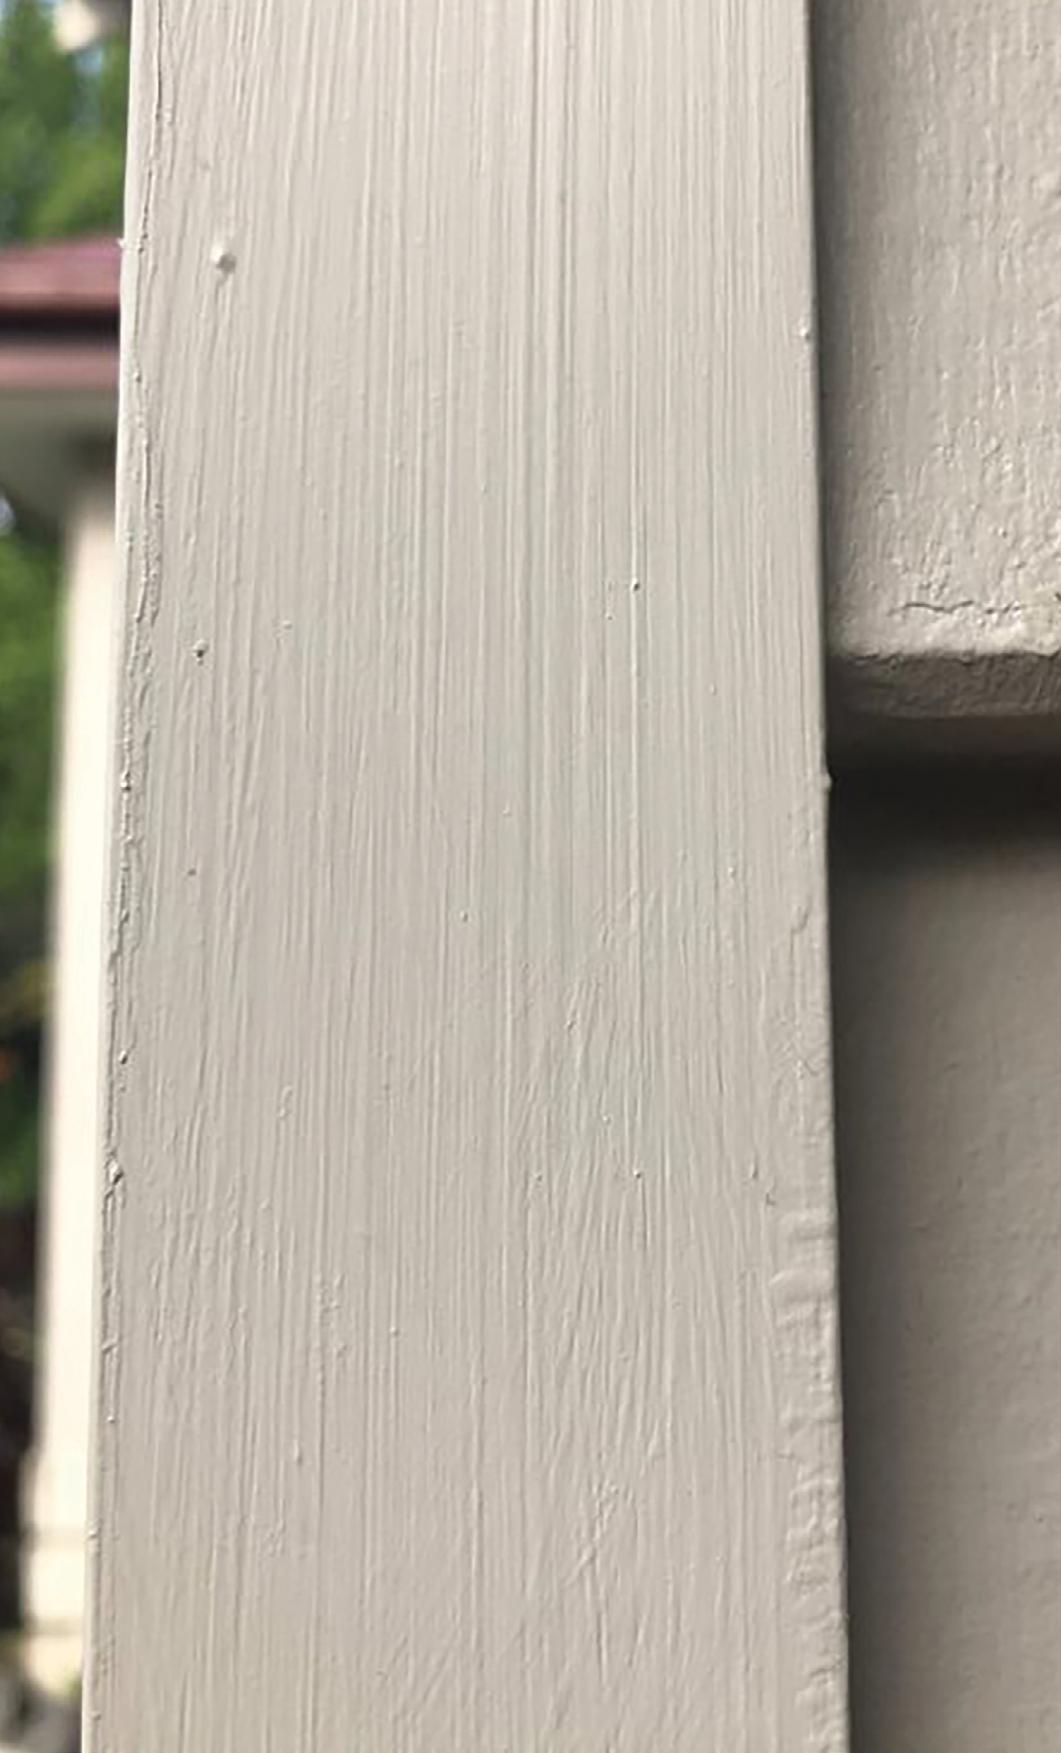
Brush/Roller Marks


BRUSH/ROLLER MARKS
The unintentional textured pattern left in the paint by a brush or roller.
Advertisement
POSSIBLE CAUSES
• Painting with low quality/incorrect application tools. • Poor application technique (eg. applying paint too quickly or excessively). • Re-brushing or re-rolling partially dried painted areas. • Poor conditions during the application or drying period (eg. hot substrates and/or high air temperatures).
SOLUTIONS
• Lightly sand the affected areas to a smooth finish and repaint. • Ensure paint is applied using a consistent application technique (eg. applying even roller pressure from top to bottom), whilst maintaining a wet edge. • Ensure high quality and recommended application equipment is used. • Ensure application and drying conditions conform to manufacturer’s recommendations.
• Under hot or very windy conditions, the recommended level of thinning agent may be added for improved application.

CHALKING
CHALKING
The appearance of a fine powder on the surface of a paint film, arising from the degradation of the coating binder.
POSSIBLE CAUSES
• Painting surfaces exposed to UV radiation with interior grade paint. • Painting surfaces that are completely exposed to high levels of sunlight over an extended period and/or elevated salt levels (eg. coastal locations). • Painting with darker coloured paints which absorb more energy (heat and UV radiation) from sunlight than lighter colours. • Applying paint at lower than recommended film thicknesses.
SOLUTIONS
• Clean the affected areas thoroughly to remove all surface contaminants and chalking, then repaint with an approved UV resistant coating system. • Ensure paint is applied at the recommended coverage rate. • To minimise chalking, establish a maintenance program from the start to ensure that the painted surfaces are washed and repainted within a predetermined time period.
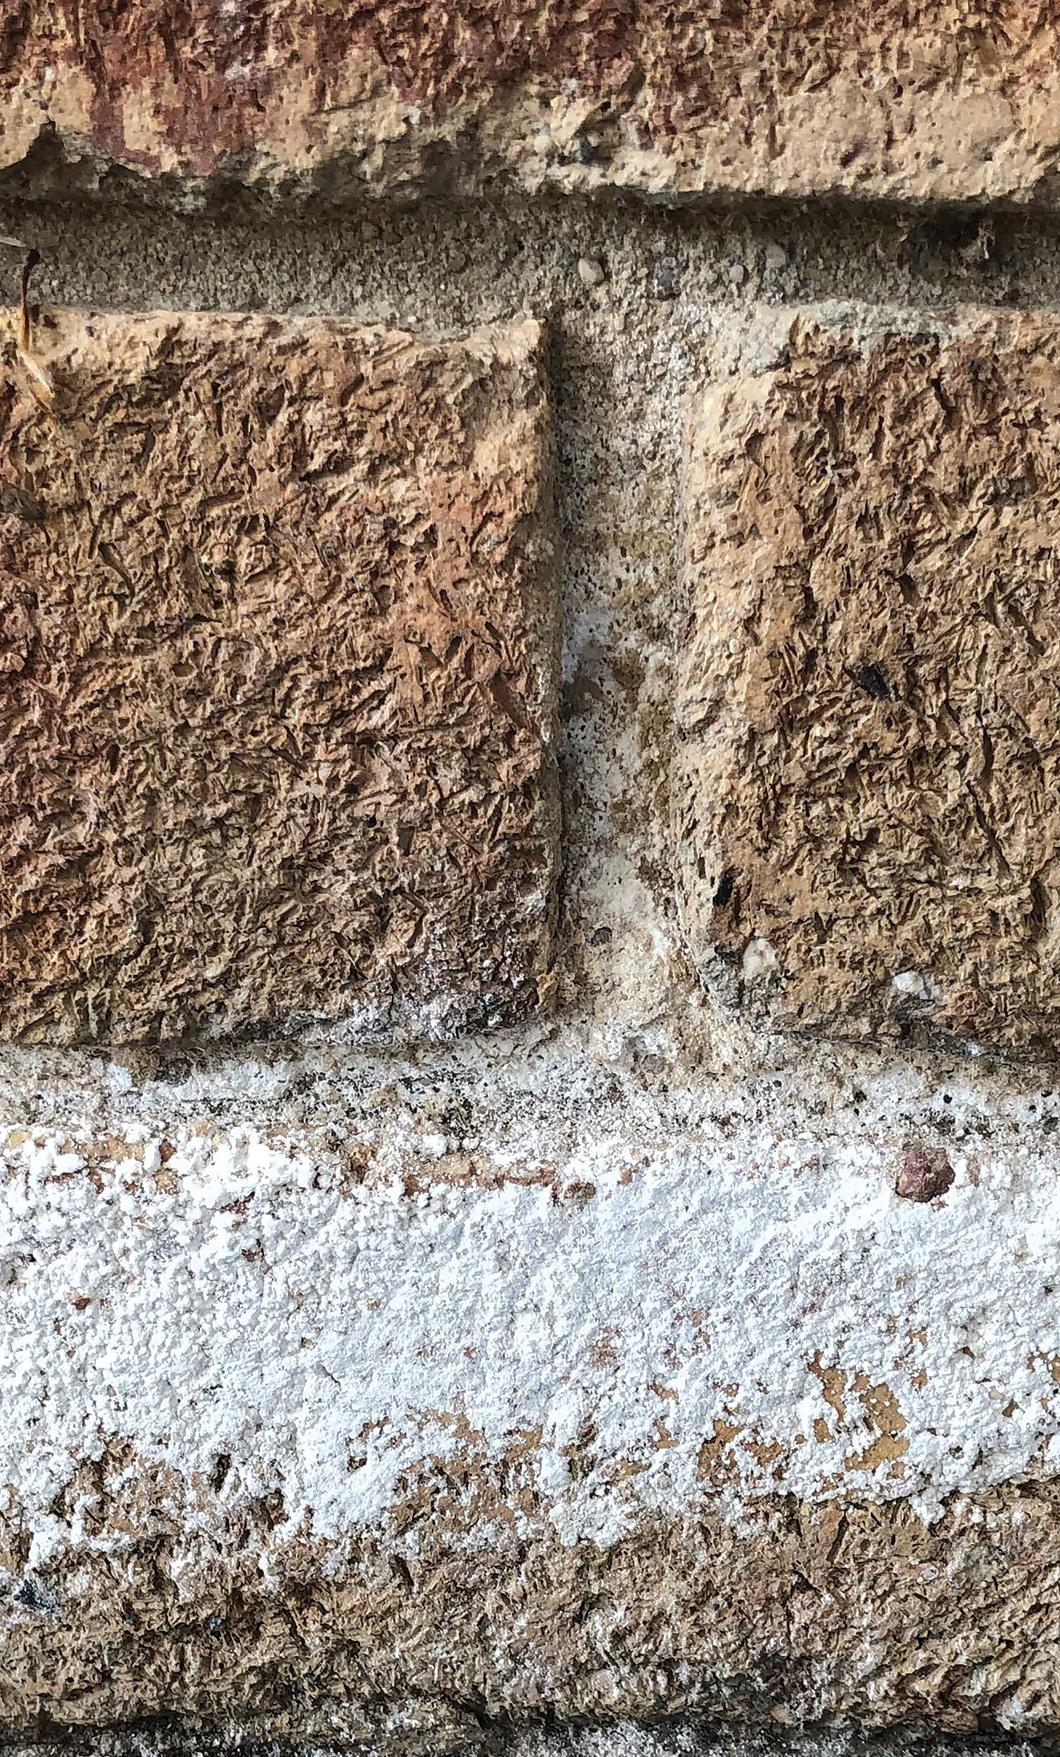
EFFLORESCENCE
EFFLORESCENCE
The migration of salts to the surface of a porous masonry substrate (eg. concrete, render, brick or mortar) resulting in the formation of crusty white deposits.
POSSIBLE CAUSES
• Excess moisture in the substrate.
• Painting over an insufficiently cured substrate.
SOLUTIONS
• Use a stiff bristled brush to remove the deposit, followed by cleaning the surface with a mild solution of white vinegar (Acetic Acid) in water. In severe cases a stronger acidic solution should be applied by an experienced contractor, to remove the mineral salts then allow to dry. • Determine and eliminate the source of moisture and repaint once the surface is sound, clean, dry and free from mould and algae. The use of an alkali-resistant sealer and appropriate topcoat is recommended.

FADING
FADING
Excessive loss of colour of a paint coating.
POSSIBLE CAUSES
• Painting surfaces exposed to UV radiation with interior grade paint. • Painting surfaces exposed to environments with elevated salt levels (eg. coastal locations). • Some colours like bright blues, yellows and reds are particularly vulnerable to UV radiation.
• Adding tinter above recommended tinting levels. • Applying paint at lower than recommended film thicknesses.
SOLUTIONS
• Clean the affected areas thoroughly to remove all surface contaminants and then repaint. • Apply paint products and coating systems that are acknowledged by the manufacturer to be UV resistant.
• Select lighter colours as they tend to absorb less heat and UV radiation. • Ensure paint is applied at the recommended coverage rate. • To minimise fading, establish a maintenance program from the start to ensure that the painted surfaces are washed and repainted within a predetermined time period. 8
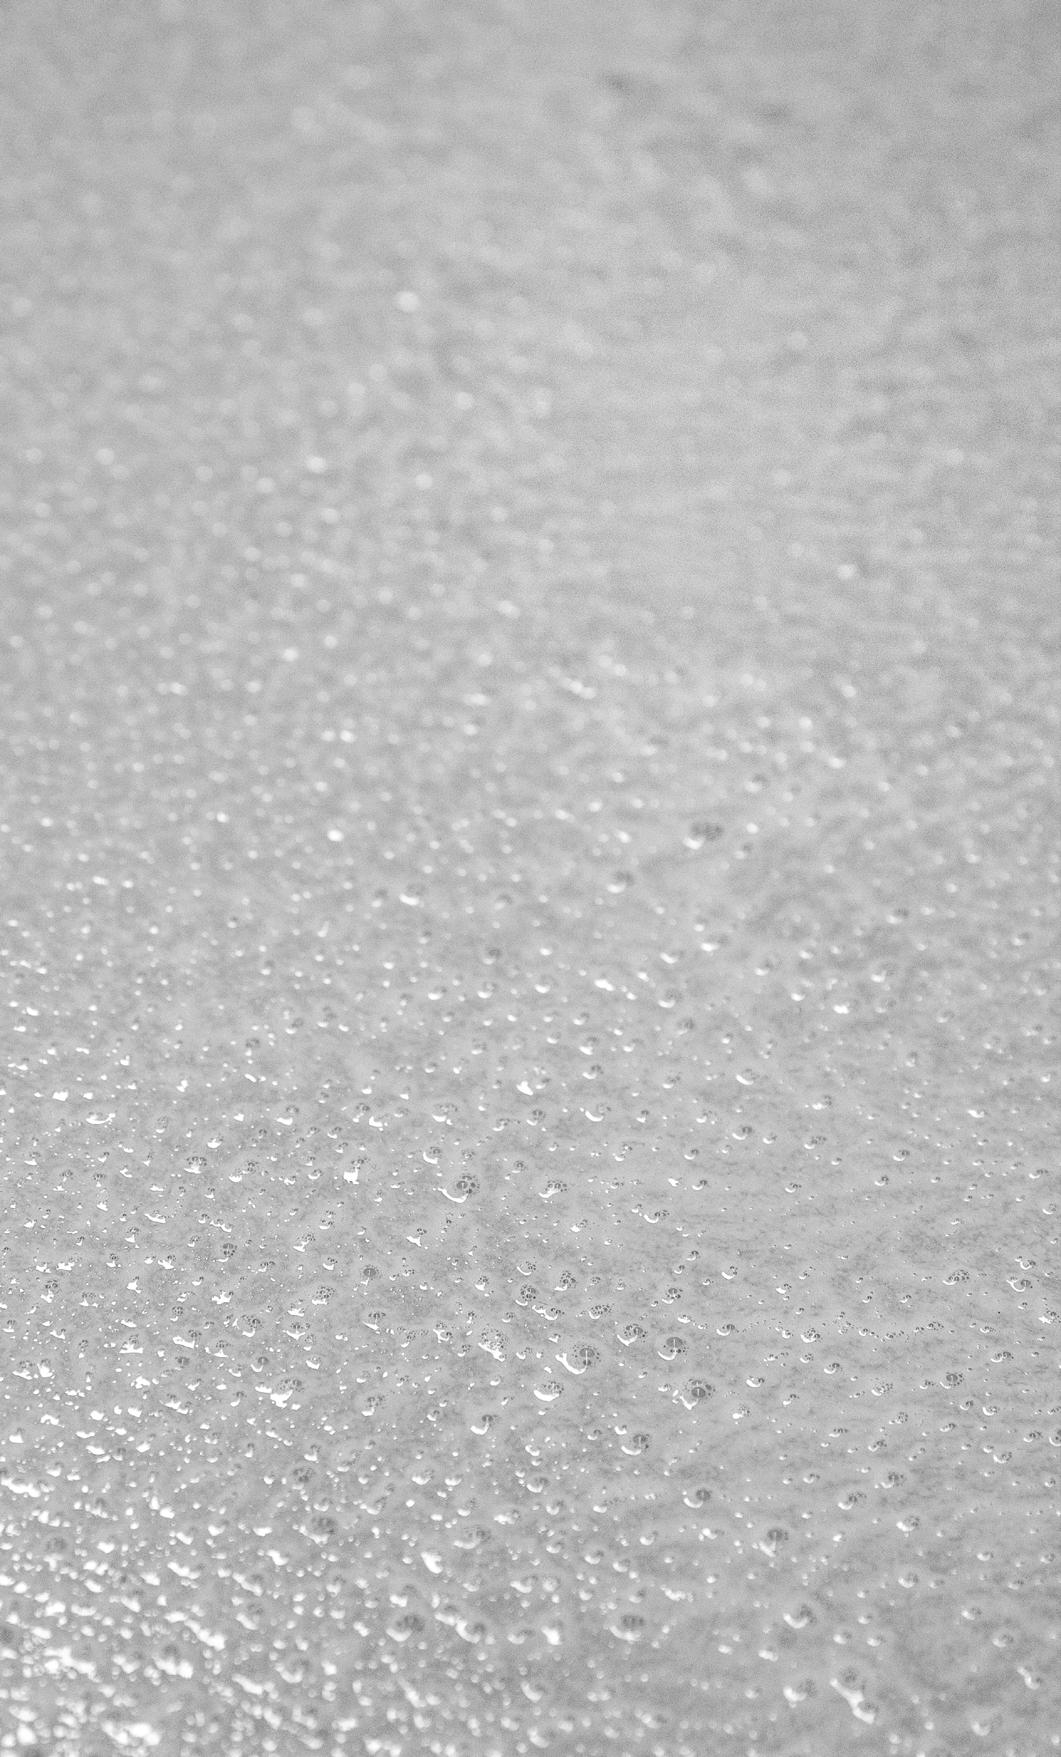
FOAMING
FOAMING
The formation of bubbles during application and the resulting craters when the bubbles break in a paint film.
POSSIBLE CAUSES
• Painting with incorrect application tools (eg. roller nap length and/or material type). • Poor application technique (eg. applying paint too quickly or excessively). • Over agitating the product prior to application. • Paint with old and/or inappropriately stored paint.
SOLUTIONS
• Ensure the correct application equipment and technique are used. If excessive foaming is noticed in the can, allow the paint to settle prior to use. • To rectify foaming in the dry paint film, lightly sand the affected areas to a smooth finish and repaint. In some instances, foaming in the wet film may be rectified by laying off lightly with a brush.

MARRING/BURNISHING
MARRING/BURNISHING
Shiny patches or polished areas that become evident when painted surfaces have been subjected to abrasion or impact.
POSSIBLE CAUSES
• Use of heavily tinted (dark or vibrant) colours in conjunction with low sheen, matt and flat paints, especially in high traffic areas. • Frequent washing and/or spot cleaning, particularly with abrasive cleaning agentsor tools (scourers). • Unintentional impact to a painted surface (eg. furniture rubbing against the coating). • Critical or low angle lighting may highlight the appearance of any marring/burnishing that may be present.
SOLUTIONS
• Repaint with a higher sheen paint or a lighter colour. • In some instances, a durable clear coat may be recommended.
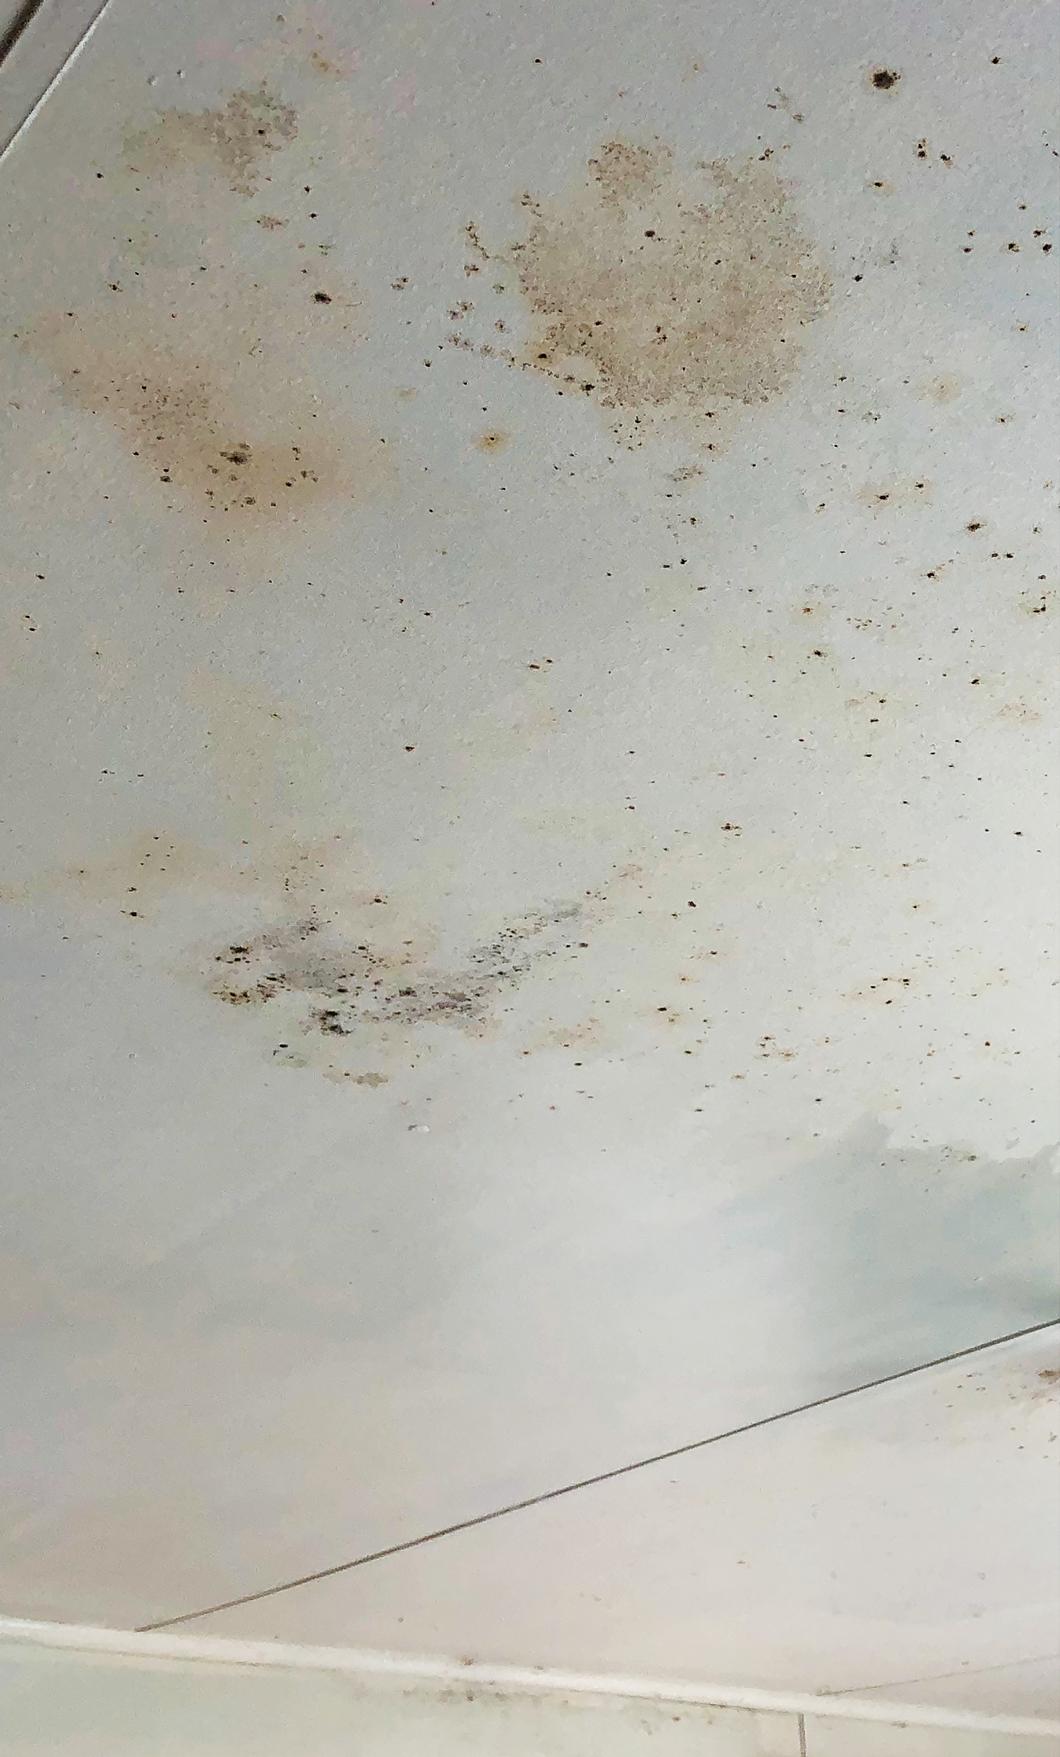
MOULD
MOULD
Black, gray or brown spots or areas on the painted surface.
POSSIBLE CAUSES
• Presence of moisture (e.g. within the substrate, condensation on the surface or high humidity). • Painting over a mould infested substrate. *Tip: Test for mould by applying a few drops of household bleach to the discoloured area; if it disappears, it is likely to be mould.
SOLUTIONS
• To eliminate mould, scrub the surface with a diluted household bleach solution (one part bleach, three parts water), while wearing rubber gloves and eye protection. Rinse thoroughly. • To protect against mould, apply paint which has anti-mould properties.
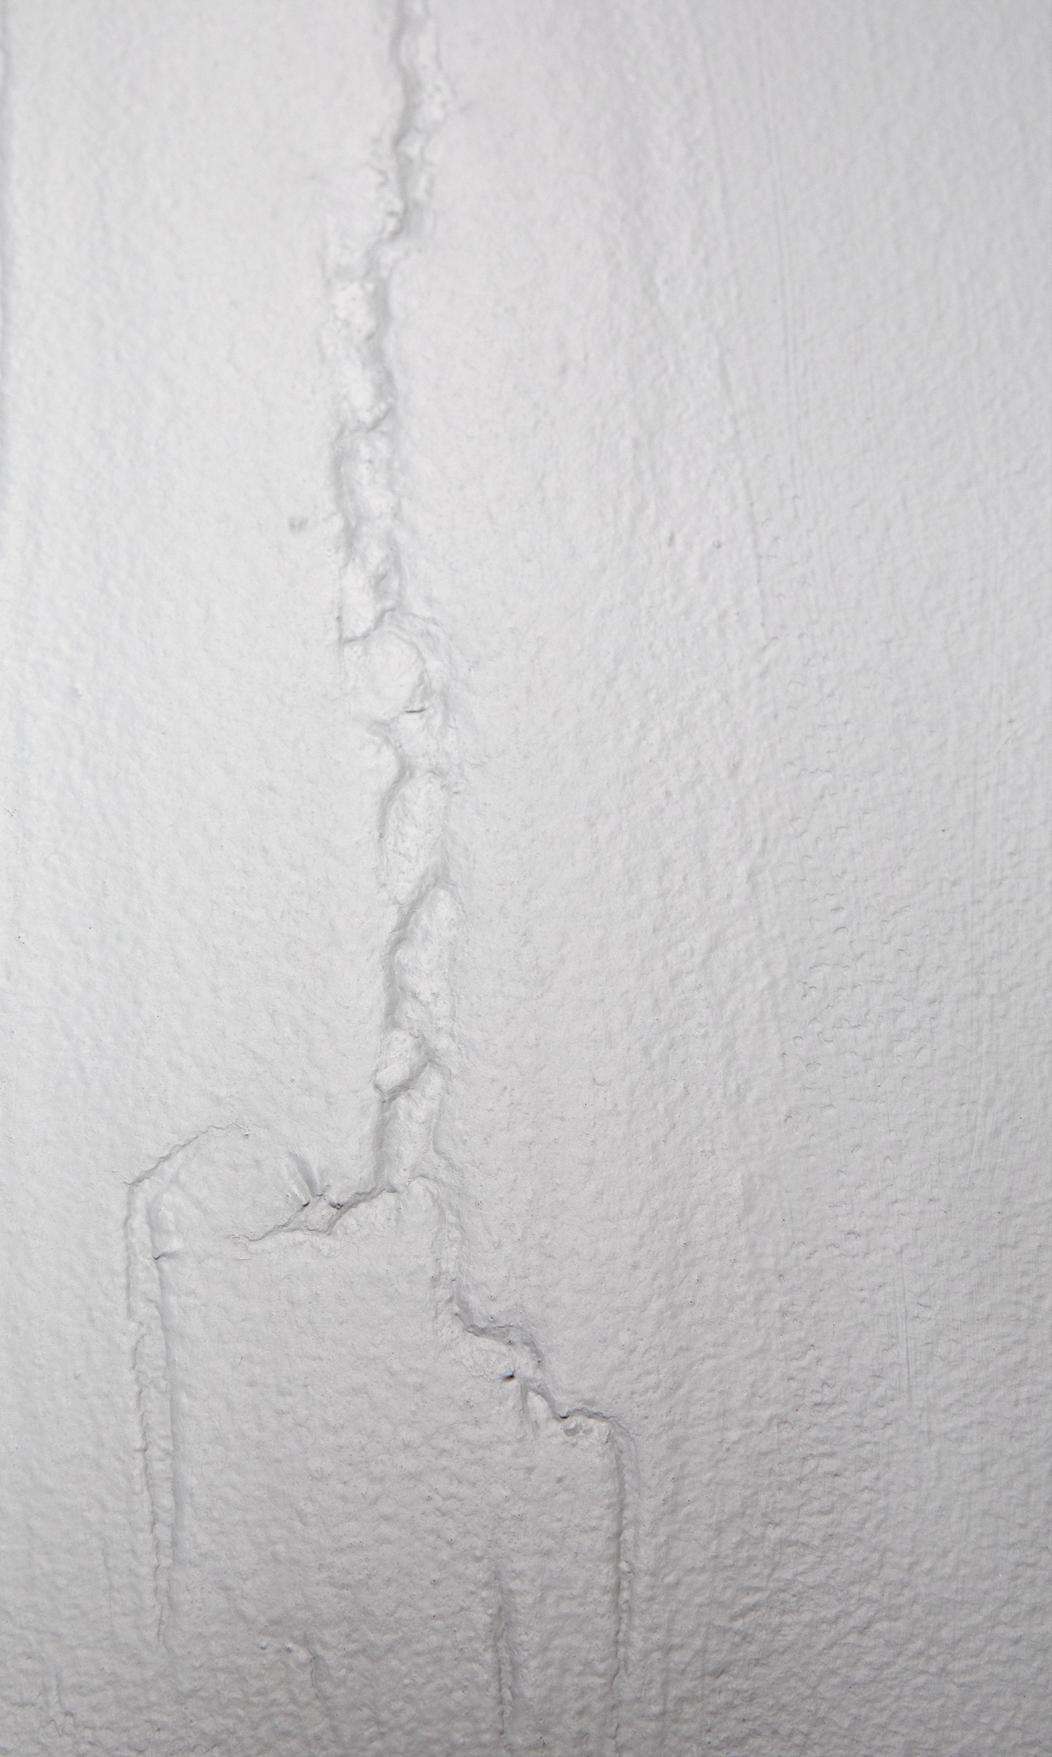
MUD CRACKING
MUD CRACKING
Deep, irregular cracks in the dry paint film.
POSSIBLE CAUSES
• Applying too much paint, causing the surface of the film to dry at a faster rate than the rest of the coating (most common in areas where paint can overlap, such as corners). • Poor conditions during the application or drying period (eg. cold substrates and/or low air temperatures).
SOLUTIONS
• Sand the surface smooth before repainting at the recommended coverage rate. • In some instances, a suitable oil based primer or high build product may be required. • Ensure application and drying conditions conform to manufacturer’s recommendations.


