27 minute read
Base
from 5273 Guide
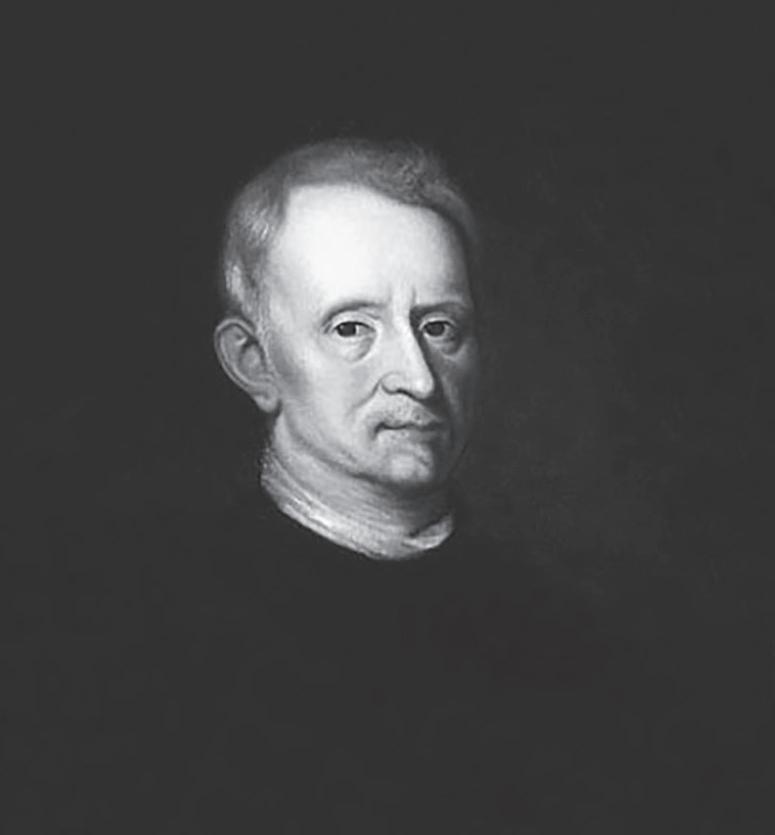
Robert Hooke
THE HISTORY OF THE MICROSCOPE
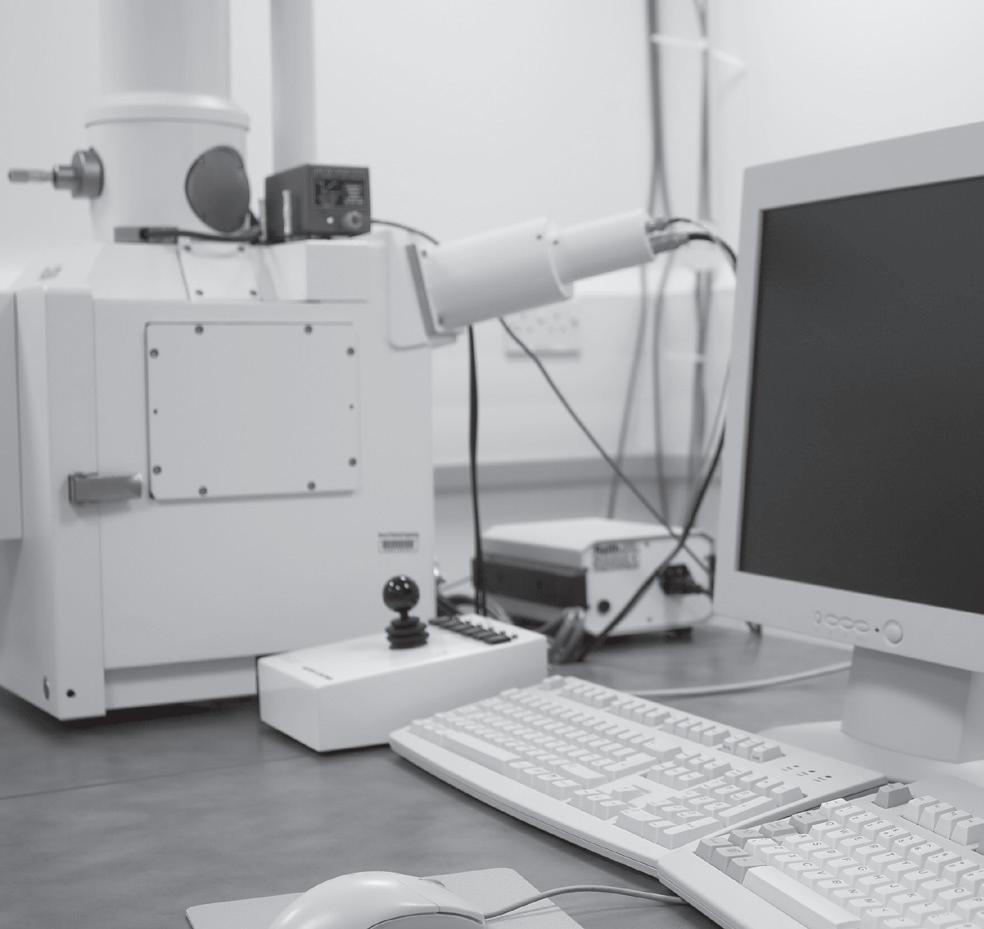
During the late Middle Ages (around A.D. 1200 to 1450), the growing demand for eyeglasses led to experimentation with lenses and making small things appear larger. As a result, the first microscope was created, probably in Holland in the late 16th century. The Dutch were master magnifiers. The first microscopes were operated with only one lens—then the compound microscope was invented in the 1590s, which used two or more lenses to magnify objects even more. Robert Hooke was one of the most famous people to use a compound microscope. During the 1600s, Hooke observed and recorded the miniscule parts of nature previously unexplored, such as the intricacies of feathers, insects, and even mold. Hooke also introduced the concept of cells—the smallest independently functioning part of an organism. Today, scientists use microscopes to aid in the world of medicine, help build better and stronger materials for everyday use, and even discover hidden mysteries about ancient cultures and environments. One of the most powerful scientific instruments is called the scanning electron microscope, or SEM. Instead of magnifying objects using lenses, like this microscope, the SEM focuses a beam of invisible particles called electrons on the object, and collects the electrons as they bounce back. These electrons are then turned into a black-and-white image on a screen. SEMs can magnify some small objects as many as 100,000 times—that’s about 50 times more powerful than the strongest ordinary compound microscope.
Scanning electron microscope
THE CELL
One subject that’s easy to observe with your microscope is a cell. Both plants and animals have cells. Plant cells have structured walls and basically serve as mini-food factories. Photosynthesis, or the conversion of solar sun energy into chemical energy, takes place inside the plant cell. Unlike plant cells, animal cells have a permeable membrane instead of rigid, structured walls. This permeable membrane, through which certain things can pass, encases a number of even smaller, specialized components called organelles. An animal’s body (including yours!) is made up entirely of these cells. They range in size and shape, depending on their function and location. Even the cell’s life span varies from type to type—heart muscles, cartilage cells (the soft tissue connecting your bones at the joints), and most neurons (brain cells) can never divide, regenerate, or be replaced. On the other hand, liver cells are replaced about every 500 days, cells in your stomach lining about every 2 days, and skin cells about every 1 to 34 days.

Check out the prepared plant cell slides. Can you see their rigid walls?
PROJECT #1: Cloth Fibers
You will need: q microscope q clean, blank slides q scissors to cut small samples q scrap pieces of cloth of different types
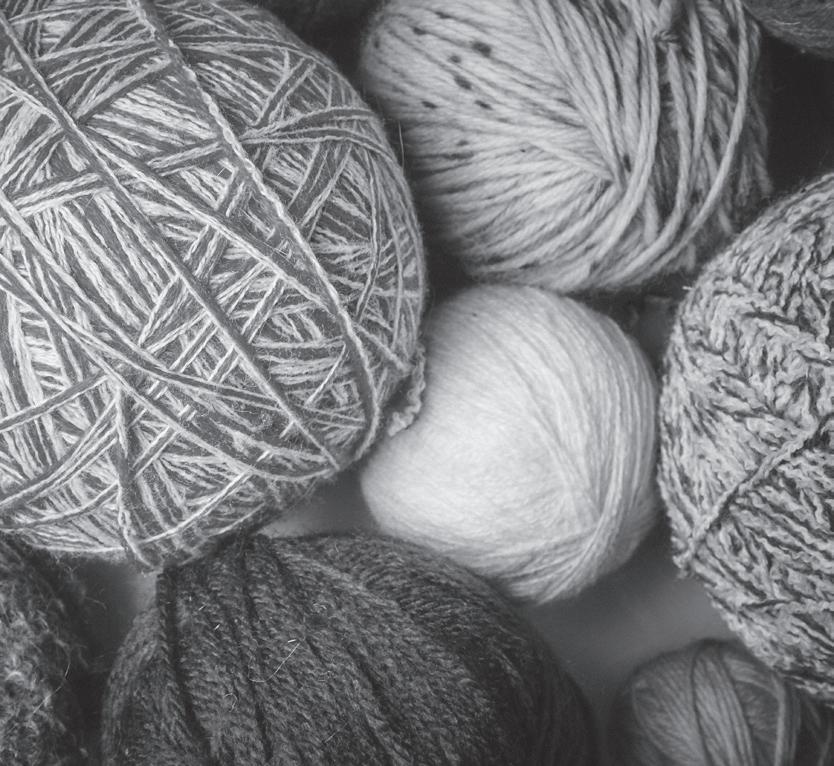
All types of cloth are made from long, thin strands called fibers. Some, like wool, come from animals. Others, like cotton, come from plants. Still others are made from chemical actions. Nylon and polyester are samples of man-made fibers. Take small samples of various fibers, such as cotton, wool, and polyester. Put one sample at a time between two clean, blank slides like a sandwich. Put the slide sandwich under your microscope. Can you see the difference between natural and man-made fibers? Look at how tightly the strands are wound. Some are very tight and smooth. Others are loose and spiky. The loose fibers can trap air. This trapped air can help to keep you warm.
NOTES:
Type of cloth fiber Is it man-made or natural? Are the fibers tightly wound?
Are the fibers loose and spiky? Will it keep you warm?
Compare a wool fiber with a polyester one. Which one will keep you warmer?
PROJECT #2: Animal Fur
You will need: q microscope q 2 or more clean, blank slides q samples of different types of fur and hair
An animal’s fur is similar to the hair on your head. Like your hair, it protects the skin underneath from cold, heat, and sunburn. Animals have different kinds of fur. Some animals have fine, smooth fur. Others have stiff, bristly fur. Some fur is short, and some fur is long. Long-haired animals can stay warm even when it is very cold. Their fur traps and holds a layer of warm air next to their skin. This is called insulation. Study samples of fur from cats, dogs, and even your pet hamster. Put several strands of animal hair or fur in between a slide sandwich like you did with the cloth fibers and look at them under your microscope. If you look closely at 600X magnification, you might see small rough lines going around each hair. These are growth lines. If there is a large space between these lines, the hair is fast-growing. A lot of small spaces between lines indicate a slow-growing hair. Pull out a single hair from your head. (Ouch!) Does it look like any of the animal hairs?
NOTES:
Sample # Where is it from? Is the hair smooth? Would it keep the animal warm? Can you see growth rings?
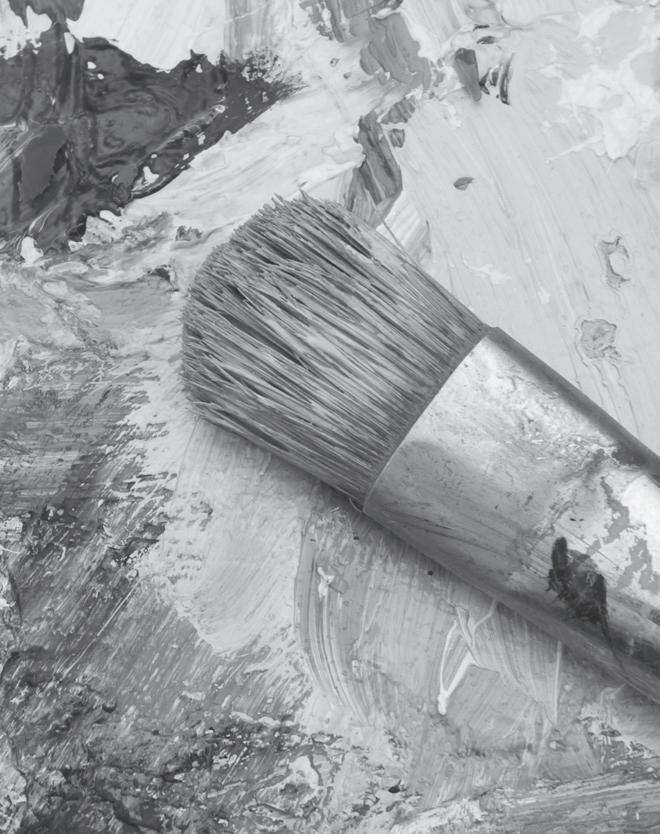
Check your paintbrush! Some have squirrel hair or even pig bristles!
PROJECT #3: Leaves
You will need: q microscope q 2 or more clean, blank slides q different types of leaves
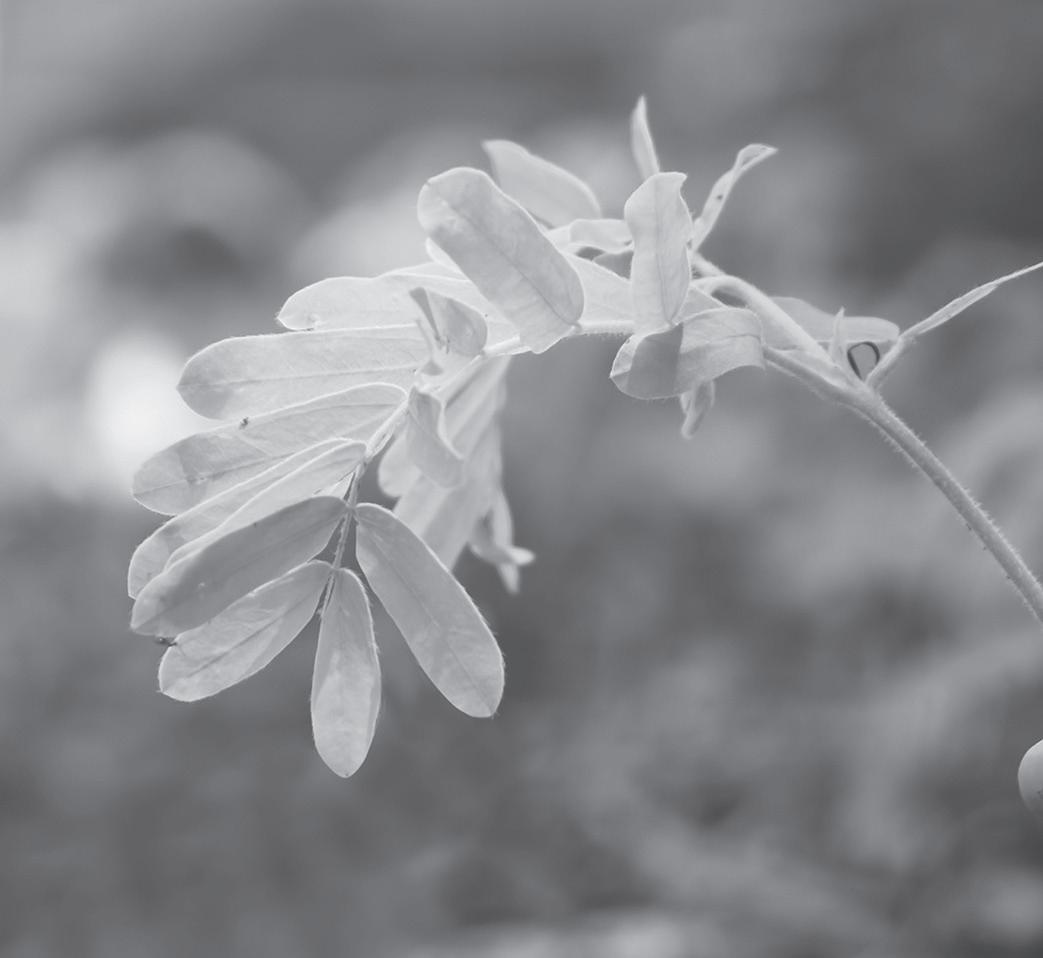
Plants breathe through their leaves! Most leaves have small holes in their underneath side called stomata. Plants breathe in carbon dioxide from the air and release oxygen back out. People do the opposite. We breathe in oxygen and breathe out carbon dioxide. In this way people and animals help plants and they help us. The scientific name for a relationship like this is a symbiotic relationship. Collect leaves from different tree and plant types. The needles of pine, fir, and spruce trees are also leaves, but they look a little different. If you gather your leaves in the spring and summer, they will be mainly green. In the fall and winter they may be
NOTES:
red or brown or orange— all except the small fir, pine, and spruce needles. They stay green all year round. The trees from which these leaves come are called evergreens. Look closely at your leaf samples at 300X magnification. Look for patterns of lines running through the leaf. These are the veins of the leaf, and they carry nutrients, or energy food, back and forth between the leaf and the main plant. A plant’s leaves are like tiny food factories. Chlorophyll, a green chemical in leaves, traps energy from sunlight. The plant uses this energy, water, and carbon dioxide to make food in a process called photosynthesis.
Sample # What plant is it from? What color is it? Can you see the veins? Can you see the stomata?
Leaves are actually the organs of a plant!
PROJECT #4: Dirt and Sand
You will need: q microscope q samples of dirt and sand from different places q several clean, blank slides q pipette q several slide covers q water q specimin vials to hold the samples
Dirt can have small pieces from rocks in it. It can also have lots of organic material. This is made up of decomposed plant and animal material. Dead leaves and grass get broken down and eaten up by friendly bacteria and small animals like earthworms. Dirt that has lots of organic material in it is called loam, and it is very good for growing flowers and vegetables. Sand can be made up of small grains of different rock types that have been broken down from bigger pieces. There can also be tiny fragments of shells from long-gone sea creatures. In some places the beach sand is black because the fine particles have been worn down from pieces of coal! Collect dirt and sand from around your house and from different beaches. Bring small samples home from a vacation. Use the specimen vials in your microscope kit to hold the samples. Place a very thin layer of each sample on a slide. You will see many small types of particles. Then add one drop of water and place a slide cover over the sample.

What do you see in your samples of dirt and sand? Which samples would make good garden soil? Be sure to wash your hands when you are finished.
NOTES:
Material
Rock Samples Shell Particles
Small Pieces from Plants
Coal Particles
Insect Parts Sample 1 Sample 2 Sample 3 Sample 4
Black sand is made of fine particles of coal!
PROJECT #5: Paper
You will need: q microscope
q paper towel q 2 clean, blank slides q pen q writing paper, tissue paper, newspaper q water
Paper can be made from many things. Most paper is made from trees. Sometimes the paper maker adds finely chopped cotton rags. Other types of paper are made from paper that has been used before. Paper can be thick or thin. It can be smooth or rough. It can be very strong or very weak. Paper is used to write on, to make packages with, to clean up spills, to blow your nose on, and even to make clothes with. Paper to write on is smooth, while paper tissues are soft. Paper towels are thick, while newspaper paper (called newsprint) is thin. Get different types of paper and compare them. Try to write on them. Try to clean up a few drops of spilled water with each type. Then place small pieces of the different paper samples between two slides and look at them through your microscope.

NOTES:
Can you write on it with a pencil?
Can you write on it with a pen?
How well does it pick up spilled water?
How strong is it?
How smooth is it? Writing Paper Newsprint Paper Towel Facial Tissues
Y / N
Y / N Y / N
Y / N Y / N
Y / N Y / N
Y / N
Through your microscope you should have noticed that tissues and paper towels have soft, fuzzy fibers that have big air spaces between them. These air spaces can also hold water, which is why these two samples did well picking up the water spill. The writing paper did not have these air spaces and did not pick up water very well. The newsprint did not work well either because its fibers are also closely packed.
PROJECT #6: Pond Water
You will need: q microscope q pipette q a pail or bucket q clean, blank slides q an empty jar q slide covers
Get a sample of water from a pond in a wooded area. It is best to get a sample in the late spring or summer. Dip your pail or bucket in the pond to fill it. Let it stand still for about a half-hour. Then dip your jar to the bottom of the pail and try to get some of the sludge that has settled to the bottom. Use your pipette to place a drop on a blank slide and place a slide cover over it. To do this, stand the slide cover on end next to the drop. Gently let it fall onto the drop. Push it lightly with a toothpick, but not hard enough to squash any little animals. If water has squeezed out around the edges, you can touch a tissue to it to clean it up. Look through your microscope. Start at 100X and work upward. What are all of the small things you see? Are some of them alive? You will see small bits of dirt and vegetation. If you are lucky, you may see small creatures moving around. Some of these are tiny baby insect larvae. Others are very tiny animals that live in the water and feed on the vegetation and on the insect eggs and larvae. Make careful notes and drawings of what you see.
THINGS I SAW IN POND WATER:
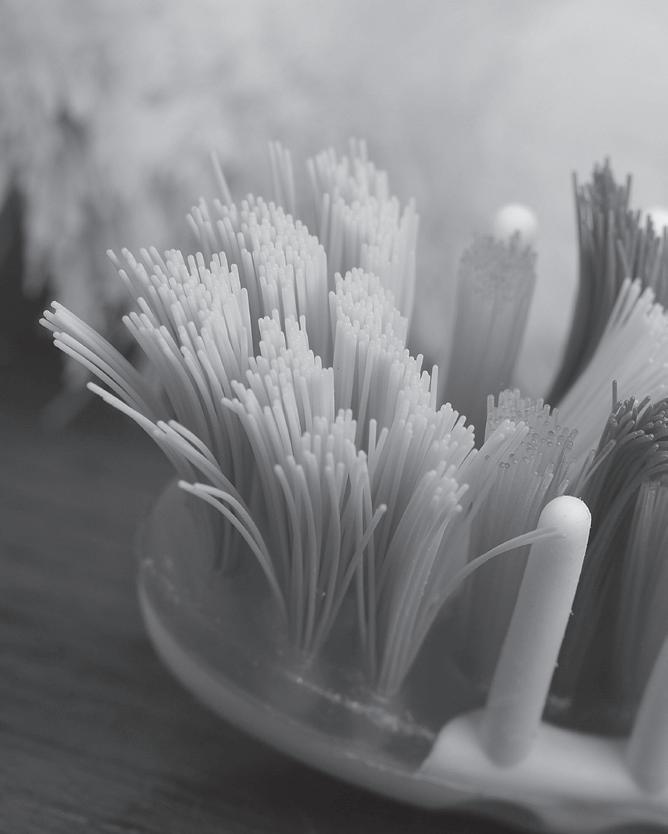
Cut a bristle off of an old toothbrush and a new one. Can you see why you need to replace them every so often?
PROJECT #7: Friendly Bacteria
You will need: q microscope q clean, blank slides q slide covers q paper towel q pipette q yogurt (must say “active cultures” on the label) q water q petri dish
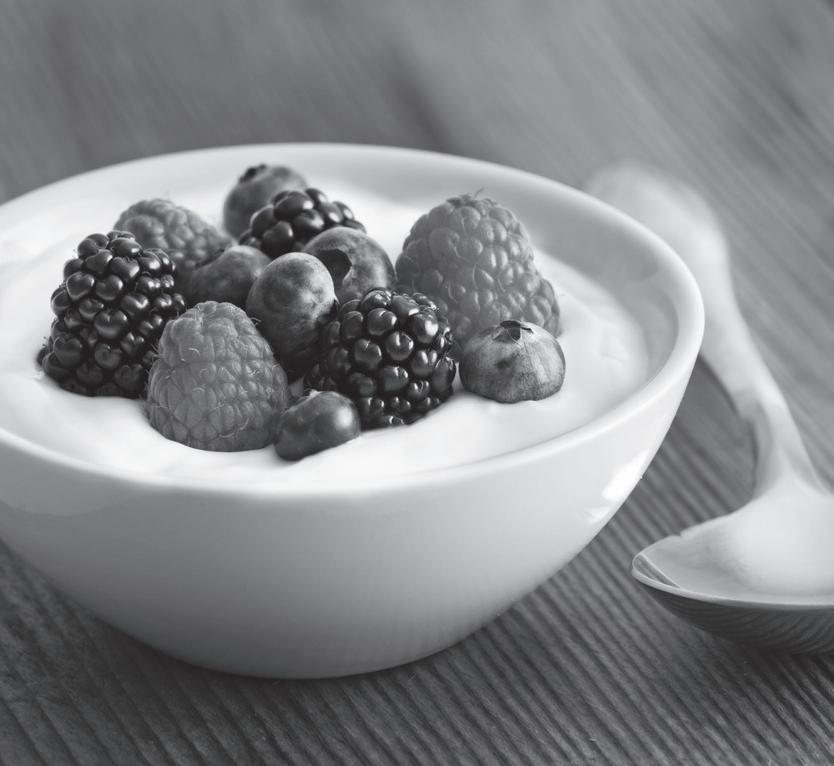
Bacteria are very small life forms that you can only see through a microscope. Some bacteria make us feel sick. Some bacteria are friendly. Put a drop of natural yogurt on a slide. Mix it with a drop of water and put a slide cover over it. The sample should be spread very thinly. Look through your microscope. Scan the area carefully at 300X and 600X. Try to look at the thinnest areas. You should see small round objects. These are the friendly bacteria. Place several drops of yogurt in a petri dish or sample vial. Mix it with several drops of warm water. Do not cover your sample. Place it somewhere relatively warm and out of reach. Wait for one day. Using your pipette, place a drop or two of your sample on a slide and cover it with a slide cover. Look for more bacteria. You will probably see more bacteria. They were in the air and landed on the yogurt. There may be different shapes than you saw the day before. Draw pictures of what you saw in the boxes provided below. Wash your hands thoroughly. Place the slide cover in the garbage. Wash the slide in hot, soapy water with several spoonfuls of liquid bleach added. Ask your parents to help you because bleach can hurt you, and the bottle is heavy. Wash your hands again.
NOTES:
Friendly Bacteria Other Bacteria
PROJECT #8: Crystals
You will need: q microscope q string
q 2 clean, blank slides q a drinking glass q table salt q sugar q very warm water (enough to almost fill a glass) q a spoon (to measure and stir with)
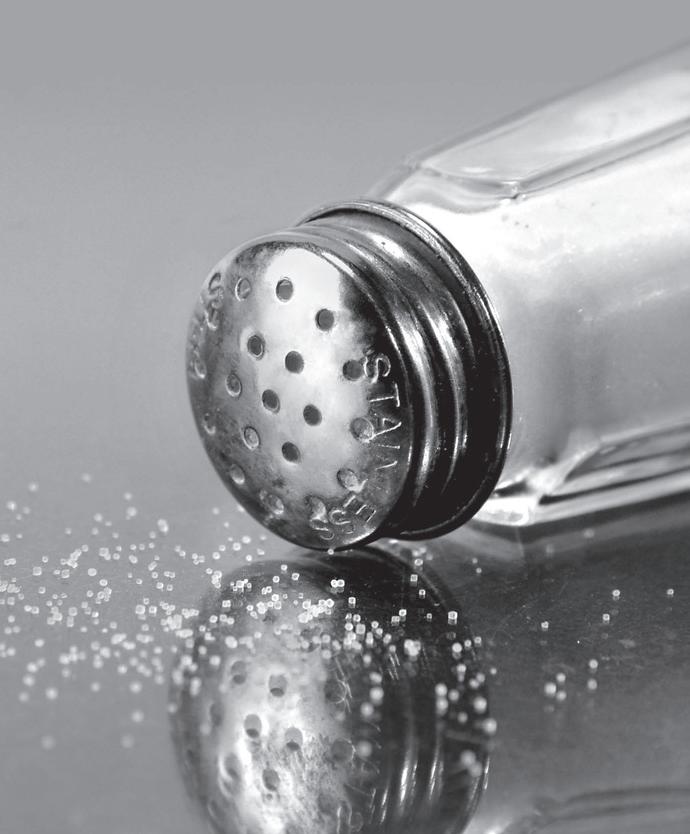
Take a piece of string about 3 inches (7.6 cm) long and tie it around the center of an old pencil. Now take a small drinking glass and almost fill it with hot water from the tap. Be careful not to burn yourself. Stir in a spoonful of salt until it is well mixed and has all dissolved. Now add another spoonful and stir it well. If all of the salt dissolves in the water, try to mix in a third spoonful. Now place the pencil across the top of the glass so that the string is hanging in the salt water. Place the glass somewhere safe where small children cannot reach it. Do not move the glass around. Let it sit undisturbed for a day and then examine the string. Leave it another day and examine the string again. You will see small white cubes growing on the string. These are salt crystals. This crystal structure is salt’s basic shape. Try the same experiment with a strong solution of sugar. Sugar also has a crystal shape. Is it the same as a salt crystal? Can you tell them apart? Look at some of the crystals you have grown under your microscope. Sometimes the little cubes will join together in strange or beautiful shapes.
NOTES:
Salt Crystals Sugar Crystals
Did you know? There are 12 different kinds of salt!
• 360 MM REFRACTOR TELESCOPE
• ALUMINUM OPTICAL TUBE AND COMPACT
ALUMINUM TRIPOD
• ALL-GLASS EYEPIECES
• LIGHTWEIGHT AND PORTABLE
EXPLORE THE WONDERS OF THE EARTH AND SKY!
VEGA360
TELESCOPE
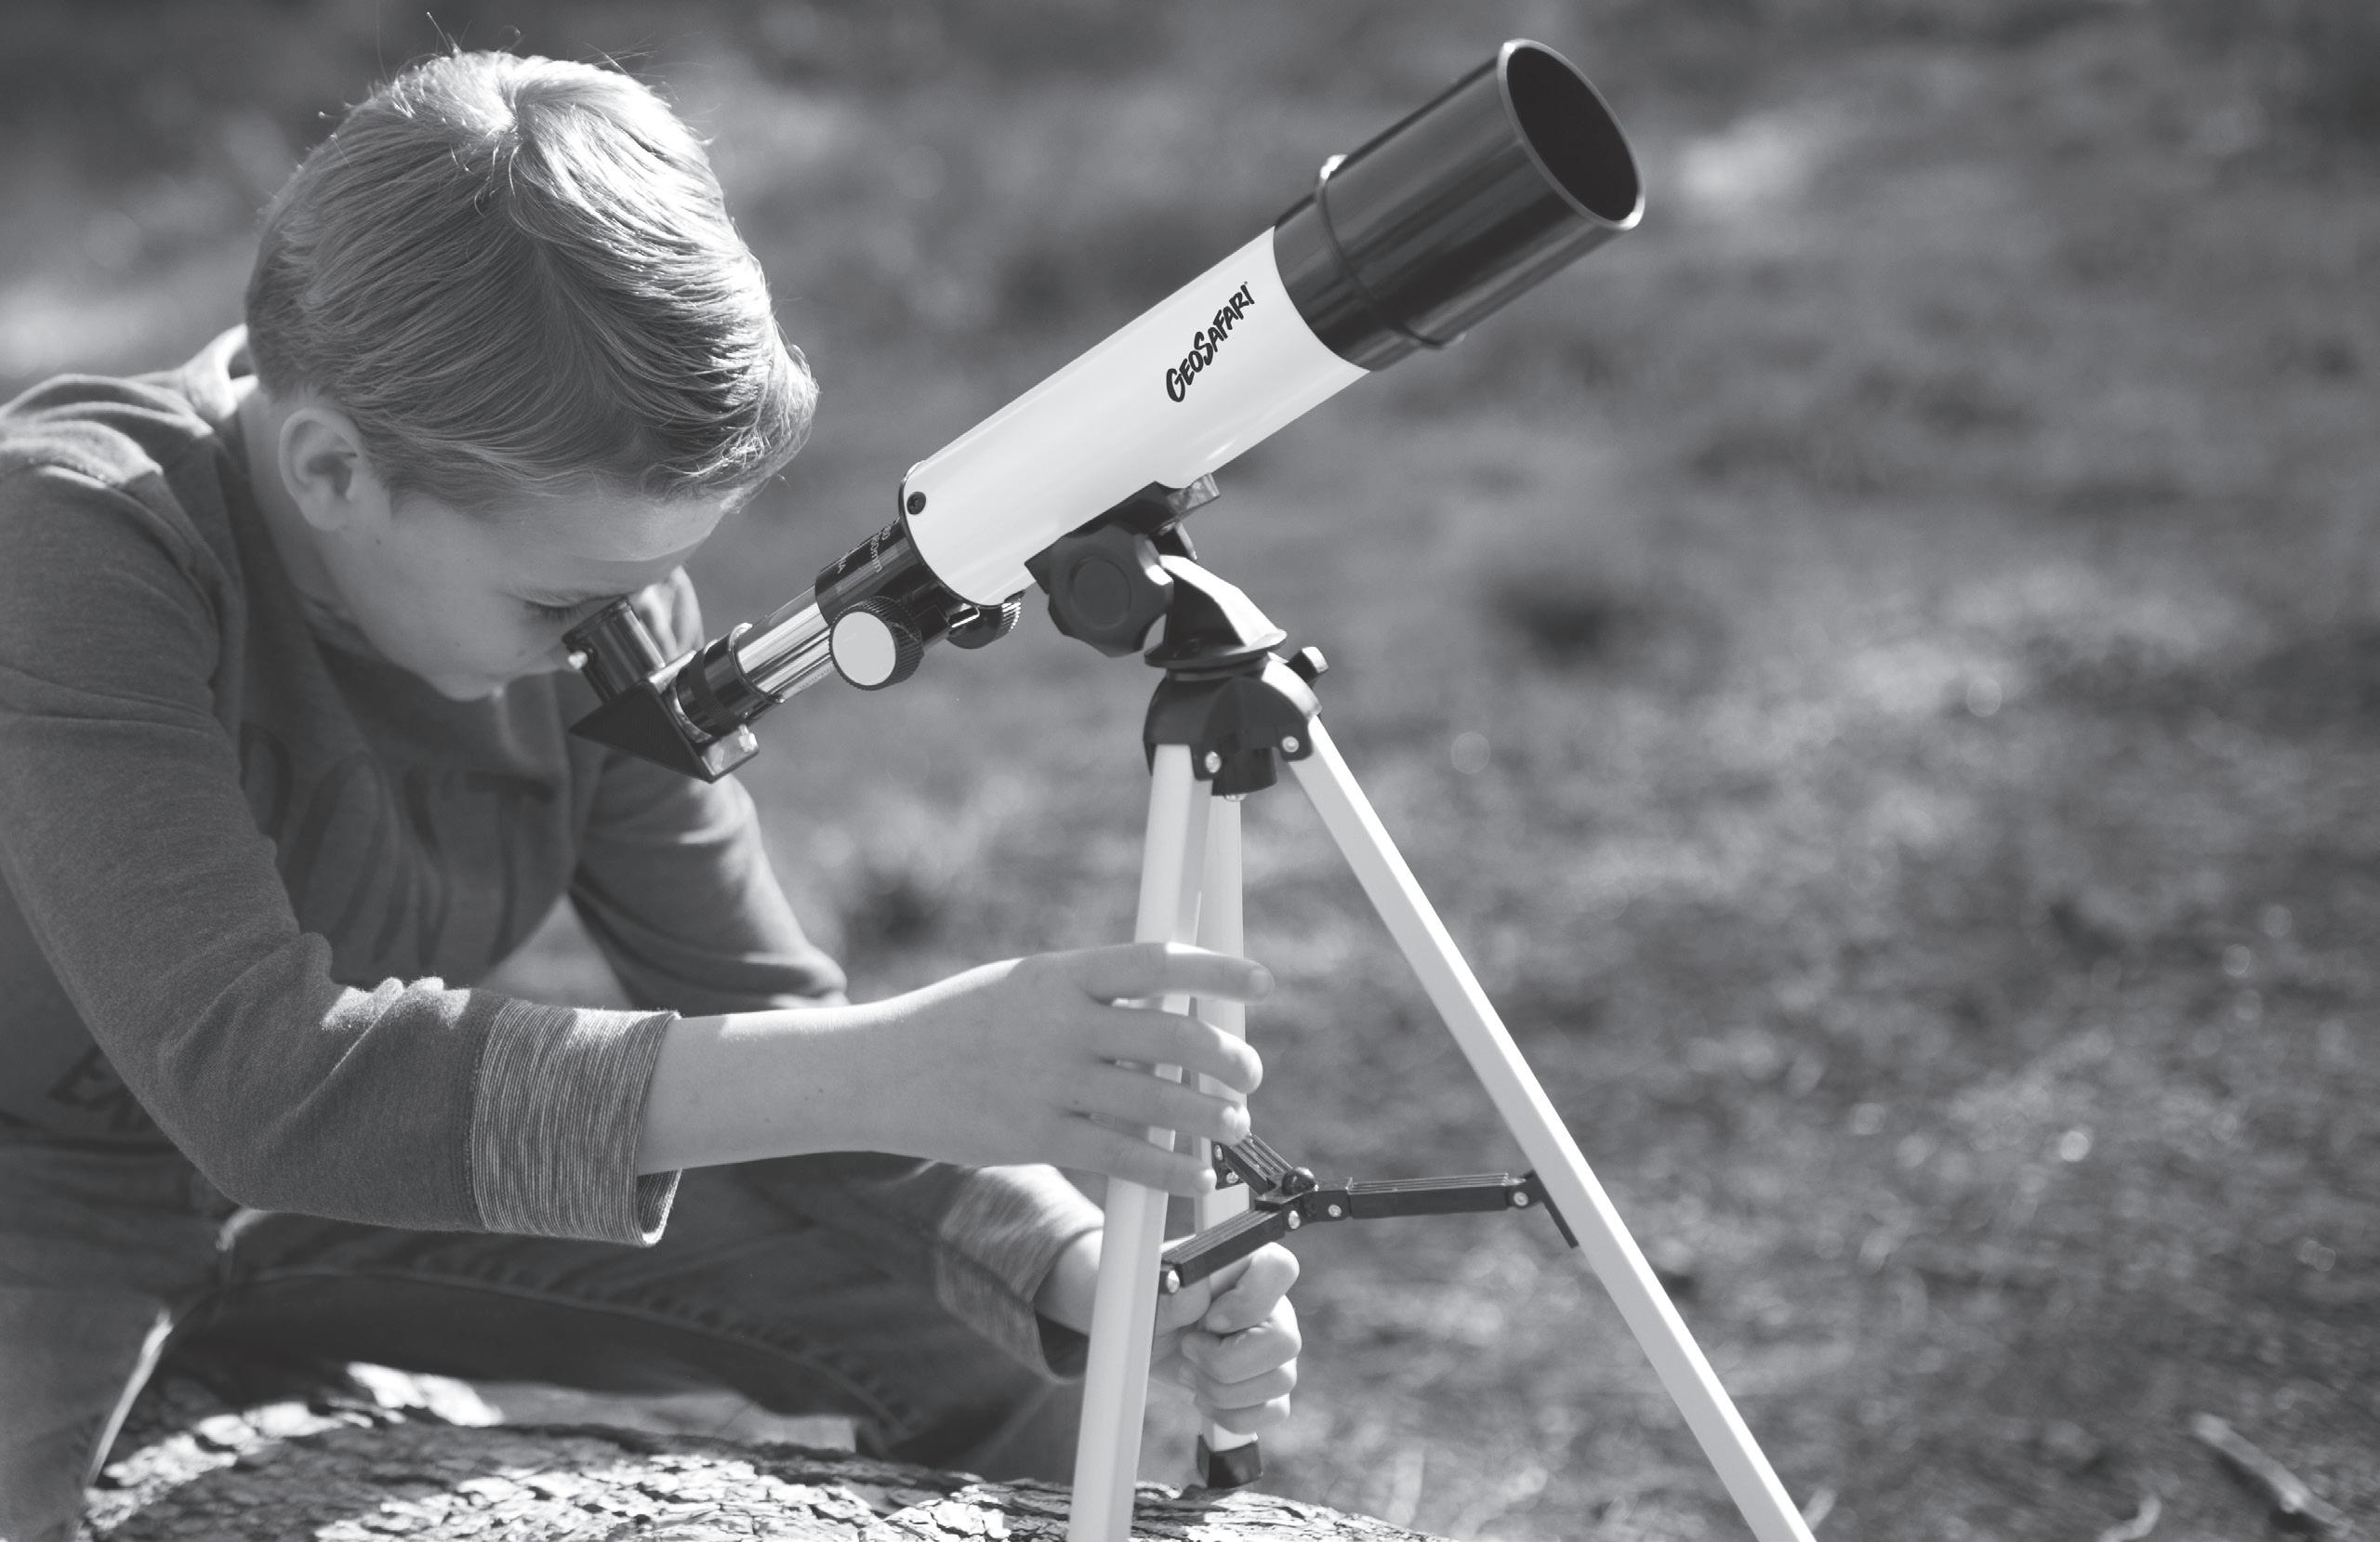
Get ready to get up-close and personal with some truly amazing distant objects! Your Vega 360 is a refractor telescope, the first type of telescope invented. A refractor telescope collects light through a large objective lens and directs it through the telescope to the eyepiece for magnification. Using your telescope, you’ll be able to see lots of interesting objects in the night sky as well as incredible things here on Earth, from animals and landscapes to close-up views of sporting events and more.
Below are the main elements of a refractor telescope:
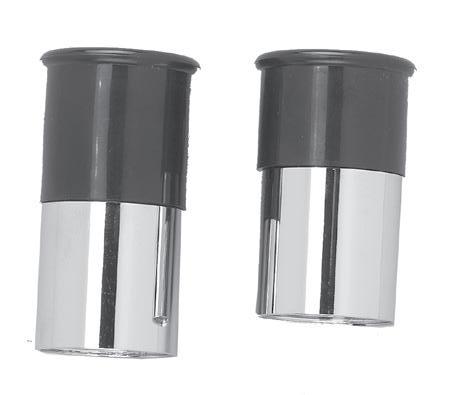
A. Optical tube with rack-and-pinion focuser B. Tripod with altazimuth mount C. Diagonal mirror D. 20mm eyepiece E. 8mm eyepiece F. 1.5x erecting eyepiece (image erector)
What does each part do?
1. Eyepiece 2. Focuser 3. Optical tube 4. Objective lens 5. Dust cap 6. Dew shield (attached) 7. Altazimuth lock knob 8. Altitude lock knob 9. Tripod 10. Diagonal mirror
1. Eyepiece
Brings the image from the telescope’s objective lens to your eye. Your telescope comes with a low power eyepiece and a high power one, too.
2. Focuser
The knob you’ll turn to make the images come into focus.
10. Diagonal mirror
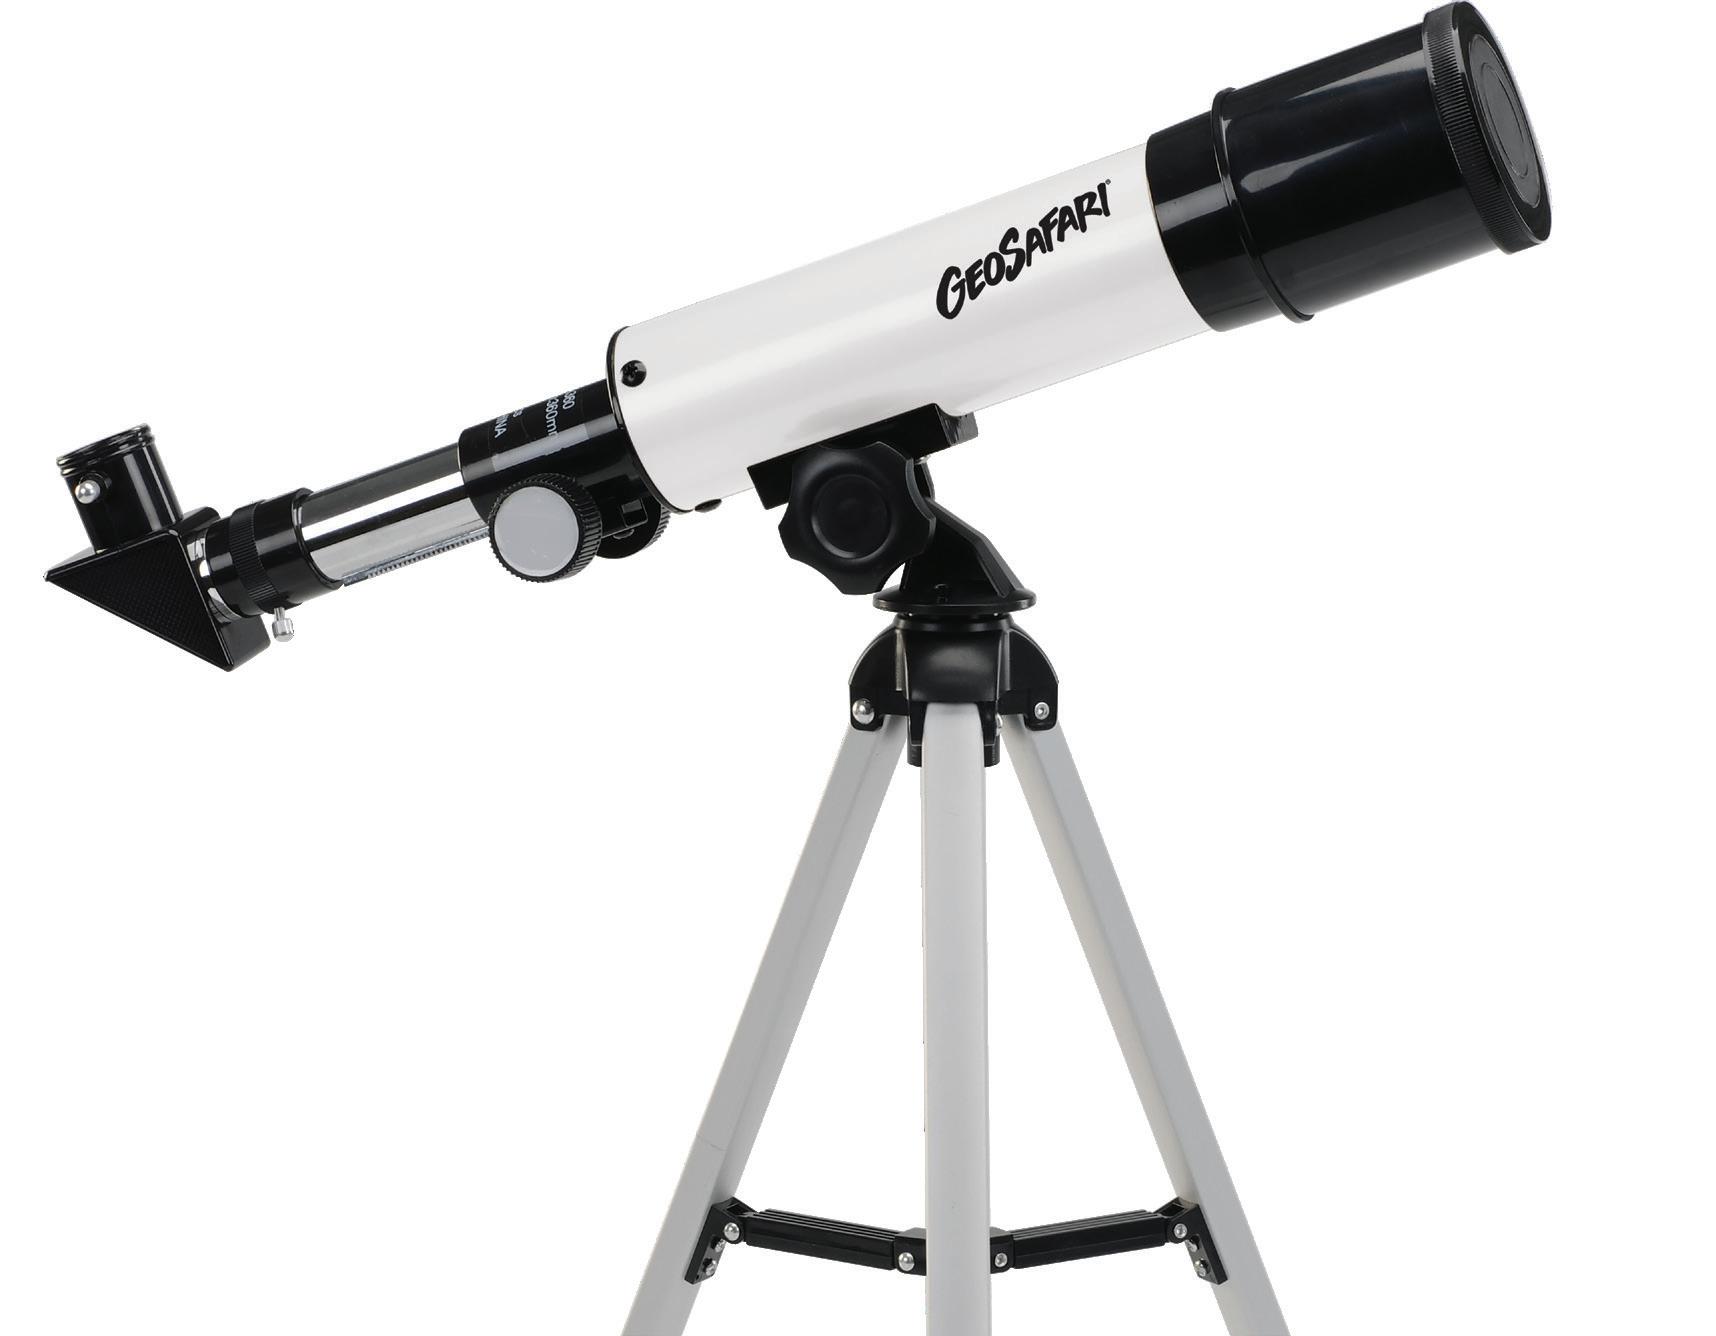
Orients the image from your telescope so that it is right-side up. It also makes it more comfortable to look at stars high in the sky without bending down low.
8. Altitude lock knob
Holds the optical tube and allows you to adjust the view up and down (altitude).
9. Tripod
Supports the telescope and mount.
3. Optical tube
Houses and protects the telescope’s main, or objective, lens. 4. Objective lens (inside)
Gathers light from a distant object and brings that light, or image, to a point or focus.
5. Dust cap
Protects the objective lens from scratches and dirt.
6. Dew shield (attached)
Prevents dew from forming on the lens at night and acts as a sunshade to reduce reflections during the day.
7. Altazimuth lock knob
Allows you to adjust the view side-to-side (azimuth).
1. Dust cap 2. Objective lens (inside) 3. Dew shield (attached) 4. Optical tube 5. Eyepiece 6. Diagonal mirror 7. Focuser/Focus knob 8. Altitude lock knob
9. Tripod 10. Azimuth lock knob 1 2 3
4
10 5
7
8
9
Use the diagram on page 4 and the directions below to assemble your telescope.
1. Gently pull the tripod legs ( 9 ) as far apart as they will go. Press down on the center of the tripod supports until they lock flat into place in a horizontal position. (See Figure 1.) 2. Unscrew nut from altitude lock knob ( 8 ) and remove. 3. Place the optical tube ( 4 ) over the mount and lower it so that the plastic “tongue” on the mount slips into the bracket underneath the tube. (See Figure 2.) Line up the holes on the prongs with the holes in the tongue. 4. One of the prongs in the bracket has a hexagonal-shaped cutout around its opening. Place the nut from the altitude lock knob ( 8 ) in this cutout and hold it in place. Insert the bolt from the altitude lock knob through the bracket and tongue as shown. (See Figure 2.) Turn the altitude lock knob clockwise to screw it into place, while pressing firmly on nut. 5. Tighten the altitude lock knob just enough so that you can move the optical tube up or down and it will stay pointed at the angle you want. (You should be able to aim the tube almost vertically. If not, reverse its position in the mount. (See Figure 2.)
Figure 1
Figure 2
Figure 3 6. Find the azimuth lock knob (10 ) and tighten it, if necessary, by turning it clockwise. When it’s fully tightened, this knob will lock your telescope’s horizontal movement.
7. If the diagonal mirror has not come already inserted into the focuser, remove the protective plastic cap over the telescope’s focuser ( 7 ) by loosening the two small screws. Remove the black plastic cap from the diagonal mirror ( 6 ) and insert the mirror into the focusing tube.
Secure the mirror in place by tightening the two small screws. (See Figure 3.) 8. Loosen the protective plastic cap from the diagonal mirror by loosening the single screw. Locate the 20mm eyepiece, insert it into the diagonal mirror, and tighten the screw (See Figure 4).
Note: When looking through the diagonal mirror, objects will appear right side up, but reversed, like a reflection in a mirror. This is normal for all astronomical telescopes. Your telescope is supplied with an erecting eyepiece, which properly orients images for terrestrial viewing. See page 8 for directions for using your erecting eyepiece.
Remember to remove the dust cap before trying to view any object.
1. For best results, use your telescope outside. Pointing it through a window will cause distortions.
2. Let your telescope adjust to the outside temperature. It will perform much better if the lenses and the air inside the tube are all the same temperature as the outside air. In extreme temperatures, it may take up to 30 minutes to acclimate your telescope. 3. Your Vega 360 comes with two eyepieces – a 20mm eyepiece and a 8mm eyepiece – for a range of viewing powers, or magnifications. Eyepieces are measured and labeled in “mm” (millimeters). The low power eyepiece is the one with the higher number in mm (20mm). The high power eyepiece is the one with the lower number in mm (8mm). Always begin viewing with your lower power (20mm) eyepiece. This will give you the widest angle, making it easiest to find the object you want to see, and will give you the brightest, sharpest views. Once you’ve found your object, you can switch to the high power (8mm) eyepiece for more detail. 4. Find something cool to scope? Loosen the altitude and azimuth lock knobs and point the telescope toward the object you want to see. Look through the eyepiece and pan the telescope until the object appears centered in the telescope’s field of view (the portion of the sky that you can view through a telescope). Once the object is in your field of view, tighten the altitude and azimuth knobs.
5. Now, look through the eyepiece, and turn the focus knob until the image is clear and sharp. That’s it! You did it!
CAUTION: Never look directly at the sun, with or without your telescope. Never aim your telescope at the sun, or anywhere near the sun. Instant and irreversible eye damage can occur, including blindness.
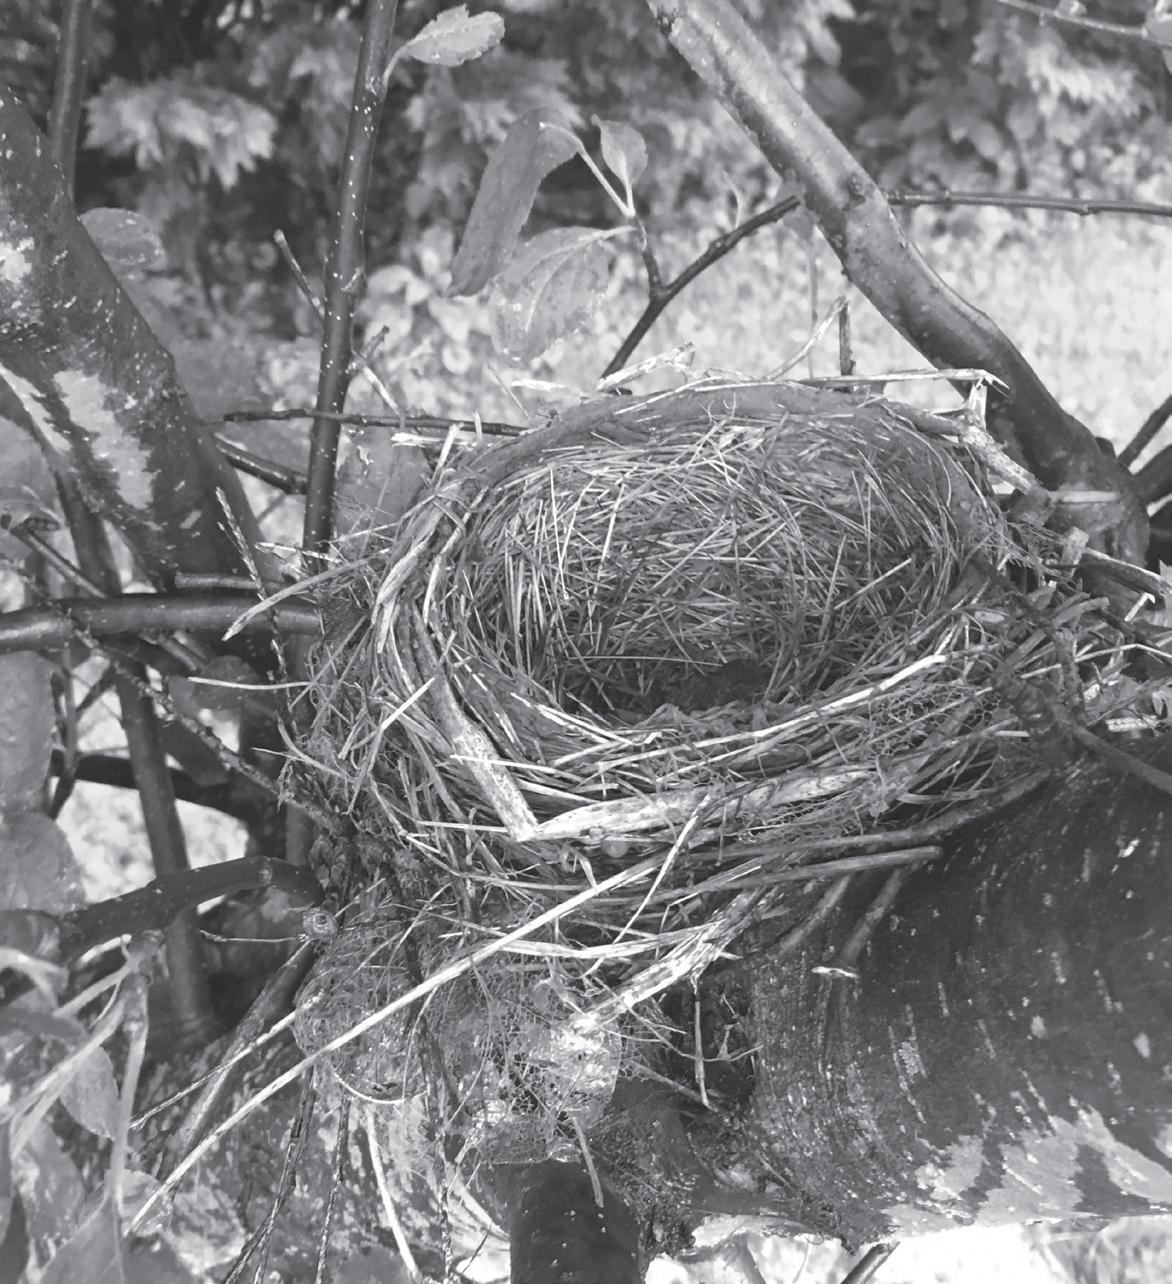
Bird’s nests are perfect for viewing through your scope. Hit the park and check the trees in springtime!
To view terrestrial (land) subjects, you’ll want to use the erecting eyepiece, or image erector. This special component orients objects so they’re right side up, the way you see them with your naked eye. To use the image erector: 1. Remove the diagonal mirror and eyepiece from the focusing tube. 2. Loosen the small screws in the focusing tube. Insert the image erector directly into the focusing tube. Tighten the screw to keep it in place. (See Figure 5.)
Figure 5
3. Loosen the small screw in the image erector and insert your chosen eyepiece into it. Tighten the screw to keep this eyepiece in place. (See Figure 5.) The image erector provides a 1.5x magnification, which means that the 8mm eyepiece will magnify objects 67.5x.
Exploring the night sky with a telescope is exciting—but it can also be challenging! Learning to use a telescope takes practice and patience. Here are some tips to better viewing:
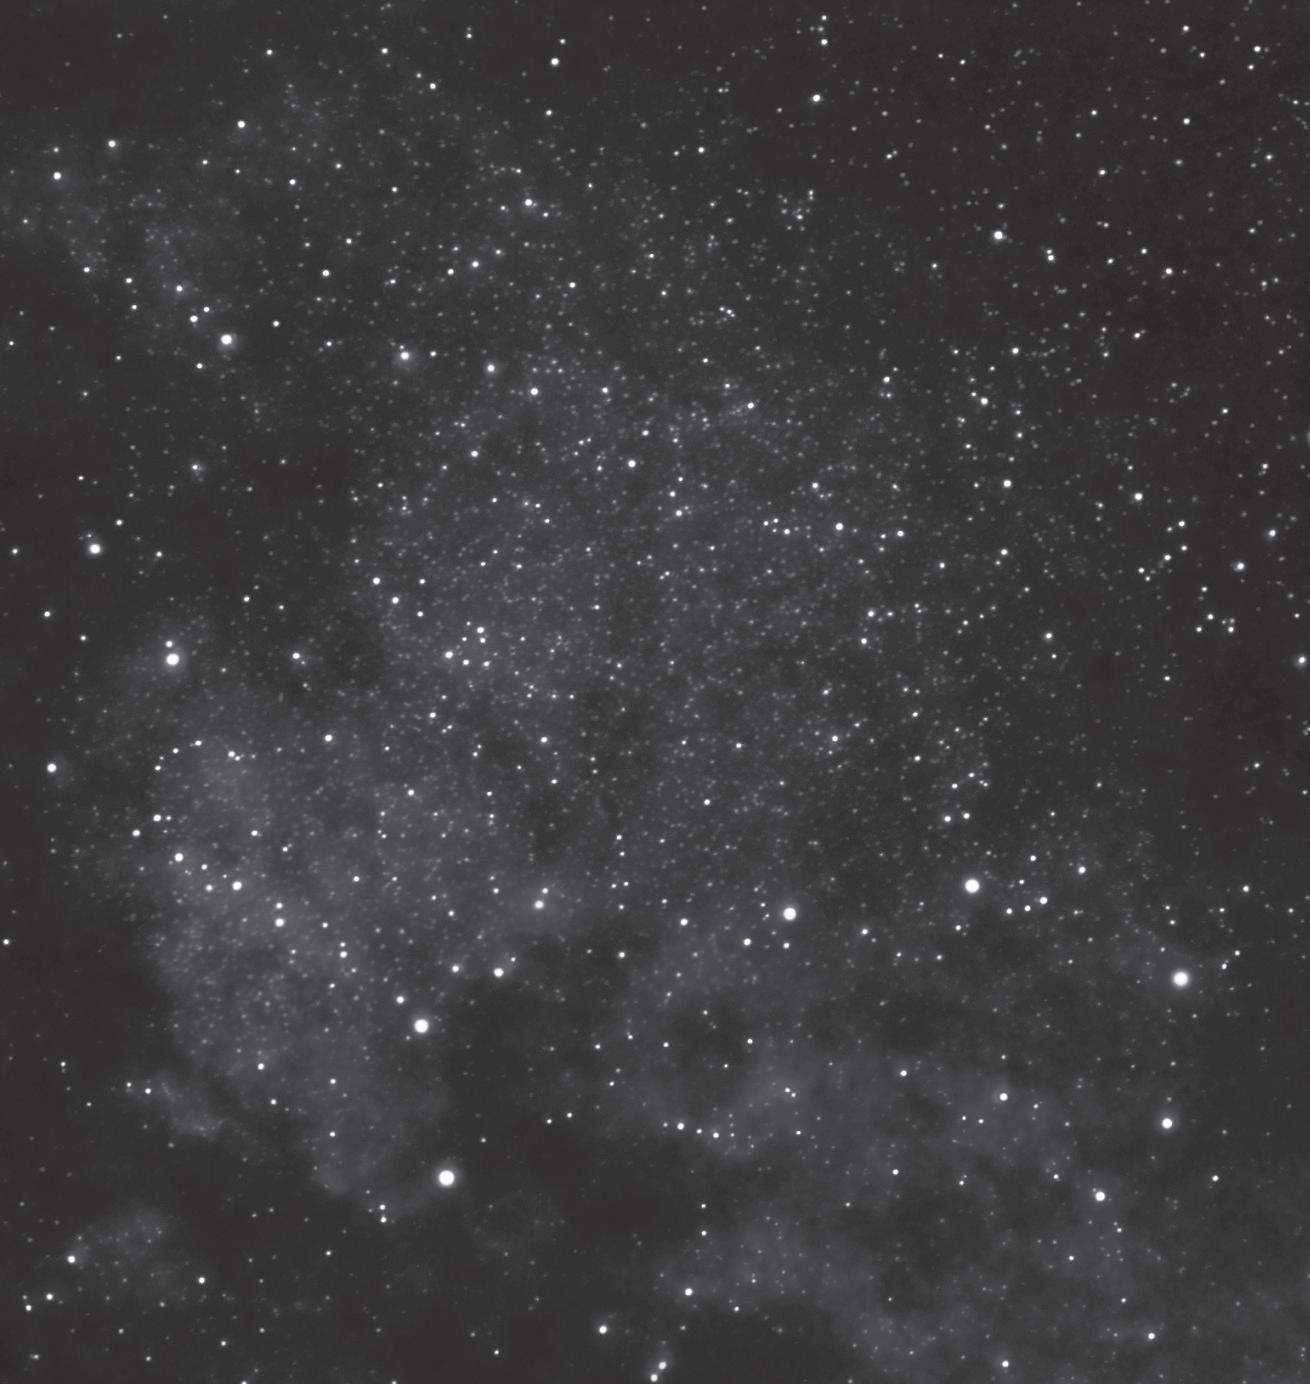
1. It’s a lot easier to find objects when you understand how the sky is laid out. Check out one of the websites on page 15 or browse a book on astronomy to find interesting celestial sights. 2. No matter how much light surrounds you, more is always worse. Turn off any lights and allow 15 minutes or more for your eyes to adapt to the darkness. 3. Cool your telescope to the outside temperature for about 30 minutes before observing. Cooling the telescope reduces air currents inside the tube that could produce fuzzy, blurry images. 4. Planetary viewing requires good “seeing” conditions— steady, dry atmosphere with little or no clouds. A good way to judge seeing conditions is to check the stars. If the stars appear to be twinkling, a phenomenon caused by a turbulent atmosphere, then conditions are not great for planet gazing and you might want to try another night. 5. Using slow, steady hand movements makes it easier to get a steady view.
Steady, non-twinkling stars mean the atmosphere is calm and just right for nighttime scoping!
KEEPING YOU SAFE
KEEPING YOUR TELESCOPE SAFE
Storage
Your Vega 360’s compact, easy-to-assemble design makes storing it in its box simple. If you wish to store your Vega 360 fully assembled, cover it with heavy plastic to protect it from moisture, making sure that the dust cap and lens covers are on. Accessories should be stored separately in a box, with all their dust caps on. Optical components of a telescope will get dirty over time, but you probably won’t notice it until there’s quite a bit of dust or dirt on the optical surfaces of your telescope. To keep your optics in good condition: 1. Keep the dust cap on during storage. 2. After using the telescope, there may be condensation on the optical surfaces. When the telescope is brought inside, remove the dust cap and allow the moisture to evaporate naturally, pointing the optical tube downwards to minimize the collection of airborne dust. Once the moisture has evaporated, replace the dust cap. 3. A small amount of dust on optical surfaces is okay. A build-up of dirt or dust on a lens can be removed by using a can of filtered compressed air. Remove the dust cap and the dew shield. Once you are able to freely blow across the surface of the optics, begin by first pointing the can away from the piece and gently expel some air. This will remove any condensation in the air can lines and clear off dust that may have accumulated on the discharge tube. Next, using short quick bursts of air, carefully remove the dust particles. Do not hold the trigger of the compressed air for too long as condensate might be blown out across the optical surface.
Your telescope can bring you the moon and stars—and some planets, too!
Planets
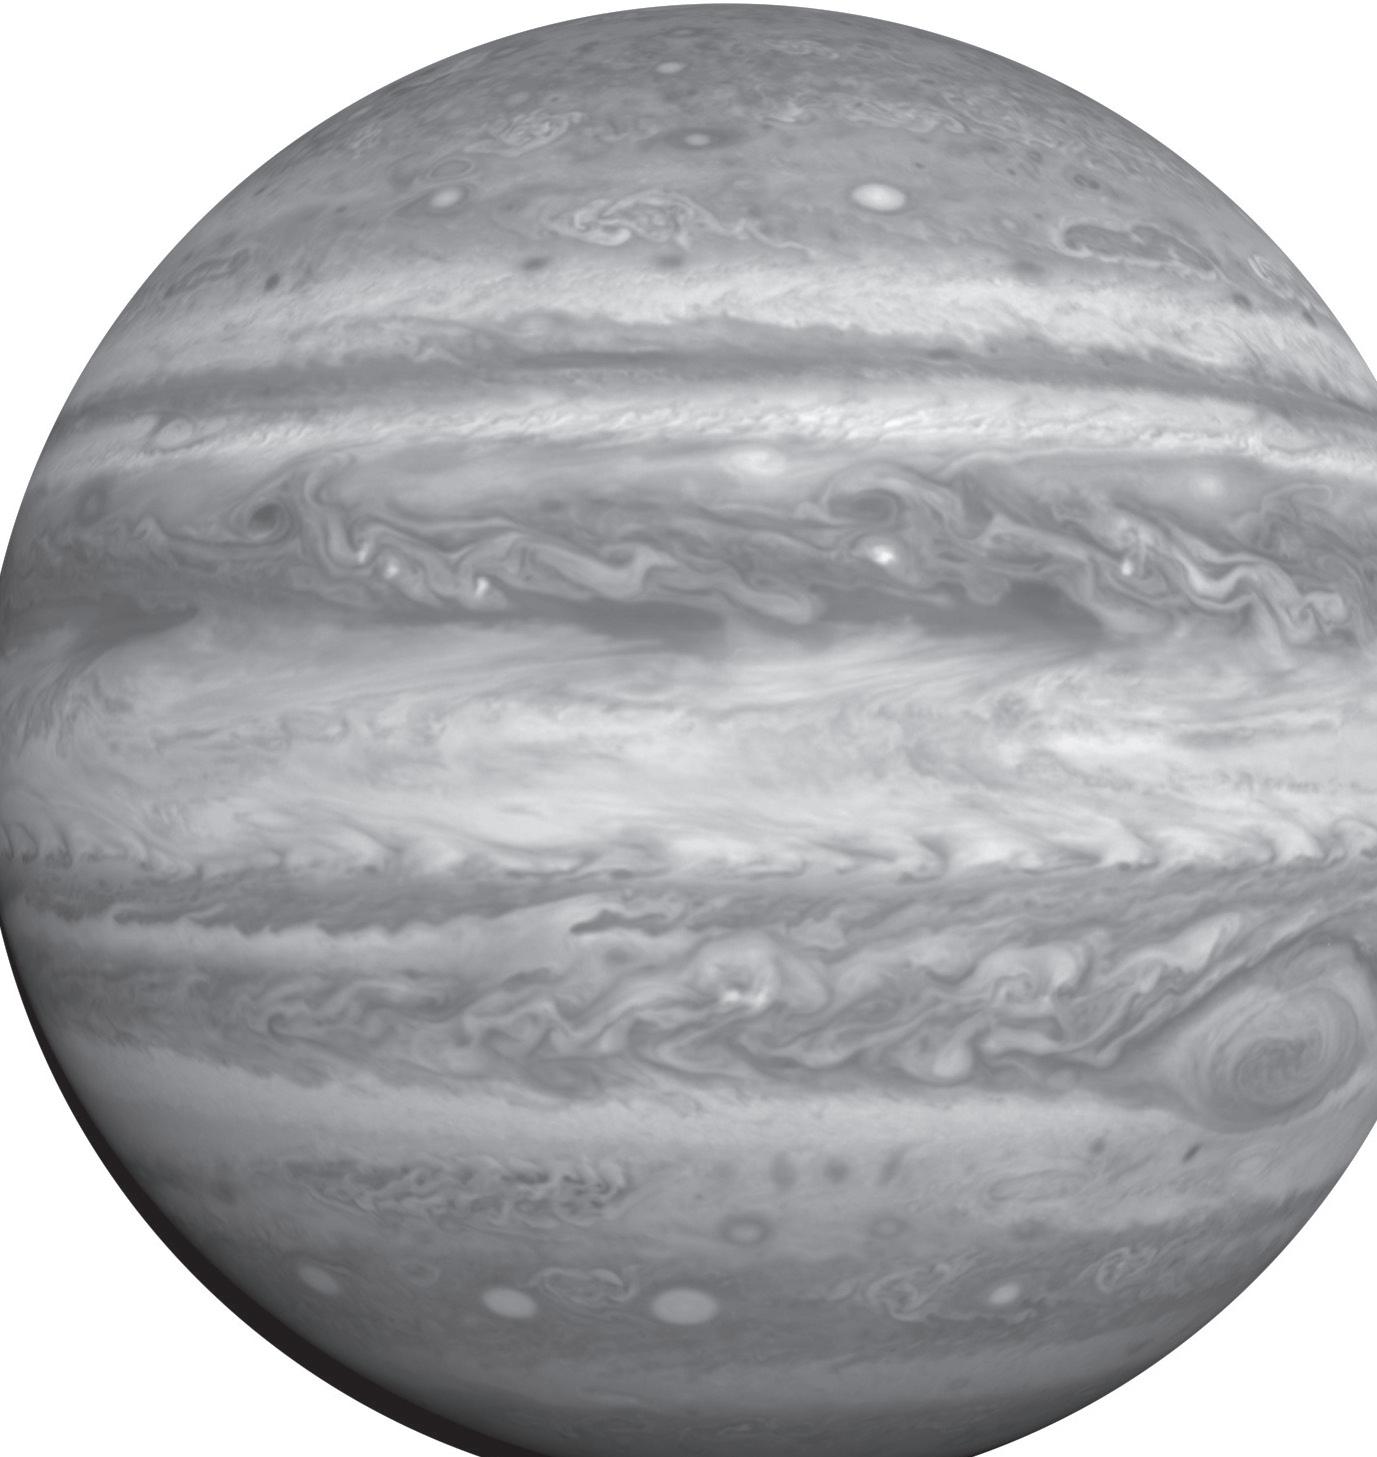
You’ve probably seen some planets without even realizing it! Planets look like tiny balls, as opposed to stars, which are infinitely small points of light. The easiest planets to view, when they’re visible, are the five “naked-eye” planets: Saturn, Jupiter, Mars, Venus, and Mercury. Each of the planets has its own set of unique characteristics, making them a wonder to behold. But viewing the planets presents some challenges, because their positions in the sky are always changing! Luckily, we’ve given you some great resources. To find out where to find specific planets at specific times, check out our list of websites on page 15.
The stars are so far away that when you look at one with your telescope, you won’t see a disk like you see when you look at a planet. Even with a large, powerful telescope, a star looks like a point of light. Some stars look larger than others, but what you are actually seeing is brighter points of light compared to dimmer points of light. The brighter stars aren’t necessarily larger, they just look that way to us.
You could fit 1,000 Earths into Jupiter!
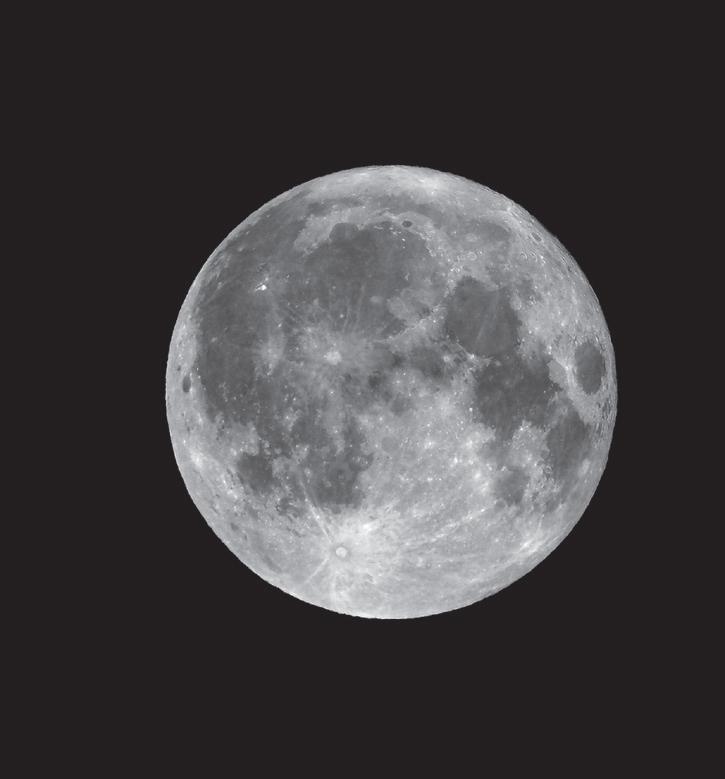
The silvery moon is the best subject to view with your telescope. As Earth’s nearest neighbor, it’s about a quarter million miles (402,000 km) away. That may sound like a long distance, but it’s close enough that your telescope will reveal a fascinating lunar landscape of craters, plains, and mountain peaks. Here are a few interesting lunar features to look for:
E
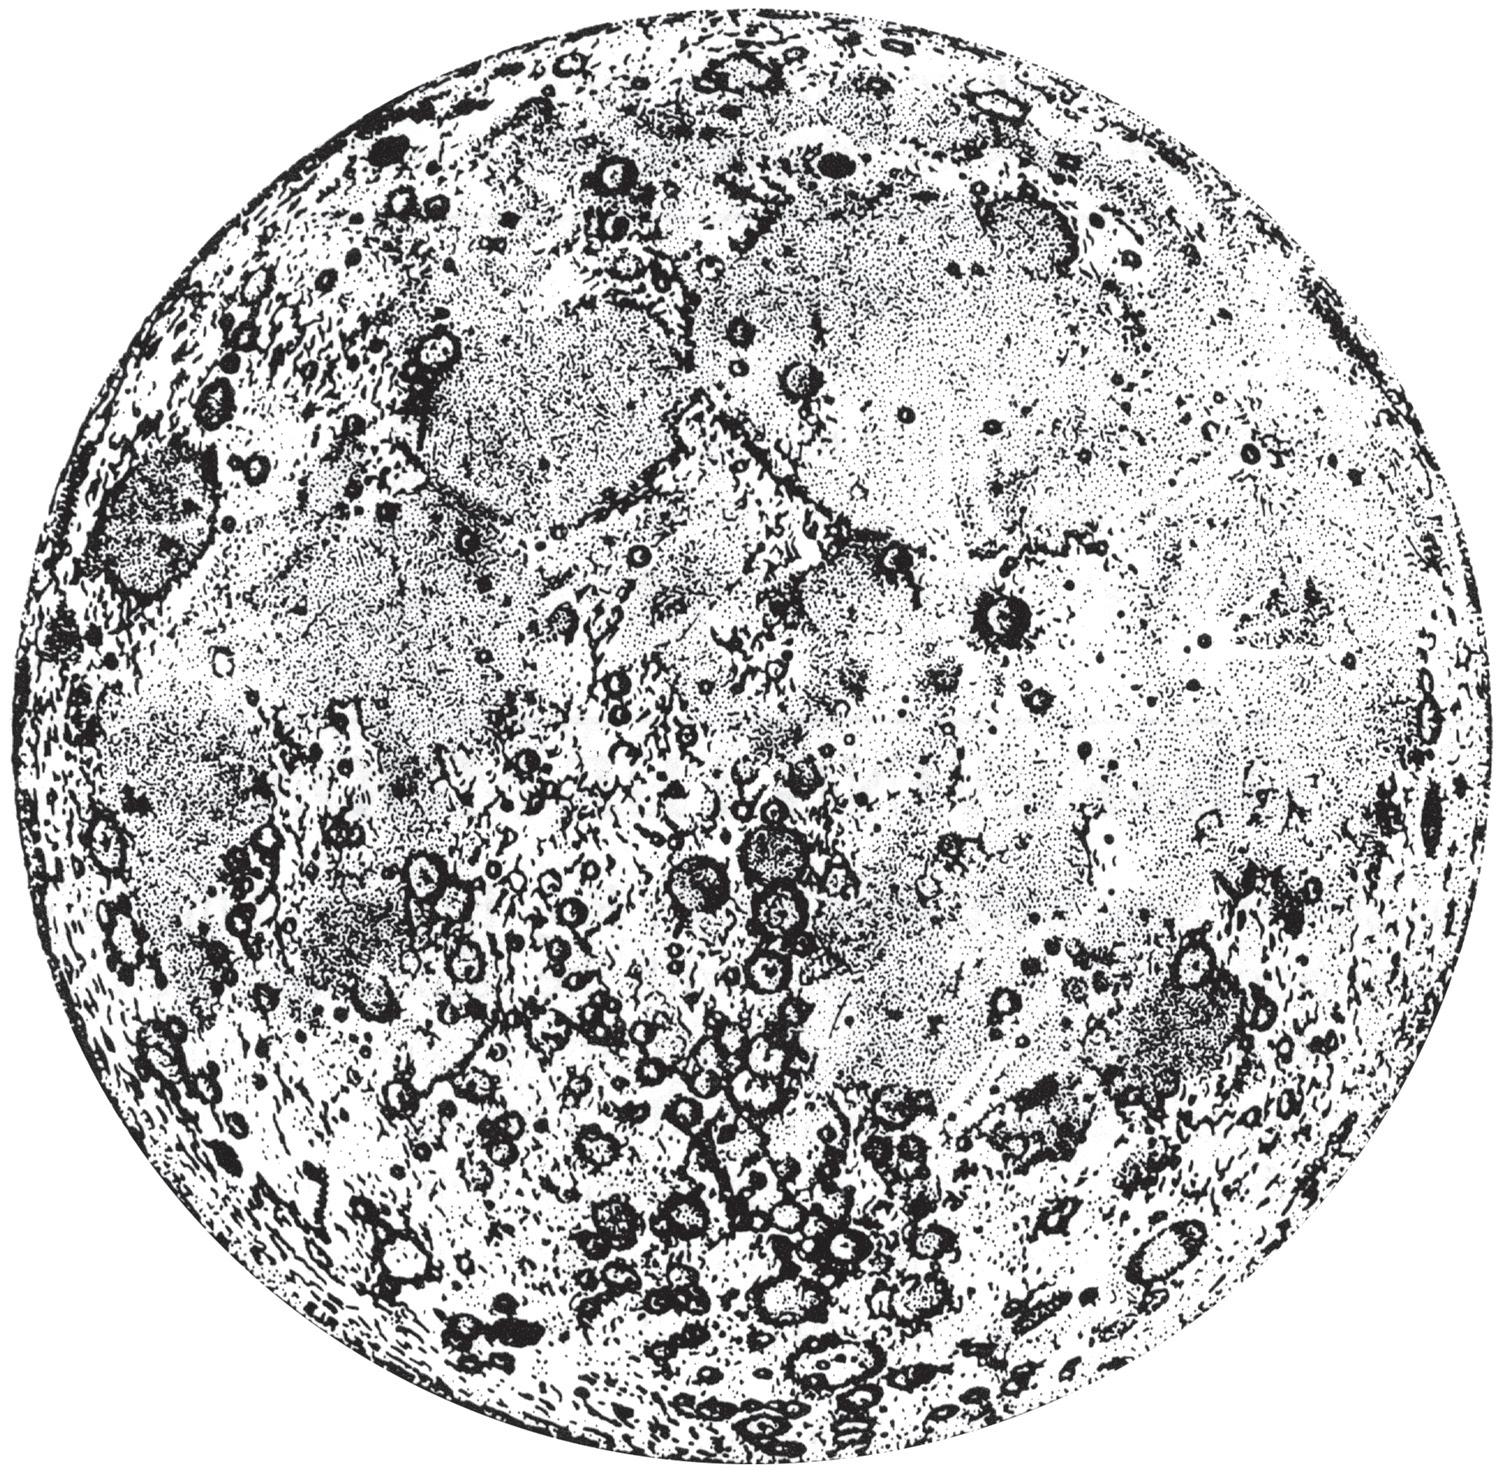
MARE CRISIUM
Mare Crisium (“Sea of Crises”) is actually a huge plain formed when great lava flows cooled and hardened on the moon’s surface.
N
S
CRATER COPERNICUS
Crater Copernicus is a bright crater with a huge encircling ring of debris that was thrown out of the crater when it was formed by an impacting meteor more than 100 million years ago. It is 60 miles (97 km) across and more than 2 miles (12,600 feet, or 3,840 m) deep.
CRATER GRIMALDI
This large crater looks elliptical in shape, but it is actually circular. It appears to be elliptical because we see it on the western horizon of the moon, which is curving away from us. This effect is called foreshortening. Crater Grimaldi is about 140 miles (225 km) across and 10,500 feet (3,200 m) deep.

CRATER TYCHO
Bright streaks or rays, best seen during a full moon, emanate from this crater. The rays indicate that this is a young crater. Over time, meteors constantly bombarding the crater’s surface will cause the rays to disappear. Crater Tycho is 56 miles (90 km) across and almost 14,000 feet (4,267 m) deep.
Note: This map, like your telescope, shows a mirror image of the moon.
The moon’s got nothing on our mountains! Mons Huygens is the moon’s tallest mountain, but it’s only half as tall as Mount Everest!
1. Why is the image in my telescope eyepiece upside down and/or backwards?
If you have inserted your eyepiece directly into the telescope’s focusing tube, you will see an image that is upside-down and backwards. If you have inserted the diagonal mirror into the focusing tube and then placed the eyepiece into the diagonal mirror, your image will be right-side up, but it will still appear backwards or reversed. This is normal for an astronomical telescope.
After all, there’s no up or down in space so it doesn’t matter how the field is oriented. For terrestrial viewing, when you want images to be oriented properly (as seen with the naked eye), insert the erecting eyepiece according to the directions on page 8 of this guide.
2. Why can’t I see anything when I look through my telescope?
If you see only white, gray, or black through the telescope you probably have inserted an eyepiece that is too powerful. To solve this problem, switch to the low power eyepiece. As a rule, always start with the lowest power eyepiece, gradually switching to higher power eyepieces only after you have located an object and don’t forget to 14 remove the dust cap.
3. When I use my high power eyepiece, why does everything look darker?
As telescope magnification increases, brightness diminishes. Brightness increases when magnification is reduced. If an image appears dark or unclear, try using your low power eyepiece. It is easier to study small, bright views of celestial objects than large, dark, or blurry ones. You do not need very high powers to study most celestial objects.
4. Why do objects in the sky move out of view when I look through my telescope?
When you view a celestial object through a telescope, the rotation of the Earth makes it appear as though objects are moving across the viewing area. You can lessen this effect and observe the largest area of the sky by using your low power lens.
Check out these websites to learn more about astronomy and the objects you’ll find in the night sky: • http://www.nasa.gov
NASA’s official web site. • http://www.nasa.gov/audience/forkids/home/
index.html
NASA’s link with information for students • http://www.nasm.si.edu
The website of the National Air and Space Museum at the
Smithsonian Institute
• http://www.space.com
Astronomy website with interesting links, including a sky calendar listing what’s visible in the sky each night • http://skyandtelescope.com
Astronomy website with useful information, including a customizable sky chart where you can type in your zip code for a map of the night sky


