4 minute read
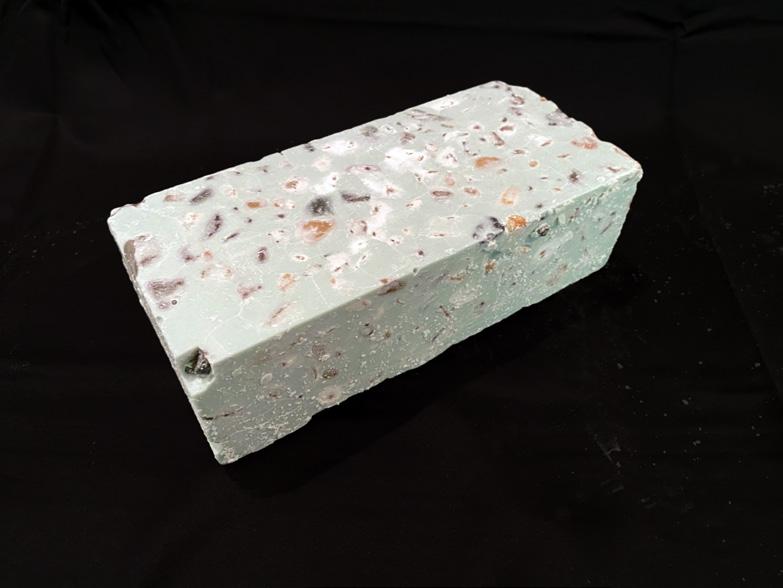
How to Bake 10 Bricks

Ingredients
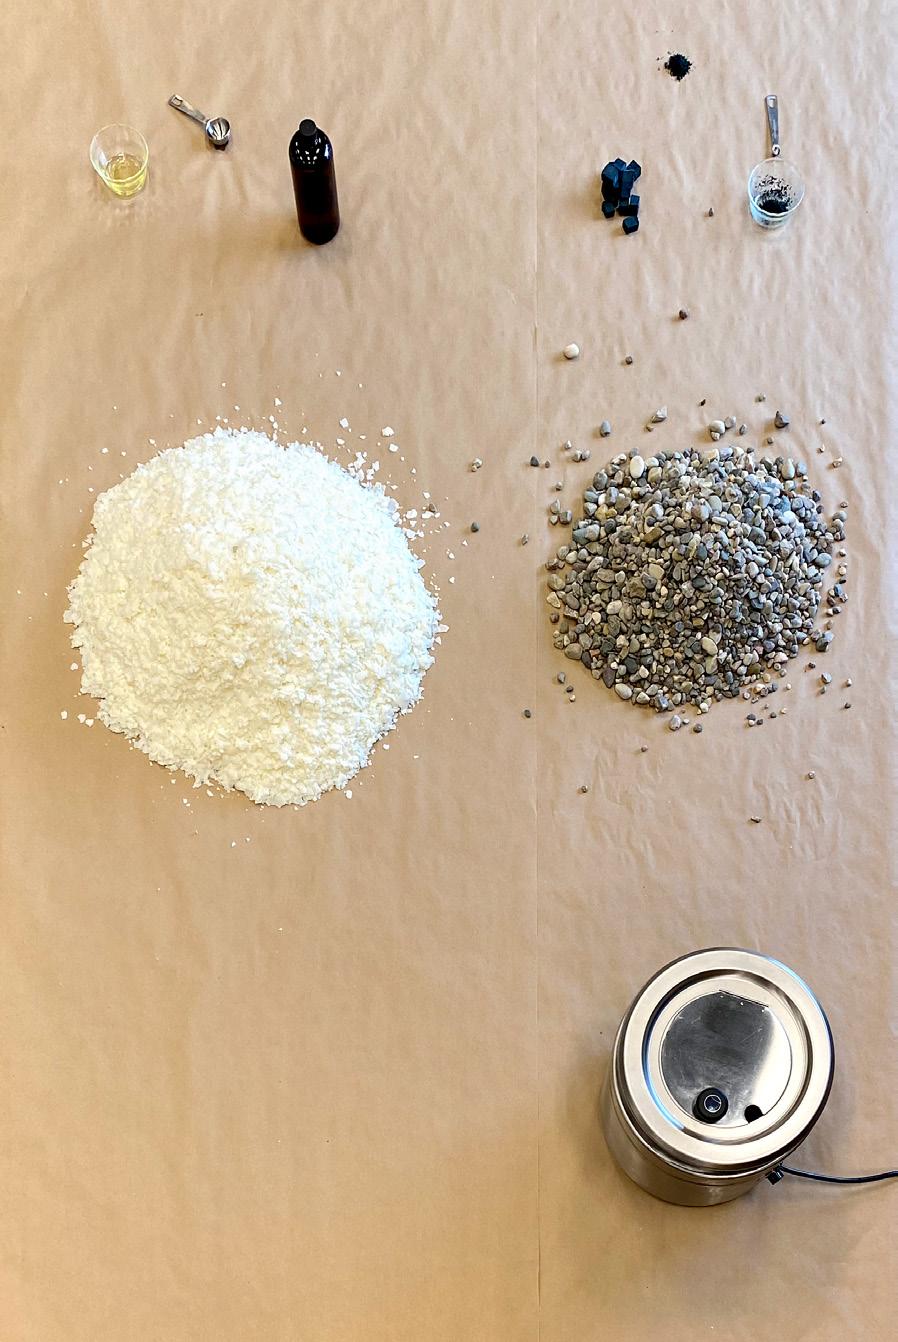
40 lbs. medium gravel, pre-rinsed and dried 18 qt. soy wax flakes aquamarine dye blocks, finely grated 2 tablespoons lavender fragrance oil, or preferred scent
Advertisement
Tools
11 qt. electric double boiler, with bain-marie insert
6qt. stand mixer, with metal bowl and whisk attachment
½ cup, ladle wax thermometer 2 cup measuring scoop silicone spatula metal sheet spatula 10 silicone molds, to match desired brick dimensions Melting the Wax and Prep:
Begin by preparing the double boiler. Remove the bain-marie and add 20 oz of water directly into the double boiler and turn the heat to high. Bring the water to a rolling boil. Replace the bain-marie insert into the double boiler.
Add half of the full amount of the soy-wax flakes directly into the bain-marie insert and cover until the wax has melted, for approximately 30 minutes. Once the initial portion of soy-wax has melted, add the remaining soy-wax flakes. Cover and allow the wax to reach its melting point, approximately 30 minutes.
While the wax is melting, rinse the gravel aggregate and allow it to dry fully. Remove any gravel pieces over 1 inch in diameter. Allow the gravel aggregate to rest at room temperature. It is important that the gravel aggregate reach a neutral temperature that is neither too hot, nor cold as this will impact the casting process.
Once the flash point has been reached, we can begin the binding process by adding the dye and fragrance oils. Add nine 1/16th teaspoons of finely grated aquamarine dye to the wax. Next add two tablespoons of lavender fragrance oil. Stir gently until the mixture is consistent. Be sure not to stir too vigorously, as this will help minimize frosting and seeping issues during the curing process.
Uncover the liquefied soy-wax, turn off the double boiler and allow the mixture to cool to its melting point, approximately 1 hour. For AAK Golden Brands 494 tart and melt soy-wax, the liquid should reach 160º Fahrenheit.
While waiting for the soy-wax to cool, set up a series of ply-wood tracks to hold the long edges of the silicone molds in place. This will resist the hydrostatic pressure derived from the interior of the mold when the liquid wax is poured and will ensure a high geometric integrity of the bricks. If you don’t have plywood handy, you may deploy a makeshift structure, as needed. Lastly, setup the stand mixer using the whisk attachment.
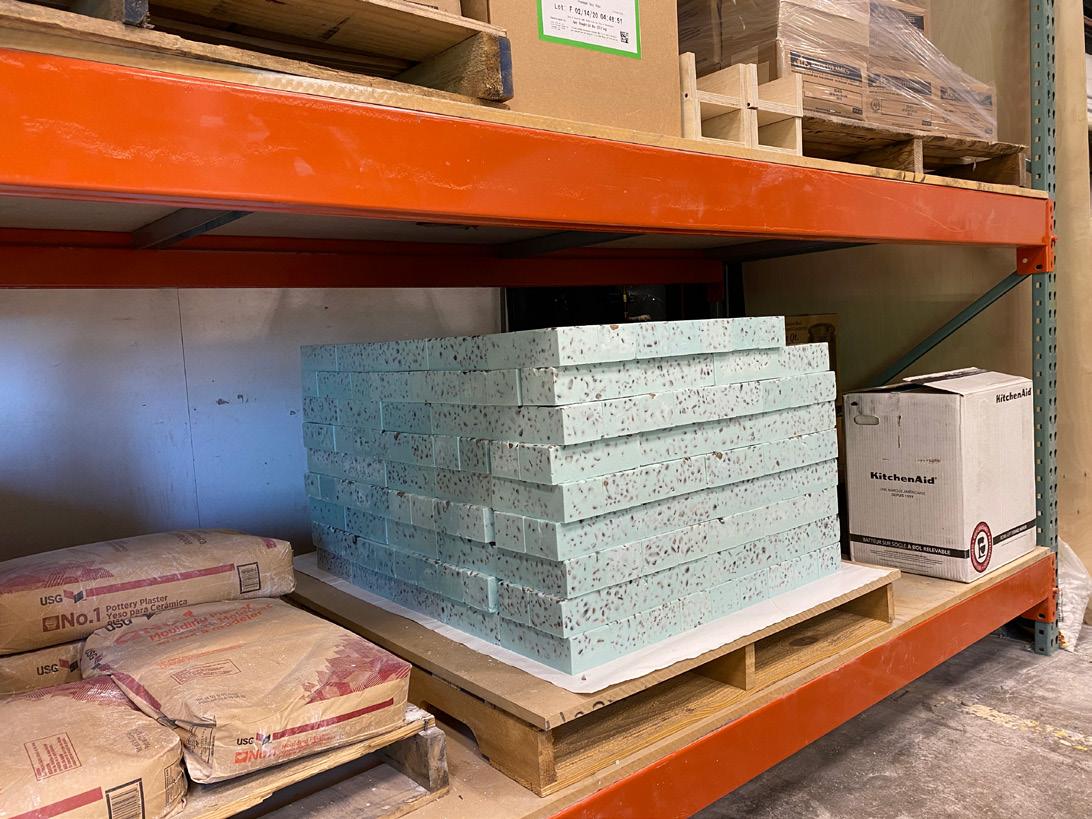
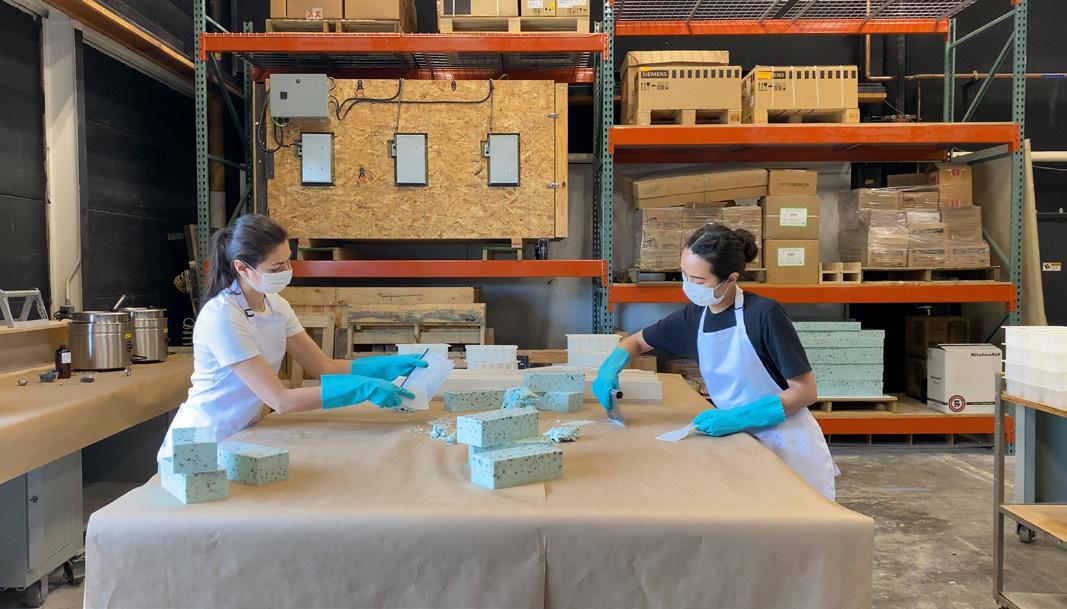
Right, brick baking equipment and tools, 10 bricks and remnant wax after a baking session. Excess or remnant wax as well as defective bricks can be melted down and re-used in subsequent batches.
Once the equipment is set up, the pre-rinsed gravel aggregate has reached room temperature, and the wax has liquified, bound, and cooled to its pour temperature, the mixing and pouring process can begin. It is important to ensure that both the gravel aggregate and wax have reached their ideal temperatures to ensure proper curing.
Place the mixing bowl into the mixer, snap the bowl into place, and raise the bowl into place using the side lever. Use the measuring ladle to add 3.5 cups of the soy-wax mixture into the mixing bowl. Next, add 2 scoops of the gravel aggregate into the mixing bowl.
Turn on the mixer and whisk the soy-wax and gravel aggregate mixture on a low setting for 30 – 60 seconds, or just until the contents are consistently mixed and dispersed. Be cautious of over mixing as this can cause the gravel aggregate to become overheated and will extend the curing process.
Once the contents are consistently mixed, lower the bowl, and remove the whisk attachment to remove the mixing bowl. Use the silicone spatula to pour the soy-wax and gravel aggregate mixture into the silicone mold. Vibrate the mold periodically by tapping it against the table surface to help remove trapped air bubbles within the mixture and to settle the gravel-aggregate.
Right, corner aggregation detail deploying 14 (im)material bricks.
Once the contents have over-filled the mold slightly, and the mold has been well vibrated, place the mold into the plywood track. Use the metal sheet spatula to smooth and flatten the exposed brick face and remove any excess soy-wax and aggregate mixture.
Repeat the mixing and pouring sequence until you have reached the desired number of bricks. Allow the bricks to cure undisturbed in a stable room-temperature environment for approximately 8 hours.

To demold, remove the bricks from the ply-wood track. Gently, flip each brick and place the exposed face on the table surface. Gently, pull back the silicone mold from the cured brick, starting at the corners and slowly working your way towards the center of the brick. Repeat until all the bricks have been demolded.
Store the bricks in a dry and cool place.
Use a metal or hard plastic spatula to remove any excess wax residue from the silicone molds and recycle that wax. Soy-wax residue and chucks can be melted and reused in future batches. Discard water from the double boiler.
Wash tools, cooking implements, and equipment using boiling water and dish soap, as needed.
Fusing the bricks:
To fuse the bricks, layout each brick course making sure to orient the top and bottoms of each brick towards each other.
Gently run an electric heat gun along each brick course, making sure to run the heat back and forth along each seam.
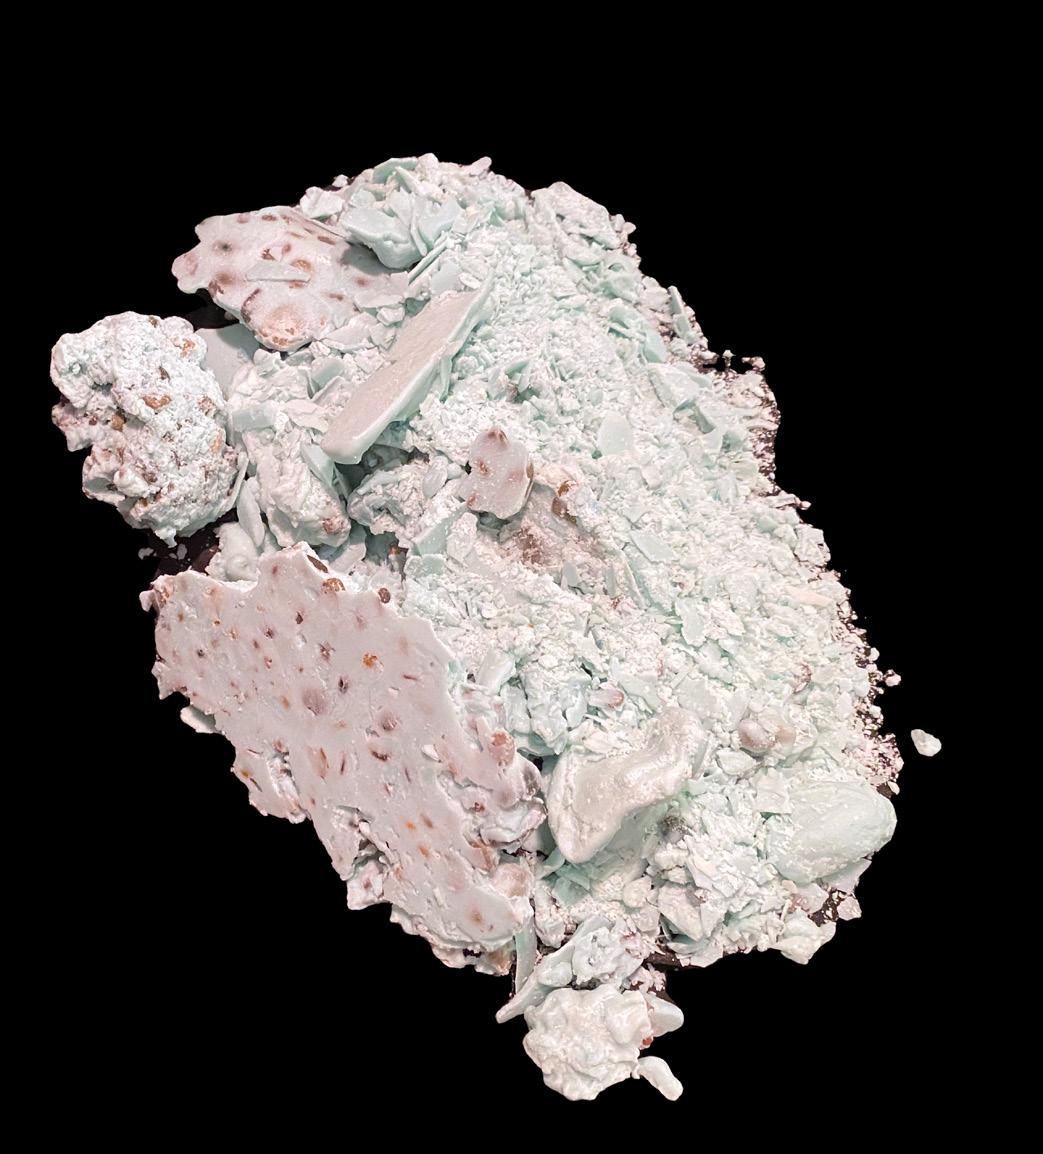
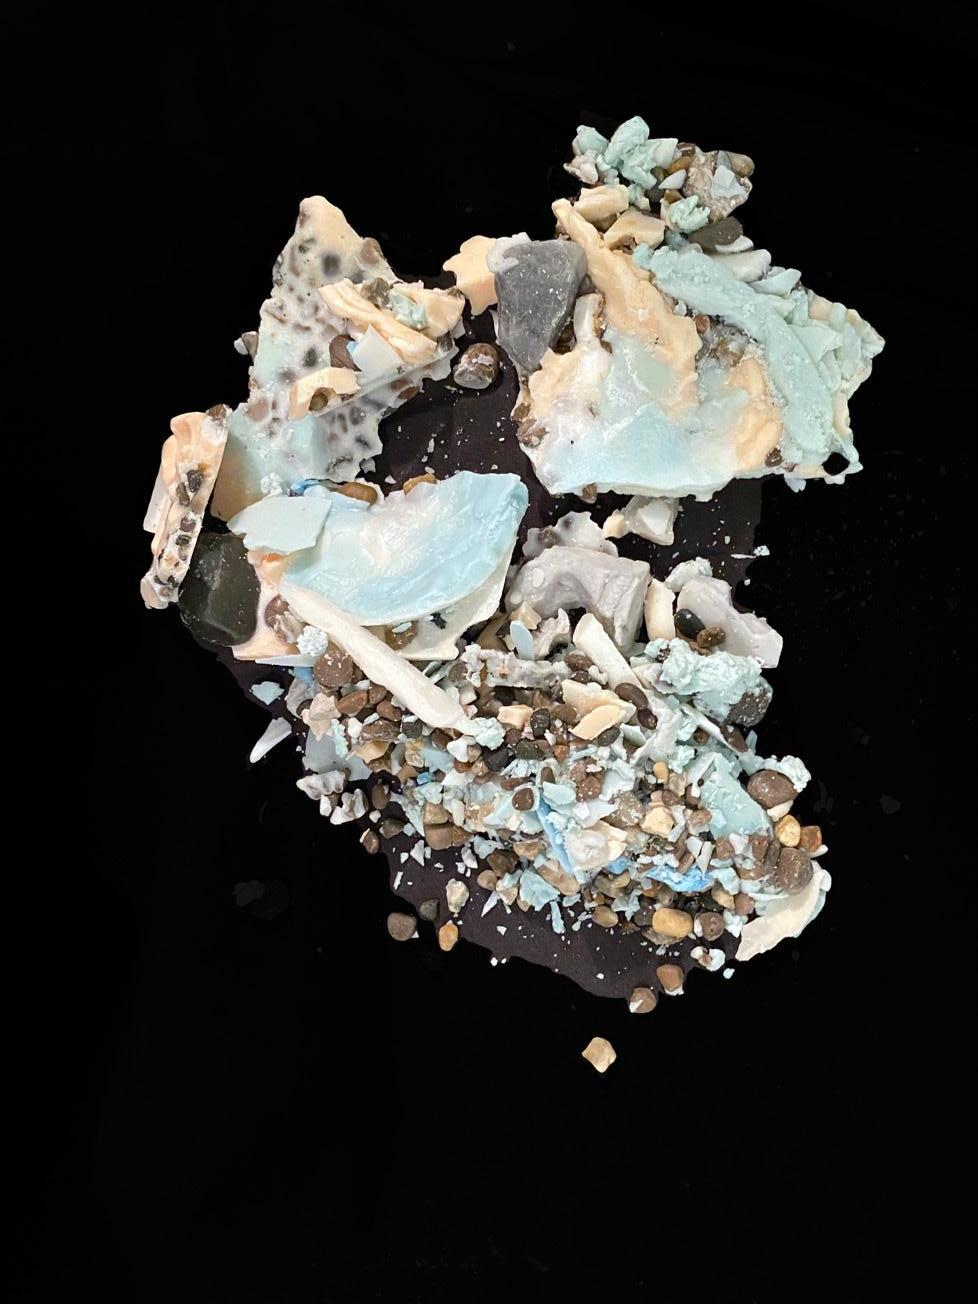
Right, soy-wax and aggregate remnants from material samples.
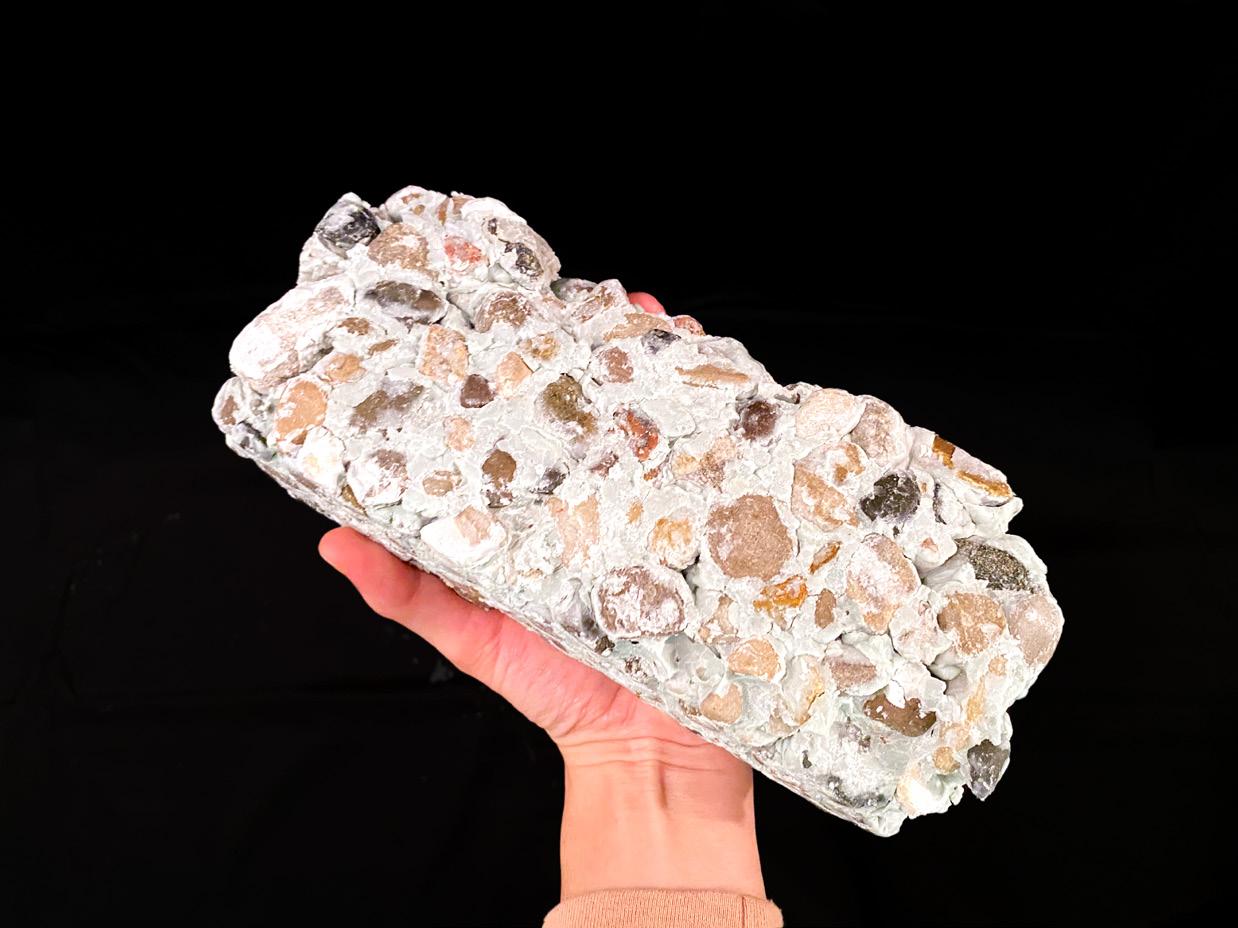
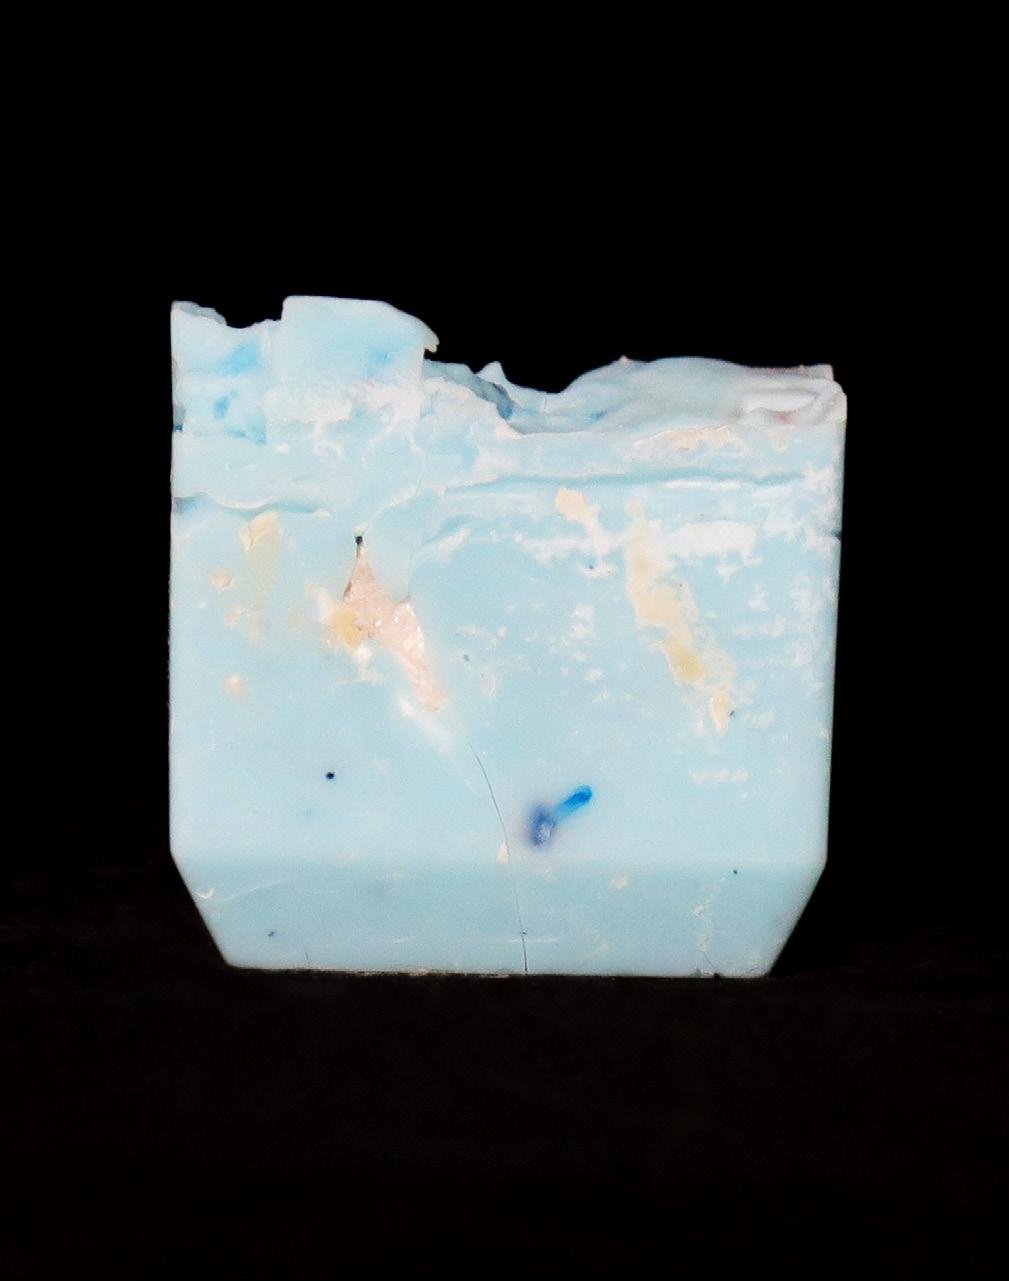
Above, a resultant brick when following our original recipe during very cold temperatures. Due to the cold surrounding air, the aggregate and soy-wax to solidified before the mixing process was fully completed.