
9 minute read
Fall’s Healthy Harvest


y gardens are a sea of green in the fall, punctuated by the colorful stems of rainbow Swiss chard. Some of that green is thanks to Brussels sprouts. If you’ve never seen them growing before, you might be surprised by their tall stalks, from which the mini-cabbages are plucked; you can even harvest the whole stalk to bring into the kitchen. Although garlic is typically harvested in the summer, if you choose to let it dry, or cure, you’ll enjoy your first homegrown bulbs early this season.
Brussels Sprouts
Advertisement
Perhaps no vegetable is more maligned than Brussels sprouts. I think many people find them difficult to love because they’ve only been served sprouts that were cooked into yucky-tasting mush. That’s unfortunate, as there are so many ways to prepare delicious Brussels. When sautéed or roasted, their toothsome texture is preserved and celebrated. What’s more, these cooking techniques highlight the crucifer’s subtly sweet flavor, with savory and spicy notes.
I certainly think Brussels sprouts deserve a place in your garden. Not only are they quite nutritious, they’re easy to grow. As with almost all leafy green plants, they thrive in a dark, rich soil. And as with all plants in the cabbage family, they prefer a somewhat alkaline environment. If your soil is acidic, which happens to soils in rainy areas where the water leaches away alkaline minerals, you’ll need to lime your garden beds. Your local nursery will stock liming agents. Calcium carbonate is the safest, most cost-effective form of lime to apply. Add it to the soil and work it into the root zone with a rake or hoe. Be aware that lime and manure can react together to form ammonia, which can harm plants. Take care to add these two ingredients at different times.
If you’re in a cooler climate, you may be able to plant your crop in early spring, but most of you will do best to plant them in late summer so they’ll be ready to harvest once the temperature dips come fall. In the South, you can often plant them in the fall and harvest them into winter.
Brussels should be given at least 18-inch spacing, and protected from the wind. I typically spray Bt (Bacillus thuringiensis) on all of my young cabbage crops to control caterpillars, cabbage moths, and their larvae. Bt is an organic pesticide common in organic agriculture. It is harmless to people and plants and non-persistent in the environment, breaking down in sunlight and water.
Netting or fleece over your cabbages will also prevent moths from laying eggs. Other pests may be a problem in your area. Consult a regional garden guide or the county extension service for any problems your local nursery cannot solve.
There are certain steps necessary to grow a uniform crop of Brussels sprouts. Sprouts form above the point where the leaf joins the plant’s main stalk. When the sprouts are about a quarter of an inch in diameter, the small leaves at the top of the plant will need to be removed; I usually pinch them off by hand. This sends a signal to the plant to put energy into the sprouts rather than into growing taller. After the growing tip is removed, I give the plant a foliar feeding of a liquid high-nitrogen organic fertilizer. I allow the plant to absorb the nitrogen fertilizer and to rest for a couple days.
Then I remove almost all the leaves from the bottom of the plant up, leaving only the top few leaves to collect sunlight. They can be carefully plucked or trimmed. When you do this, your beautiful and lush plants will miraculously transform into bumpy stalks. Do not fret. Over the course of the next months, the tiny sprouts will mature into the familiar little cabbages.
A Brussels plant can withstand frost, and sprouts can usually be harvested until a hard freeze strikes. The bestquality sprouts are typically produced in late fall, during sunny days with light frosts at night. Production slows as the weather gets colder.
High in fiber, Brussels sprouts are wonderful for the digestive tract and may lower your risk of developing colon cancer. They are also high in folic acid, vitamin C, vitamin K, and beta-carotene, and contain vitamin B6, thiamin, and potassium, too. Eat them as fresh as possible to get maximum taste and nutrition. Sprouts do dry out quickly after they’ve been harvested. If you grow too many, they can be blanched and kept in your freezer.
Between the annals of medicine and the culinary traditions of the world, garlic’s merits are welldocumented—no temperate-climate cuisine that I know of omits garlic, and it has been used for thousands of years as both food and medicine.
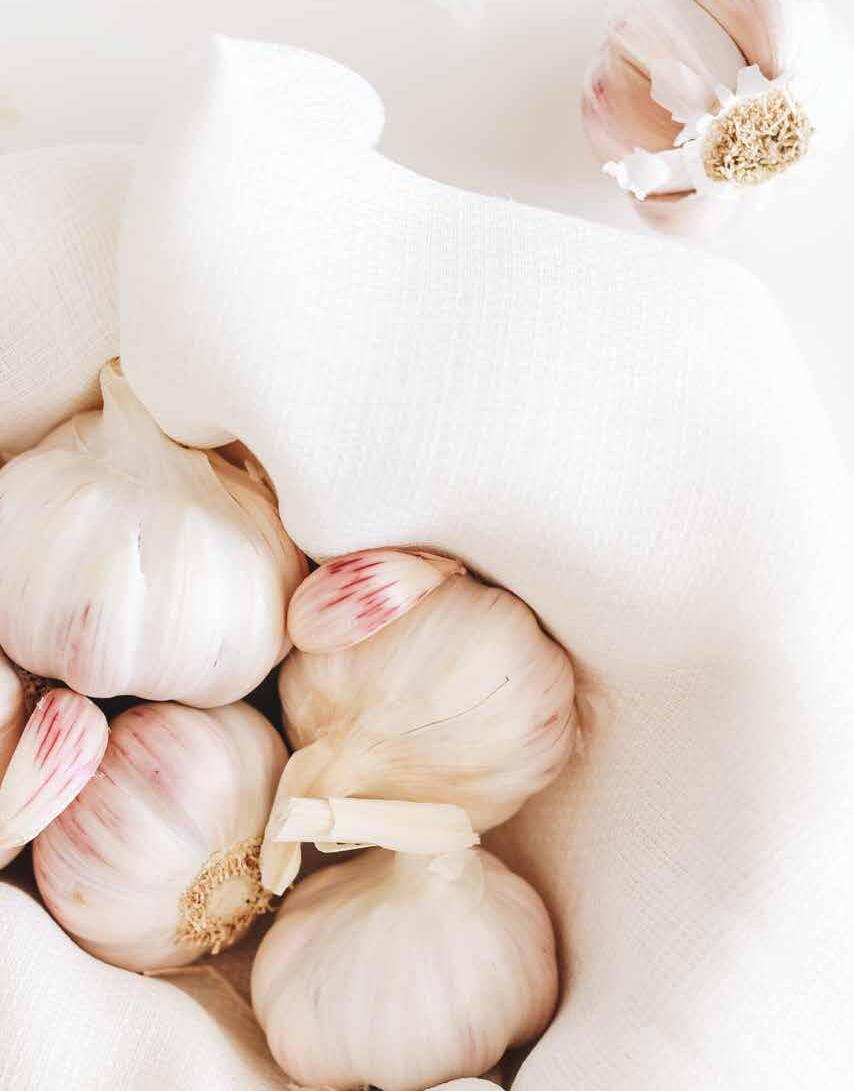
Garlic possesses several sulfur-containing compounds, the most important of which is allicin. Allicin’s antibacterial and antiviral properties have been shown to help fight infections like colds, flu, and stomach viruses, in addition to Candida yeast, tuberculosis, botulism, and H. pylori, the bacteria responsible for peptic ulcers. Garlic is a good source of manganese, vitamins B6 and C, and selenium. And there’s some evidence to suggest that garlic may protect the heart, slow atherosclerosis, and lower blood pressure slightly. Because garlic appears to act as an anticoagulant—preventing blood from clotting—it may also help prevent heart attack and stroke. In addition, laboratory research suggests that garlic has anticancer activity; population studies demonstrate that people who eat more garlic are less likely to develop certain kinds of cancer, including stomach and colorectal cancer.
You’ve probably inadvertently grown garlic on your kitchen counter. Bulbs spontaneously send out shoots. But if dead, they dry out or rot. Soft garlic cloves are decaying and shouldn’t be used, but sprouted bulbs are still fine for cooking. Depending on the time of year, you can stick a clove in fertile soil and it just might grow into a head. The initial bulb will provide energy for the first leaves and roots, which will in turn grow clove by clove around this central axis, each green sprout representing a new clove.
There are two types of garlic: softneck and hardneck. Softneck varieties are grown in milder climates with longer days; hardnecks are grown in cooler, northern climates. Most commercially produced garlic is of the softneck variety. Softnecks grow in a uniform circle around the center, while hardnecks spiral from the center. If you want to grow garlic and can’t find the variety you need, you can order bulbs through a seed company or specialty grower. The numerous varieties may surprise you—for example, walking garlic, a tasty novelty plant, grows bulbs at the end of its green stalk rather than in the root zone.
Garlic likes a loose, well-drained soil with plenty of nitrogen. To prepare the bed, fork in a couple of inches of compost or organic composted mulch. Once your soil is prepared, plant the cloves. One head generally has six to 10 cloves. Select the biggest cloves and plant them about six inches apart. A dibble, a tapered garden tool, can be used to poke holes in the soil, or you can use a trowel or your fingers. One clove should be planted about four inches deep with the rough (root) end down and the pointed end up. Firm contact with the soil will assure good root development. Make the holes, plant the cloves, and then cover them loosely with two inches of soil. On top of the soil, place another couple of inches of compost and then water. In general, garlic doesn’t require much watering.
Fall planting is recommended for most gardeners. I plant garlic at the end of the hot summer, usually sometime in early October, and harvest in May. In other locations, harvests from fall plantings will be in late July or August. You can enjoy garlic fresh after harvest, when the skin is so thin it doesn’t need to be peeled. Or you can cure, or dry, it (what you see in the grocery store has been cured) in a cool, dry, dark place. When harvested in the summer to cure, the dried garlic will be ready for you to enjoy in early fall. In colder climates, garlic can be planted in spring, when the ground has thawed enough to work.
At the end of the season, garlic will attempt to complete its life cycle by producing a scape and umbel; that is, a stalk and flower. Pulling these off will encourage plumper bulbs, as the plant will not put energy into the flower and seed cycle. Harvest with a garden fork to avoid damaging the heads.
Greens
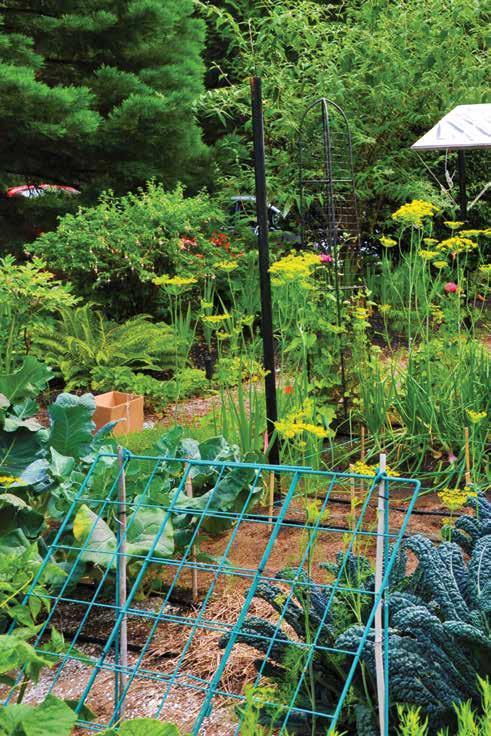
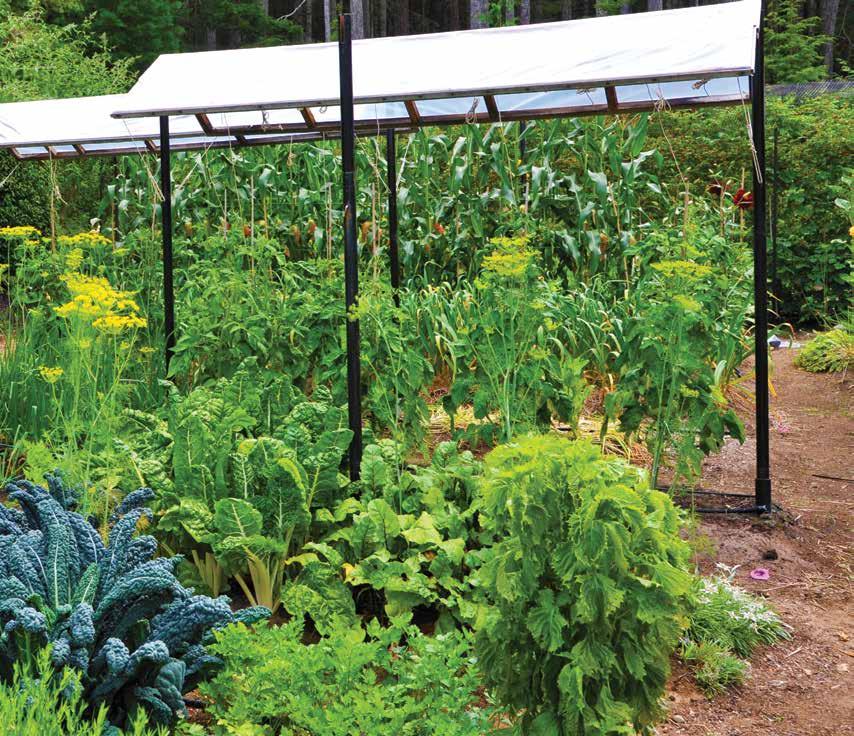
In my fall and winter gardens, I harvest greens galore, particularly chard and kale.
Kale. Tuscan kale (Brassica oleracea), also known as lacinato kale, dinosaur kale, and palm tree kale, is my favorite variety. In fact, I think that once you grow this Italian cultivar, you won’t want to bother with any others. I find it tastes better and is easier to use in dishes than other kales, and it is also extremely resilient in the garden.
Like all kales, this variety is extraordinarily nutritious: A cup provides more than 100 percent of the Daily Value (DV) of vitamins K and A, and 88 percent of the DV for vitamin C. Like other members of the brassica family, such as cabbage, collards, and Brussels sprouts, kale is a rich source of organosulfur compounds that have been linked to cancer prevention.
It’s a productive plant for the small garden. Depending on the climate you garden in, a healthy specimen of Tuscan kale can reach two to three feet, sometimes even taller.
In cool-summer climates, kale is started in the early spring; these plants actually love a little frost, so don’t be afraid to start early. In warm-summer climates with relatively mild winters such as Arizona, it is a cool-season crop. If you plant kale in the summer, you can harvest it from fall until the ground freezes in the winter. It can be sown directly into the garden or started in pots. Avoid nursery-grown starts that are often root-bound and crowded—sow seed yourself. Whether you start plants in pots or direct-seed, make sure they are spaced a little more than a foot apart, and preferably staggered from one row to the next.
In general, kale likes rich soil and plenty of sun. It does best with moderate, consistent moisture and a steady supply of nutrients. This plant loves the cold. But if you suspect the temperature will drop below roughly 20 degrees Fahrenheit, cover plants with a frost cloth.
As for pests, in my desert garden, aphids have been the greatest challenge. Trim off heavily infested leaves and make a regular habit of spraying plants (including undersides of leaves) with a forceful jet of water. This will discourage the aphids. You can also use organic insecticidal soaps or neem oil.
At harvest time, trim off leaves as you need them and use them fresh. For some of my favorite kale recipes, turn to pages 91, 104, and 106.
Swiss chard. Swiss chard will grow in a variety of conditions, making it an excellent choice for beginning gardeners. You can plant seeds a few weeks before the last spring frost day for a summer harvest. For a fall harvest, plant a month or so before the first fall frost date in your region.
Because it’s a leafy green plant, a fertile soil will help it along. Germinating the seed requires no particular effort beyond adding water. It fills out enough to harvest in a couple of months and will grow continuously if harvested by removing the outer leaves to allow more leaves to grow from the center. The young, tender leaves taste best. In milder climates, certain varieties will grow perennially.
Beyond its attractive coloring and easy growing requirements, Swiss chard is a wonderfully nutritious plant that can be eaten fresh, steamed, braised, juiced, sautéed, frozen, and dried. It’s packed with dietary fiber and is great for your digestive tract. It’s also chock-full of vitamin K, which is good for your bones, and it’s got carotenes; vitamins C, E, and B6 in good supply; calcium; protein; and a host of other nutrients, including thiamin, niacin, and folic acid.

Ingredients
3 slices whole-wheat toast
1/4 cup walnuts
4 cloves garlic, chopped
2 tablespoons fresh lemon juice
Instructions
This unusual dip or sauce uses whole-wheat toast crumbs and walnuts for body. The flavor comes from my favorites—garlic, lemon juice, and olive oil. It can be used as a sauce for fish or spooned over slices of fresh mozzarella and tomatoes. Serve it in a small bowl surrounded by red pepper and zucchini strips. Then imagine you are in Greece! One-quarter cup of walnuts contains 95 percent of the Daily Value for omega-3 fatty acids, which explains why, out of all their beneficial effects on the body, these nuts are best known for their contributions to heart health. Most likely thanks to the alpha-linolenic acid (ALA is the form of omega-3s found in walnuts and other plant foods) they contain, walnuts have been found to maintain the flexibility of arteries after a high-fat meal better than even olive oil. Along with other markers, artery flexibility is an important aspect of vascular reactivity, or the ability of our blood vessels to respond to stimuli in a favorable way.

1 tablespoon extra-virgin olive oil
¾ cup water
2 tablespoons fresh parsley leaves salt and pepper, to taste
1. Place the toast in a food processor and process into fine crumbs.
2. With the motor running, add the walnuts and garlic and process until they are ground fine.
3. Add the remaining ingredients with the motor running and process until smooth, adding more water if the mixture seems too thick.
4. Scrape the mixture into a bowl, and season to taste with salt and pepper.


