1 minute read
To set the range


Charge Sensor
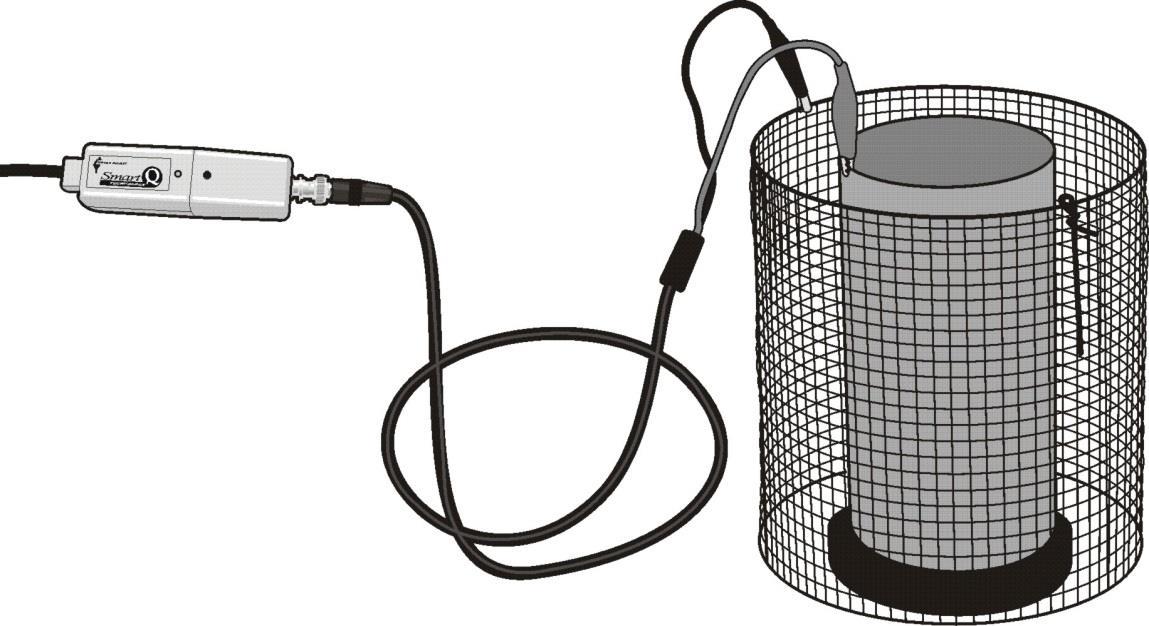
Connect the BNC/crocodile lead (supplied) to the BNC socket on the sensor housing by lining up the BNC connector with the pins on the socket, push in and then turn clockwise to lock into place. Discharge the sensor’s internal capacitor by pressing the reset button on the adapter for about 2 seconds. When measuring charge connect the black lead to a good earth-connecting point and the red lead to the object that is going to hold / is holding the charge. Start the application you need for the investigation e.g. Graph and verify the sensor is reading about zero.
Notes: There may be a small residual voltage which can be subtracted from the final measurement to give a more accurate reading (see page 5). Due to the extremely high input impedance, the Charge sensor will tend to pick up stray charges from its surroundings if left with nothing driving its inputs. If so, press the reset button to discharge before starting to record data.
After a recording short the object that is charged to earth and press the reset ground button on the sensor to discharge the internal capacitor.
To set the range
With some EASYSENSE units it is possible to set the range from the unit. Please refer to the EASYSENSE unit’s user manual.
To alter the range in the EasySense software:
1. Select EasyLog from the Home screen. 2. Select the New wizard icon. 3. Click on the sensor’s name (Charge or
Voltage). 4. A set sensor range window will open. The current range will be highlighted, select the required range, then OK. 5. Select Finish to exit the wizard.
Or
1. Select Sensor Config from the Settings menu. 2. Select the Charge sensor from the list and click on the
Change Range button. 3. The current range will be highlighted. Select the required range and click on OK. 4. Close Sensor Config.
The range setting will be retained until changed by the user.