
Make hanging pumpkins for a twig tree
We asked our friends at Hobbycraft (www.hobbycraft. co.uk) for a spectacularly spooky Halloween craft activity for parents to do with their kids and they’ve come up with these cute pumpkins to hang on a twig tree.

Instructions:

Step 1:
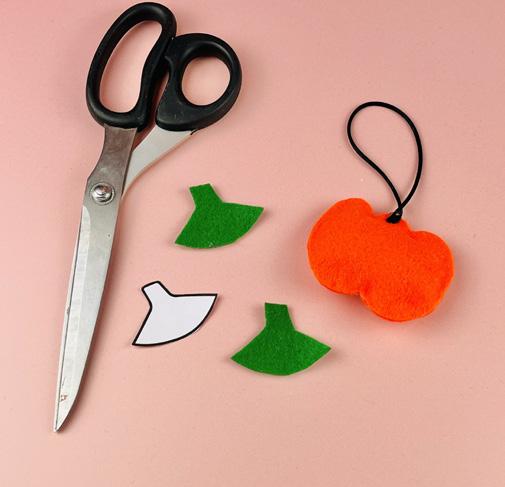
Print off the pumpkin template at www.bit. ly/pumpkintem or get creative and draw out your own pumpkin shape. Cut it out.

Step 6:
Take a 15cm piece of cord and glue it to the front of the pumpkin to make a hanging cord.
You will need black ribbon, A4 felt sheets in orange, green and pink, soft toy filling, black card, a glue gun, scissors and a pen.
(All materials plus twig trees can be purchased at Hobbycraft).

Step 2:
Use a pen to trace your pumpkin template onto a folded piece of felt. Cut this out to give you two identical pumpkins.
Step 7:
Trace the pumpkin stalk onto some green felt and cut out two pieces.

Step 3:
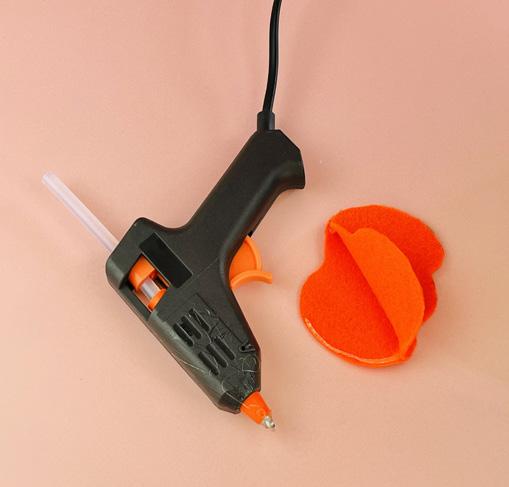
Use a hot glue gun to put a line of glue around the edge of one pumpkin and stick the other on top. Leave the bottom open.

Step 8:
Glue one piece of the green felt stalk to the front and one to the back, sandwiching the hanging cord in between.

Step 4:
Stuff the pumpkin with a small amount of the soft toy filling.
Step 5:
Use hot glue to close the pumpkin.

Step 9:
Cut face details out of some black card and add to the pumpkins for a spooky finishing touch.