Light Dark
Cascade Quilt (Light or Dark)

Finished Size: 45" x 60" (1.14m x 1.52m)
Project designed by Tammy Silvers - Tamarinis Purchase pattern at tamarinis.com
Technique: Pieced-Fussy Cut | Skill Level: Advanced Beginner
freespiritfabrics.com

Featuring February 2023 by Kaffe Fassett Collective
Cascade Quilt (Light or Dark)
Light
Fabric Requirements
DESIGN COLOR ITEM ID YARDAGE
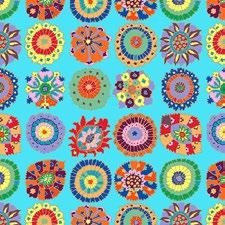
(A) Carpet Cookies Sky PWGP192.SKY 2 yards (1.83m)
(B) Twig Pink PWGP196.PINK 1⁄4 yard (0.23m)
(C) Tonal Floral Gold PWGP197.GOLD 1⁄2 yard (0.46m)

(D) Tonal Floral Red PWGP197.RED 1⁄2 yard (0.46m)


(E) Fish Lips Green PWBM007.GREEN* 1 yard (0.91m)

(F) Flower Net Lime PWBM081.LIME 1⁄4 yard (0.23m)
* includes binding Backing (Purchased Separately) 44" (1.12m) wide
Funky Flora Aqua PWBM011.AQUA 31⁄2 yards (3.20m) OR 108" (2.74m) wide Enchanted Green QBGP008.GREEN 2 yards (1.83m)


If kitting, refer to the final pattern for yardage amounts, it is recommended that a sample is made to confirm accuracy.
freespiritfabrics.com
(A) (B) (C) (D) (E) (F) Backing 44" Backing
108"
Cascade Quilt (Light or Dark)
Dark
Fabric Requirements
DESIGN COLOR ITEM ID YARDAGE
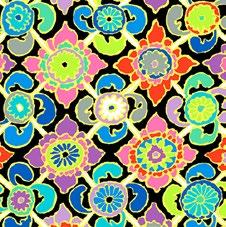
(A) Carpet Cookies Black PWGP192.BLACK 2 yards (1.83m)
(B) Tudor Blue PWGP195.BLUE 1⁄2 yard (0.46m)
(C) Twig Blue PWGP196.BLUE 1⁄4 yard (0.23m)
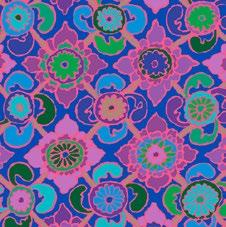
(D) Tonal Floral Turquoise PWGP197.TURQUOISE 1⁄2 yard (0.46m)




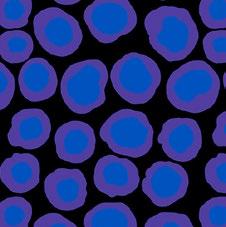
(E) Fish Lips Black PWBM007.BLACK 1⁄4 yard (0.23m)
(F) Fish Lips Blue PWBM007.BLUE* 1 yard (0.91m)
* includes binding
Backing (Purchased Separately)
44" (1.12m) wide
Tudor Contrast PWGP195.CONTRAST 31⁄2 yards (3.20m) OR 108" (2.74m) wide
Tonal Floral Turquoise QBGP009.TURQUOISE 2 yards (1.83m)
If kitting, refer to the final pattern for yardage amounts, it is recommended that a sample is made to confirm accuracy.
freespiritfabrics.com
(A) (B) (C) (D) (E) (F)
Backing
Backing 44"
108"
Grey Pink
Featuring
Crochet Quilt
(Grey or Pink)
Finished Size: 45" x 54" (1.14m x 1.37m)

Project designed by Tammy Silvers - Tamarinis Purchase pattern at tamarinis.com
Technique: Pieced | Skill Level: Advanced Beginner
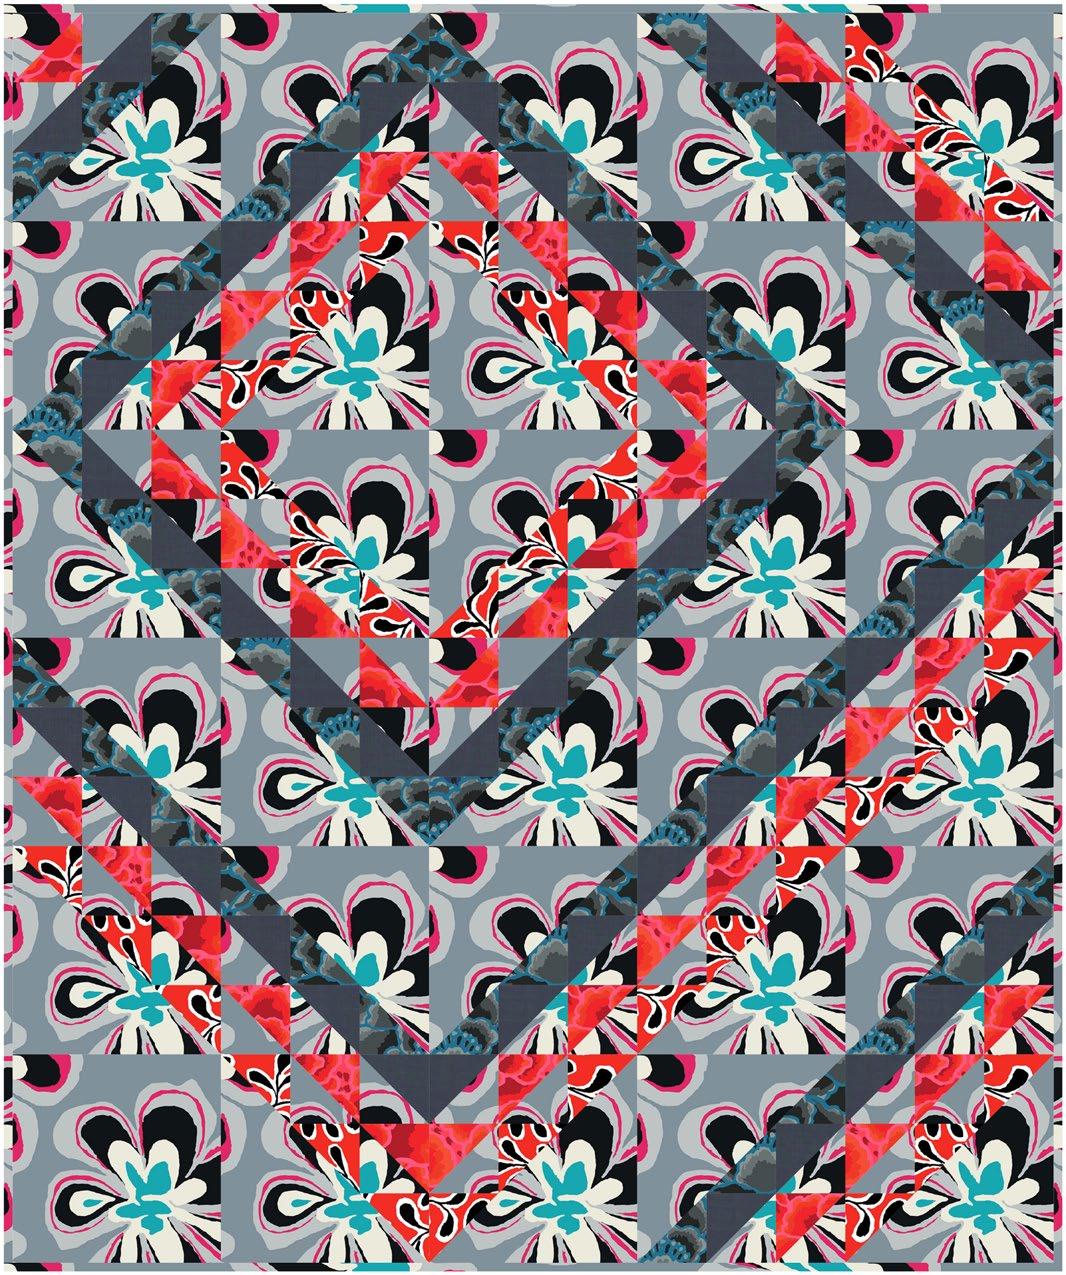
freespiritfabrics.com February 2023 by Kaffe Fassett Collective
Crochet Quilt (Grey or Pink)
Grey
Fabric Requirements
DESIGN COLOR ITEM ID YARDAGE
(A) Twig Red PWGP196.RED 1⁄2 yard (0.46m)
(B) Tonal Floral Charcoal PWGP197.CHARCOAL 1⁄2 yard (0.46m)

(C) Tonal Floral Red PWGP197.RED* 3⁄4 yard (0.69m)


(D) Funky Flora Grey PWBM011.GREY 13⁄4 yards (1.60m)


(E) Shot Cotton Shadow SCGP108.SHADOW 1⁄2 yard (0.46m)

* includes binding Backing (Purchased Separately) 44" (1.12m) wide
Fish Lips Contrast PWBM007.CONTRAST 31⁄4 yards (2.97m) OR 108" (2.74m) wide
Tree Fungi Contrast QBPJ001.CONTRAST 11⁄2 yards (1.37m)
If kitting, refer to the final pattern for yardage amounts, it is recommended that a sample is made to confirm accuracy.
freespiritfabrics.com
(A) (B) (C) (D) (E) Backing 44" Backing 108"
Crochet Quilt (Grey or Pink)
Pink Fabric Requirements
DESIGN COLOR ITEM ID YARDAGE
(A) Twig Pink PWGP196.PINK 1⁄2 yard (0.46m)
(B) Tonal Floral Red PWGP197.RED* 3⁄4 yard (0.69m)


(C) Funky Flora Aqua PWBM011.AQUA 13⁄4 yards (1.60m)


(D) Shot Cotton Opal SCGP114.OPAL 1⁄2 yard (0.46m)
(E) Shot Cotton Lupin SCGP113.LUPIN 1⁄2 yard (0.46m)

* includes binding Backing (Purchased Separately) 44" (1.12m) wide Tonal Floral Red PWGP197.RED 31⁄4 yards (2.97m) OR 108" (2.74m) wide Millefiore Pastel QBGP006.PASTEL 11⁄2 yards (1.37m)

If kitting, refer to the final pattern for yardage amounts, it is recommended that a sample is made to confirm accuracy.
freespiritfabrics.com
(A) (B) (C) (D) (E) Backing
Backing
44"
108"
Floral Medallion Quilt

1 of 4 freespiritfabrics.com
Skill Level: Advanced
Finished Size:
Featuring February 2023 by Kaffe Fassett Collective Fussy-cutting adds a frame-like flair to this easy design, and big bold prints from Kaffe’s latest collection create instant impact in this quilt! Collection: February 2023 by Kaffe Fassett Collective Technique: Pieced
Beginner
58" x 62" (147.32cm x 157.48cm) All possible care has been taken to assure the accuracy of this pattern. We are not responsible for printing errors or the manner in which individual work varies. Please read the instructions carefully before starting this project. If kitting, it is recommended a sample is made to confirm accuracy.
Floral Medallion Quilt
Fabric Requirements
DESIGN COLOR ITEM ID
YARDAGE
(A) Beaded Curtain Pastel PWGP191.PASTEL 2 yards (1.83m)


(B) Carpet Cookies Grey PWGP192.GREY 1 yard (0.91m)
(C) Funky Flora Grey PWBM011.GREY 3⁄4 yard (0.69m)


(D) Floral Burst Cool PWPJ029.COOL 5⁄8 yard (0.57m)


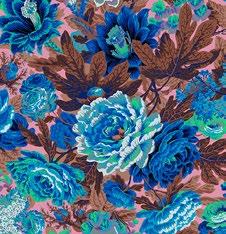


(E) Climbing Geraniums Contrast PWPJ110.CONTRAST 5⁄8 yard (0.57m)
(F) Fish Lips Contrast PWBM007.CONTRAST* 5⁄8 yard (0.57m)
(G) Twig Grey PWGP196.GREY 1⁄4 yard (0.23m)
* includes binding
Backing (Purchased Separately) 44" (1.12m) wide
Disks Grey PWGP193.GREY 4 yards (3.66m) OR 108" (2.74m) wide
Climbing Geraniums Contrast QBPJ002.CONTRAST 17⁄8 yards (1.71m)
Additional Recommendations
• 100% cotton thread in colors to match
• 66" x 70" (1.68m x 1.78m) batting
Copyright© 2022 All possible care has been taken to assure the accuracy of this pattern. We are not responsible for printing errors or the manner in which individual work varies. Please read the instructions carefully before starting this project. If kitting it is recommended a sample is made to confirm accuracy.
Backing 108" Backing 44"
2 of 4 freespiritfabrics.com
Project designed by Kaffe Fassett | Tech edited by Alison M. Schmidt
(A) (B) (C) (D) (E) (F) (G)
WOF = Width of Fabric
Notes: The border cut lengths listed are based on an accurate 1⁄4" seam allowance. You may wish to only cut WOF strips, then measure and trim each border to fit when ready to sew it to the quilt center.
Refer to the quilt image for aligning fussy-cut pieces, or spotlight motifs of your own choice. Label cut pieces with fabric letters for easier construction.
Fabric A, fussy cut: (4) 101⁄2" x WOF for outer borders, aligning the 101⁄2" section along the same repeated motif for each cut. Reserve any remaining yardage in case additional sections are needed for matching the fabric repeats if piecing the side borders to additional lengths.
Fabric B, fussy cut: (4) identical 101⁄2" squares, centered on the same nine motifs
Fabric C, cut: (4) 51⁄2" x WOF; sub-cut (2) 51⁄2" x 381⁄2" top/bottom borders
(2) 51⁄2" x 321⁄2" side borders
Fabric D, fussy-cut:
(1) 161⁄2" x 201⁄2" rectangle, centered on a fabric print section of your choice
Floral Medallion Quilt
Fabric E, cut: (4) 41⁄2" x WOF; sub-cut (2) 41⁄2" x 281⁄2" top/bottom borders (2) 41⁄2" x 241⁄2" side borders
Fabric F, cut: (7) 21⁄2" x WOF for binding
Fabric G, cut: (2) 21⁄2" x WOF; sub-cut (4) 21⁄2" x 201⁄2" borders
Instructions
Note: All seam allowances are ¼" (.64cm) and pieces are sewn right sides together. Press the seam allowances open, unless otherwise indicated.
Quilt Top Assembly
1. Sew (1) 21⁄2" x 201⁄2" Fabric G border to each long edge of the Fabric D rectangle. Press. Sew one of the remaining Fabric G borders to the top edge, and the other to the bottom edge of the rectangle. Press.
2. Sew (1) 41⁄2" x 241⁄2" Fabric E border to each long edge of the quilt center. Press. Sew one 41⁄2" x 281⁄2" Fabric E border to the top edge, and the other to the bottom edge of the quilt center. Press.
3. Sew (1) 51⁄2" x 321⁄2" Fabric C border to each long edge of the quilt center. Press. Sew one 51⁄2" x 381⁄2" Fabric C border to the top edge, and the other to the bottom edge of the quilt center. Press.
4. Referring to the Quilt Layout ( page 4 ), arrange the 10 1⁄ 2" x WOF Fabric A outer borders around the outer edges of the quilt center. Position each border so that the fabric print radiates outward from the quilt center and the zigzag motif matches as closely as possible at each corner.
Cut (2) 10 1 ⁄ 2 " x 38 1 ⁄ 2 " outer top/bottom borders from the WOF strips and set aside. The outer side borders should measure 421⁄2" long -if necessary piece to lengthen or to match motifs, cut additional 101⁄2" x WOF sections from the remaining yardage, and sew the new sections and borders together end-to-end, matching repeats. Press. Cut (2) 101⁄2" x 421⁄2"outer side borders. Sew one side border to either side of the quilt center. Press.
5. Sew (1) 101⁄2" Fabric B square to each end of the outer top/bottom borders, rotating each square so that the same motif appears at the inner corner of each seam. Press. Sew one outer top/bottom border to the upper edge, and the other to the lower edge of the quilt center to complete the quilt top. Press.
Finishing
6. Sew together the 2½" Fabric F binding strips end-to-end using diagonal seams. Press the seams open. Press the binding strip in half wrong sides together.
Copyright© 2022 All possible care has been taken to assure the accuracy of this pattern. We are not responsible for printing errors or the manner in which individual work varies. Please read the instructions carefully before starting this project. If kitting it is recommended a sample is made to confirm accuracy.
3 of 4 freespiritfabrics.com
7. Layer the backing (wrong side up), batting, and quilt top (right side up). Baste the layers together and quilt as desired. Trim the excess batting and backing even with the quilt top after quilting is completed.
8. Leaving an 8" tail of binding, sew the binding to the quilt top through all layers, matching all raw edges. Miter corners. Stop approximately 12" from where you started. Lay both loose ends of binding flat along quilt edge. Where these two loose ends meet, fold them back on themselves and press to form a crease. Using this crease as your stitching line, sew the two open ends of the binding together right sides together. Trim seam to ¼" and press open. Finish sewing binding to quilt.
9. Turn the binding to the back of the quilt and hand stitch in place.
Floral Medallion Quilt
Quilt Layout
Copyright© 2022 All possible care has been taken to assure the accuracy of this pattern. We are not responsible for printing errors or the manner in which individual work varies. Please read the instructions carefully before starting this project. If kitting it is recommended a sample is made to confirm accuracy.

4 of 4 freespiritfabrics.com
Framed Flower Quilt
Featuring February 2023 by Kaffe Fassett Collective Fussy-cut a fantastic frame to corral a riot of rich red, pink, and purple tones. Fabrics from the Kaffe Fassett Collective - February 2023 add extra warmth to this fun design. Collection: February 2023 by Kaffe Fassett Collective
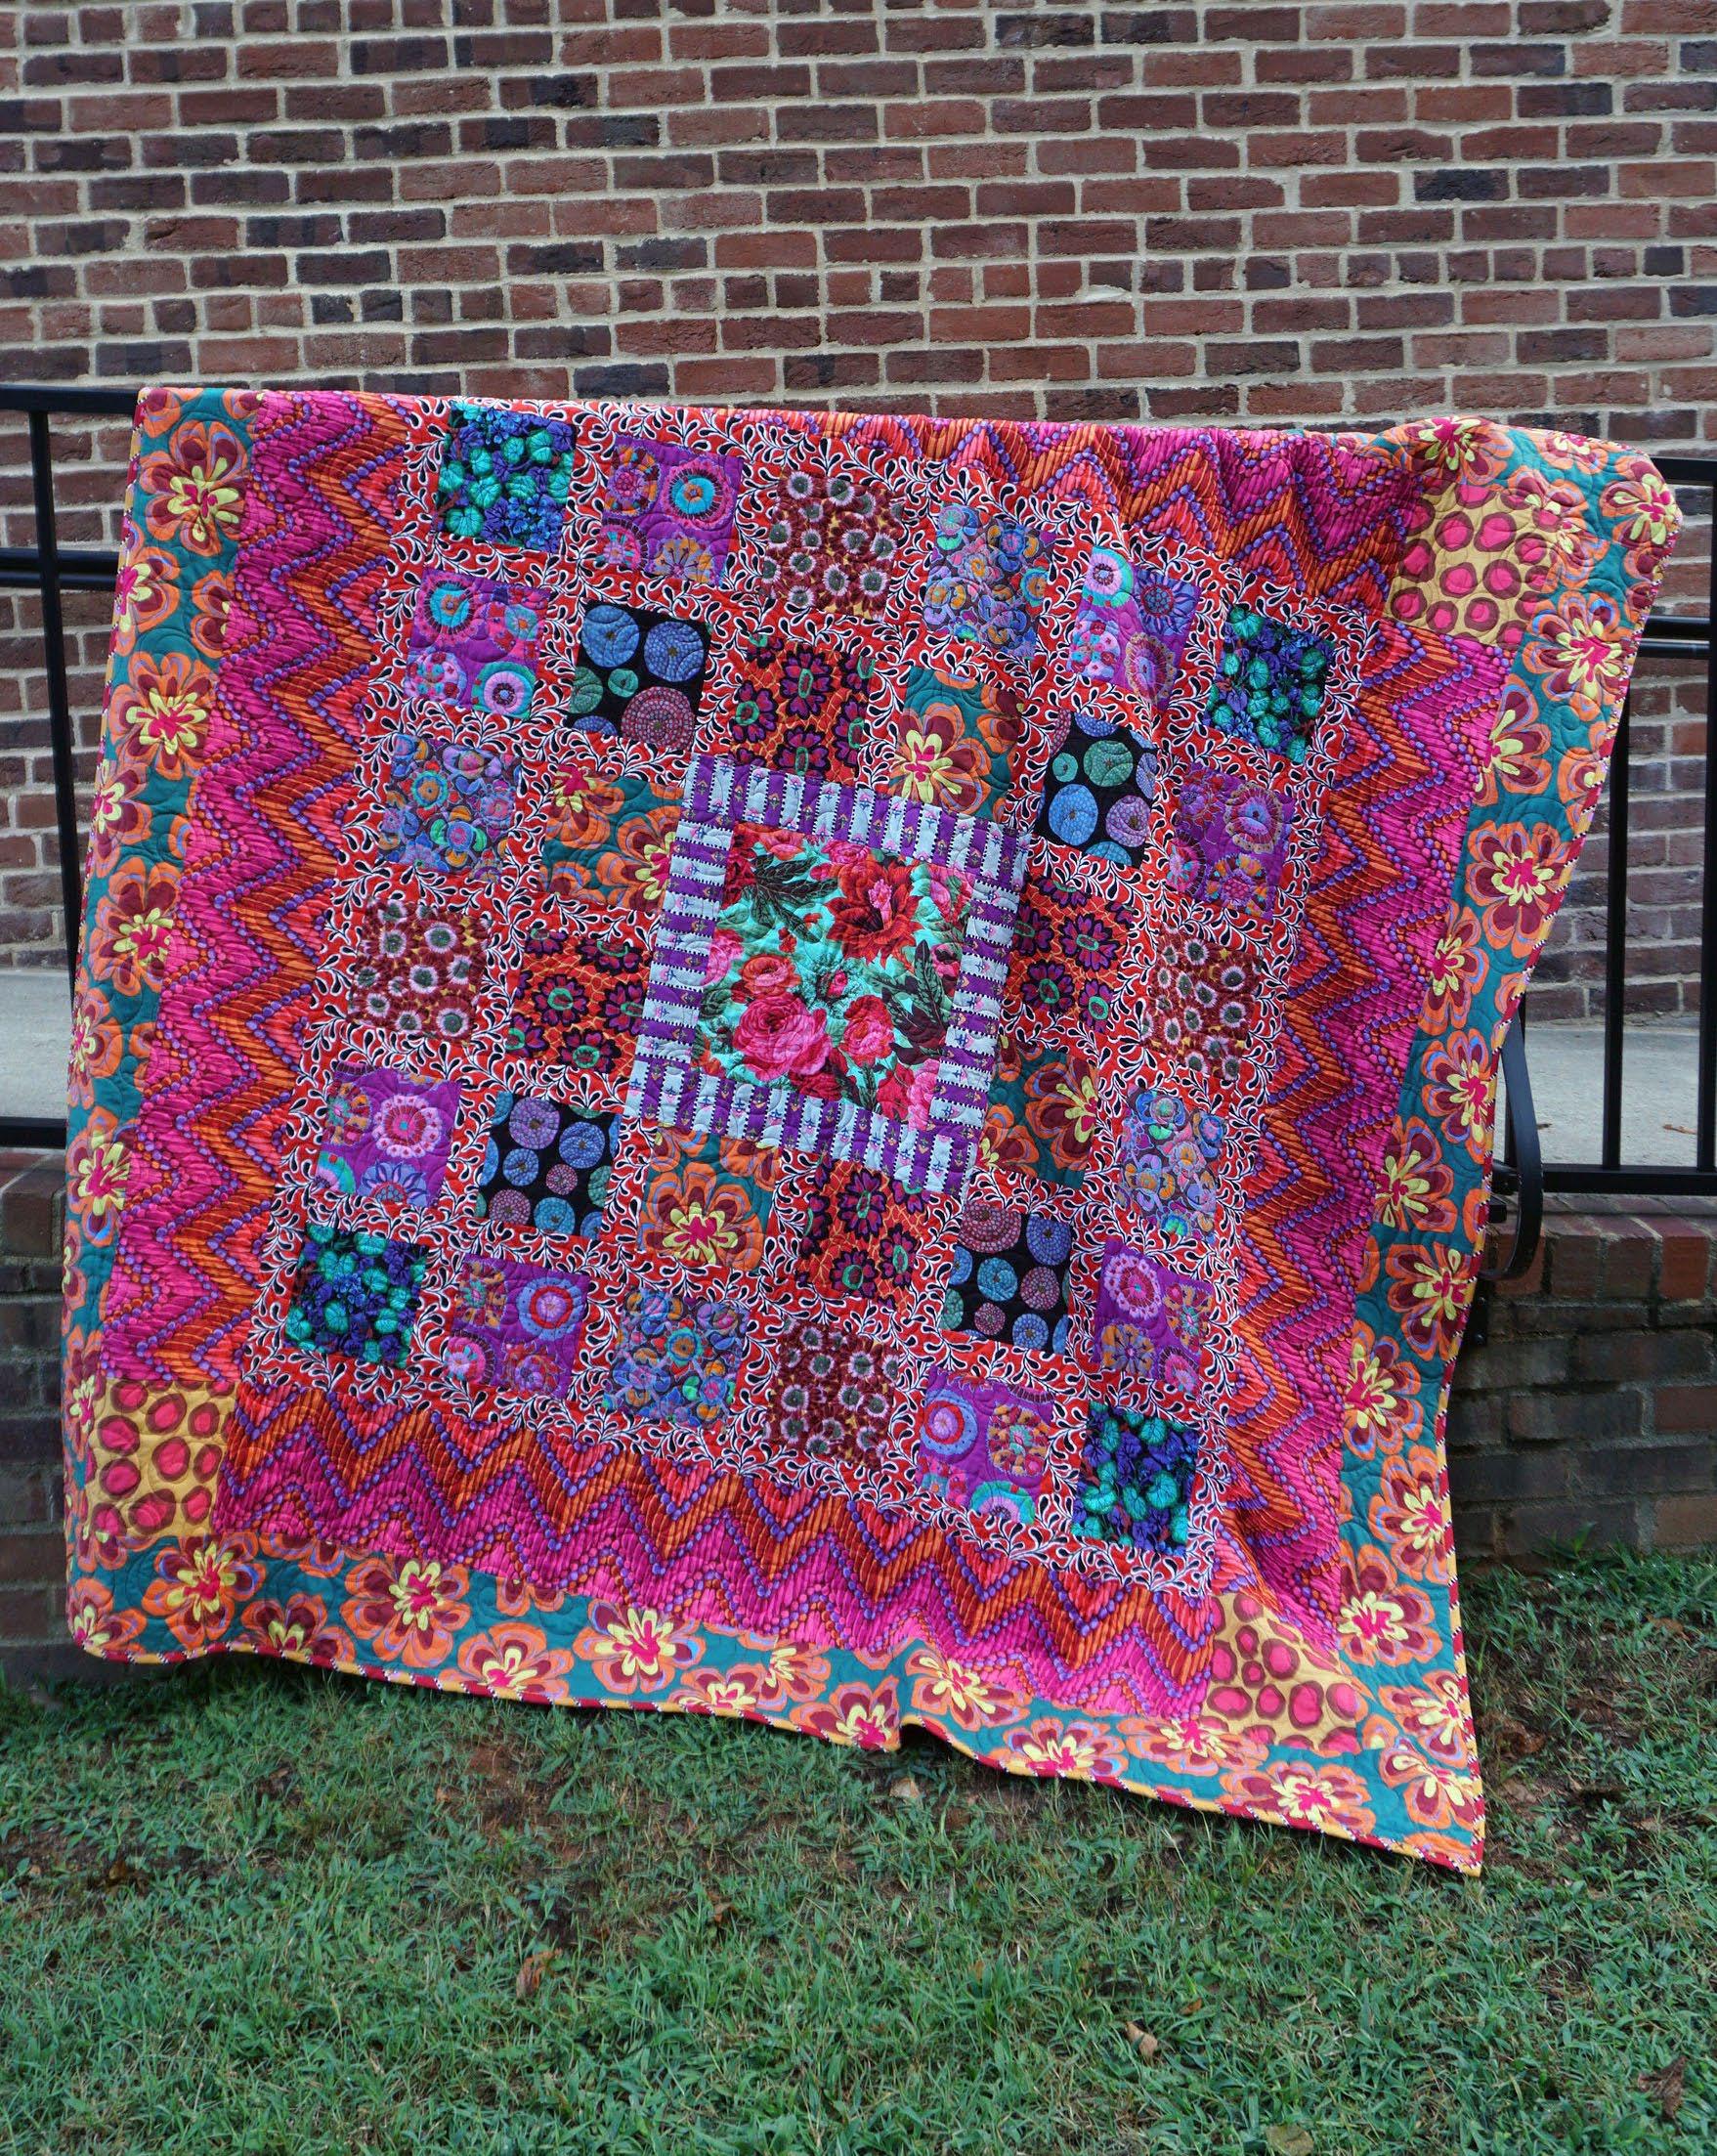
Pieced
Beginner
Size: 84" (2.13m) Square All possible care has been taken to assure the accuracy of this pattern. We are not responsible for printing errors or the manner in which individual work varies. Please read the instructions carefully before starting this project. If kitting, it is recommended a sample is made to confirm accuracy.
1 of 5 freespiritfabrics.com
Technique:
Skill Level: Advanced
Finished
Framed Flower Quilt
Fabric Requirements
DESIGN COLOR ITEM ID
YARDAGE
(A) Beaded Curtain Red PWGP191.RED 31⁄2 yards (3.20m)

(B) Funky Flora Forest PWBM011.FOREST** 2 yards (1.83m)


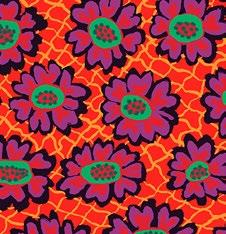
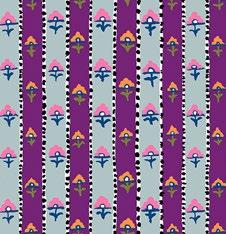

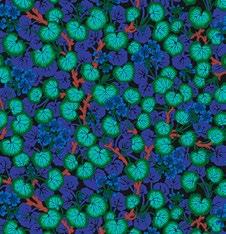


(C) Twig Red PWGP196.RED 11⁄2 yards (1.37m)
(D) Shiraz Red PWGP194.RED* 3⁄4 yard (0.69m)
(E) Floral Burst Maroon PWPJ029.MAROON 1⁄2 yard (0.46m)


(F) Carpet Cookies Magenta PWGP192.MAGENTA 1⁄2 yard (0.46m)
(G) Fish Lips Banana PWBM007.BANANA 1⁄3 yard (0.30m)
(H) Climbing Geraniums Dark PWPJ110.DARK 1⁄3 yard (0.30m)
(I) Disks Black PWGP193.BLACK 1⁄3 yard (0.30m)
(J) Flower Net Crimson PWBM081.CRIMSON 1⁄3 yard (0.30m)
(K) Lucy Maroon PWPJ112.MAROON 1⁄3 yard (0.30m)
(L) Tudor Red PWGP195.RED 1⁄3 yard (0.30m)
(M) Shiraz Grey PWGP194.GREY 1⁄4 yard (0.23m)
* includes binding
**Fabric B: 21⁄2 yards if not piecing outer border

Backing (Purchased Separately) 44" (1.12m) wide
Floral Burst Maroon PWPJ029.MAROON 63⁄4 yards (6.17m)
OR 108" (2.74m) wide
Tree Fungi Pink QBPJ001.PINK 25⁄8 yards (2.40m)
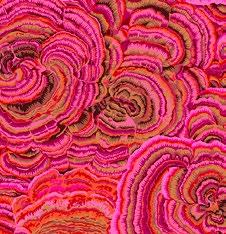
Additional Recommendations
• 100% cotton thread in colors to match
• 92" x 92" (2.34m x 2.34m) batting
Copyright© 2022 All possible care has been taken to assure the accuracy of this pattern. We are not responsible for printing errors or the manner in which individual work varies. Please read the instructions carefully before starting this project. If kitting it is recommended a sample is made to confirm accuracy.
Backing 108" Backing 44"
2 of 5 freespiritfabrics.com
Project designed by Kaffe Fassett | Tech edited by Alison M. Schmidt
(A) (B) (C) (D) (E) (F) (G)
(I) (M) (J) (K) (L)
(H)
Framed Flower Quilt
Cutting
WOF = Width of Fabric, cut from selvage to selvage
LOF = Length of Fabric, cut parallel to selvages
Note: Refer to the quilt image for fussy-cutting borders. Label cut pieces with fabric letters for easier construction.
Fabric A, fussy-cut:
(8) 81⁄2" x WOF for middle border, aligning the 81⁄2" sections along the same repeated motif
Fabric B, cut: (1) 71⁄2" x WOF; subcut (4) 71⁄2" squares
(8) 61⁄2" x WOF for outer border
Alternate cutting: If you prefer not to piece the outer border, from the larger amount of yardage, cut (4) 61⁄2" x LOF strips, and from remaining WOF, cut (4) 71⁄2" squares.
Fabric C, cut:
(2) 71⁄2" x WOF; sub-cut (24) 21⁄2" x 71⁄2" block sashing strips
(3) 21⁄2" x WOF; sub-cut (6) 21⁄2" x 161⁄2" short row sashing strips
(9) 21⁄2" x WOF; for inner top/bottom borders and long row sashing strips
Fabric D, cut: enough 21⁄2"-wide bias strips to yield 10 yards (9.2m) of bias binding
Alternate cutting: To make continuous bias binding, you will need a 34" square cut from the larger amount of yardage.
Fabric E, cut: (1) 141⁄2" center square, centered on a floral of your choice
Fabric F, cut: (2) 71⁄2" x WOF; sub-cut (8) 71⁄2" squares
Fabric G, cut: (1) 81⁄2" x WOF; sub-cut (4) 81⁄2" corner squares
Fabrics H, I, J, K, and L, cut: (1) 71⁄2" x WOF; sub-cut (4) 71⁄2" squares
Fabric M, cut: (2) 31⁄2" x WOF; sub-cut (2) 31⁄2" x 201⁄2" and (2) 31⁄2" x 141⁄2"
Sewing
Note: All seam allowances are ¼" (.64cm) and pieces are sewn right sides together. Press the seam allowances in the direction indicated by the arrows.
1. Sew 31⁄2" x 141⁄2" Fabric M strips to the left and right sides of the Fabric E center square. Press. Sew one 31⁄2" x 201⁄2" Fabric M strip to the top edge, and the other to the bottom edge of the quilt center (Fig. 1). Press.
Fig. 1 Fig. 1
M
M E
Copyright© 2022 All possible care has been taken to assure the accuracy of this pattern. We are not responsible for printing errors or the manner in which individual work varies. Please read the instructions carefully before starting this project. If kitting it is recommended a sample is made to confirm accuracy.
3 of 5 freespiritfabrics.com
Quilt Center
Framed Flower Quilt
2. Aligning long edges, sew a Fabric C block sashing strip between a 71⁄2" Fabric L square and a 7 1 ⁄ 2 " Fabric B square. Press. Sew another Fabric C block sashing strip between a 71⁄2" Fabric K square and a 71⁄2" Fabric J square (Fig. 2). Press.
Quilt Top Assembly
Refer to the Quilt Layout diagram (page 5) for orientation and fabric placement while assembling the quilt. Measure the assembled rows’ and sections’ width and height before cutting and adding long sashing and borders and adjust cut lengths if necessary to match your measurements.
9. Sew 21⁄2" x 521⁄2" Fabric C long row sashing strips to the left and right sides of the quilt top. Press. Sew a 21⁄2" x 561⁄2" Fabric C inner top/bottom border to the upper edge, and the other to the bottom edge of the quilt top. Press.
Fig. 2 Fig. 2 K J
L C
C B
3. Sew a 21⁄2" x 161⁄2" Fabric C short row sashing strip between the two units from the previous step. Press. Sew a short row sashing strip to the top edge, and another to the bottom edge of the unit to complete it (Fig. 3). Press. Make two short row units.
Fig. 3 Fig. 3
C C C
Short row unit Make 2.
4. Arrange the two short row units on either side of the quilt center. Sew the units to the quilt center along adjacent edges to complete the center row. Press.
5. Arrange the remaining 7 1⁄ 2" squares and block sashing strips into 4 block rows of 6 squares and 5 Fabric C block sashing strips each. Sew the squares and sashing strips together along adjacent edges. Press the seam allowances toward the block sashing strips.
6. Join remaining 21⁄2" x WOF Fabric C strips together end-to-end. Press. Cut 2 strips 561⁄2" long for the inner top/bottom borders and 4 strips 521⁄2" long for the long row sashing strips.
7. Arrange 2 block rows above and 2 block rows below the center row. Place a 21⁄2" x 521⁄2" Fabric C long row sashing strips between the two 2 rows, and another between the 2 bottom rows. Sew the rows and sashing strips together along adjacent edges. Press.
8. Sew the top row section to the upper edge of the center row. Sew the bottom row section to the lower edge of the center row. Press.
10. Sew (2) 81⁄2" x WOF Fabric A middle border strips together end-to-end, trimming as needed to match the fabric print. Press. Repeat to make (4) middle borders. Trim each border to 561⁄2" long, taking care to cut each border at the same point in the fabric repeat.
11. Refer to the quilt image to position the middle borders so that the fabric print radiates outward from the quilt center, then sew a middle border to the left and the right sides of the quilt top. Press. Sew 81⁄2" Fabric G squares to both short ends of the 2 remaining middle borders. Press. Sew one middle border to the top edge, and the other to the bottom edge of the quilt center top. Press.
12. Sew the 61⁄2" x WOF Fabric B outer borders together end-to-end. Press. Cut 2 strips 841⁄2" long for the outer top/bottom borders, and 2 strips 72 1⁄2" long for the outer side borders. Sew a side border to the left and right sides of the quilt top. Press. Sew one top/bottom border to the top edge, and the other to the bottom edge of the quilt top. Press.
Copyright© 2022 All possible care has been taken to assure the accuracy of this pattern. We are not responsible for printing errors or the manner in which individual work varies. Please read the instructions carefully before starting this project. If kitting it is recommended a sample is made to confirm accuracy.
4 of 5 freespiritfabrics.com
Finishing
13. Sew together the 21⁄2" Fabric D bias strips end-to-end if you did not make continuous bias binding. Press the seams open. Press the binding strip in half wrong sides together.
14. Layer the backing (wrong side up), batting, and quilt top (right side up). Baste the layers together and quilt as desired. Trim the excess batting and backing even with the quilt top after quilting is completed.
15. Leaving an 8" tail of binding, sew the binding to the quilt top through all layers, matching all raw edges. Miter corners. Stop approximately 12" from where you started. Lay both loose ends of binding flat along quilt edge. Where these two loose ends meet, fold them back on themselves and press to form a crease. Using this crease as your stitching line, sew the two open ends of the binding together right sides together. Trim seam to 1⁄4" and press open. Finish sewing binding to quilt.
16. Turn the binding to the back of the quilt and hand stitch in place.
Framed Flower Quilt
Quilt Layout
Quilt Layout
Copyright© 2022 All possible care has been taken to assure the accuracy of this pattern. We are not responsible for printing errors or the manner in which individual work varies. Please read the instructions carefully before starting this project. If kitting it is recommended a sample is made to confirm accuracy.
5 of 5 freespiritfabrics.com
G A C C A H F K L F H F I J B I F F I B J I F H F L K F H K J B L L B J K B B G A C C C C C B B A G G


