Bordered Panels Quilt
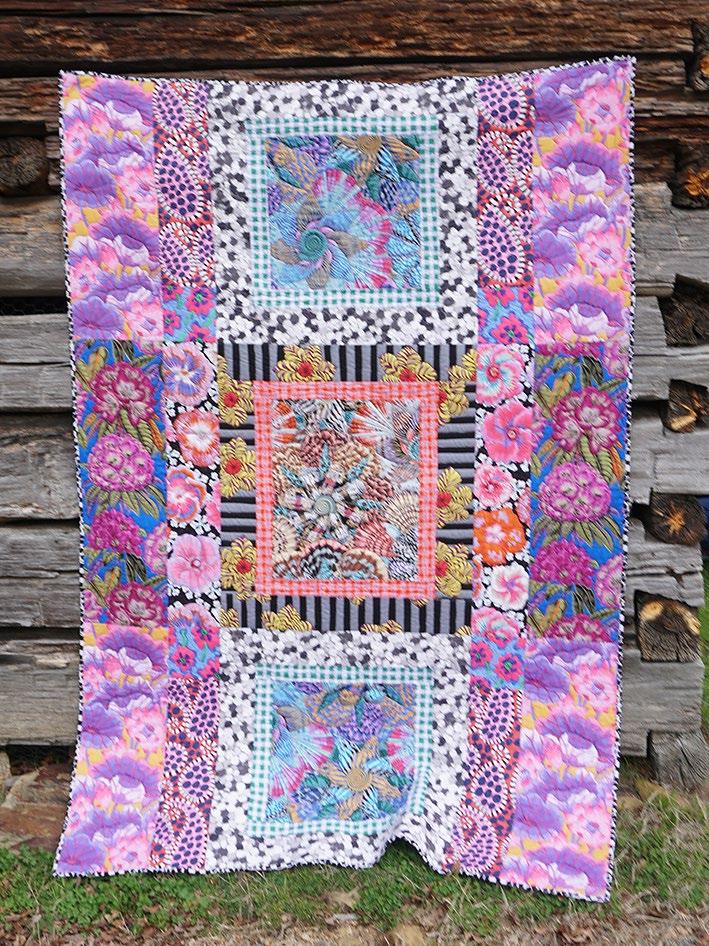
Featuring August 2023 and Classics by Kaffe Fassett Collective
Collection: August 2023 and Classics by Kaffe Fassett Collective
Technique: Pieced
Skill Level: Advanced Beginner
Finished Project Size:
60" x 88" (1.52m x 2.24m)
Finished Block Sizes:
Finished Sizes:
16" x 28" (40.64cm x 71.12cm)
16" x 32" (40.64cm x 81.28cm)
28" x 32" (71.12cm x 81.28cm)
28" x 28" (71.12cm x 71.12cm)
All possible care has been taken to assure the accuracy of this pattern. We are not responsible for printing errors or the manner in which individual work varies. Please read the instructions carefully before starting this project. If kitting, it is recommended a sample is made to confirm accuracy.
1 of 7 freespiritfabrics.com
Bordered Panels Quilt




Project designed by Kaffe Fasset | Tech edited by Alison M. Schmidt

Fabric Requirements
* includes binding
Backing (Purchased Separately)
Additional Recommendations
• 100% cotton thread in colors to match



• 68" x 96" (1.72m x 2.44m) batting

2 of 7 freespiritfabrics.com Copyright© 2023 All possible care has been taken to assure the accuracy of this pattern. We are not responsible for printing errors or the manner in which individual work varies. Please read the instructions carefully before starting this project. If kitting it is recommended a sample is made to confirm accuracy.
DESIGN COLOR ITEM ID YARDAGE (A) Lake Blossoms Purple PWGP093.PURPLE 1 yard (0.91m) (B) Sailor Valentine Contrast PWPJ121.CONTRAST 3⁄4 yard (0.69m) (C) Sailor Valentine Cool PWPJ121.COOL 5⁄8 yard (0.57m) (D) Floating Hibiscus Contrast PWPJ122.CONTRAST 1⁄2 yard (0.46m) (E) Rhododendrons Magenta PWPJ124.MAGENTA 11⁄8 yards (1.03m) (F) Camo Flower Blue PWBM088.BLUE 1⁄3 yard (0.30m) (G) Gingham Green PWBM089.GREEN 3⁄8 yard (0.34m) (H) Gingham Red PWBM089.RED 1⁄4 yard (0.23m) (I) Paisley Dot BLKWHT PWBM090.BLKWHT 3⁄4 yard (0.69m) (J) Zebra Lilly Black PWBM091.BLACK 5⁄8 yard (0.57m) (K) Chips White PWBM073.WHITE* 5⁄8 yard (0.57m) (L) Reflections Contrast PWBM087.CONTRAST 1 yard (0.91m)
44" (1.12m)
Camo Flower Black PWBM088.BLACK 51⁄2 yards (5.03m) OR 108" (2.74m) wide Onion Rings Black QBBM001.BLACK 21⁄2 yards (2.29m)
wide
(A)
(E)
(I)
Backing 108" Backing
(B) (C) (D)
(F) (G) (H)
(J) (K) (L)
44"
Cutting WOF = Width of Fabric
Note: Cut as directed to keep all directional prints right-reading.
Fabric A, cut:
(1) 281⁄2" x WOF; subcut
(4) 101⁄2" x 281⁄2" pieces
Fabric B, cut:
(1) 201⁄2" x WOF; subcut
(1) 161⁄2" x 201⁄2" rectangle
Fabric C, cut:
(1) 161⁄2" x WOF; subcut
(2) 161⁄2" x 161⁄2" squares
Fabric D, cut:
(2) 61⁄2" x WOF; subcut
(2) 61⁄2" x 321⁄2" pieces
Fabric E, cut:
(1) 321⁄2" x WOF; subcut
(2) 101⁄2" x 321⁄2" pieces
Fabric F, cut:
(1) 61⁄2" x WOF; subcut
(4) 61⁄2" squares
Fabric G, cut:
(4) 21⁄2" x WOF; subcut
(4) 21⁄2" x 201⁄2" strips
(4) 21⁄2" x 161⁄2" strips
Bordered Panels Quilt
Fabric H, cut:
(2) 21⁄2" x WOF; subcut
(4) 21⁄2" x 201⁄2" strips
Fabric I, cut:
(1) 221⁄2" x WOF; subcut
(4) 61⁄2" x 221⁄2" strips
Fabric J, cut:
(4) 41⁄2" x WOF; subcut
(2) 41⁄2" x 281⁄2" strips
(2) 41⁄2" x 241⁄2" strips
Alternate cutting option: If you prefer to have all the strips running vertically on the finished quilt, cut (1) 281⁄2" x WOF, then subcut (2) 41⁄2" wide x 281⁄2" high strips. From the remaining WOF, cut (2) 241⁄2" wide x 41⁄2" high strips.
Fabric K, cut:
(7) 21⁄2" x WOF for binding
Fabric L, cut:
(1) 281⁄2" x WOF; subcut


(4) 41⁄2" x 281⁄2" strips
(4) 41⁄2" x 201⁄2" strips
Instructions
Note: Use a 1⁄4" seam allowance throughout. Sew all pieces with right sides together and raw edges even using matching thread. Press after each seam, either towards the darker fabric or open as desired.
Block Construction
1. Stitch a Fabric F 61⁄2" square to the bottom of a Fabric I 6 1 ⁄ 2 " x 22 1 ⁄ 2 " strip. Add a Fabric A 101⁄2" x 281⁄2" piece lengthwise, so print is right-reading, on the left side of the F/I strip to complete Block 1a (161⁄2" x 281⁄2" unfinished). Press towards the wider strip.
3 of 7 freespiritfabrics.com Copyright© 2023 All possible care has been taken to assure the accuracy of this pattern. We are not responsible for printing errors or the manner in which individual work varies. Please read the instructions carefully before starting this project. If kitting it is recommended a sample is made to confirm accuracy.
Fig. 1
Fig. 1
Block 1a - Make 1 A I F
Fig. 1
2. In the same manner, make 1 each Blocks 1b-1d noting the varied orientation of the square and strips.


Bordered Panels Quilt
3. Sew a Fabric D 61⁄2" x 321⁄2" strip lengthwise to the right-hand side of a Fabric E 101⁄2" x 321⁄2" strip, so print is right-reading, to complete Block 2a ( 16 1 ⁄ 2 " x 32 1 ⁄ 2 " unfinished). Press towards the narrower strip. Fig.
4. In the same manner, make Block 2b noting orientation of the fabric strips.
4 of 7 freespiritfabrics.com Copyright© 2023 All possible care has been taken to assure the accuracy of this pattern. We are not responsible for printing errors or the manner in which individual work varies. Please read the instructions carefully before starting this project. If kitting it is recommended a sample is made to confirm accuracy.
Fig. 2
Fig. 2
A F I
Fig. 2
A F I
Block 1d - Make 1
A I F
Block 1c - Make 1
A F I
-
1 F I 1c -
1
Block 1b - Make 1
Block 1d
Make
Make
3
Fig. 3
Fig. 3
E D
Block 2a - Make 1
Fig. 4
D E
Block 2b - Make 1
Fig. 4
Fig. 4
Fig. 3
E D
Block 2a - Make 1
Fig. 4
D E
Block 2b - Make 1
5. Stitch Fabric H 2 1⁄ 2" x 20 1⁄ 2 " strips (note that these are the longer pair) to the right and left sides of the Fabric B 161⁄2" x 201⁄2" rectangle. Add Fabric H 21⁄2" x 201⁄2" strips to top and bottom to complete Unit 1 (201⁄2" x 241⁄2" unfinished). Fig.
Bordered Panels Quilt
6. Stitch Fabric J 41⁄2" x 24 1⁄2" strips to the right and left sides of Unit 1. Add Fabric J 41⁄2" x 281⁄2" strips to the top and bottom to complete Block 3 (281⁄2" x 321⁄2" unfinished).


7. Stitch Fabric G 21⁄2" x 161⁄2" strips to the right and left sides of the Fabric C 161⁄2" square. Add Fabric G 21⁄2" x 201⁄2" strips to the top and bottom. Make a total of 2 Unit 2 (201⁄2" square unfinished). Fig.

5 of 7 freespiritfabrics.com Copyright© 2023 All possible care has been taken to assure the accuracy of this pattern. We are not responsible for printing errors or the manner in which individual work varies. Please read the instructions carefully before starting this project. If kitting it is recommended a sample is made to confirm accuracy.
5
Fig. 5
Fig. 5
B H H H H
Unit 1 - Make 1
Fig. 6
Fig. 6
U1 J J J
Block 3 - Make 1
7
C G G G G
Fig. 7 Fig. 7
Unit 2 - Make 2
8. Stitch Fabric L 41⁄2" x 201⁄2" strips to the right and left sides of a Unit 2. Add Fabric L 41⁄2" x 281⁄2" strips to the top and bottom. Make a total of 2 Block 4 (28 1⁄ 2" square unfinished).
Bordered Panels Quilt
Quilt Top Assembly
9. Noting the Quilt Layout diagram (page 7), arrange all blocks in 3 rows.
10. Sew blocks into rows, pressing the seams in each row in the same direction, and alternating direction from row to row so seams will nest.
11. Stitch rows together, matching seam intersections, to complete the quilt top (601⁄2" x 881⁄2" unfinished).
Finishing


12. Sew together the 21⁄ 2" Fabric K binding strips end-to-end using diagonal seams. Press seams open. Press the binding strip in half wrong sides together.
13. Layer backing (wrong side up), batting, and quilt top (right side up). Baste the layers together and quilt as desired. Trim excess batting and backing even with the top after quilting is completed.
14. Leaving an 8" tail of binding, sew the binding to the top of the quilt through all layers matching all raw edges. Miter corners. Stop approximately 12" from where you started. Lay both loose ends of binding flat along quilt edge. Where the loose ends meet, fold them back on themselves and press to form a crease. Using this crease as your stitching line, sew the two open ends of the binding right sides together. Trim seam to 1⁄4" and press open. Finish sewing binding to quilt.
15. Turn the binding to the back of quilt and hand-stitch in place.
6 of 7 freespiritfabrics.com Copyright© 2023 All possible care has been taken to assure the accuracy of this pattern. We are not responsible for printing errors or the manner in which individual work varies. Please read the instructions carefully before starting this project. If kitting it is recommended a sample is made to confirm accuracy.
Fig. 8
Fig. 8
U2 L L
Block 4 - Make 2
Bordered Panels Quilt


7 of 7 freespiritfabrics.com Copyright© 2023 All possible care has been taken to assure the accuracy of this pattern. We are not responsible for printing errors or the manner in which individual work varies. Please read the instructions carefully before starting this project. If kitting it is recommended a sample is made to confirm accuracy. Quilt Layout Bordered Panel - Diagram Page 4 Quilt Layout Block 1a Block 4 Block 1b Block 2a Block 3 Block 2b Block 1c Block 4 Block 1d
Brick Wall Quilt
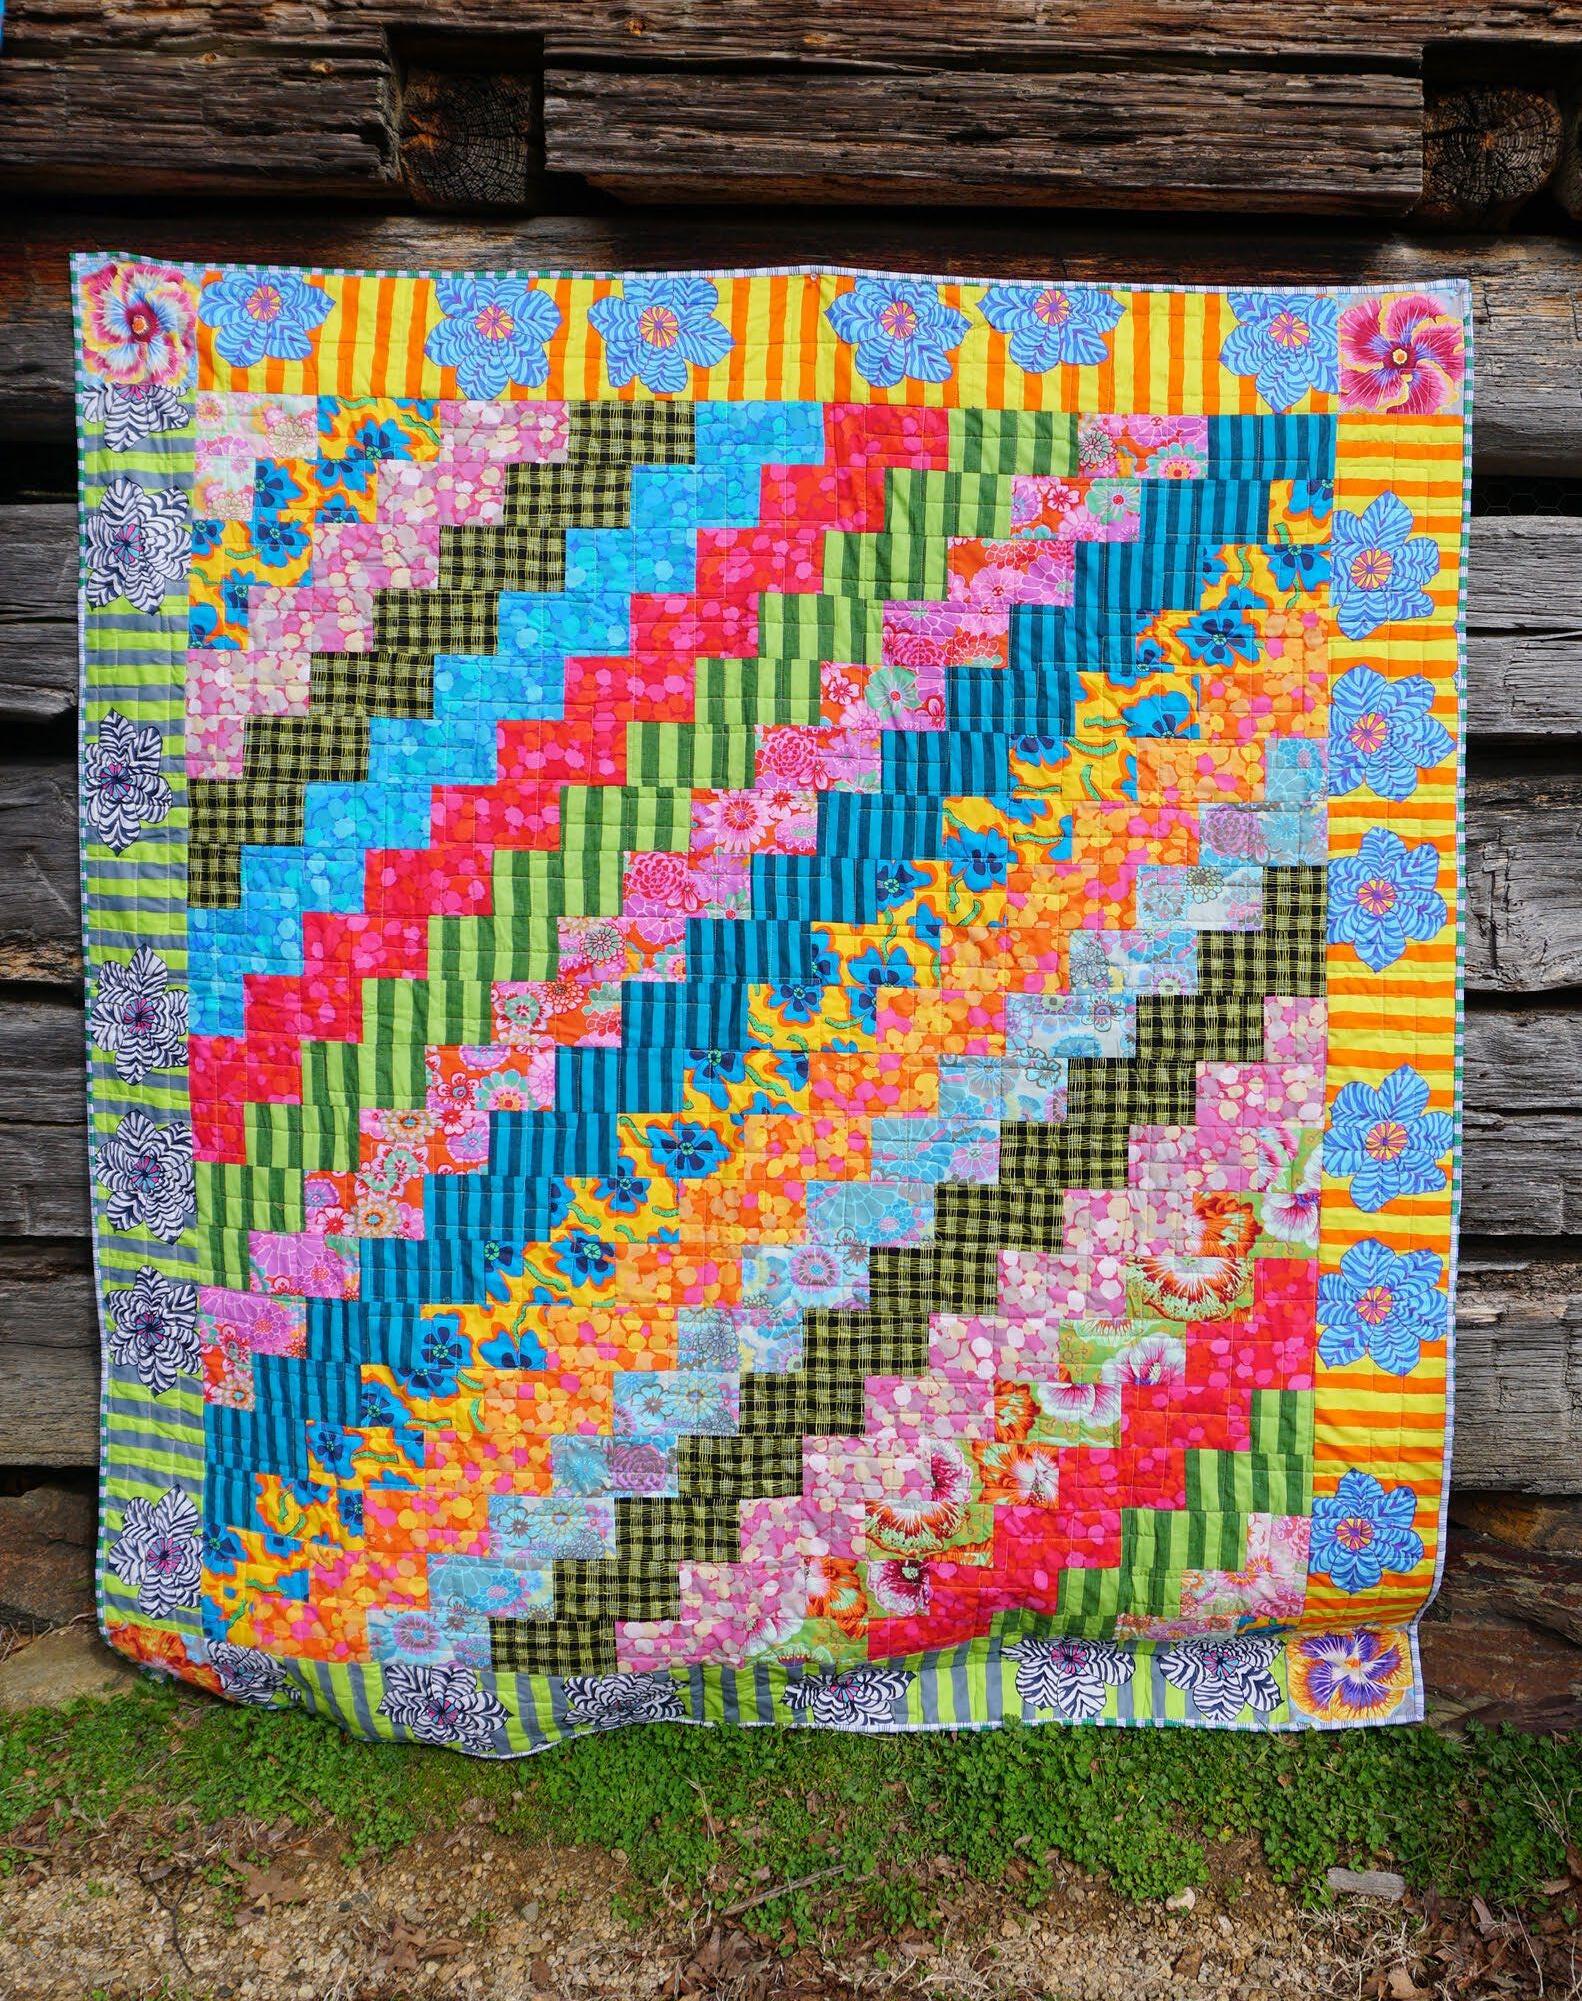
Featuring August 2023, Classics and Shot Cottons by Kaffe Fassett Collective
Collection:
August 2023, Classics and Shot Cottons by Kaffe Fassett Collective
Technique: Pieced
Skill Level: Advanced Beginner
Finished Size: 66" x 72" (1.68m x 1.83m)
All possible care has been taken to assure the accuracy of this pattern. We are not responsible for printing errors or the manner in which individual work varies. Please read the instructions carefully before starting this project. If kitting, it is recommended a sample is made to confirm accuracy.
1 of 5 freespiritfabrics.com
Brick Wall Quilt
Project designed by Kaffe Fasset | Tech edited by Alison M. Schmidt
Fabric Requirements
* includes binding
Backing (Purchased Separately)
(1.12m) wide
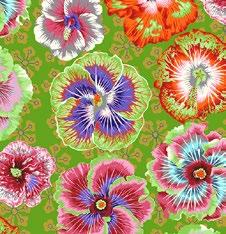
Paisley




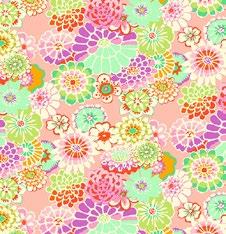
OR 108" (2.74m) wide
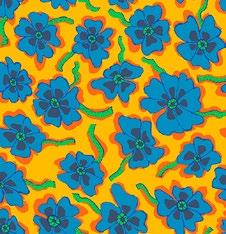
Millefiore


Additional Recommendations
• 100% cotton thread in colors to match


• 74" x 80" (1.88m x 2.03m) quilt batting
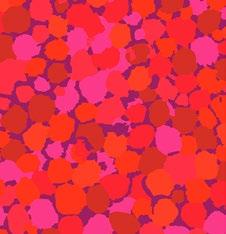
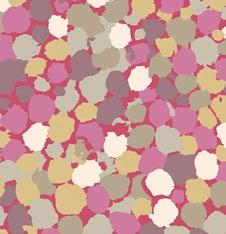
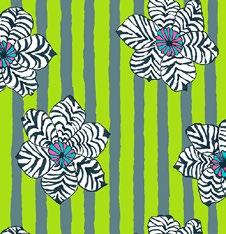
2 of 5 freespiritfabrics.com Copyright© 2023 All possible care has been taken to assure the accuracy of this pattern. We are not responsible for printing errors or the manner in which individual work varies. Please read the instructions carefully before starting this project. If kitting it is recommended a sample is made to confirm accuracy.
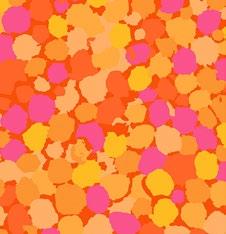
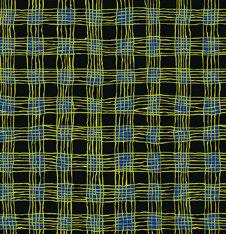
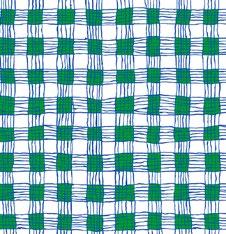
DESIGN COLOR ITEM ID YARDAGE (A) Asian Circles Pink GP89.PINK 1⁄8 yard (0.11m) (B) Asian Circles Tomato GP89.TOMA 1⁄2 yard (0.46m) (C) Asian Circles Turquoise GP89.TURQUOISE 1⁄2 yard (0.46m) (D) Camo Flower Yellow PWBM088.YELLOW 1⁄2 yard (0.46m) (E) Gingham Black PWBM089.BLACK 1⁄2 yard (0.46m) (F) Gingham Green PWBM089.GREEN* 2⁄3 yard (0.61m) (G) Zebra Lily Green PWBM091.GREEN 2⁄3 yard (0.61m) (H) Zebra Lily Orange PWBM091.ORANGE 2⁄3 yard (0.61m) (I) Floating Hibiscus Green PWPJ122.GREEN 1⁄3 yard (0.30m) (J) Floating Hibiscus Grey PWPJ122.GREY 1⁄3 yard (0.30m) (K) Reflections Fuchsia PWBM087.FUCHSIA 1⁄2 yard (0.46m) (L) Reflections Orange PWBM087.ORANGE 1⁄2 yard (0.46m) (M) Reflections Neutral PWBM087.NEUTRAL 1⁄2 yard (0.46m) (N) Reflections Teal PWBM087.TEAL 1⁄3 yard (0.30m)
Wide Stripe Watermelon SSGP001.WATERMELON 1⁄2 yard (0.46m)
Narrow Stripe Mallard SSGP002.MALLARD 1⁄2 yard (0.46m)
(O)
(P)
44"
Dot Green PWBM090.GREEN 41⁄4 yards (3.89m)
Jade QBGP006.JADE 21⁄4 yards (2.06m)
(A) (B) (C) (D)
(E) (F) (G) (H)
(I)
(M)
(J) (N) Backing
(K) (O) Backing
(L) (P)
108"
44"
Cutting
WOF = Width of Fabric
Fabric A, cut:
(1) 31⁄2" x WOF; subcut
(3) 31⁄2" x 61⁄2" pieces
(2) 31⁄2" squares
Fabric B, cut:
(3) 31⁄2" x WOF; subcut
(15) 31⁄2" x 61⁄2" pieces
(1) 31⁄2" square
Fabric C, cut:
(3) 31⁄2" x WOF; subcut
(14) 31⁄2" x 61⁄2" pieces
(1) 31⁄2" square
Fabric D, cut:
(4) 31⁄2" x WOF; subcut
(20) 31⁄2" x 61⁄2" pieces
(4) 31⁄2" squares
Fabric E, cut:
(4) 31⁄2" x WOF; subcut
(19) 31⁄2" x 61⁄2" pieces
(2) 31⁄2" squares
Fabric F, cut:
(8) 21⁄2" x WOF for binding
Fabrics G and H, cut from each:
(3) 61⁄2" x WOF for borders
Brick Wall Quilt
Fabric I, cut:
(2) 31⁄2" x WOF; subcut
Brick Wall - Diagram Page 1
(8) 31⁄2" x 61⁄2" pieces
(1) 31⁄2" square
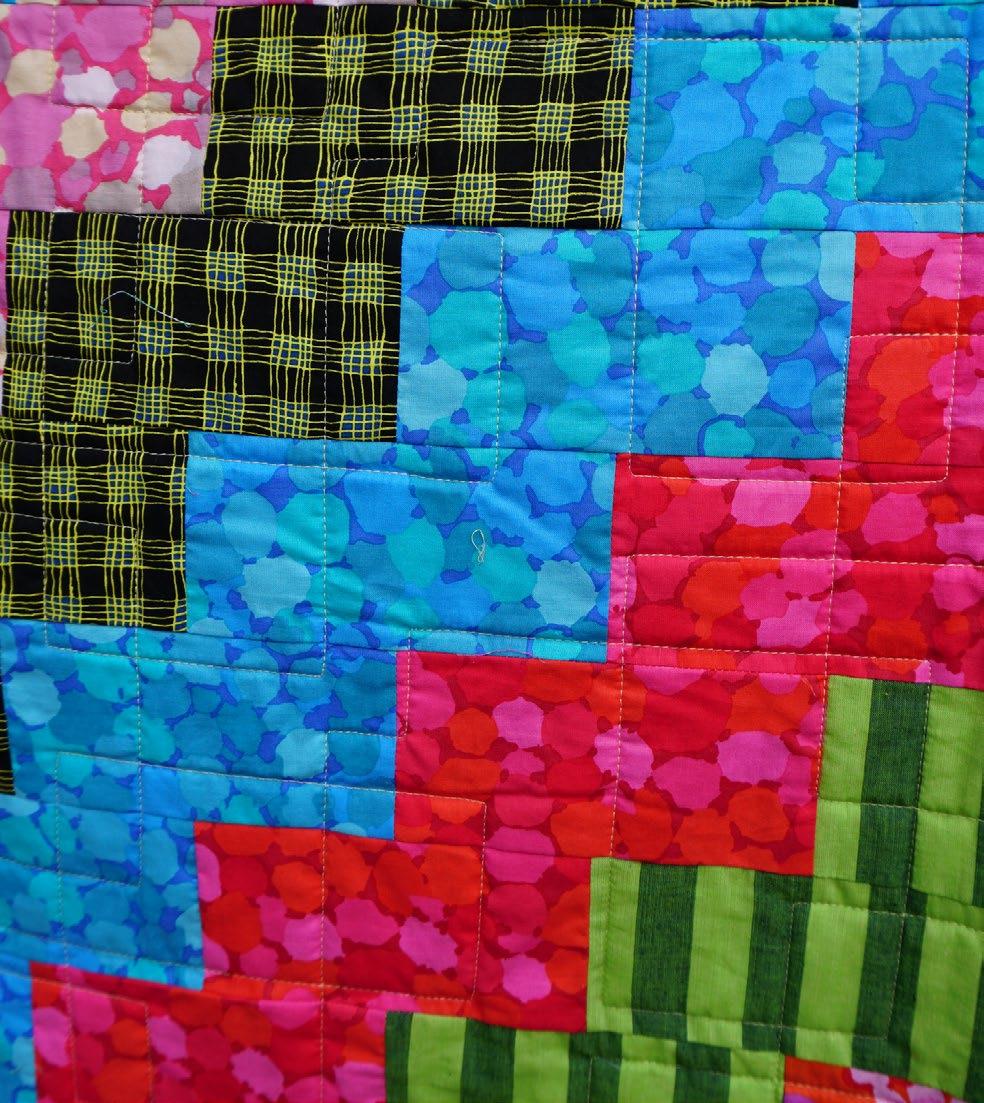
Fabric J, fussy cut:
(4) 61⁄2" squares with motifs centered
NOTE: Motifs will vary due to the cut of the fabric.
Fabric J- Cut (4) 6 1/2” squares, with motifs centered
Fabric N, cut:
(2) 31⁄2" x WOF; subcut
(9) 31⁄2" x 61⁄2" pieces
(1) 31⁄2" square
Fabric P, cut:
(3) 31⁄2" x WOF; subcut
(17) 31⁄2" x 61⁄2" pieces
(1) 31⁄2" square
Fabrics K and O, cut from each:
(3) 31⁄2" x WOF; subcut
(17) 31⁄2" x 61⁄2" pieces
(2) 31⁄2" squares
Fabric L, cut:
(3) 31⁄2" x WOF; subcut
(16) 31⁄2" x 61⁄2" pieces
(1) 31⁄2" square
Fabric M, cut:
(3) 31⁄2" x WOF; subcut
(15) 31⁄2" x 61⁄2" pieces
(2) 31⁄2" squares

3 of 5 freespiritfabrics.com Copyright© 2023 All possible care has been taken to assure the accuracy of this pattern. We are not responsible for printing errors or the manner in which individual work varies. Please read the instructions carefully before starting this project. If kitting it is recommended a sample is made to confirm accuracy.
J
Instructions
Note: Use a 1⁄4" seam allowance throughout. Sew all pieces with right sides together and raw edges even using matching thread. Press after each seam.
Quilt Top Assembly
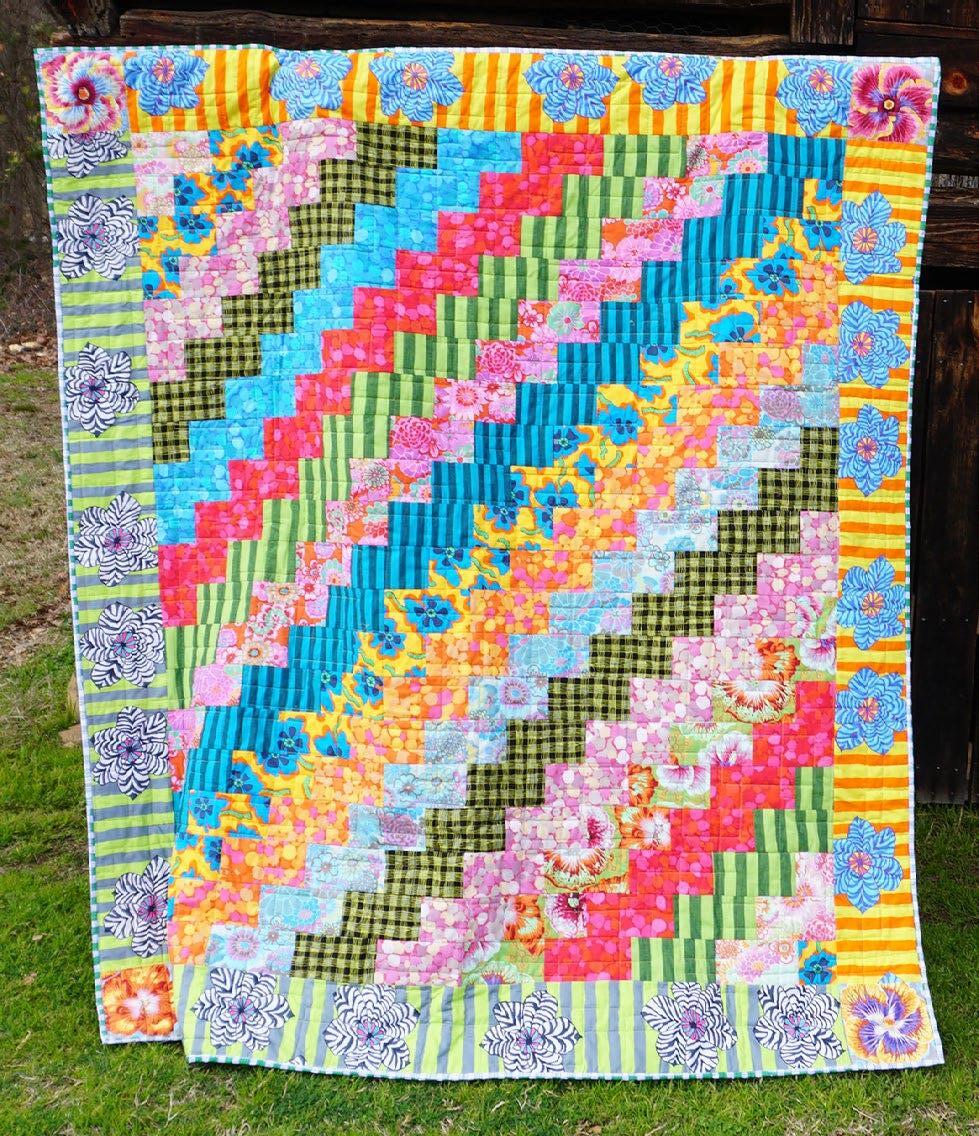
1. Noting the Quilt Layout diagram (page 5), arrange all 31⁄2" x 61⁄2" rectangles and 31⁄2" squares in 20 rows, making sure to orient the squares with directional prints so they match the orientation of the rectangles.
2. Sew the rectangles and squares into rows. Sew rows together to complete the quilt center (541⁄2" x 601⁄2" unfinished).
3. Sew all the Fabric G 6 1 ⁄ 2 " WOF strips together end to end and cut into (1) 601⁄2" long left side border and (1) 54 1⁄ 2" long bottom border.
4. Repeat with the Fabric H strips to make a right side and a top border.
5. Sew the Fabric G 601⁄2" border to left side of the quilt center and the Fabric H 601⁄2" border to the right side of quilt center.
6. Sew a Fabric J 61⁄2" square to each end of the Fabric G and H 61⁄2" x 541⁄2" borders. Add the Fabric H border to top and the Fabric G border to bottom of quilt.
Brick Wall Quilt
Finishing
7. Sew together the 21⁄2" Fabric F binding strips end-to-end using diagonal seams. Press seams open. Press the binding strip in half wrong sides together.
8. Layer backing (wrong side up), batting, and quilt top (right side up). Baste the layers together and quilt as desired. Trim excess batting and backing even with the top after quilting is completed.
9. Leaving an 8" tail of binding, sew the binding to the top of the quilt through all layers matching all raw edges. Miter corners. Stop approximately 12" from where you started. Lay both loose ends of binding flat along quilt edge. Where the loose ends meet, fold them back on themselves and press to form a crease. Using this crease as your stitching line, sew the two open ends of the binding right sides together. Trim seam to 1⁄4" and press open. Finish sewing binding to quilt.
10. Turn the binding to the back of quilt and hand-stitch in place.
4 of 5 freespiritfabrics.com Copyright© 2023 All possible care has been taken to assure the accuracy of this pattern. We are not responsible for printing errors or the manner in which individual work varies. Please read the instructions carefully before starting this project. If kitting it is recommended a sample is made to confirm accuracy.


5 of 5 freespiritfabrics.com Copyright© 2023 All possible care has been taken to assure the accuracy of this pattern. We are not responsible for printing errors or the manner in which individual work varies. Please read the instructions carefully before starting this project. If kitting it is recommended a sample is made to confirm accuracy. Quilt Layout Brick Wall - Diagram Page 2 G H P O M B N D E K D K C O M L E I D J
Brick Wall Quilt
In The Garden Quilt

Featuring August 2023, Classics and Shot Cottons by Kaffe Fassett Collective
Collection: August 2023, Classics and Shot Cottons by Kaffe Fassett Collective
Technique: Pieced
Skill Level: Advanced Beginner
Finished Sizes:
Finished Size: 74" x 911⁄2" (1.88m x 2.32m)
Finished Block Size: 123⁄8" x 123⁄8" (31.43cm x 31.43cm)
All possible care has been taken to assure the accuracy of this pattern. We are not responsible for printing errors or the manner in which individual work varies. Please read the instructions carefully before starting this project. If kitting, it is recommended a sample is made to confirm accuracy.
1 of 5 freespiritfabrics.com
In The Garden Quilt


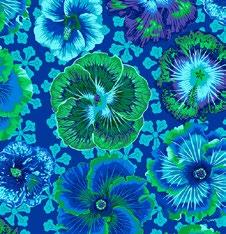

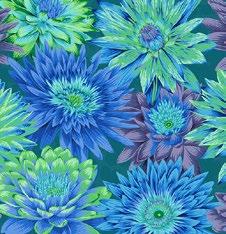
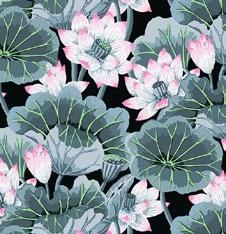
Project designed by Kaffe Fasset | Tech edited by Alison M. Schmidt
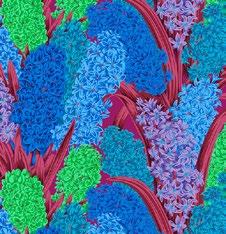
Fabric Requirements

* includes binding Backing (Purchased Separately)
Additional Recommendations
• 100% cotton thread in colors to match
• 82" x 100" (2.08m x 2.54m) quilt batting


2 of 5 freespiritfabrics.com Copyright© 2023 All possible care has been taken to assure the accuracy of this pattern. We are not responsible for printing errors or the manner in which individual work varies. Please read the instructions carefully before starting this project. If kitting it is recommended a sample is made to confirm accuracy.
DESIGN COLOR ITEM ID YARDAGE (A) Asian Circles Turquoise GP89.TURQUOISE 11⁄8 yards (1.03m) (B) Lake Blossoms Contrast PWGP093.CONTRAST 1⁄2 yard (0.46m) (C) Tropical Water Lilies Blue PWPJ119.BLUE 5⁄8 yard (0.57m) (D) Curly Kale Dark PWPJ120.DARK 15⁄8 yards (1.49m) (E) Floating Hibiscus Blue PWPJ122.BLUE 3⁄8 yard (0.34m) (F) Hyacinthus Blue PWPJ123.BLUE 1⁄2 yard (0.46m) (G) Hyacinthus Dark PWPJ123.DARK 1⁄2 yard (0.46m) (H) Rhododendrons Green PWPJ124.GREEN 7⁄8 yard (0.80m) (I) Zebra Lilly Blue PWBM091.BLUE 3⁄4 yard (0.69m)
Aboriginal Dot Plum GP71.PLUMX 15⁄8 yards (1.49m)
Aboriginal Dot Wisteria PWGP071.WISTE 11⁄3 yards (1.22m)
Wide Stripe Embers SSGP001.EMBERS* 7⁄8 yard (0.80m)
(J)
(K)
(L)
44"
Rhododendrons Magenta PWPJ124.MAGENTA 53⁄4 yards (5.26m) OR 108"
Blue QBGP006.BLUE 21⁄2 yards (2.29m)
(1.12m) wide
(2.74m) wide Millefiore
(A) (B) (C) (D)
(E) (F) (G) (H)
Backing 108" Backing 44"
(I) (J) (K) (L)
Cutting WOF = Width of Fabric
Note: Fabrics B, F, G and H are all directionalprint florals. When assembling the quilt top, there are multiple options for how to orient these directional prints.
Fabric A, cut:
Cut (7) 45⁄8" x WOF; subcut
(56) 45⁄8" squares
Fabrics B, F, and G, cut from each:
Cut (1) 127⁄8" x WOF; subcut
(2) 127⁄8" squares
Fabric C, cut:
Cut (1) 127⁄8" x WOF; subcut


(2) 127⁄8" squares
Cut (1) 45⁄8" x WOF; subcut
(8) 45⁄8" squares
Fabric D, cut:
Cut (2) 183⁄4" x WOF; subcut
(4) 183⁄4" squares
Cut (1) 95⁄8" x WOF; subcut
(2) 95⁄8" squares
Fabric E, cut:
Cut (2) 45⁄8" x WOF; subcut
(16) 45⁄8" squares
Fabric H, cut:
Cut (2) 127⁄8" x WOF; subcut
(4) 127⁄8" squares
In The Garden Quilt
Fabric I, cut:
Cut (8) 21⁄2" x WOF for border
Fabric J, cut:
(25) 17⁄8" x WOF for stripsets
Fabric K, cut:
(20) 17⁄8" x WOF for stripsets
Fabric L, cut:
(10) 21⁄2" x WOF for binding
Instructions
Note: Use a 1⁄4" seam allowance throughout. Sew all pieces with right sides together and raw edges even using matching thread. Press after each seam.
Block Construction
1. Stitch a Fabric K 17⁄8" x WOF strip lengthwise between 2 Fabric J 1 7⁄ 8 " x WOF strips. Measure to make sure the stripset is 4 5⁄8" high, including seam allowances. Press towards the darker fabric. Make a total of 10 strip sets. From these, cut (200) 17⁄8" wide Unit 1. Fig. 1
2. Sew a Fabric J 17⁄8" x WOF strip lengthwise between 2 Fabric K 17⁄8" x WOF strips. Press towards the darker fabric. Make a total of 5 strip sets. From these, cut (100) 17⁄8" wide Unit 2. Fig. 2
3. Stitch a Unit 2 between 2 of Unit 1. Make a total of 100 Unit 3 (45⁄8" square unfinished).
4. Arrange 5 Unit 3 and 4 Fabric A 45⁄8" squares in 3 rows as shown. Stitch into rows, pressing towards Fabric A so seams will nest. Sew rows together. Make a total of 14 of Block 1 (127⁄8" square unfinished). Fig. 4
3 of 5 freespiritfabrics.com Copyright© 2023 All possible care has been taken to assure the accuracy of this pattern. We are not responsible for printing errors or the manner in which individual work varies. Please read the instructions carefully before starting this project. If kitting it is recommended a sample is made to confirm accuracy.
1
K J K J K J K J K J Make (10) Strip Sets 1 7/8” 1 7/8” 1 7/8” 1 7/8” Cut 200 Unit 1 J J J J J
Fig.
Fig. 1
Fig. 2 J K J K J K J K J K Make (5) Strip Sets 1 7/8” 1 7/8” 1 7/8” 1 7/8” Cut 100 Unit 2 K K K K K
2
Fig.
Fig. 3
3 Unit
U1 U2 U1
3
Fig.
3 - Make 100
Fig.
A U3
Fig. 4
In The Garden Quilt
5. In the same manner, make 4 of Block 2 and 2 of Block 3 each with 5 Unit 3 and the 45⁄8" squares in the fabrics indicated. Fig. 5
7. Cut each Fabric D 18 3⁄4 " square in half diagonally twice to yield 16 side setting triangles – there will be 2 extra. Fig. 7
Quilt Top Assembly
6. Cut a Fabric D 95⁄8" square in half diagonally from corner to corner, then cut the second Fabric D 95⁄8" square in half in the opposite direction to yield 4 corner setting triangles.


8. Noting the Quilt Layout diagram (page 5), arrange blocks, 123⁄8" squares, and Fabric D 95⁄8" and 183⁄4" triangles into 10 diagonal rows as shown. If desired, place all the directionalprint large squares so all are right-reading from the lower left side when arranged on point (as shown in the virtual image). Other possibilities are to orient them right-reading around the center, orient them randomly, or simply place each large square as you desire for an overall pleasing balance of color and pattern.
9. Sew into diagonal rows, pressing seam allowances in each row away from the block. Stitch rows together, nesting seam allowances to complete the quilt center (701⁄2" x 88" unfinished).
10. Sew all the Fabric I strips together end to end.
11. Measure the quilt top vertically through the center and cut 2 side borders strips to fit (88" long). Sew the border strips to the left and right sides of the quilt.
12. Repeat step 11 to measure horizontally, cut, and add top and bottom border strips to fit (741⁄2" long).
Finishing
13. Sew together the 21⁄2" Fabric L binding strips end-to-end using diagonal seams. Press seams open. Press the binding strip in half wrong sides together.
14. Layer backing (wrong side up), batting, and quilt top (right side up). Baste the layers together and quilt as desired. Trim excess batting and backing even with the top after quilting is completed.
15. Leaving an 8" tail of binding, sew the binding to the top of the quilt through all layers matching all raw edges. Miter corners. Stop approximately 12" from where you started. Lay both loose ends of binding flat along quilt edge. Where the loose ends meet, fold them back on themselves and press to form a crease. Using this crease as your stitching line, sew the two open ends of the binding right sides together. Trim seam to 1⁄4" and press open. Finish sewing binding to quilt.
16. Turn the binding to the back of quilt and hand-stitch in place.
4 of 5 freespiritfabrics.com Copyright© 2023 All possible care has been taken to assure the accuracy of this pattern. We are not responsible for printing errors or the manner in which individual work varies. Please read the instructions carefully before starting this project. If kitting it is recommended a sample is made to confirm accuracy.
E U3 C U3
Fig. 5
Fig. 5
Fig. 6
D
Fig. 6
D
Fig. 7
D
Fig. 7
In The Garden Quilt


5 of 5 freespiritfabrics.com Copyright© 2023 All possible care has been taken to assure the accuracy of this pattern. We are not responsible for printing errors or the manner in which individual work varies. Please read the instructions carefully before starting this project. If kitting it is recommended a sample is made to confirm accuracy. Quilt Layout D Block 3 Block 2 Block 1 Block 2 Block 3 Block 2 Block 1 Block 1 Block 1 Block 1 Block 1 Block 1 Block 1 Block 1 H G B G F B H H C D D D D H Block 1 Block 1 D D D Block 2 Block 1 Block 1 C F D D D D D Block 1 D D D D I I Quilt Layout ofoptional:bottom directionalprint bottom bottom bottom
Featuring August 2023 and Classics by Kaffe Fassett Collective

Mediterranean Hexagons Quilt
Finished Size: 801⁄2" x 841⁄2" (2.04m x 2.05m)
Project designed by Kaffe Fassett
Pattern found in the book Quilts in Morocco, pg. 110
Technique: English Paper Pieced, templates available at PaperPieces.com | Skill Level: Intermediate
freespiritfabrics.com
Mediterranean Hexagons Quilt

Fabric Requirements

* includes binding
Backing (Purchased Separately) 44" (1.12m) wide



OR 108" (2.74m) wide
freespiritfabrics.com




If kitting, refer to the final pattern for yardage amounts, it is recommended that a sample is made to confirm accuracy.
DESIGN COLOR ITEM ID YARDAGE (A) Tropical Water Lilies Dark PWPJ119.DARK 2 yards (1.83m) (B) Floating Hibiscus Green PWPJ122.GREEN 15⁄8 yards (1.49m) (C) Rhododendrons Magenta PWPJ124.MAGENTA 13⁄4 yards (1.60m) (D) Rhododendrons Green PWPJ124.GREEN 13⁄4 yards (1.60m) (E) Zebra Lilly Orange PWBM091.ORANGE 3⁄4 yard (0.69m) (F) Zebra Lilly Pink PWBM091.PINK 11⁄2 yards (1.37m) (G) Jumble Bubble Gum PWBM053.BUBBLEGUM 5⁄8 yard (0.57m) (H) Jumble Grey PWBM053.GREY 1⁄2 yard (0.46m) (I) Jumble Rose PWBM053.ROSEX 2⁄3 yard (0.61m) (J) Reflections Contrast PWBM087.CONTRAST 1⁄3 yard (0.30m) (K) Reflections Dark PWBM087.DARK* 7⁄8 yard (0.80m) (L) Reflections Neutral PWBM087.NEUTRAL 1⁄4 yard (0.23m) (M) Reflections Putty PWBM087.PUTTY 1⁄3 yard (0.30m) (N) Reflections Teal PWBM087.TEAL 1⁄2 yard (0.46m)
Tropical Water Lilies Red PWPJ119.RED 71⁄2 yards (6.86m)
Millefiore Pastel QBGP006.PASTEL 25⁄8 yards (2.40m)
Backing 44" Backing 108"
(A) (B) (C) (D) (E)
(M) (K) (F) (N) (L) (G)
(H)
(I) (J)


