5 minute read
Let’s Get Started
LET’S GET
Get your stone and bezel wire. Wrap the bezel wire around your stone and make a mark with your sharpie. Make the cut with your wire cutters. If the newly cut wire is flat, use your mandrel and hammer to make it into a circle.
Advertisement
Once your bezel wire has some curve, bring the two ends close together so there is no gap. Place the closed bezel wire on your soldering block, then place flux and a piece of hard solder where the two ends meet.
Heat the entire bezel wire until it bubbles, then concentrate your flame where your solder is. Because the bezel wire is so thin, you must be careful when heating up the metal to ensure it does not melt. Look for the solder to flow, you can tell when you metal turns from dull to shiny.
Quench your bezel wire and quickly place it into your warm pickle pot. You only need to keep it in for a few seconds, just to get the fire scale off.


STARTED
Now we will measure our decorative wire. The easiest way I have found to do this is by placing the bezel wire back over the stone and then wrapping the wire around the stone and bezel. Make a mark with your sharpie and cut with your wire cutters or saw.
Repeat steps 2 – 4
We will now measure how much sheet wire we need. Place the bezel wire inside the decorative wire. Now put them on top of the sheet metal. Find where it fits best and trace around the decorative wire with your sharpie.
With your saw or metal shears, cut out the shape you traced. It does not need to be perfect, in fact, I usually cut it slightly larger just in case.
Make sure your bezel and decorative wire kay flat. Place it is the middle of the shape you cut out of the silver sheet. Place flux where the wires and sheet connect. Then place solder along the outside wire and inside wire.


Once everything is placed how you would like, it is now time to heat that bad boy up! Just like before, heat the entire area until the flux bubbles, then focus your torch in the middle of the piece you are working on. Once the metal becomes shiny and you can see the solder flow, you can quench your piece. Then place it into the warm pickle for a few seconds.
Now it is time to make our ring blank. Get out your ring blank sizing chart. Measure and saw (or cut and file) your half round wire according to your size. Look under the 10-gauge column. Keep it mind that because millimeters are so small, your measurements may be slightly off.
Take your newly cut half round wire and shape it on your mandrel. Try to get the ends as close together as possible, and make sure it is the correct size. At this step you may have to take off some additional metal.
At this point, your piece should be roughly shaped, and the two end pieces should be touching. Now it is time to solder. Follow steps 2-4.


You now have two pieces, the stone setting that includes the two wires and sheet, and you have the ring blank. The final step is soldering these together.
Place your stone setting upside down on your soldering block. Put the ring blank in your third hand and make sure the solder seam is facing down. Configure the two pieces to touch each other. Make sure your ring blank is centered and straight.
Where the two pieces touch, place flux and solder. Heat until the solder flows and quench. The two pieces should now be one. Place the the piece in your pickle pot and let it sit until it is clean from firescale.
Now that your piece is clean it is time to patina if you choose. Use a paintbrush to patina certain parts of your jewelry, or you can dip the whole piece in.
Polish time! If you have a tumbler, set your patinaed piece in with a drop of dish soap and fill the tumbler 3/4 full with water. Tumble until you reach your desired finish. If you opt to use a dremmel, use a polishing wheel tip and polishing compound. I like to put whatever piece I’m working on in my vice to get the big chunks polished.


To set the stone, grab your setting tools and set your piece in the vise. Make sure the back of the ring is resting on the top of the vise, to the bezel cup is supported by the vise. Now start using the bezel rocker or square tool to push the bezel closer to the stone.
Go around the bezel a few times. Make sure the bezel is as tight as possible and the stone does not rock inside the bezel cup. Once you feel the bezel is tight enough, take a straight file and go all the way around the bezel to round off the edge.
The last step is taking a polishing cloth to the whole ring. Wipe off any other debris and give it a final polish.


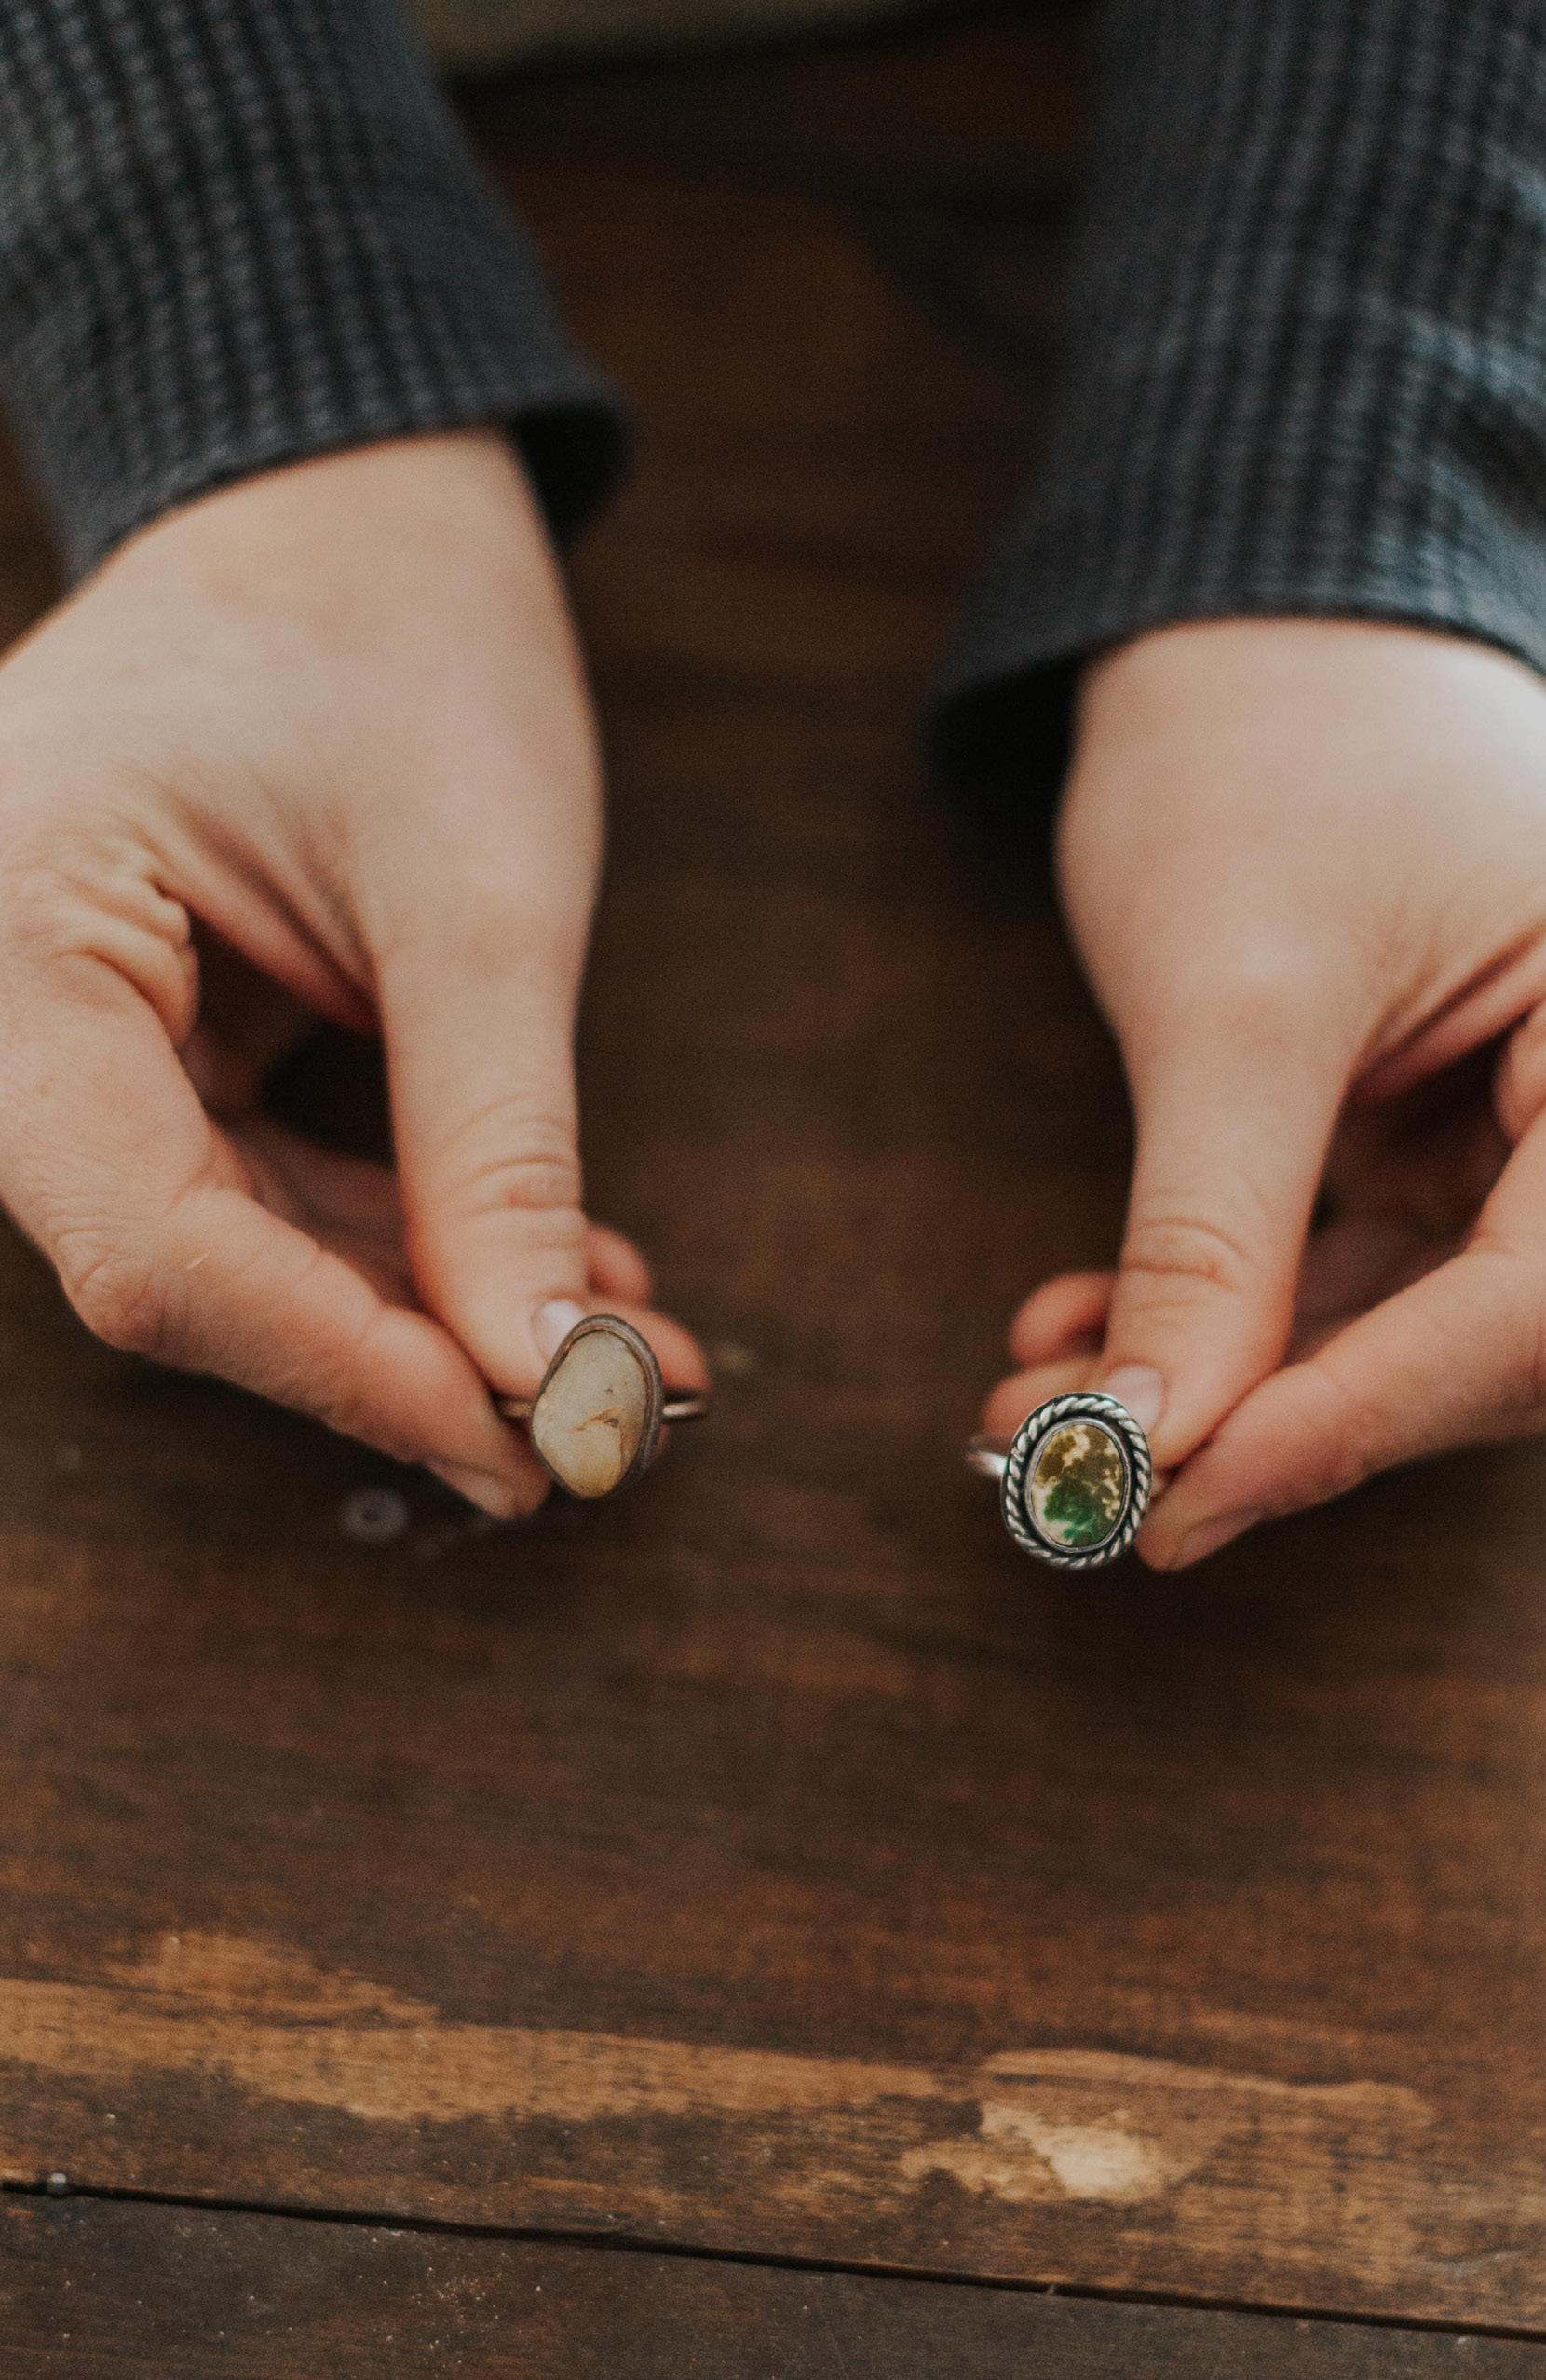
There you have it! You have made your very own hand-crafted sterling silver ring. I would love to see the pieces you created, so please tag @desertdrifterjewelry on Instagram and use the hashtag #driter. If you have any further questions, make sure to join our Facebook page, or you can DM me. I’m so excited to see what you create in the future!


HANDCRAFTED JEWELRY


