5 minute read
THAI MANGO AND NOODLE CHICKEN SALAD


25m prep 15m cook serves 4
Ingredients
• 3 garlic cloves, crushed
• 2 tbsp rice wine vinegar
• 2 tbsp fsh sauce
• 1 1/2 tbsp lime juice
• 1 tsp caster sugar
• 2 mangoes, thinly sliced
• 1 cup fresh coriander leaves
• 1 long red chilli, seeded, thinly sliced
• 1/3 cup vegetable oil
• 500g chicken breast fllets, thinly sliced
• 150g dried thin rice stick noodles
• 1 Lebanese cucumber, seeded, cut into matchsticks
• 1 carrot, cut into matchsticks
• 1 red capsicum, thinly sliced
• 3 green onions, thinly sliced diagonally
• 1/2 cup small fresh mint leaves
• 2 tbsp fried shallots
METHOD
1. Place garlic, vinegar, fsh sauce, lime juice, sugar, half the mango, half the coriander and half the chilli in a food processor. Process until mixture is smooth. Add 1⁄4 cup oil. Process until combined. Season with salt and pepper. Place half the dressing in a medium bowl. Add chicken. Toss to coat.
2. Place noodles in a large, heatproof bowl. Cover with boiling water. Stand noodles for 7 minutes or until tender. Drain. Refresh under cold water. Drain. Return to bowl. 3. Meanwhile, heat half the remaining oil in a large frying pan over medium-high heat. Add half the chicken. Cook, stirring occasionally, for 5 to 7 minutes or until chicken is browned and cooked through. Transfer to a plate. Cover to keep warm. Wipe pan clean. Repeat with remaining oil and chicken.
4. Add chicken, cucumber, carrot, capsicum, onion, mint and remaining mango and coriander to noodles. Add half the remaining dressing. Toss to combine. Transfer to a large serving bowl.
5. Top salad with fried shallots and remaining chilli. Drizzle with remaining dressing. Serve
2. Pour the lemonade into the well. Use a fat-bladed knife in a cutting motion to mix until evenly incorporated and the mixture just begins to hold together. Knead on a lightly foured surface until just smooth. Shape dough into a 2cm-thick disc. Use a round 6cm-diameter pastry cutter dipped in extra four to cut 12 rounds from the dough, reshaping offcuts as needed. Place the scones, slightly apart, on the prepared tray. Bake for 17 minutes or until golden and scones sound hollow when tapped on top.
3. Meanwhile, place the lemon juice and remaining sugar in a small saucepan. Bring to the boil over high heat. Boil for 3-4 minutes or until thickens slightly. Remove from heat.
1. Preheat oven to 220C/200C fan forced. Line a baking tray with baking paper. Sift the four into a large bowl. Stir in 2 tablespoons of the sugar. Use your fngertips to rub the butter into the mixture until it resembles fne crumbs. Stir in the rind. Make a well in the centre.
4. Use a serrated knife to slice the warm scones in half horizontally. Brush the tops of the scones with the syrup then sprinkle with meringue. Top the scone bases with cream and lemon curd then sandwich with the scone tops. Serve dusted with icing sugar.
Nothing compares to the satisfaction of growing your own fresh produce, and one of the most rewarding plants to cultivate is the humble avocado tree. With its creamy fruit enjoyed in everything from salads to smoothies, the avocado has become a staple in many kitchens. But instead of heading to the store, why not grow your own tree at home?
No, you don’t! A single avocado tree is capable of producing fruit on its own, as most varieties have both male and female fower phases on the same plant, allowing for self-pollination.
Avocado trees have a unique fowering process. Varieties are divided into two types based on their fowering patterns:
• Group A: Flowers open as female in the morning, close, and then reopen as male the following afternoon.
• Group B: Flowers open as female in the afternoon, close, and reopen as male the next morning.
While this alternating pattern usually allows self-pollination, there are times when the fowers’ male and female phases don’t overlap perfectly. In such cases, self-pollination may not occur, so planting plants from seed is always a bit of trial and error.
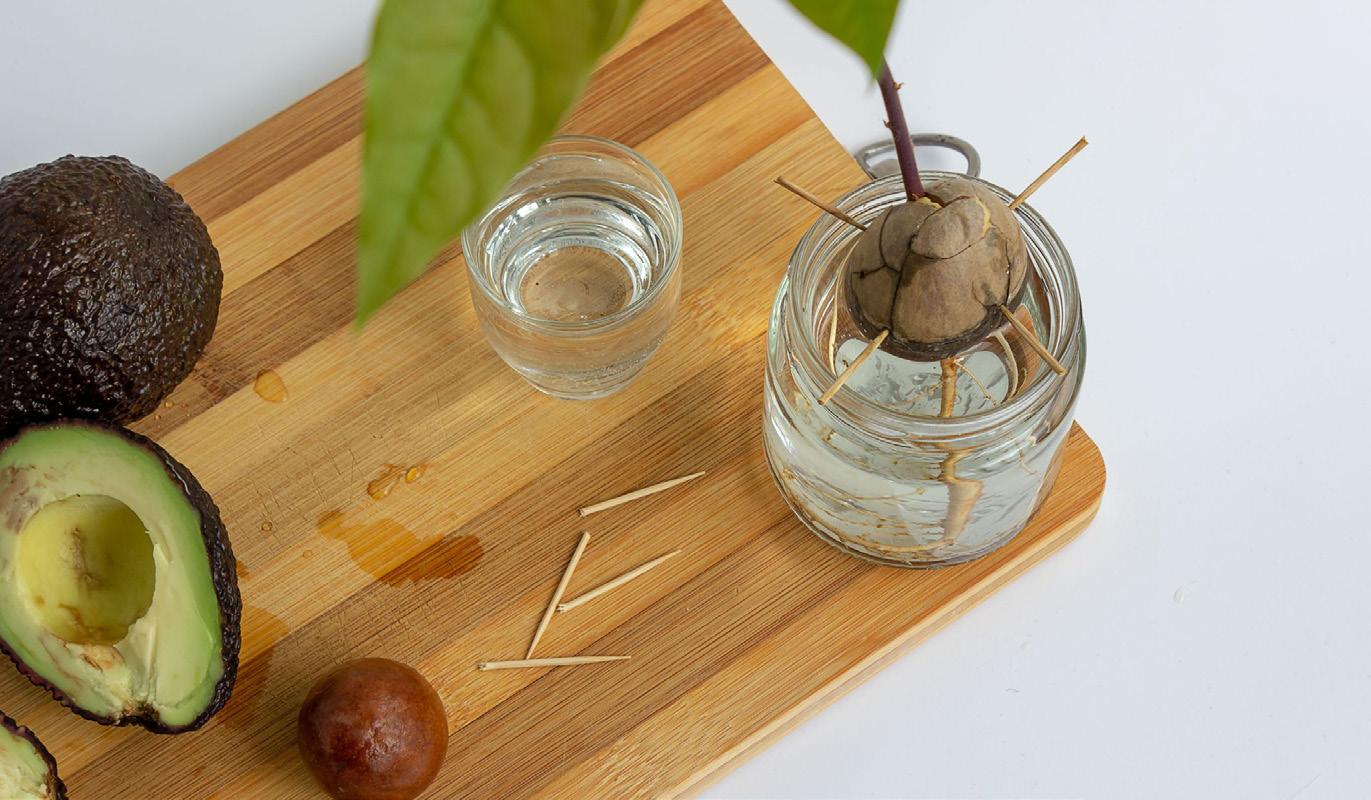
Growing an avocado tree from seed is surprisingly simple and a fun project for any home gardener. You only need three basic things to get started: an avocado, three toothpicks, and a glass of water.

Avocado trees thrive in tropical and subtropical climates, but with proper
The key to healthy avocado growth lies in the soil. Avocado trees prefer deep, fertile, and well-draining soil. A few weeks before planting, enrich the soil by incorporating different varieties nearby can improve the chances of successful pollination. This is why many avocado growers opt to plant multiple trees to ensure a reliable fruit set.
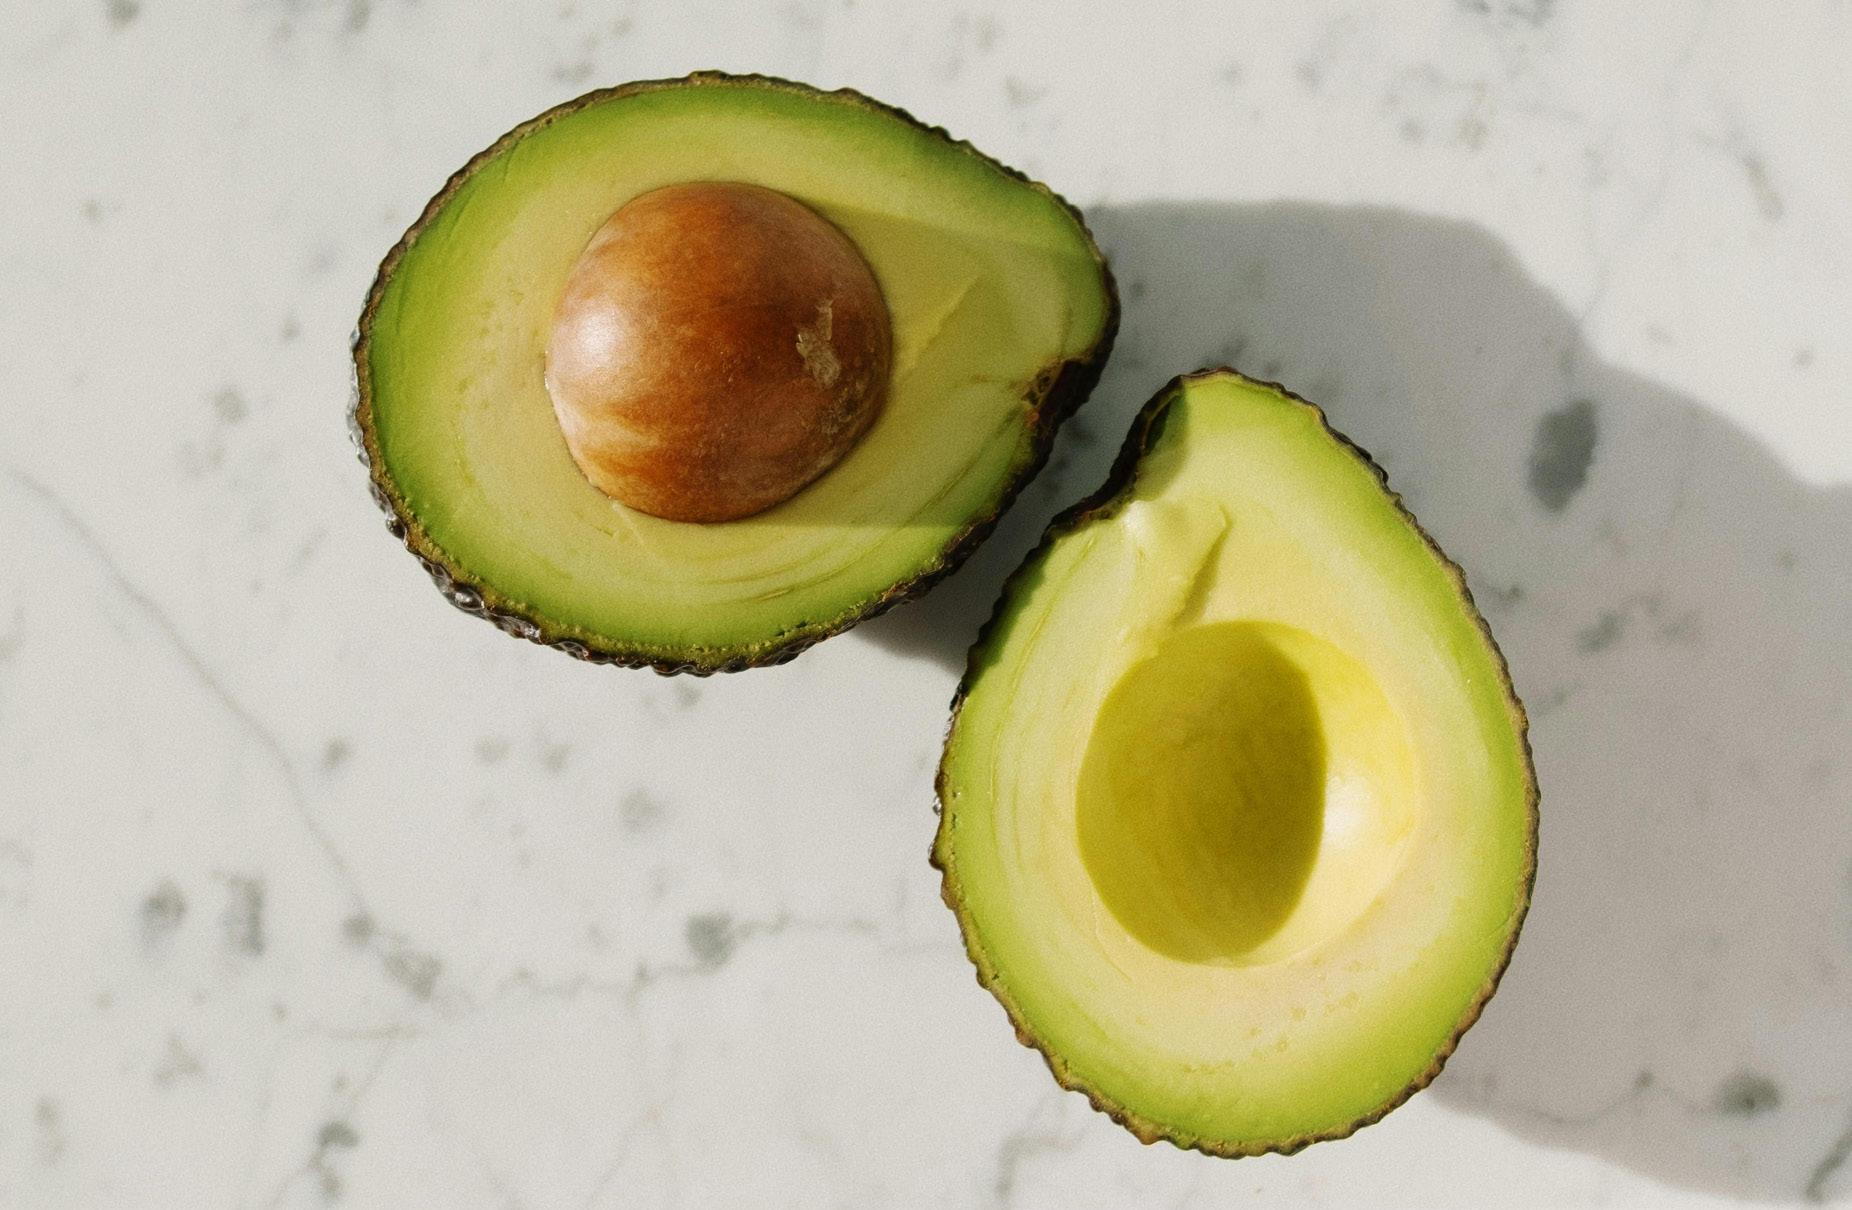

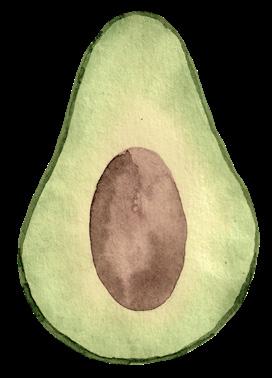
Start by carefully removing the pit from the avocado and giving it a good rinse to remove any remaining fruit. Identify the fat end of the seed (which will face downward) and the pointed end (which should face upward). Next, insert three toothpicks evenly around the seed’s middle, creating a support to suspend the bottom half in water. Place the seed in a glass of water, ensuring the fat bottom end is submerged. Change the water regularly to keep it fresh. Within 2 to 4 weeks, you should see roots emerging from the bottom and a sprout starting to grow from the top. If nothing happens after a few weeks, don’t be discouraged—simply try again! Growing care, they can also grow well in warm temperate and cooler regions where frost is minimal or non-existent. Some cold-hardy varieties can withstand temperatures as low as -5°C, though frost tolerance varies depending on the cultivar, so it’s essential to check the label before purchasing. and water well. well-aged cow manure and a generous amount of blood and bone. For those growing avocado trees in pots, it’s crucial to use a highquality, free-draining potting mix. This ensures proper root health and reduces the risk of root rot.
Avocado trees fourish in full sun and should be planted in a location protected from strong winds. Young trees are susceptible to sunburn, particularly in the intense summer sun. To prevent this, consider applying a diluted whitewash to the trunk. Once established, avocado trees are hardy and can withstand a range of conditions.
Regular watering is vital, especially when the tree is young. However, it’s important to avoid overwatering, as avocado trees dislike “wet feet” (waterlogged roots). Allow the soil to dry slightly between waterings to prevent root rot.
Young avocado trees beneft from regular feeding with a complete fertiliser to encourage healthy growth. Once the tree matures and begins producing fruit, switch to feeding with organic chook manure or a complete fertiliser during fruit set. Repeat this feeding process in summer and early autumn to support fruit development and overall tree health.
In tropical and subtropical areas, you can plant avocado trees year-round. However, in cooler regions, it’s best to plant during spring when the risk of frost is low.
To plant, dig a hole large enough to comfortably ft the tree’s root ball. Gently remove the tree from its pot, tease out the roots, and place it in the hole. Backfll with soil, apply mulch around the base,
When to Harvest Avocados Avocados reach maturity while still on the tree but only begin to ripen after being picked. To check if your avocados are ready for harvest, pick one and leave it indoors to ripen. If it softens without shrivelling, it’s a sign that the rest of the crop is ready to be picked. There’s no need to harvest all the fruit at once; however, don’t leave them hanging on the tree for too long, as this can reduce the tree’s fruiting potential for the following season. The time it takes for avocados to mature varies based on the local climate—trees in tropical and subtropical regions will typically produce ripe fruit earlier, while those in temperate and cooler areas may take longer.


16th of January,


Story on Page 43