2 minute read
NANOINDENTATION FOR DLC COATINGS
Nanoindentation For DLC Coatings On Engine Components
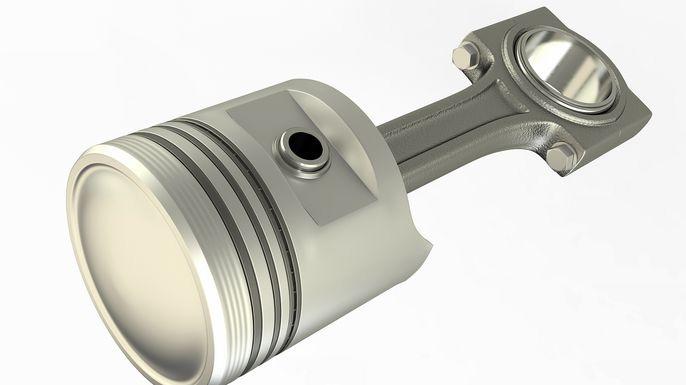
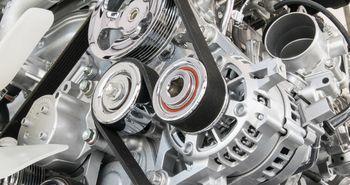
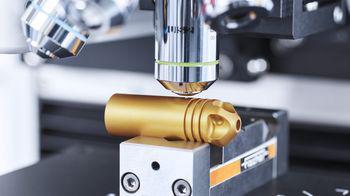
DLC Coatings for Engines In order to reduce emissions in combustion engines without sacrificing performance, manufacturers are continually working to improve the ability of the moving parts (e.g. camshafts, piston rings and gears) to resist abrasion and reduce friction. Coating them with DLC (diamond-like carbon) is just such an optimization. DLC coatings are not only very hard but also feature a certain toughness – which are two of the critical parameters that must be monitored during the coating process.
Determining the Hardness of Thin DLC Coatings
Composed primarily of amorphous diamond and amorphous graphite, DLC coatings serve first and foremost as protection against wear and tear but they also minimize friction. Due to their dark colour and the miniscule size of the indentation, determining their hardness by optically measuring the indenter impression is almost impossible and therefore unreliable.

The more accurate Method for Determining the Hardness of DLC Coatings
A more accurate method for testing DLC coatings is nanoindentation, during which the force and displacement are continuously measured during both the loading and unloading phases. From these data, one can calculate the hardness and other quality-determining characteristics, such as the modulus of indentation. This method also prevents the substrate material from exerting any influence on the measurement results.
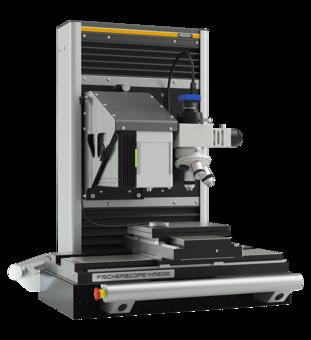
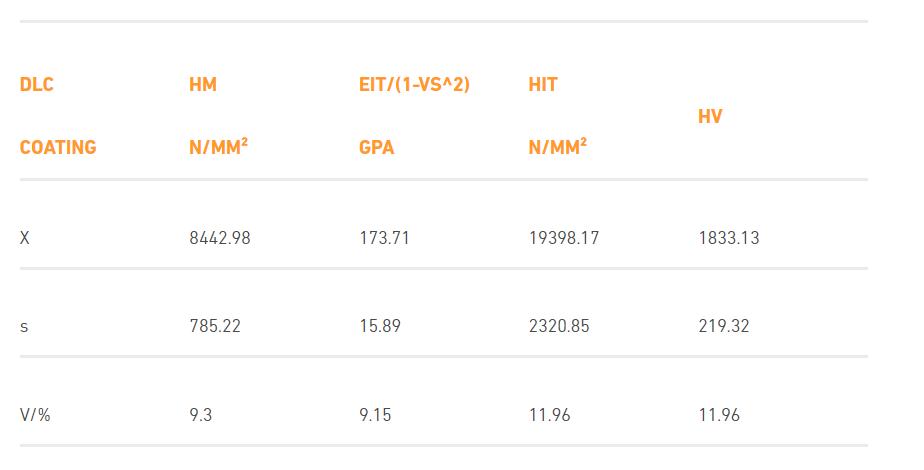
In this example, the measurement results of a 3 μm thick DLC layer are presented, as determined using the FISCHERSCOPE® HM2000. The Martens hardness (HM) takes the plastic and elastic deformation of the sample into account. The modulus of indentation (EIT), however, also allows conclusions to be drawn regarding the elastic behaviour. The values for penetration hardness (HIT) and the resultant converted Vickers hardness (HV) indicate the plastic properties of the samples.
Martens hardness (HM) and other parameters of the DLC coating. The table shows mean value, standard deviation und coefficient of variation of 12 measurements; the graph shows the depth-dependent profile.
The Solution for Sophisticated Measuring Tasks: FISCHERSCOPE® HM2000
The standard deviations and coefficients of variation illustrate the accuracy with which these quality-related parameters can be determined, even on rough samples with thin coatings. But the FISCHERSCOPE® HM2000 also makes it simple to take these highly sophisticated measurements:
Extremely fast sample preparation
Short measuring times
High depth resolution
Minimal, thus negligible, device compliance When it is utterly crucial to determine the mechanical properties of DLC coatings with speed, accuracy and precision, the FISCHERSCOPE® HM2000 is indispensable. For further details, please contact: FISCHER INSTRUMENTATION (GB) LTD 12 Goodwood Road, Keytec 7 Business Park, Pershore, Worcestershire, WR10 2JL
Telephone: 01386 577370 Visit: www.fischerinstrumentation.co.uk
WEDGE GROUP GALVANIZING
Your Galvanizing Partner
Hot dip galvanizing provides you with long-term protection against rust and corrosion of steel products. With 14 plants across the UK, Wedge Group Galvanizing is the UK’s largest hot dip galvanizing organisation off ering a national service, collection and delivery and 24hr turnaround on request. The group can process anything from small components to 29m structural beams.
E: info@wggltd.co.uk T: 01902 601944

