1 minute read
GARAGE DOORS UP CLOSE
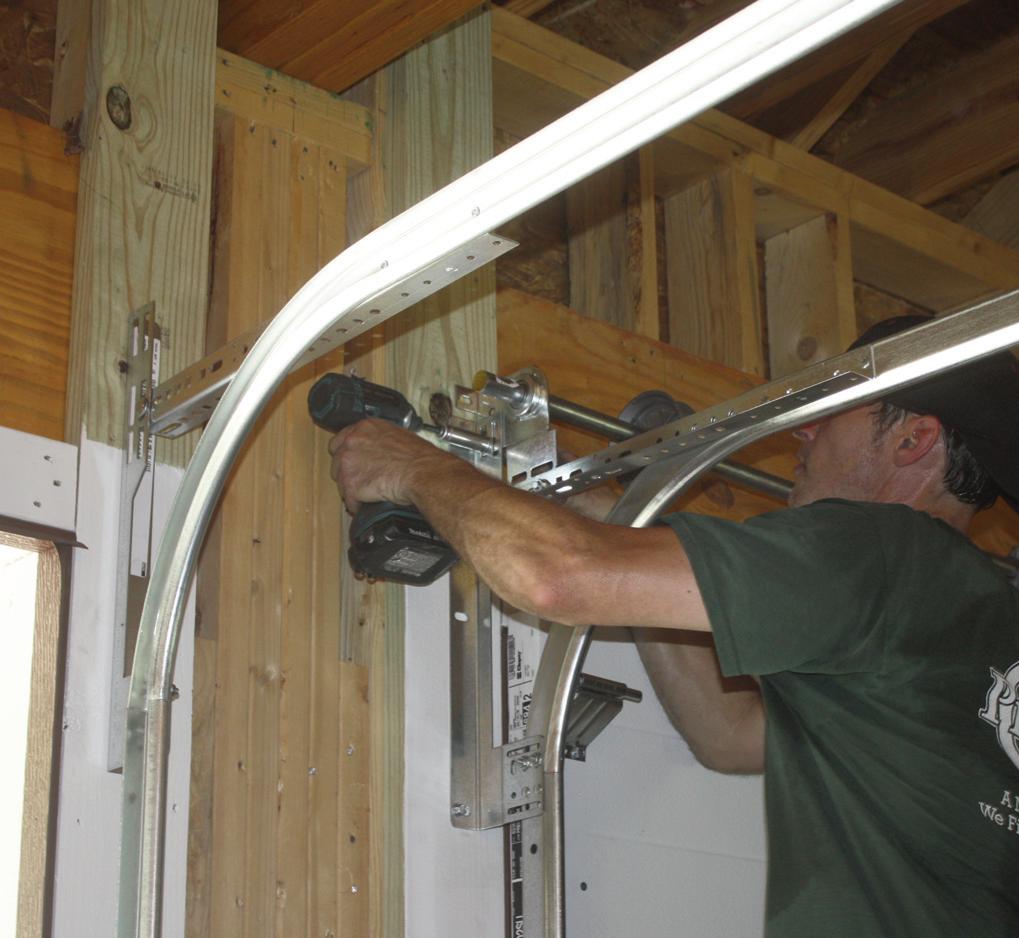
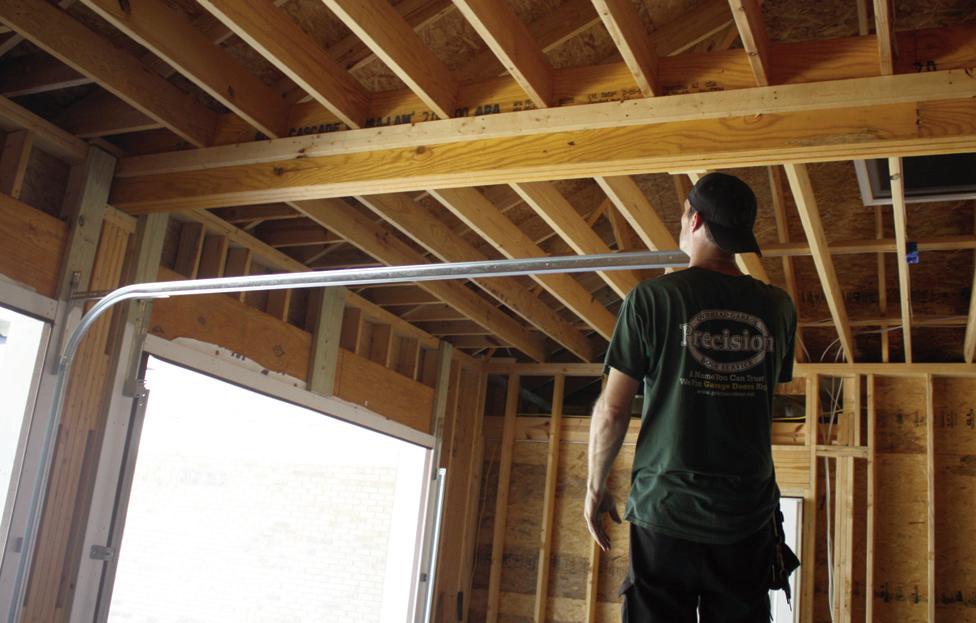
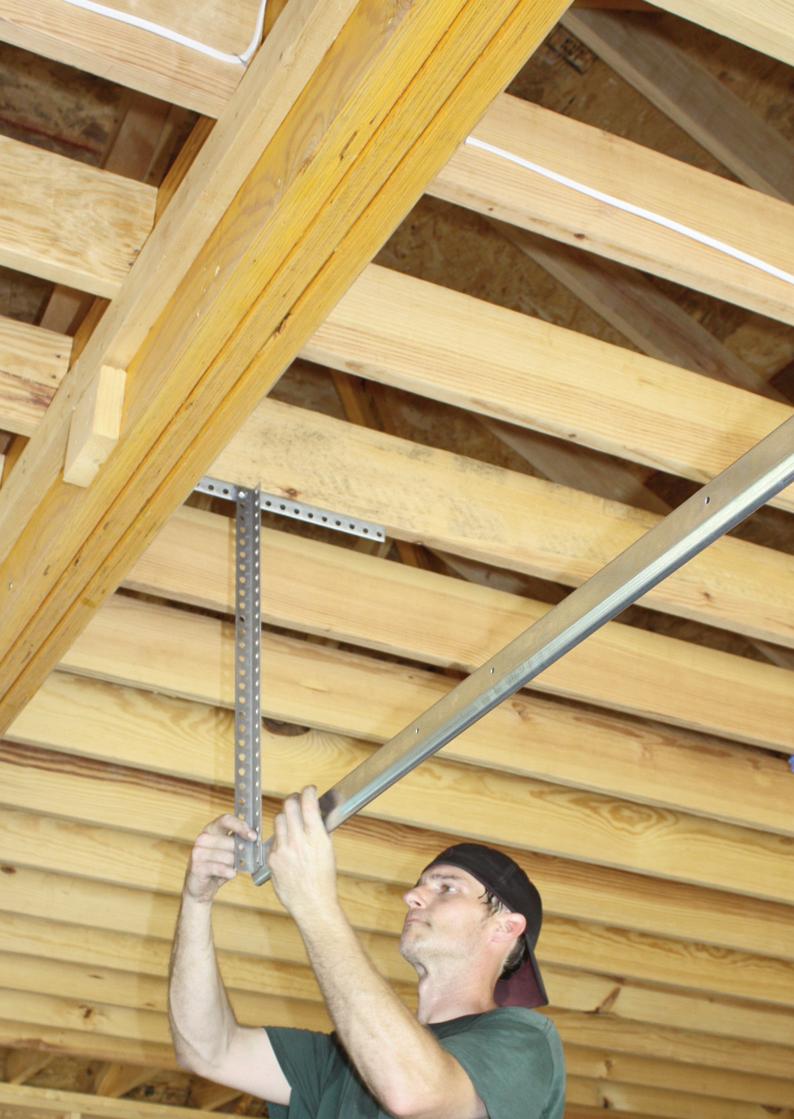
11| The upper horizontal sections of the tracks will be suspended by slotted angle brackets.
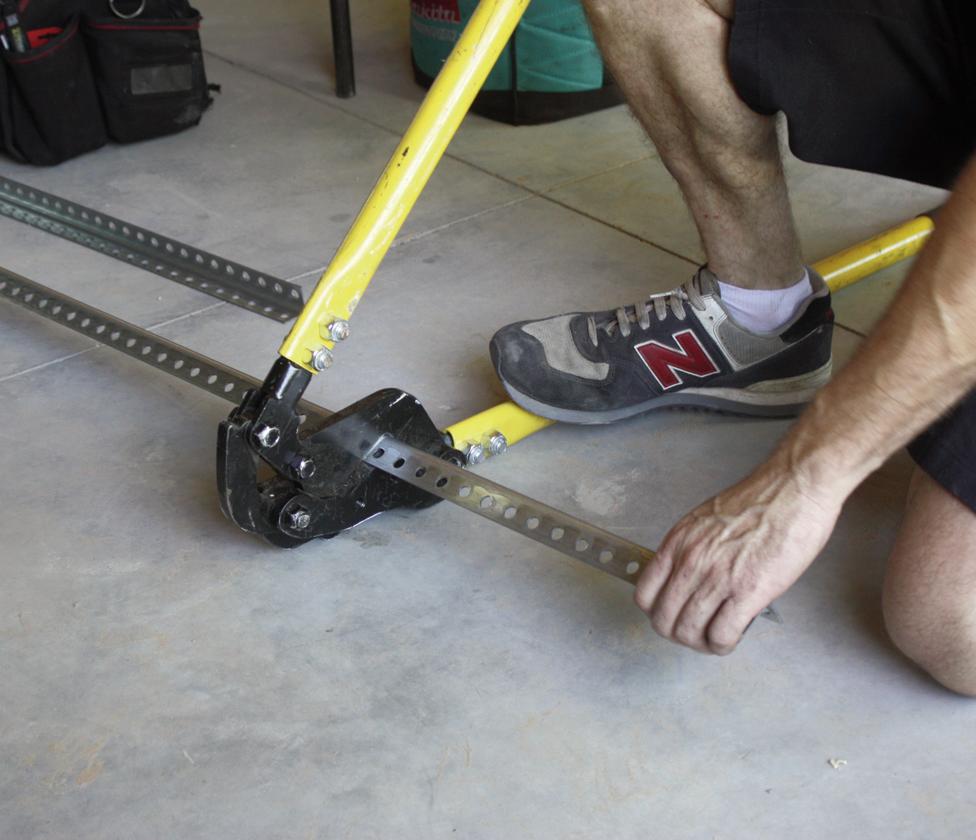
12| Pro tip: An angle-iron cutter makes short work of cutting the slotted angle brackets.
13| Angle brackets extending from the wall brackets to the ceiling tracks ensure strength and rigidity.
14| Additional angle brackets fastened to the ceiling joists support the tracks from above and keep them perfectly aligned.
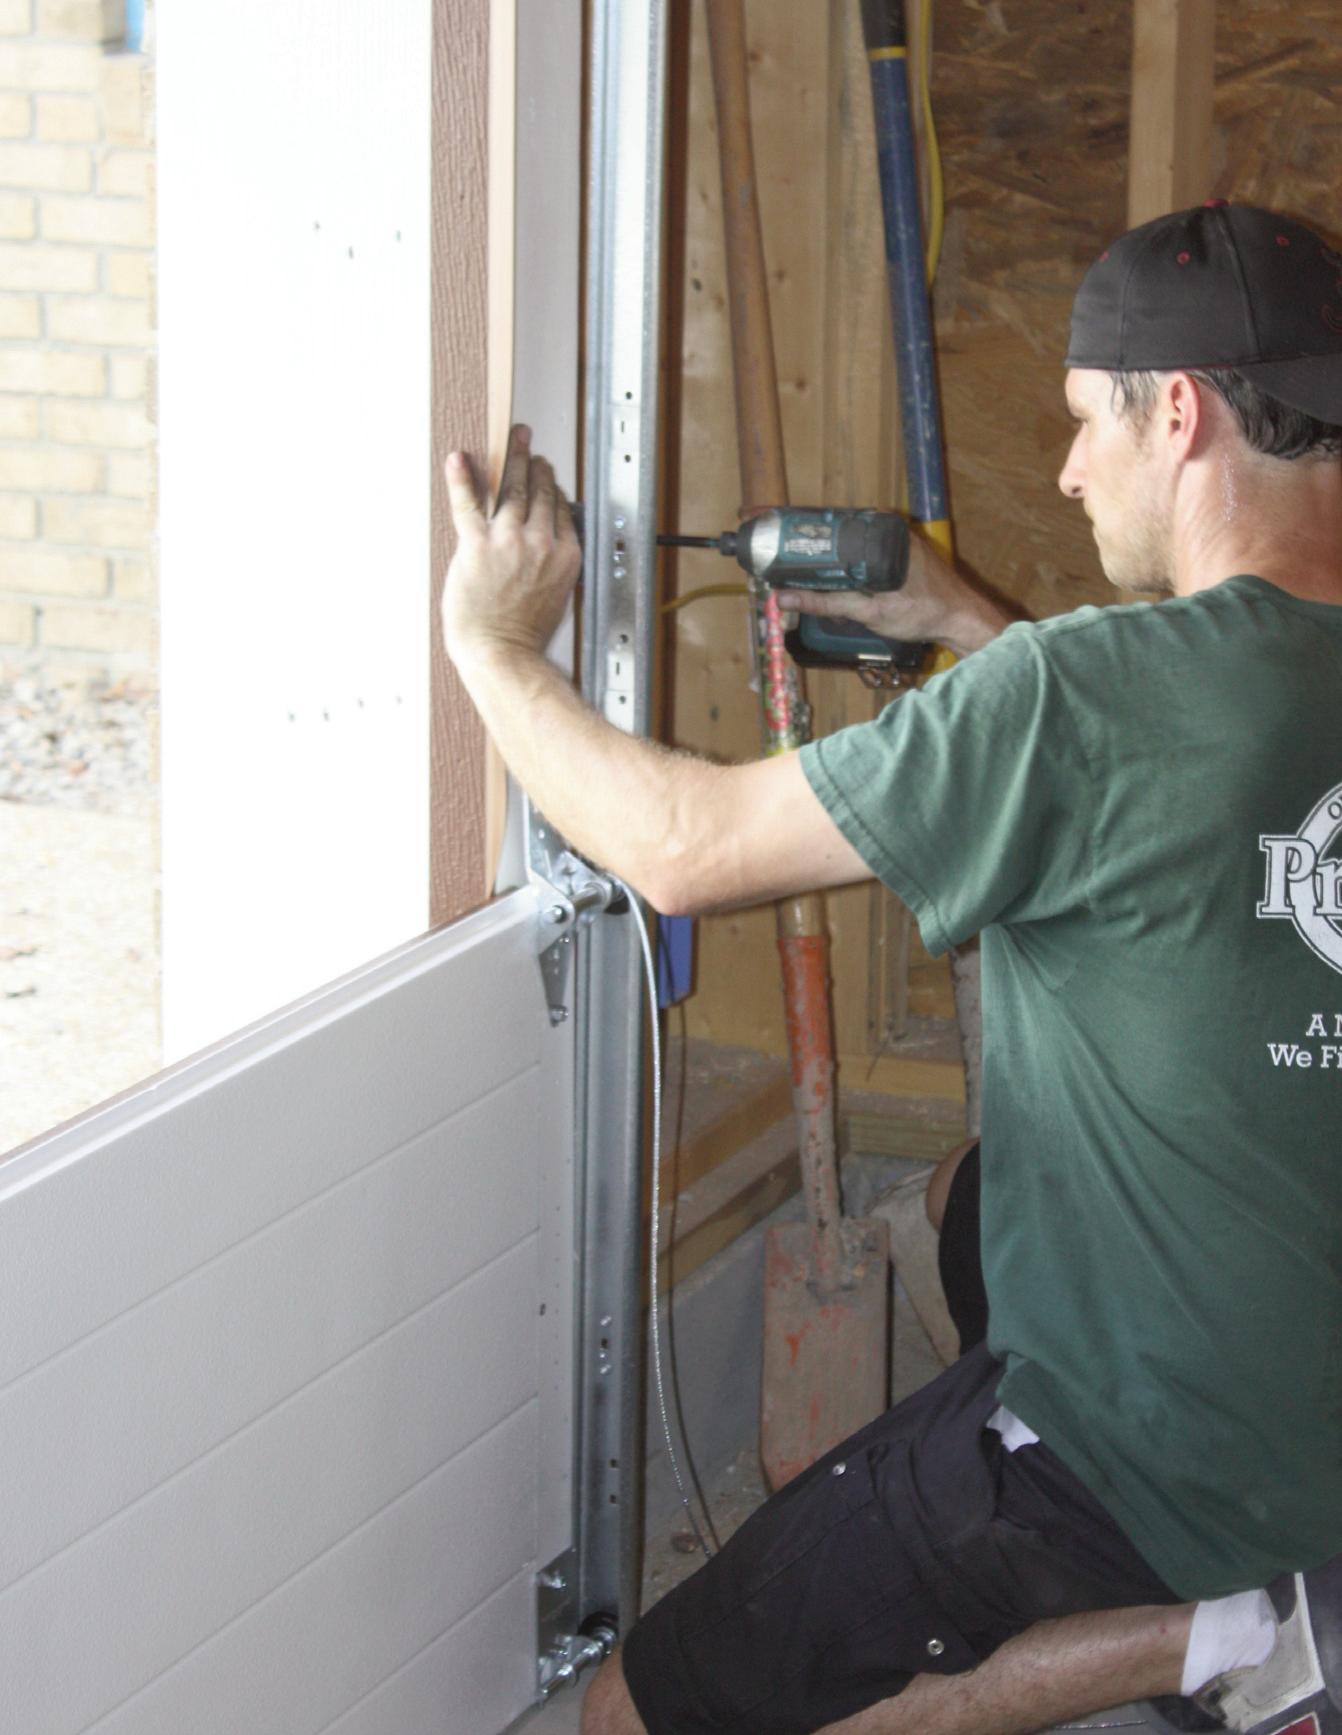
7| Molay uses the door’s rollers to guide position of the tracks on each side of the doors, screwing the tracks in place on the door frame.
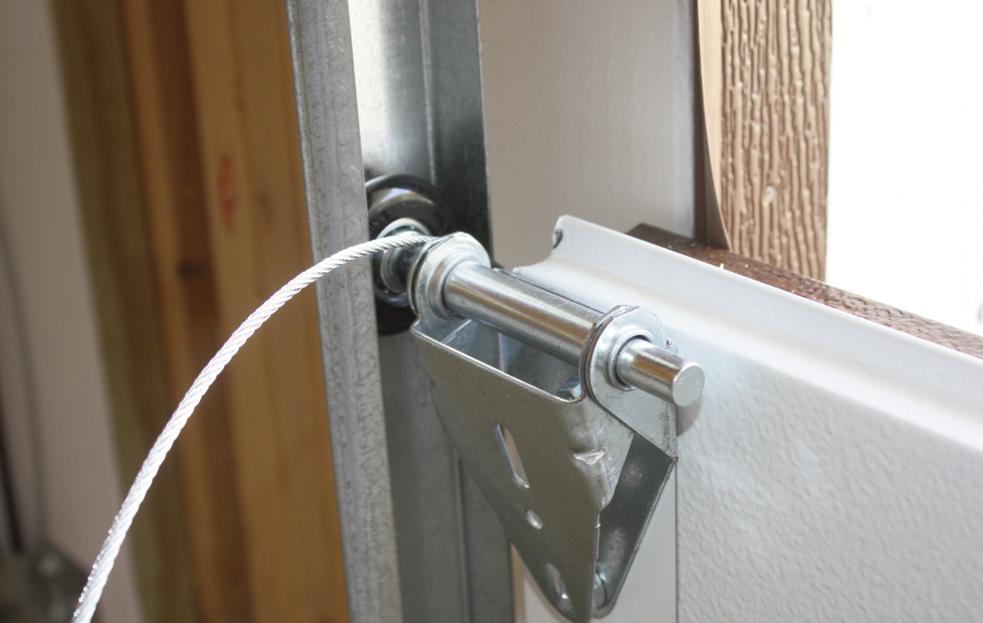
8| To lift the door, steel cable is routed up through the roller assemblies.
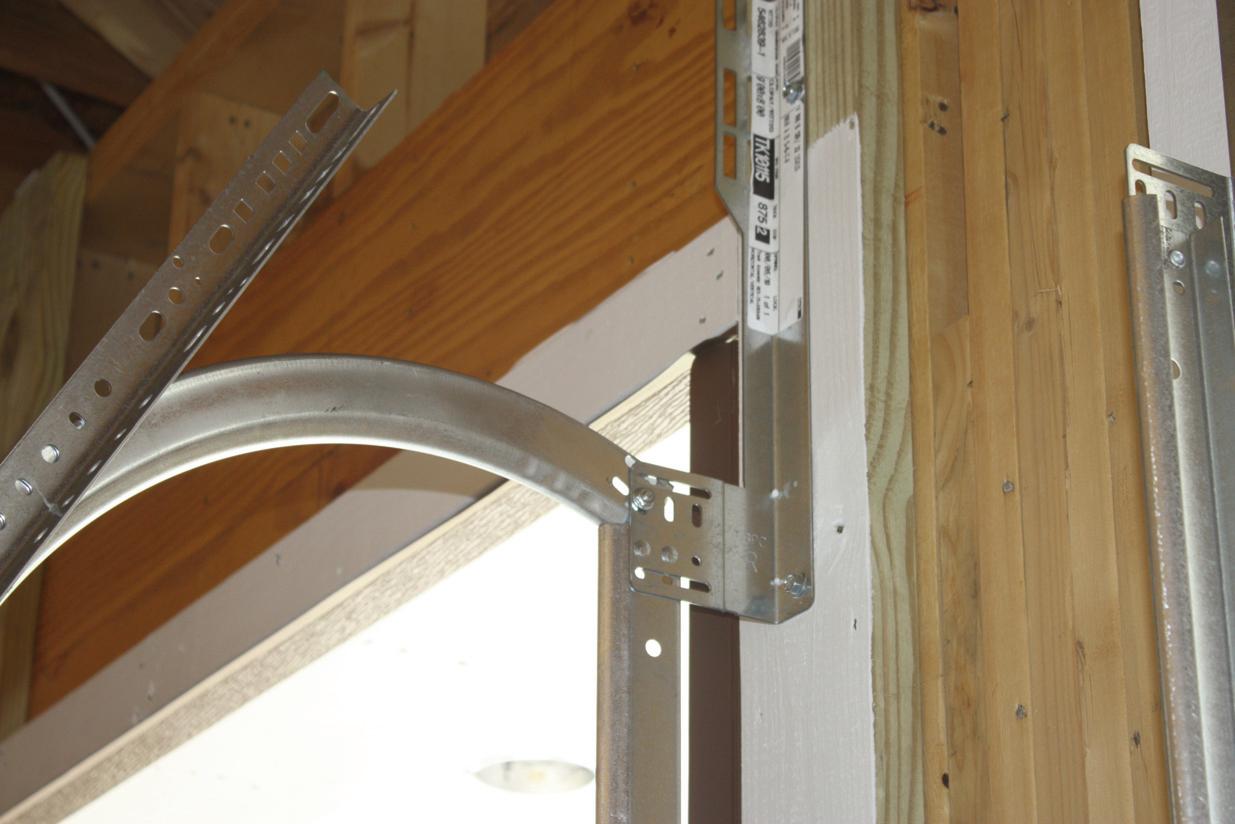
9| The upper arms of the door tracks are held by metal brackets screwed to the wall. Make sure the brackets align with lower tracks and that everything is installed plumb.
10| The curved section of the tracks connect with the vertical wall tracks at the bracket to ensure smooth travel of the door up the tracks.
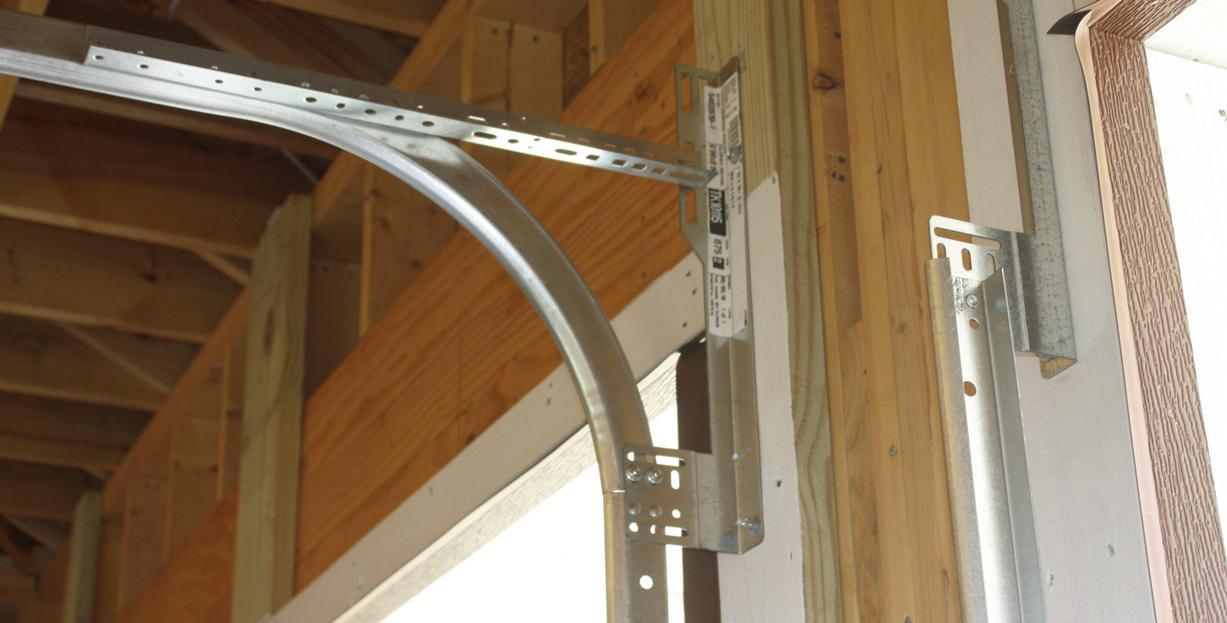
15| Both door tracks must be aligned perfectly parallel.
16| With the tracks in place, the doors can then be assembled panel by panel.
17| The panels interconnect at each roller/hinge assembly.
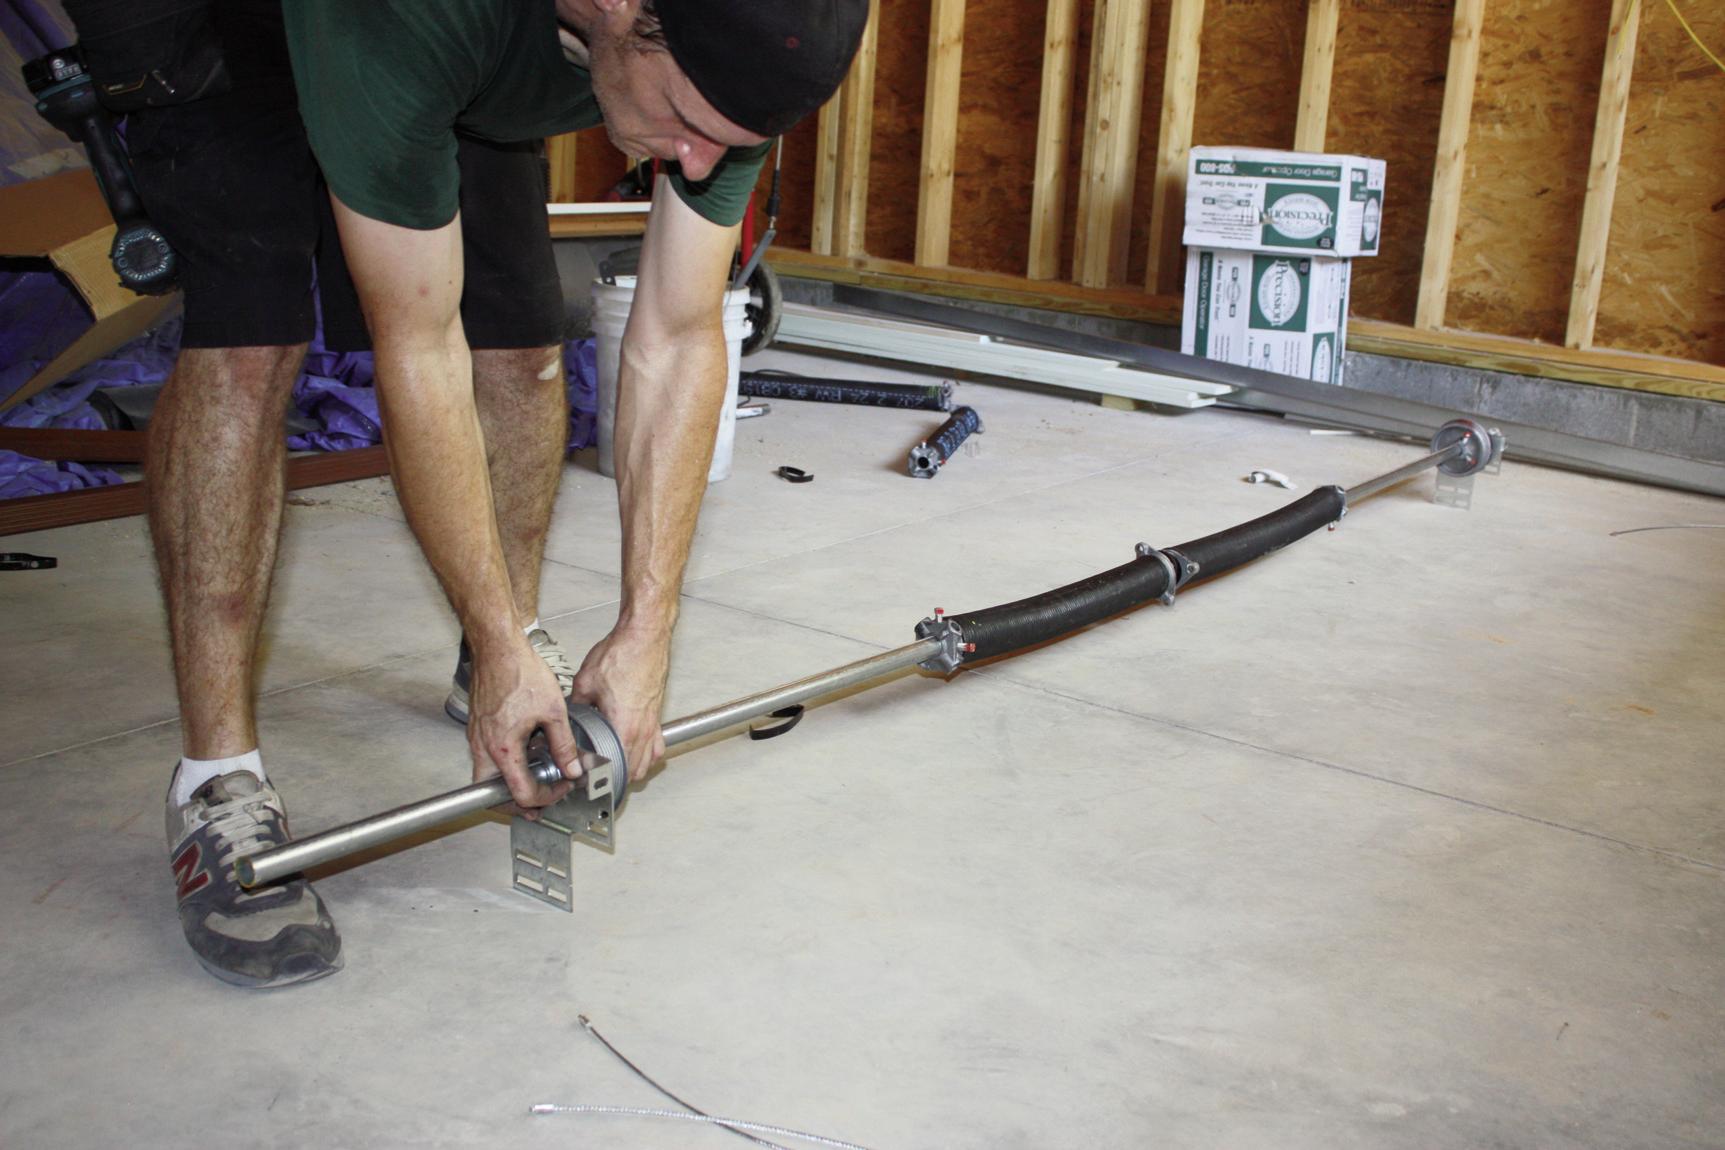
18| Next, assemble the torsion spring according to the manufacturer's instructions.
19| Torsion springs are mounted above the doors to operate the door with a controlled, steady motion.


20| The torsion spring bolts to the corner brackets.


