6 minute read
Perfect plaits

by hqmagazine

GET YOUR PLAITS IN SHAPE FOR THE NEW YEAR
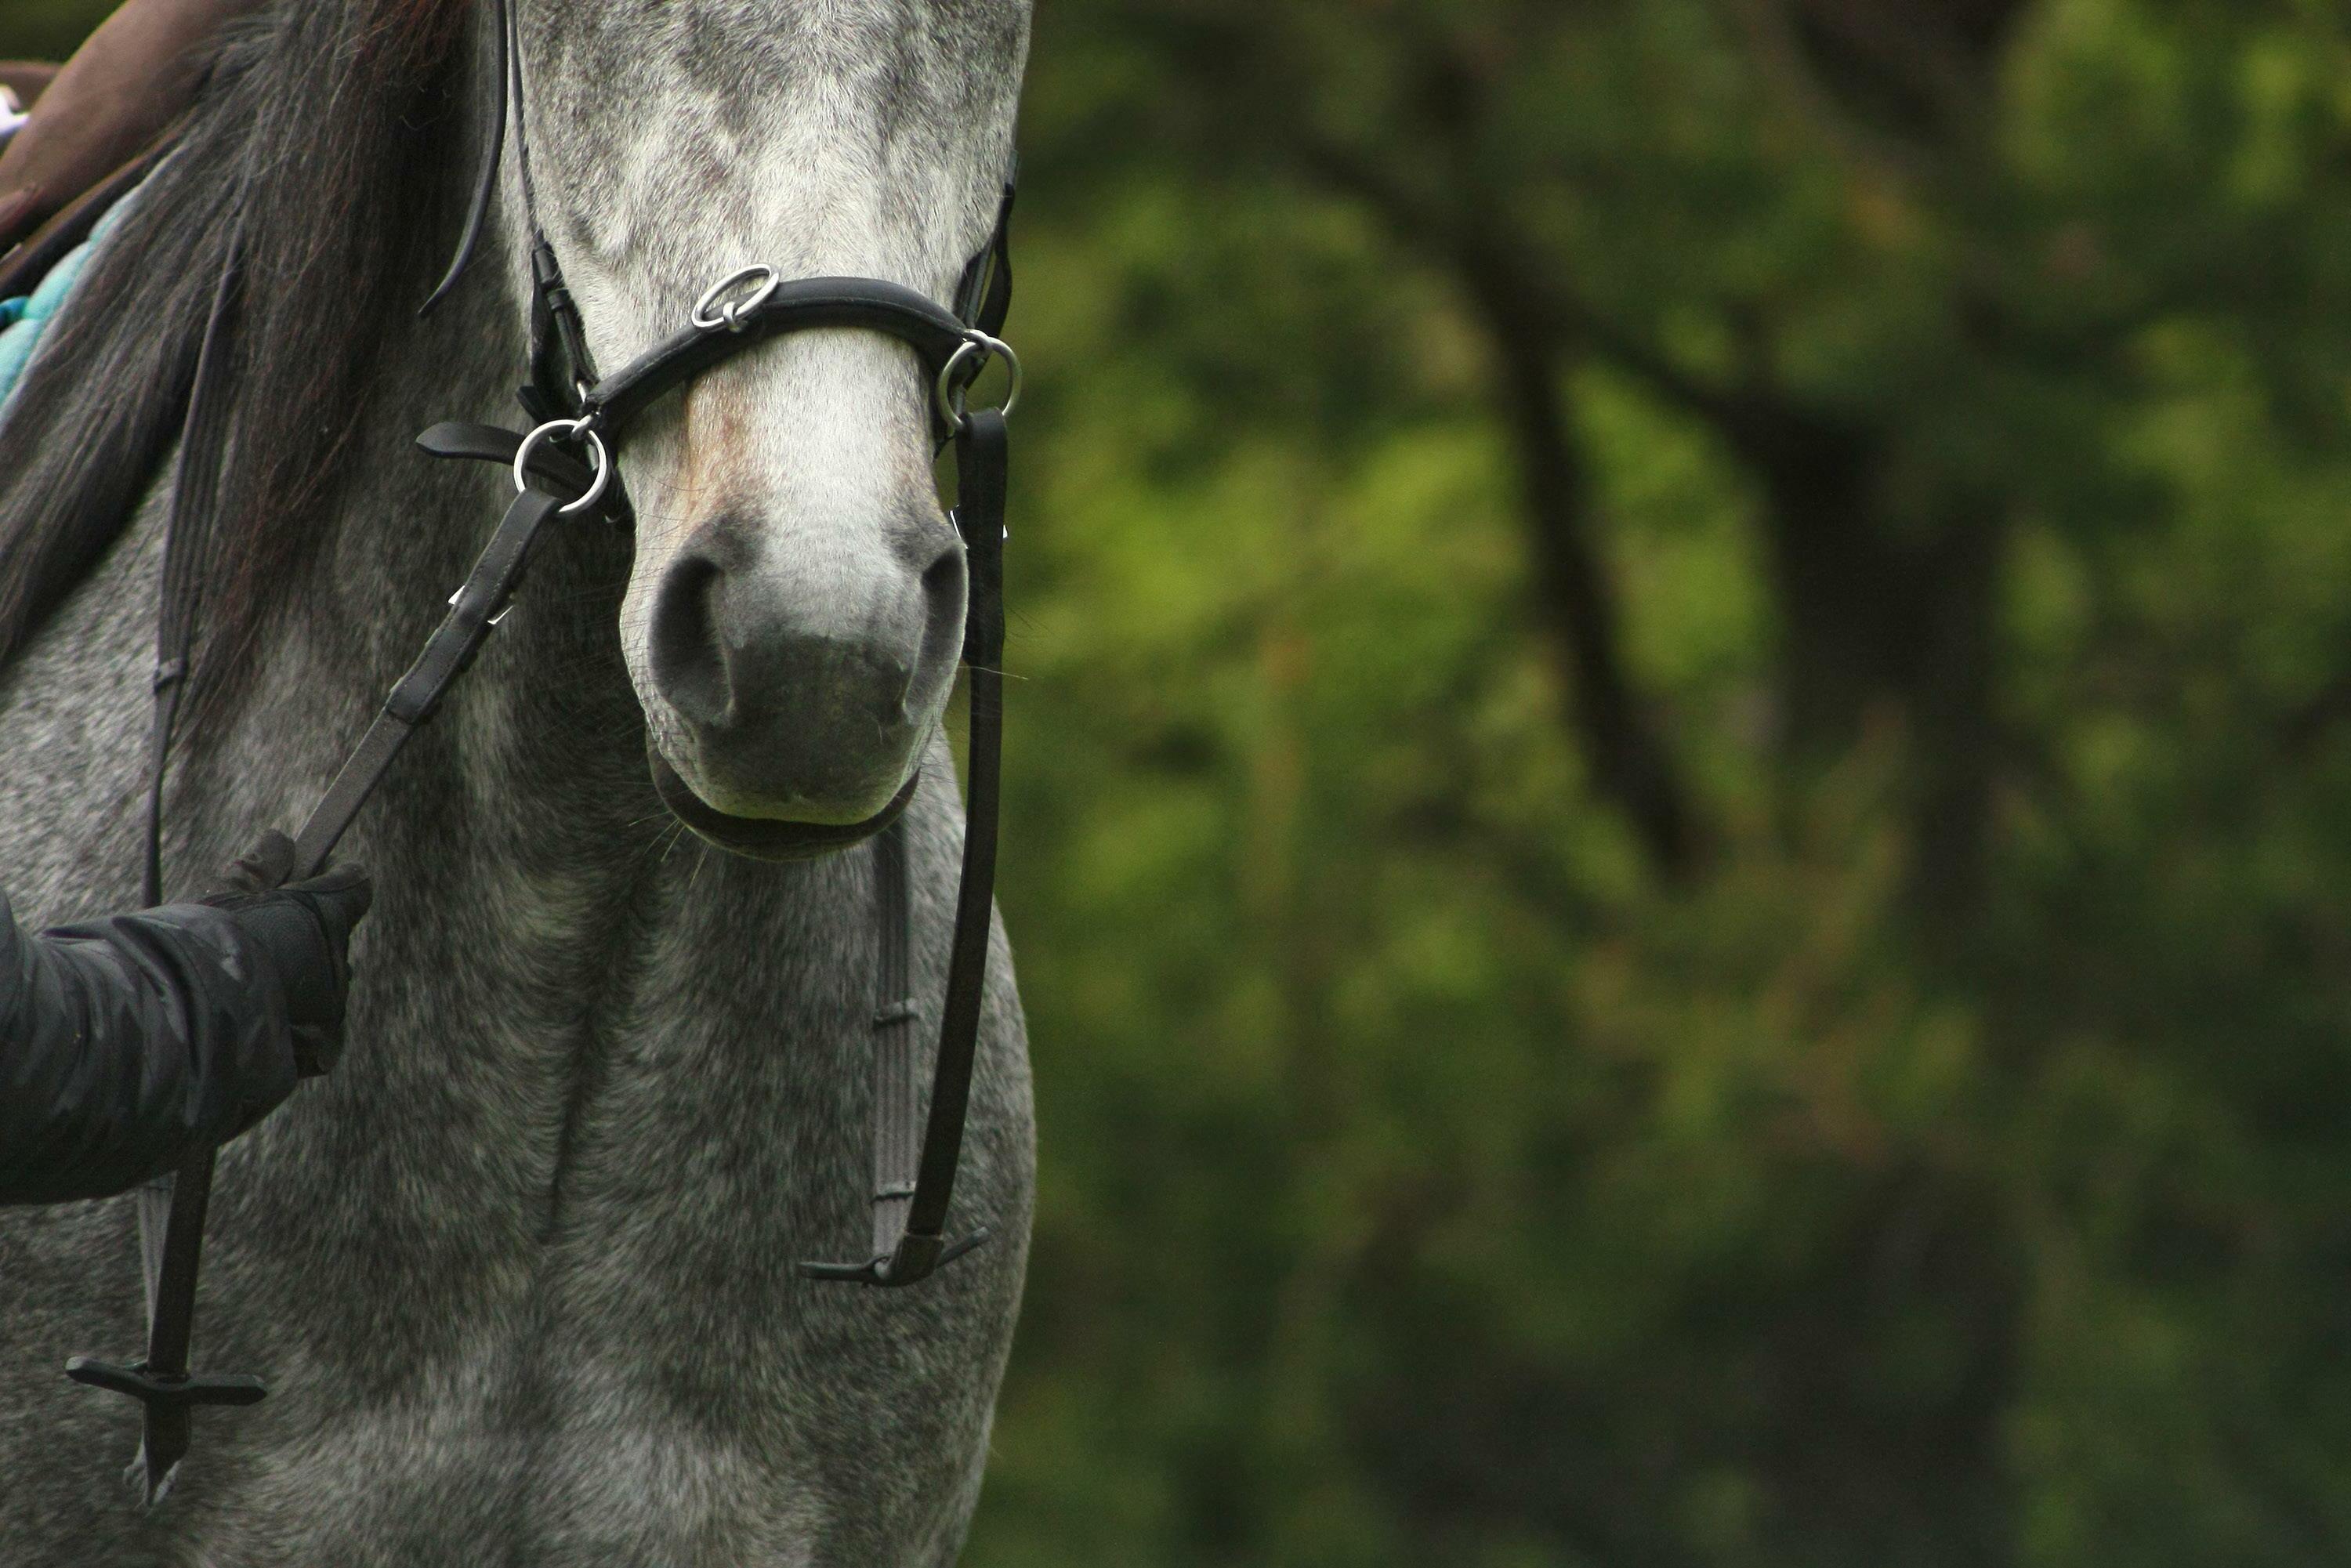
Aneatly plaited horse looks professional when he enters the ring, and in many disciplines plaiting is compulsory. But is it always necessary and what constitutes the perfect plait? Certain styles, for example the use of white tape for dressage, go in and out of fashion, but for showing classes in particular, very little has changed over the years.
ARE PLAITS A GOOD IDEA?
Some riders question whether horses are able to use their necks properly for dressage or jumping when plaited up, and you will often see eventers taking out their dressage plaits before heading into the country. Similarly, many showjumpers, even when competing on the world stage such as at the Olympics or World Equestrian Games, choose not to plait. It is for this reason that dressage riders and showjumpers opt for many small plaits, so as to allow for more flexibility in the neck.

DISCIPLINE RULES
The different disciplines all have their own rules about plaiting.
DRESSAGE
The mane and forelock need to be plaited but the tail is optional. Plaits should be on the right-hand side of the neck, and there can be as many as you like. White elastics may be used but are considered a bit passé, so rather go for elastics the same colour as your horse’s mane.
EQUITATION
The mane and tail should be plaited but not the forelock. Elastics should match the colour of the mane.
SHOWJUMPING
It’s entirely up to you. If you do choose to plait, you can use any colour elastics and do as many plaits as you like.
EVENTING
You have to plait for dressage as per the rules for dressage, but there is no need to plait for the cross-country or jumping phases.
SHOWING
This is where perfect plaiting really counts. Showing classes require the well-turned-out horse or pony to be smartly plaited. The only exception is for some breed classes, for example Section A Welsh Ponies, where their long manes should be on display, or Friesians, where a running plait is acceptable.
HOW MANY?
Traditionally, it is considered correct to have an uneven number of plaits on the right side of the neck, so that with the forelock it adds up to an even number.
The number of plaits may vary, but somewhere between nine and 13 is the norm depending on your horse’s conformation.
The size of the plaits will depend on the length and thickness of your horse’s mane. Too long and you end up with golf balls; pulled or cut too short and they’ll be small and wispy. A hair length of about 15cm is the easiest to work with.
Clever plaiting can visually correct weaknesses in conformation to some degree. More plaits can create the illusion of a longer neck, whereas fewer can make a long horse look more compact. Setting the plaits above the crest gives an underdeveloped neck the appearance of substance.
PERFECT PLAITING
Wash the mane and tail a couple of days before you need to plait so that the hair is not too slippery.
Sewn plaits are generally neater and stay in place longer than those secured with elastics, and are also more correct for showing classes.
It generally works best to secure the ends of the plaits with elastics before sewing. If you are in a hurry and decide to use elastics, remember they can break quite easily, so make sure you keep some spares in your jacket pocket for easy repairs.
Have everything you need handy:
• Mane comb
• Blunt tapestry needle
• Thread or elastics the same colour as the mane
• Scissors
• Something to stand on
THE MANE
1. Starting at the poll, divide the mane equally into the number of plaits you want, securing the bunches of hair with elastics.
2. Divide each section of hair evenly into three and plait tightly, keeping your thumbs on top.
3. When you reach the bottom, either secure it with an elastic band or hold it in one hand and loop your thread around it with the other.
4. Fold the plait in half and push the needle through from underneath. Fold the plait in half again to create a ball and stitch it a number of times to make sure it is secure. You can shape the plait and make it smaller if necessary by wrapping the thread around and pulling it tight – one of the advantages of stitch plaiting! If you’re using elastics, fold the plaits up and secure with the elastic band. It’s a good idea to use more than one to ensure they don’t come out.
5. Tie a knot in the thread and snip the end off.

Repeat steps one to five and mist with hairspray if your horse will tolerate it. Make sure the plaits are even and level on your horse’s neck. They should all be the same size except near the wither where the mane is thinner.
THE FORELOCK

Plaiting the forelock can cause a headache so leave it for last. If you have to plait the night before, then leave the forelock for the morning if at all possible. A French plait looks very smart, but if your horse is fidgety and you’re pressed for time, an ordinary plait will do.
THE TAIL

Tails need to be French plaited.
1. Take a small piece of hair from each side at the top of the tail and cross them over. Take a third piece from one side so that you have three sections to work with.
2. Take an equal amount of hair from each side of the tail to cross over the centre as you plait, keeping it tight so that it stays even and centred.
3. Keep plaiting to about two-thirds of the way down the dock and then continue without taking any more side hairs so that you have a single long plait.
4. Double the end of the plait under the French plait and secure it with either thread or elastic.
It’s a good idea to apply a tail bandage to keep the plait neat.