7 minute read
ThE POWER OF PREPARING YOUR EXPLANATIONS


PEDAGOGY

Advertisement
We might do this as simply as asking students to jot down from memory ideas about a given text, sca olded around what, how and why questions. This might be in bullet point form, given it’s the retrieval of ideas that matters most, or indeed as a more extended written activity. It might you supply several possible ‘what’ or ‘why’ options and then ask students to o er possible ideas as to ‘how’ the writer achieves this or even ask students to debate which of the ‘what’ or ‘why’ options seem to them most compelling.

You could also, in the fashion of the elaborative-interrogate, use these prompts as a way in which to sca old peer discussion where students ask each other questions about a given text or image based around a series of ‘how’ or ‘why’ questions.
All of this could then lead into more extended writing opportunities, again using the prompts to cue student thinking, but in and of itself it o ers lots of opportunity for a more generative kind of retrieval, embedding the language of what, how and why into classroom discourse.
In all of these examples, and there are of course many, many other examples we might have explored, retrieval is being thought of as an activity that not only activates previously studied information, but does so in such a way as to prioritise and promote connective and generative thinking both across and within texts.

...gather four or fi ve favourite images and then ask everyone to write a short analysis that explains the ways in which they connect. This is a great way to maximise what Doug Lemov labels ratio (the number of students thinking hard at any given time)


EXPAND YOUR MIND ONE SUBJECT AT A TIME
44. How I Would 44. How I Would Teach… Gas Tests Teach… Gas Tests
Lesson ideas for Lesson ideas for teaching Gas Tests in teaching Gas Tests in Chemistry and the Chemistry and the thinking behind them thinking behind them
Lesson ideas for Lesson ideas for teaching Fractions in teaching Fractions in Primary Maths and the Primary Maths and the thinking behind them thinking behind them
How I would TeacH… Gas TesTs
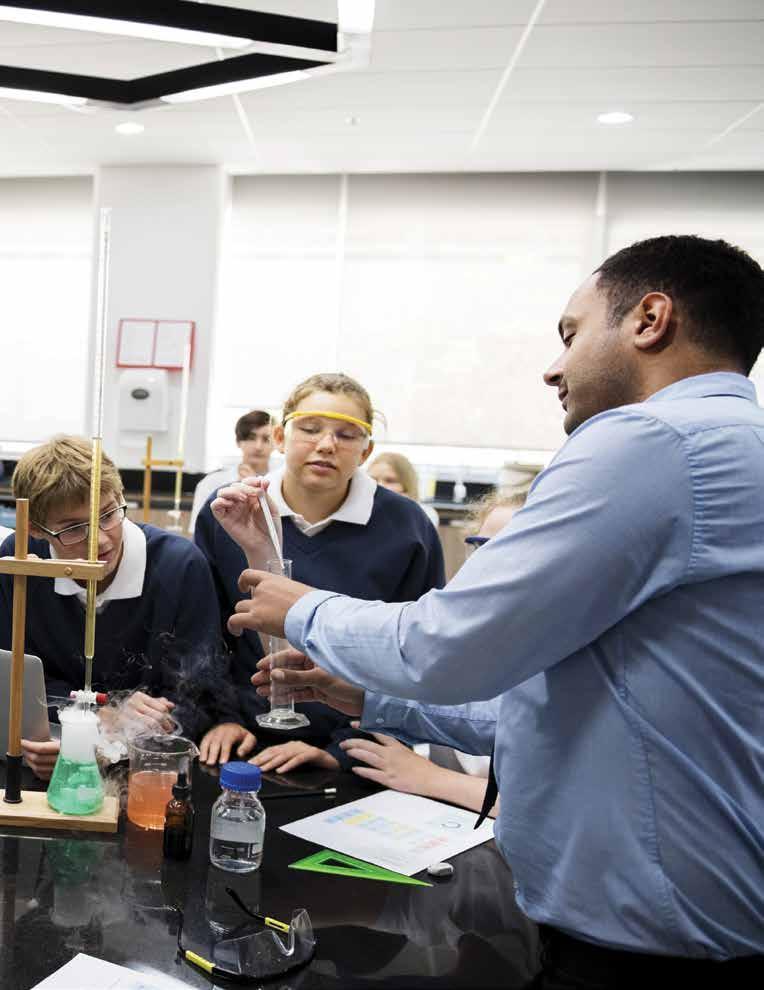
Here, Adam Boxer explains his teaching methods and thought processes as he teaches students the topic of Gas Tests in Chemistry.
By Adam Boxer
Gas tests are not exactly the most exciting area of Chemistry to teach. For the non-specialist: there are lots of different gases. Generally, we can’t really see them or sense them directly, so we do special tests to figure out what they are. We normally teach the tests for four gases: carbon dioxide, hydrogen, oxygen and chlorine and even though it’s often thought of as an “easy” topic, students tend to make a lot of errors.

The errors normally fall into four camps:
1. Clean forgetting them
2. Muddling them up (i.e. doing the hydrogen test for oxygen)
3. Getting the steps wrong
4. Not using the correct framework of “test result conclusion”
As with anything, I always start by preparing Core Questions. This allows me to be hyper specific about what I am going to be teaching as well as provide students with a tool to furnish and bolster their long-term memory. In this article, we will only look at two tests; for hydrogen and oxygen:
What is the test for carbon dioxide? Bubble the gas through limewater
What is a positive result for carbon dioxide? Turns limewater cloudy
What is the test for hydrogen?
What is a positive result for hydrogen? Put a lit splint in the gas
A squeaky pop

Eventually I will put all the gas tests in a table with headings gas/test/positive result. This helps me meet problems 1 and 2 above, as I will use both the Core Questions and the table as resources for retrieval practice, hopefully helping students to remember the tests as well as the distinctions between them.
Ordinarily, we show students the gas tests as a demonstration. This serves to render an abstract idea quite concrete: they can see and hear the results for themselves, aiding and adding to their understanding.

There is, however, a problem here which relates directly to point 3 above. In order to test for the gases, we first need to produce them. Taking carbon dioxide as a first case, we normally add some calcium carbonate to some acid in one test tube and bubble the gas evolved into limewater in another test tube. Frustratingly, students then describe the test in terms like:
Add the calcium carbonate to the limewater…
Add the carbon dioxide to the acid…
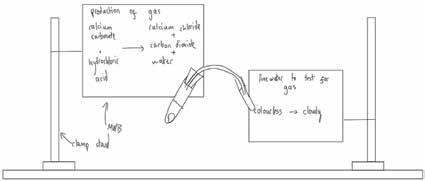
The acid turns cloudy… Ok, so in this boiling tube I have some hydrochloric acid. I am going to add some calcium carbonate to it and there will be a chemical reaction [writes “calcium carbonate + hydrochloric acid “ on the MWB and holds it up]. Who can tell me what the products of this reaction are… Andy? Good! Calcium chloride, carbon dioxide and water. I’m going to add those to my MWB and attach it here so you can clearly see it.
When I do this reaction, a gas is produced [adds a small amount of calcium carbonate to the open boiling tube]. Looking at it, how can I tell a gas is produced?… Simone? Yep, it’s bubbling. That’s the gas. Here’s a difficult question though. Can I tell what gas it is by looking at it?… that’s right, I can’t because it’s just a seethrough gas. It could be anything! Now we all know that it’s carbon dioxide, but we can’t tell that just by looking at it. Instead, we need to do a test on it.
What I’m going to do is put a bung on the boiling tube that lets the gas move out the boiling tube and into this orange tube [uses physical gesture to show how the gas moves through the tube]. I’m then going to dunk that orange tube into this second boiling tube which has another solution in it. This one is called limewater [writes limewater on the MWB and attaches it].
So again, the gas will be produced here, move through here, and then bubbled through here. It’s really important to note the different steps. Over here, we PRODUCE the gas, and here we TEST for it [adds to MWBs]. Let’s see what happens…
We then run the test, and I have a ready-made diagram like the one below (minus the clamp stands). To check for understanding, I remove all labels from it and ask students the names of the various substances and pieces of equipment, as well as what is happening at each point.
I imagine the problem here is that when we describe (or demonstrate) the test, there are too many steps for a student to take in at once. We vocalise the steps, but that vocalisation is ephemeral, it vanishes as soon as it has been spoken, and students cannot hold all those steps in their minds at once. Something has to give, which results in fragmented or confused understanding. To circumvent this problem, I use my trusty mini-whiteboards (MWBs). But instead of giving them to students to write on, I use them as temporary written supports by holding them in clamp stands. It’s a little difficult to describe in writing what I do, so I have included a diagram below as well to give you a better idea as you follow the script below: