4 minute read
Sky replacement strategies
If your approach to photography is such that you want to capture exactly what you see with your eyes with no digital manipulation, then skip over this article. You won’t be interested in it. I’m writing this for the people who see photography as an art form and, as such, you feel you can do whatever you want to your pictures in the name of creativity and art.
Replacing a boring or mundane sky makes a huge difference in all kinds of images, from landscapes to cityscapes, and from wildlife to macro photography. In the past, a sky replacement in Photoshop took painstaking expertise, but now it’s easier than ever. It’s simply a matter of choosing the pulldown menu
command, Edit > sky replacment. If you don’t have any of your own sky photographs loaded into this dialog box, Adobe provides a collection of stock images that anyone can use. Because you don’t want your skies to look like the skies millions of other Photoshop users, I strongly suggest you import your own images into Photoshop and, at the same time, delete the Adobe stock pictures. To do this, click on the photo that loads when you open the sky replacement dialog box. At the bottom of this box you’ll see a + icon. Click on that to load your own skies. And, use the tiny trash can you see to delete Adobe’s skies.
As in all aspects of compositing, when you combine two or more pictures there are strategies to use to make the result look believable. Here are my thoughts on this.
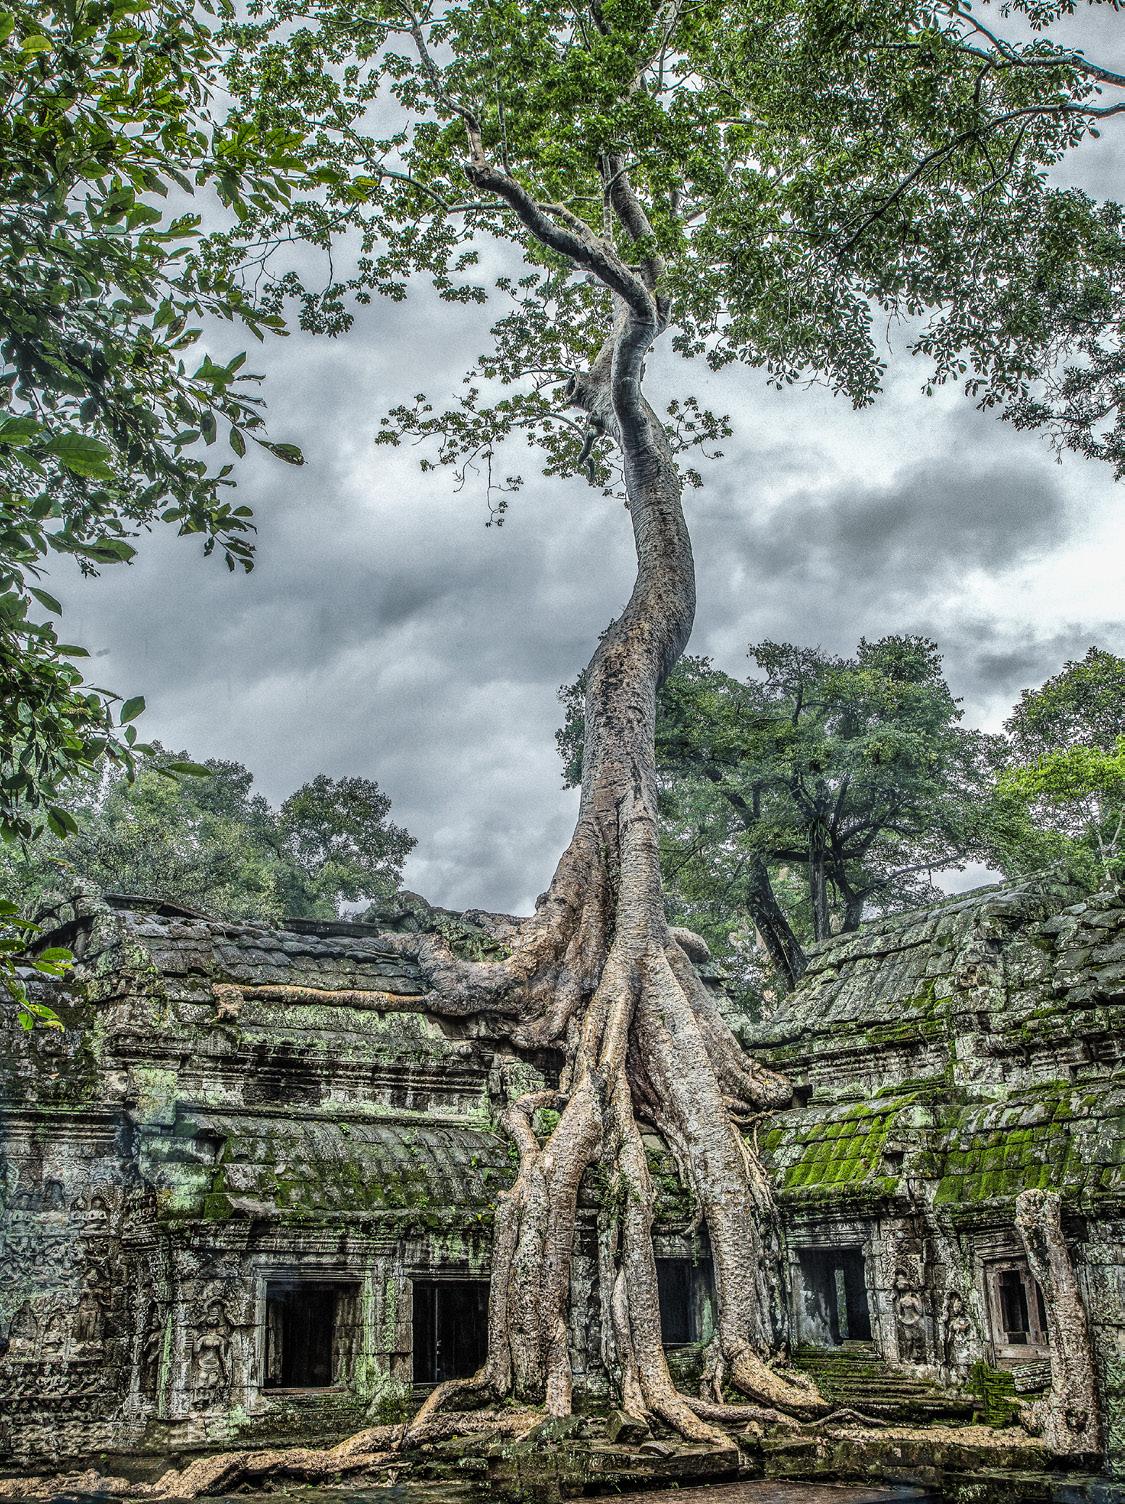
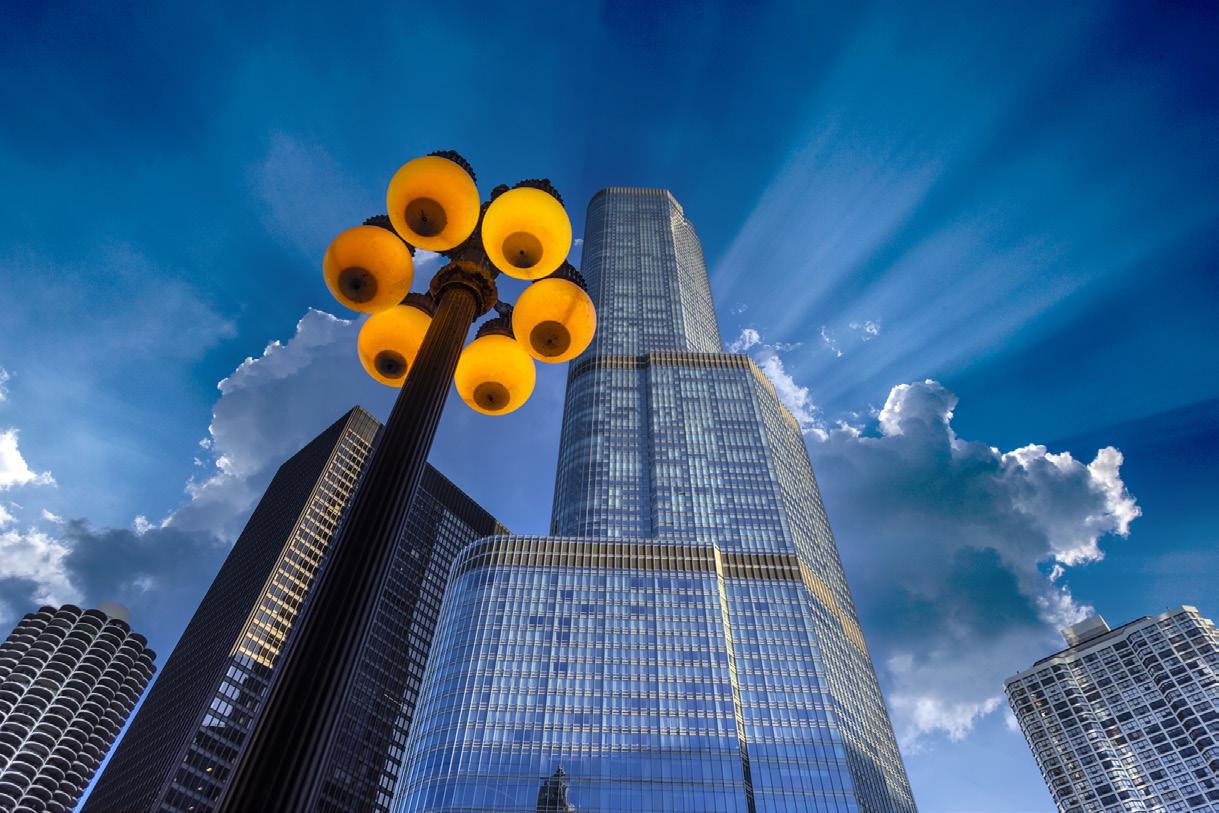
1. First and foremost, the lighting has to match. If the subject was photographed in diffused light, then the sky should reflect that. It should consist of mostly clouds, either white or gray, because this is the kind of sky that produces soft, directionless light. If the original sky was blue, then replace it with a sky that has visual impact that was taken in similar lighting conditions. The two shots on the previous page illustrate what I’m referring to. A solid blue sky was replaced with bold sun rays against blue.

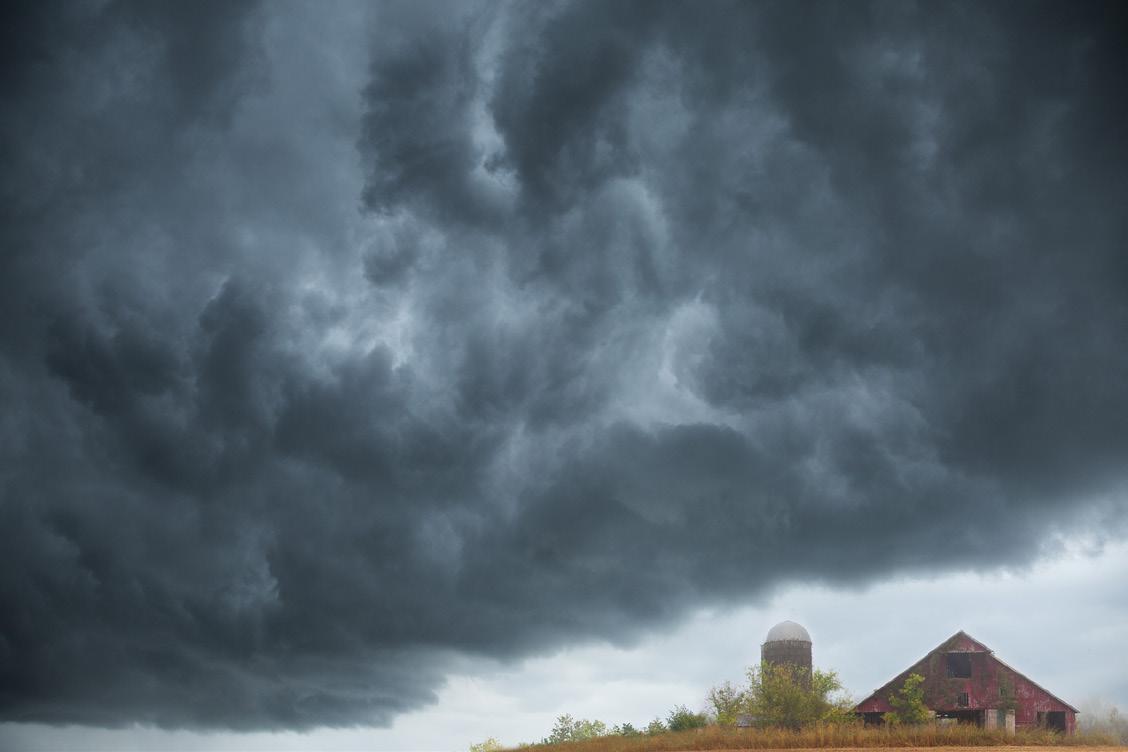
2. Start a collection of dozens of sky pictures. This will give you a lot of options in replacing skies. In my own photo library, I’ve subdivided the various kinds of skies. These include storm clouds, white clouds on blue backgrounds, rainbows, sunrise/sunsets, and aerial clouds (taken from planes). When you photograph clouds, do so with both horizontal and vertical compositions and with wide angles as well as telephoto lenses.
3. When the original sky background is comprised of unwanted elements, specifically distracting and visually unappealing elements such as the busy, out of focus tree behind the zebras, upper right, the sky replacement feature in Photoshop will not be able to distinguish between the subject and what you would like to replace.
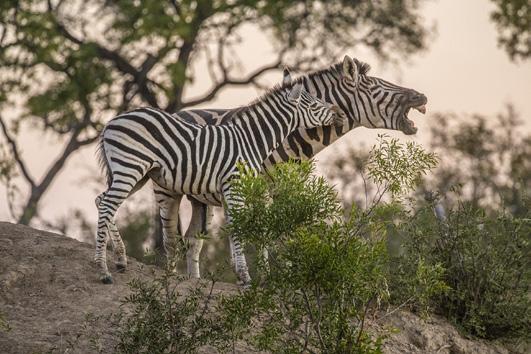
Therefore, take a color sample of the sky with the eyedropper tool. Then brush away the offending material in the sky with the brush tool so the entire sky is a uniform color. Then you can use the sky replacement command and the new sky will supplant the old.
4. It’s important the new sky and the original picture be approximately the same resolution. If you take an image from the Canon R5, for example, which opens in Photoshop as a 128 megabyte file, and you replace the sky with

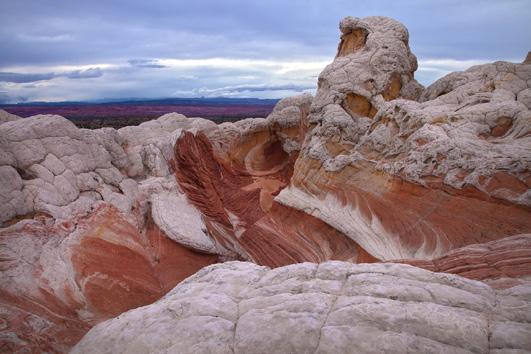
an iPhone image (the iPhone 13 opens photographs in Photoshop as 34.9 megs), there will be a discrepancy in quality. That won’t look good upon close examination. The replacement sky should ideally be close to 128 megabytes in resolution.
5. A subject like a landscape or cityscape with a clear delineation between the sky and the land is easy to deal with. The sky doesn’t have When you work with an image like the one on page 15, where the original sky was solid white, not all skies will work equally well. The way the tones and colors in the sky blend with the leaves, for example, depend on many factors. You have to use trial and error to see which sky looks best, and you may have to tweak the composite using the ‘shift edge’ and ‘fade edge’ sliders in the Edit > Sky replacement dialog box.
6. Finally, in the layers palette, you can activate the cloud layer and then tweak it by lightening or darkening it, altering the color, and manipulating the contrast if necessary. You can also reposition it. Simply click on the new sky in the photo and drag it to the position you want. You can also click the box ‘flip horizontal’ §

PERUVIAN NATURE TOUR
Sept. 24 - Oct 4, 2022


