3 minute read
Blacklight photography

Black Light Photography
An unusual approach to photographic lighting is to use a blacklight. They emit a moody, purple illumination that normally photographs cobalt blue. In addition, certain types of colors respond to blacklights in a way that makes them super saturated as if they are glowing.
Blacklights can be purchased online or in some specialty stores like Hobby Lobby. They come in bulbs and fluorescent-shaped tubes as well as other designs. I bought a 24-inch blacklight tube from Sweetwater.com for $25. Because the light from a blacklight is so dim, you must use a tripod. The settings for the image below, for example, were .3 seconds, f/7.1, and 640 ISO. The settings for the art object on page 9 were 10 seconds, f/22, and 200 ISO. These numbers give you a sense of the types of exposures you’ll encounter, so I always use a tripod and either the self-timer feature built into the camera or a cable release to insure sharp pictures.
Camera meters are not designed to read blacklight illumination. Therefore, you’ll need to
take one or more test shots to determine the correct exposure. You can shorten the exposure times by adding another blacklight to the setup as well as moving the light(s) closer to the subject. The Inverse Square Law states by cutting the subject-to-light source distance in half, the amount of illumination increases by four times (i.e. two f/stops).
Adding color
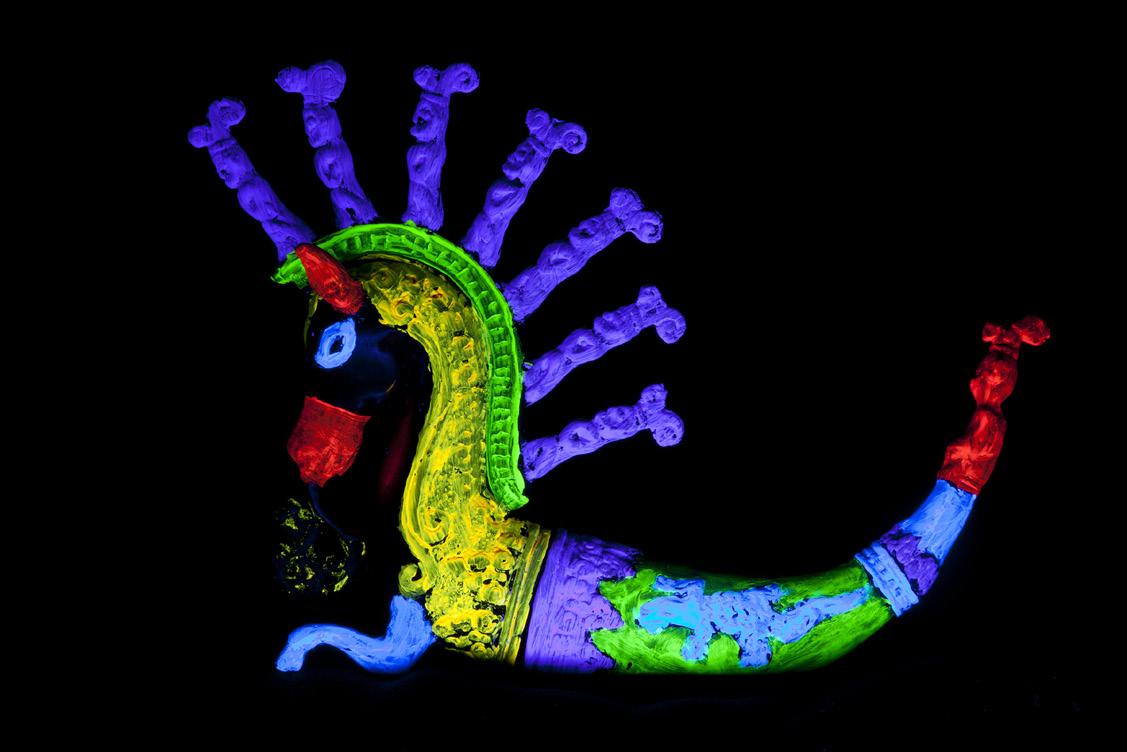
The stylized horse-like object below is actually a medicine holder made of pewter I bought in Bali, Indonesia. I painted it with glow-in-thedark (phosphorescent) paints and illuminated it with the 24-inch blacklight tube. I applied the paint with a brush, but in the picture on page 7 I spray painted a white poster board with phosphorescent paint and used that for the background. I find the best colors in the photo come from using tungsten white balance. The paints are available at Hobby Lobby and Amazon. I bought spray cans as well as a paint kit with multiple colors designed for application by a small paint brush. Click HERE to check out the kit of colors on Amazon.
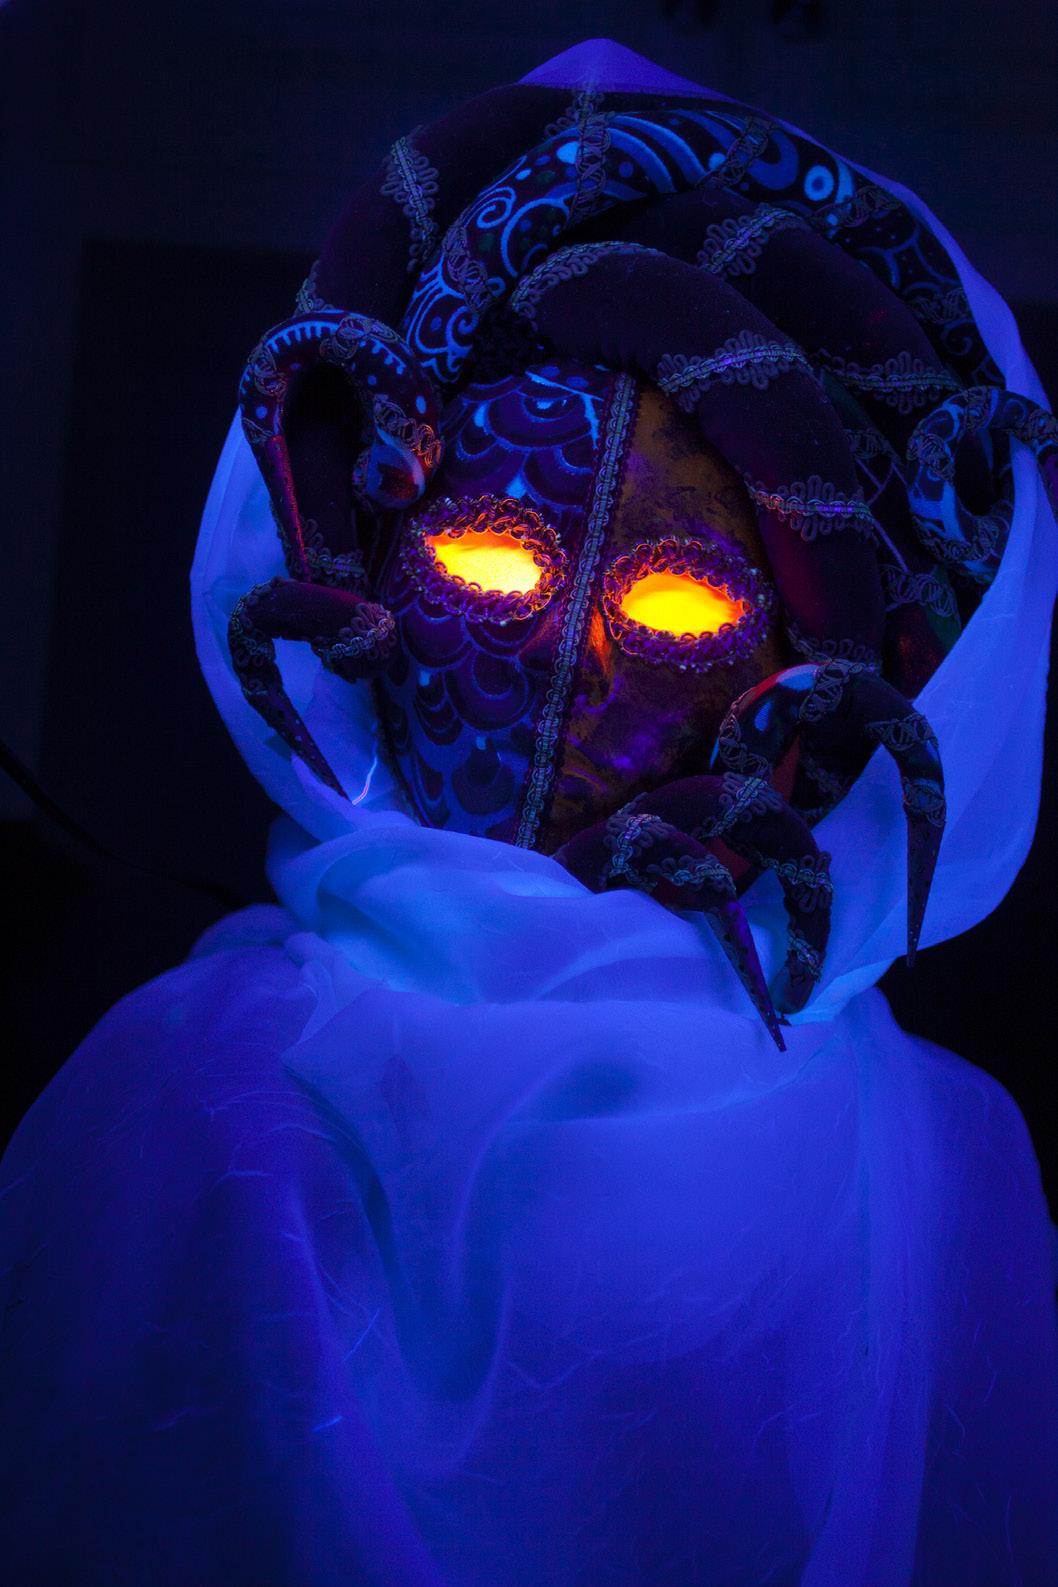
There are many variations of the types of subjects to use for blacklight photography and how to paint with the color. Faces, art objects, leaves, flowers, fabric, sea shells, beads, and glassware are all capable of providing fascinating photos when painted with glow-in-the-dark paints. The paint itself is water soluble so you can wash up easily.
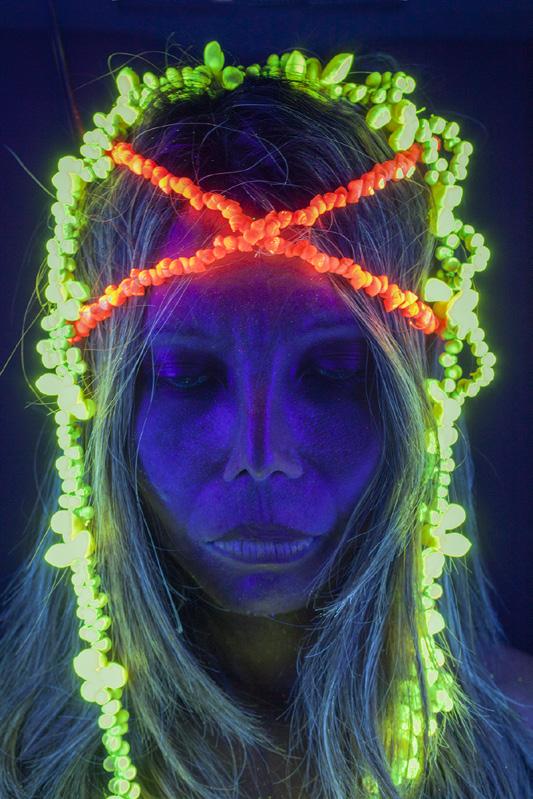
For the portrait on page 11, I painted beads with a small brush and then adorned my wife with them. The blacklight made the colored beads glow in the dark but the skin photographed typical cobalt blue. In the adjacent picture, I spray painted leaves with orange phosphores-
PERU PHOTO TOUR
Sept. 24 - Oct 4, 2021
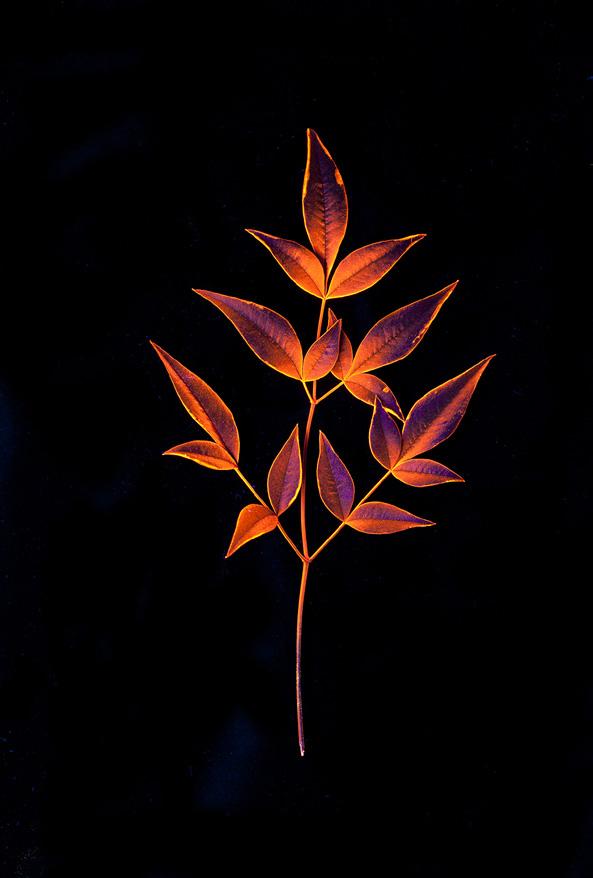
cent paint. Notice how effective the black background is. I photograph most of these subjects against black velvet because this material absorbs light better than any other fabric.
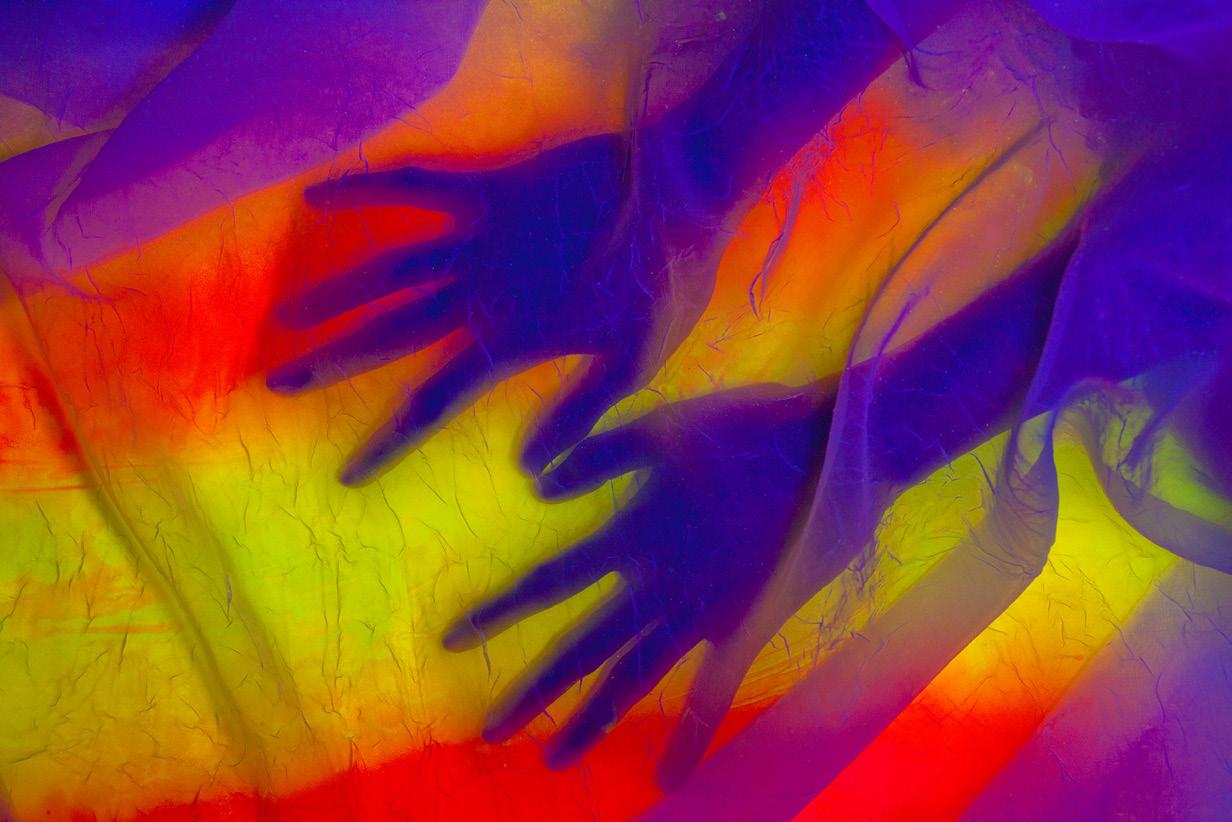
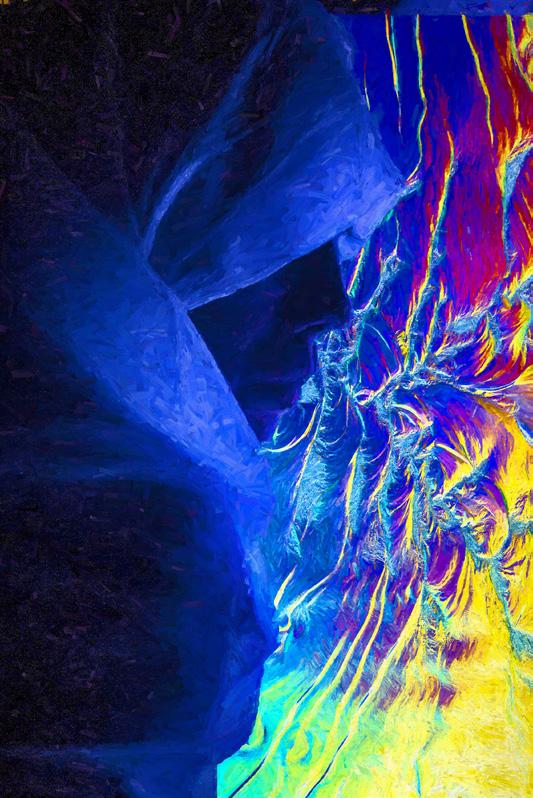
For the portrait at right, I used two blacklights. One of the lights illuminated my wife, and the other was directed to a poster board I had sprayed with several phosphorescent colors. I placed the poster board behind textured glass, and the glass was positioned a couple of inches behind my wife. I then ran the image through Topaz Impression to add a painterly texture.
Don’t think you are limited to the blacklight colors. Alter the colors in Photoshop using this pulldown menu: Image > adjustments > hue/ saturation. For the shot on the next page, for example, I first made a selection of the face and then desaturated the glass and used the hue slider on the portrait. §


