4 minute read
The power of layer masks
Sometimes just knowing where a tool is and what it does isnt enough. Knowing the creative potential of a tool or a menu command in Photoshop comes from seeing examples of its application. That’s why I’m showing you this particular technique.
Layer masks are nothing more than a mask that happens to be on a floating layer above a background image. And a mask is simply a black and white image that blocks part of an image from being seen and allows other portions of that image to be revealed.
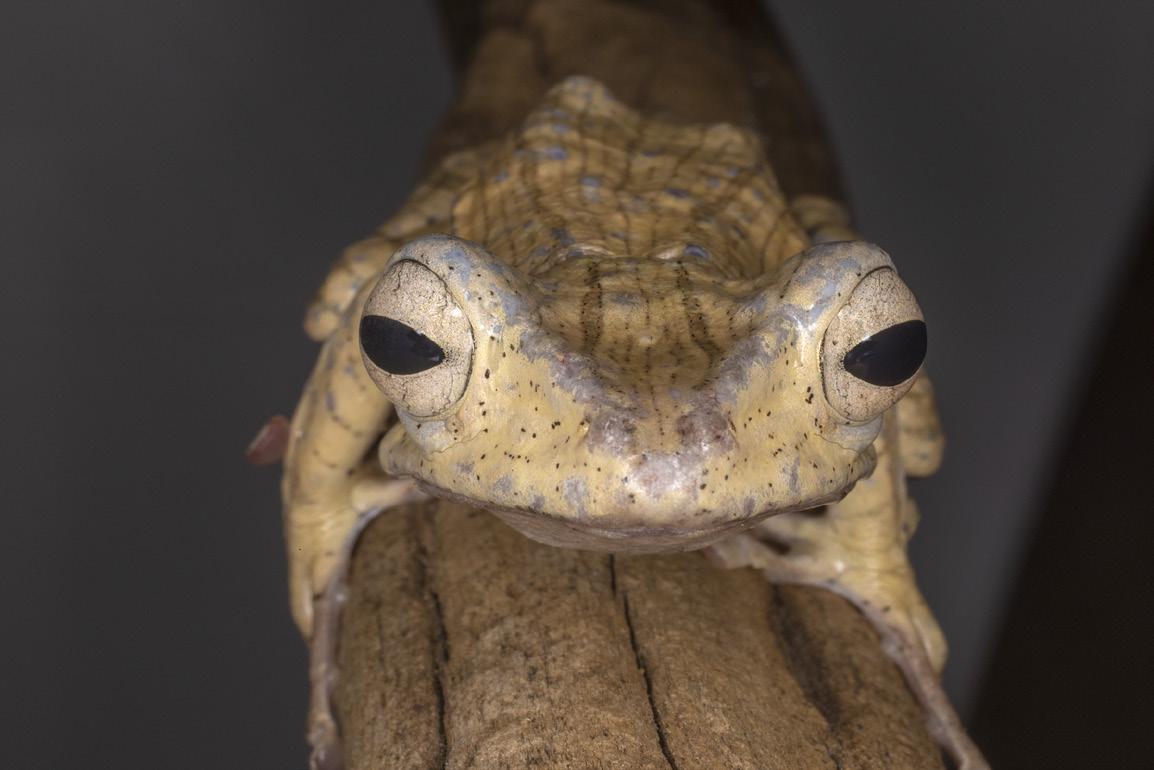
I took the photo below of the Borneo eared frog in my semi-annual Frog and Reptile workshop now held in Kansas City, Missouri. We use large photo prints of out of focus foliage behind the macro subjects, but in this case the frog had jumped to a perch that didn’t have a natural looking background. I used a ring flash, and the light fall-off made the background muted. It wasn’t terrible, but I wanted a more attractive green background indicative of the frog’s natural environment in the jungle.
Because the frog and the branch became more and more out of focus, it would have been a challenge to simply make a selection of the background and replace it with a typical copy

and paste procedure.
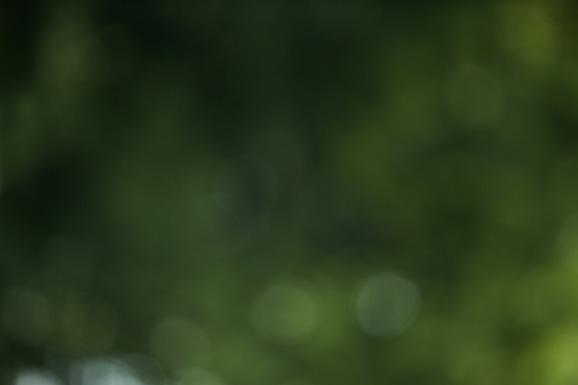
Therefore, I selected a picture of an out of focus tree, shown above, taken from my ‘foliage backgrounds’ folder. I used the Photoshop command Select > all, and then Edit > copy. The image was now in the ‘clipboard,’ Photoshop’s temporary holding place for a photo or I then opened the frog picture and used the pulldown menu command, Edit > paste. This pasted the out of focus foliage image over the frog. As you can see in the screen capture on the next page, the soft green picture is now Layer 1.
I then created a layer mask. There are two ways to do this. You can use the pulldown menu command, Layer > layer mask > reveal all, or you can click the short cut at the bottom of the layers palette indicated by the red arrow in the same screen capture.
At this point, I wanted to brush away the out of focus foliage over the frog. I selected the brush tool and made sure the foreground/ background color boxes at the bottom of

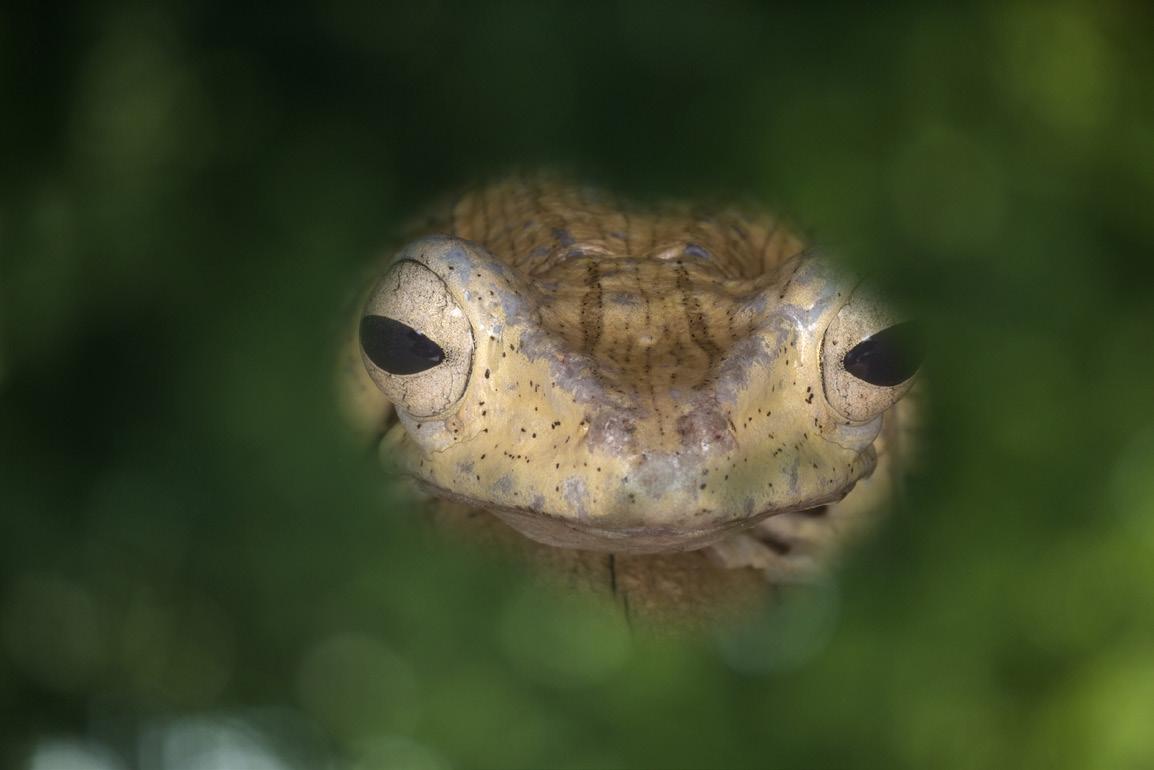
the tools palette are black/white, respectively. I then started brushing away the green color over the frog. This revealed the image on the previous page.
The key here was to blend the green foliage with the frog in such a way to suggest I was shooting through leaves in the jungle. I wanted to imply the leaves in the immediate foreground were so out of focus they created a blur, and at the same time the leaves in the distant background were similarly completely blurred. That’s what you see in the image below.

To do this, I softened the brush and lowered the opacity of the

PANTANAL PHOTO TOUR
Nov. 8 - 15, 2022
Jaguars in the wild Exotic birds in flight Caiman Giant river otters

brush tool to 65%. I then continued to erase the green foliage until I liked the result.
If you follow these steps and you discover you’ve erased too much of the foliage, simply reverse the colors in the tool palette to white/black and apply the brush tool. The erased green foliage will be painted back into the picture.
So, when the foreground/background color boxes are black/white, the color and the detail in Layer 1 gets erased. When the boxes show white/black, the color and detail get brushed back in.
Same technique, different situation
I used the same technique for the composite below. The grasses came from a different image and, using a soft brush and lowered opacity for the brush tool, I brushed away the upper portion of the landscape leaving just the grass.
Then, from a third photo, I layered the picture of the coyote into the foreground grass and, using the brush tool again, I brushed away everything except the animal and the grass surrounding it.
I replaced the original bland sky with a dramatic sky from my ‘sky folder’ using the Sky Replacement feature under the pulldown tab Edit in Photoshop. I don’t use any of the stock sky images that come loaded with the latest versions of Photoshop. Those can be deleted, and then you can upload your own sky images. §


