2 minute read
Material Ideology and Concept
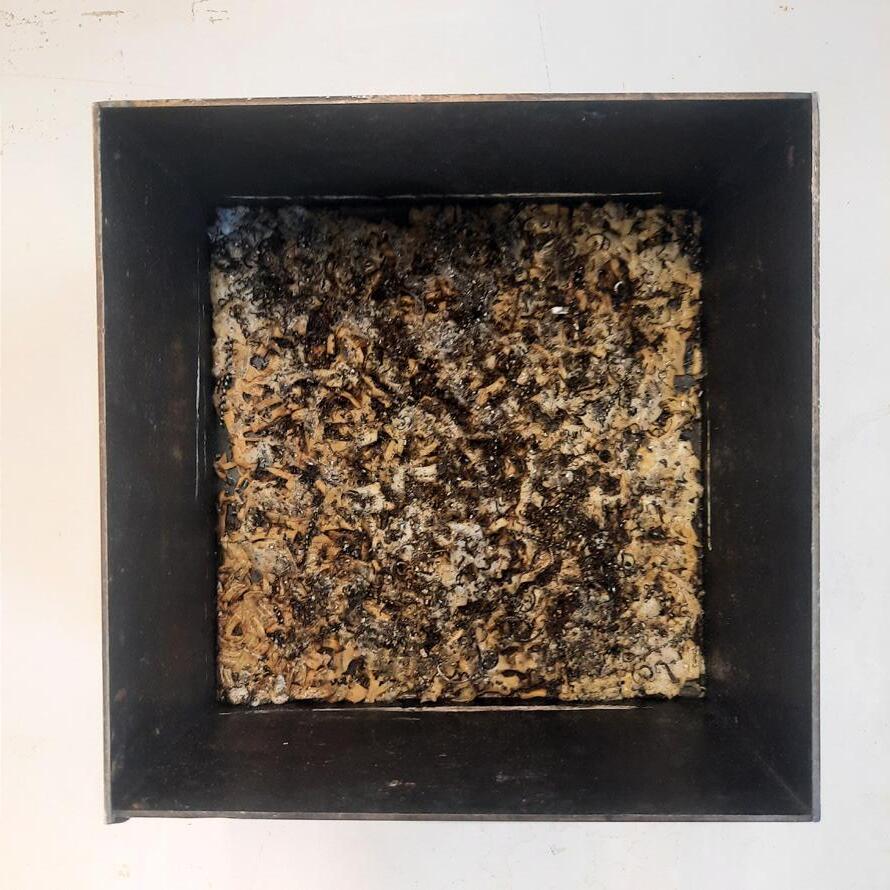
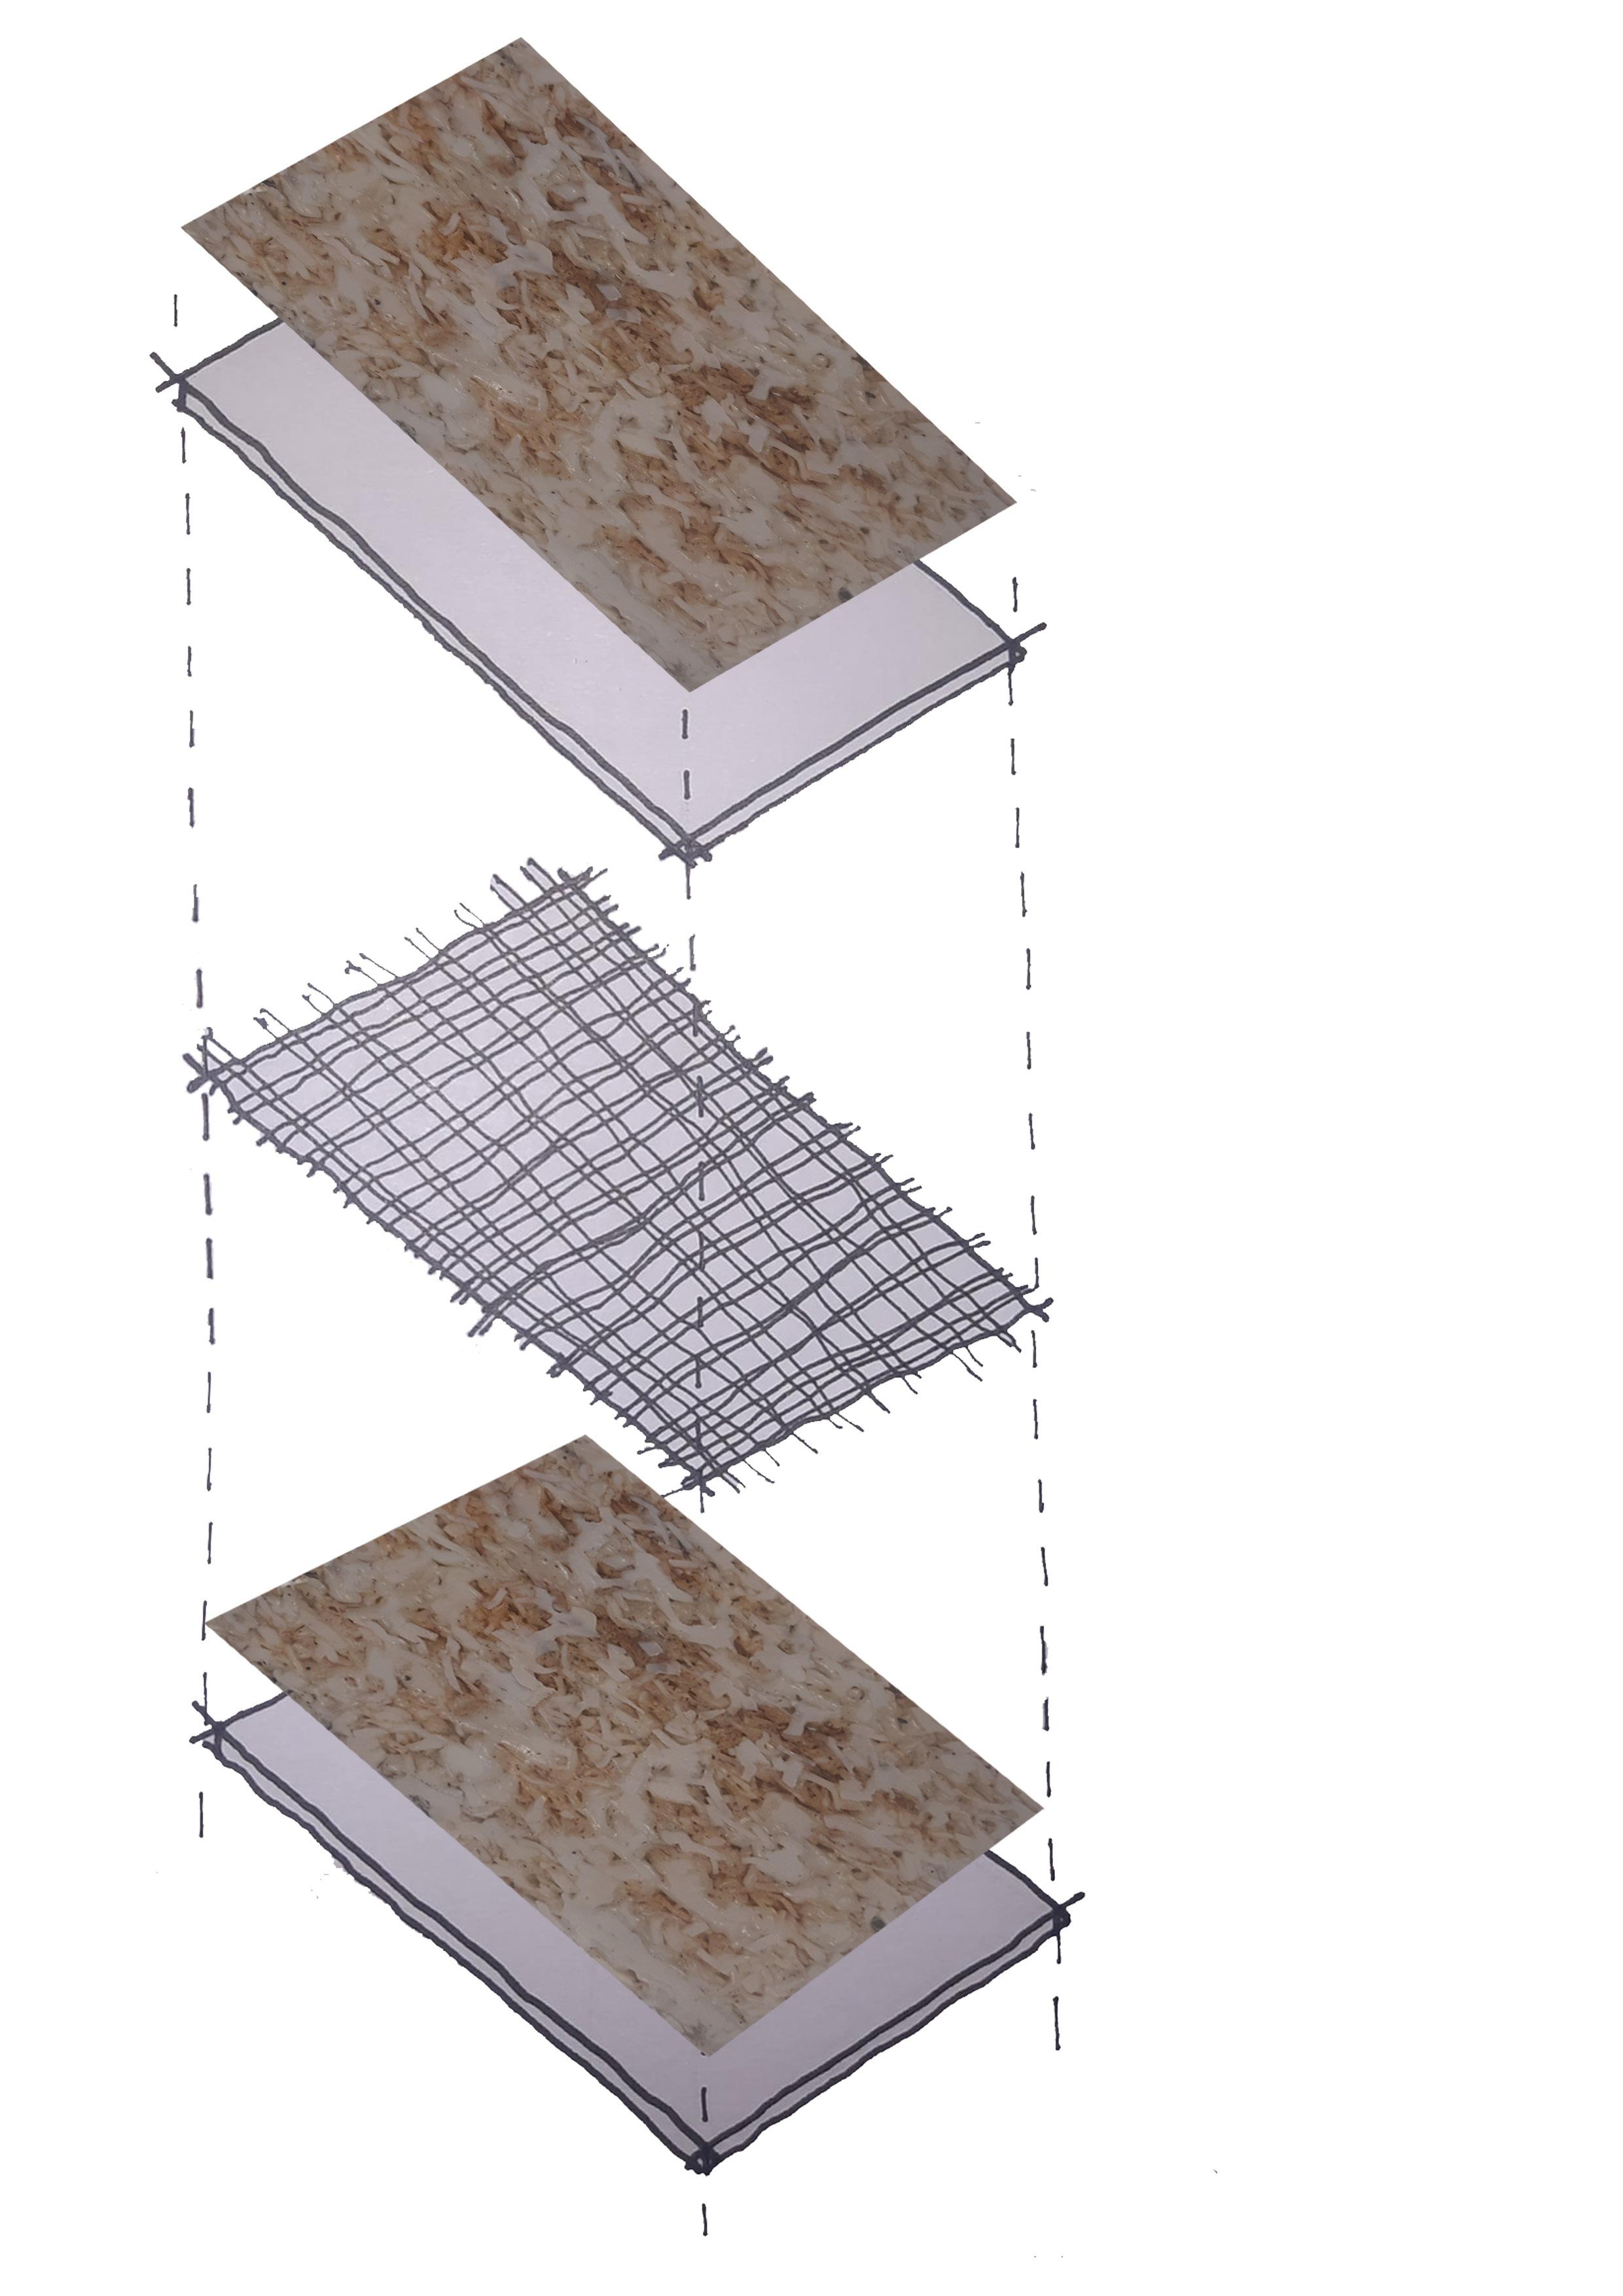
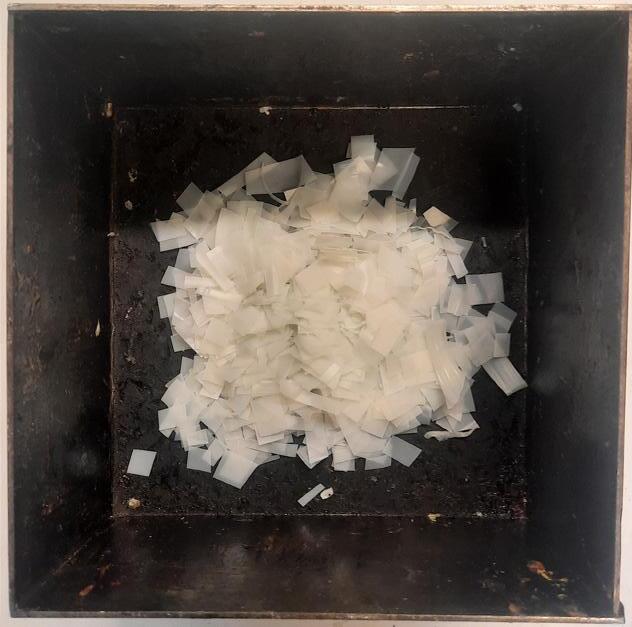
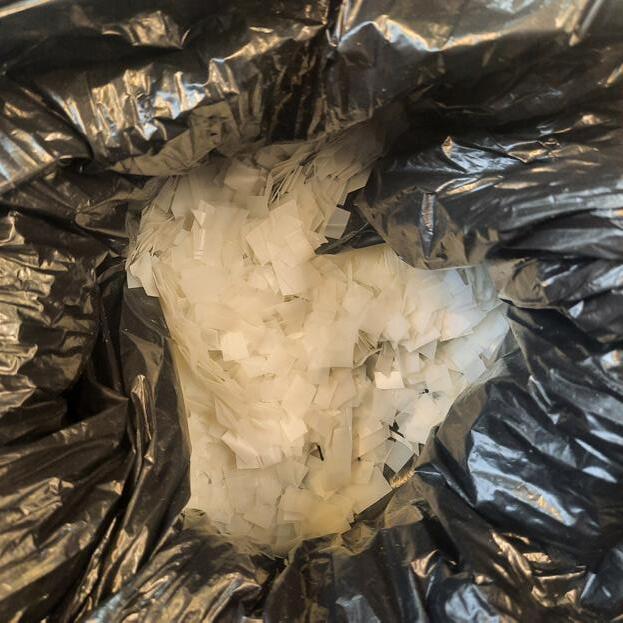
The shredding process begins which goes through a purification process and is made into certain size pellets to use at around industry-level production. After this process, we going to lay them like layers and place the fibres in between them and lay another layer of plastic on top of it. Keep repeating this process to achieve a certain size of panels. We can use them throughout the construction field.
Advertisement
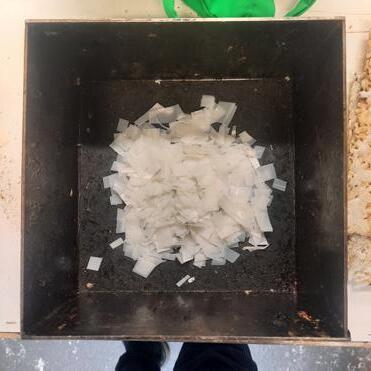
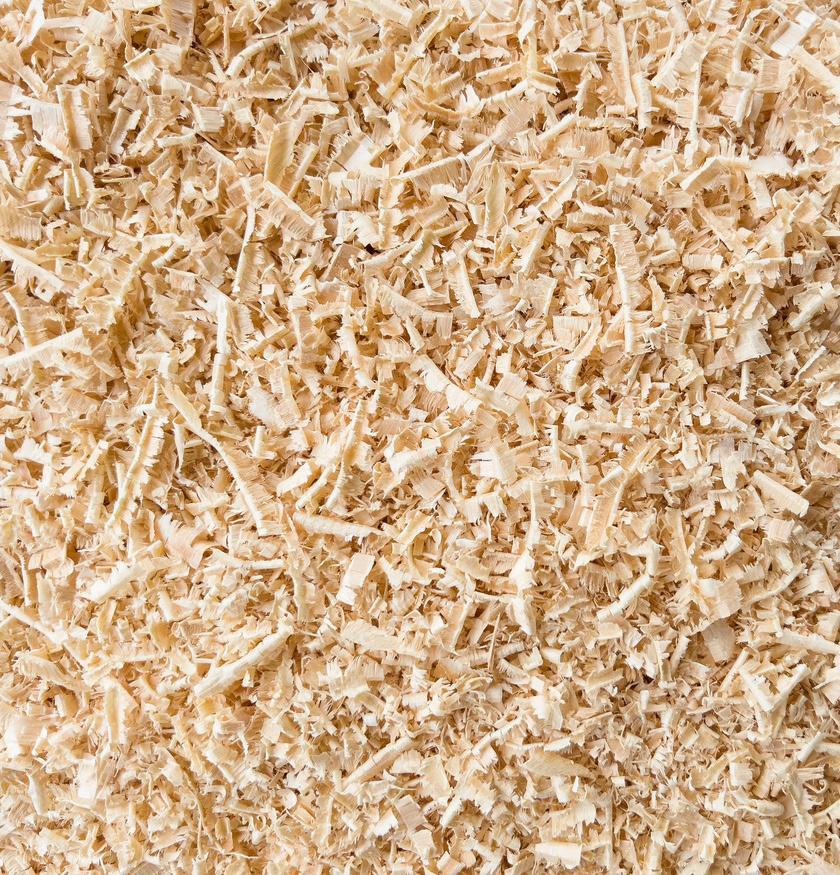
Shredded Plastics
Outline of the Process
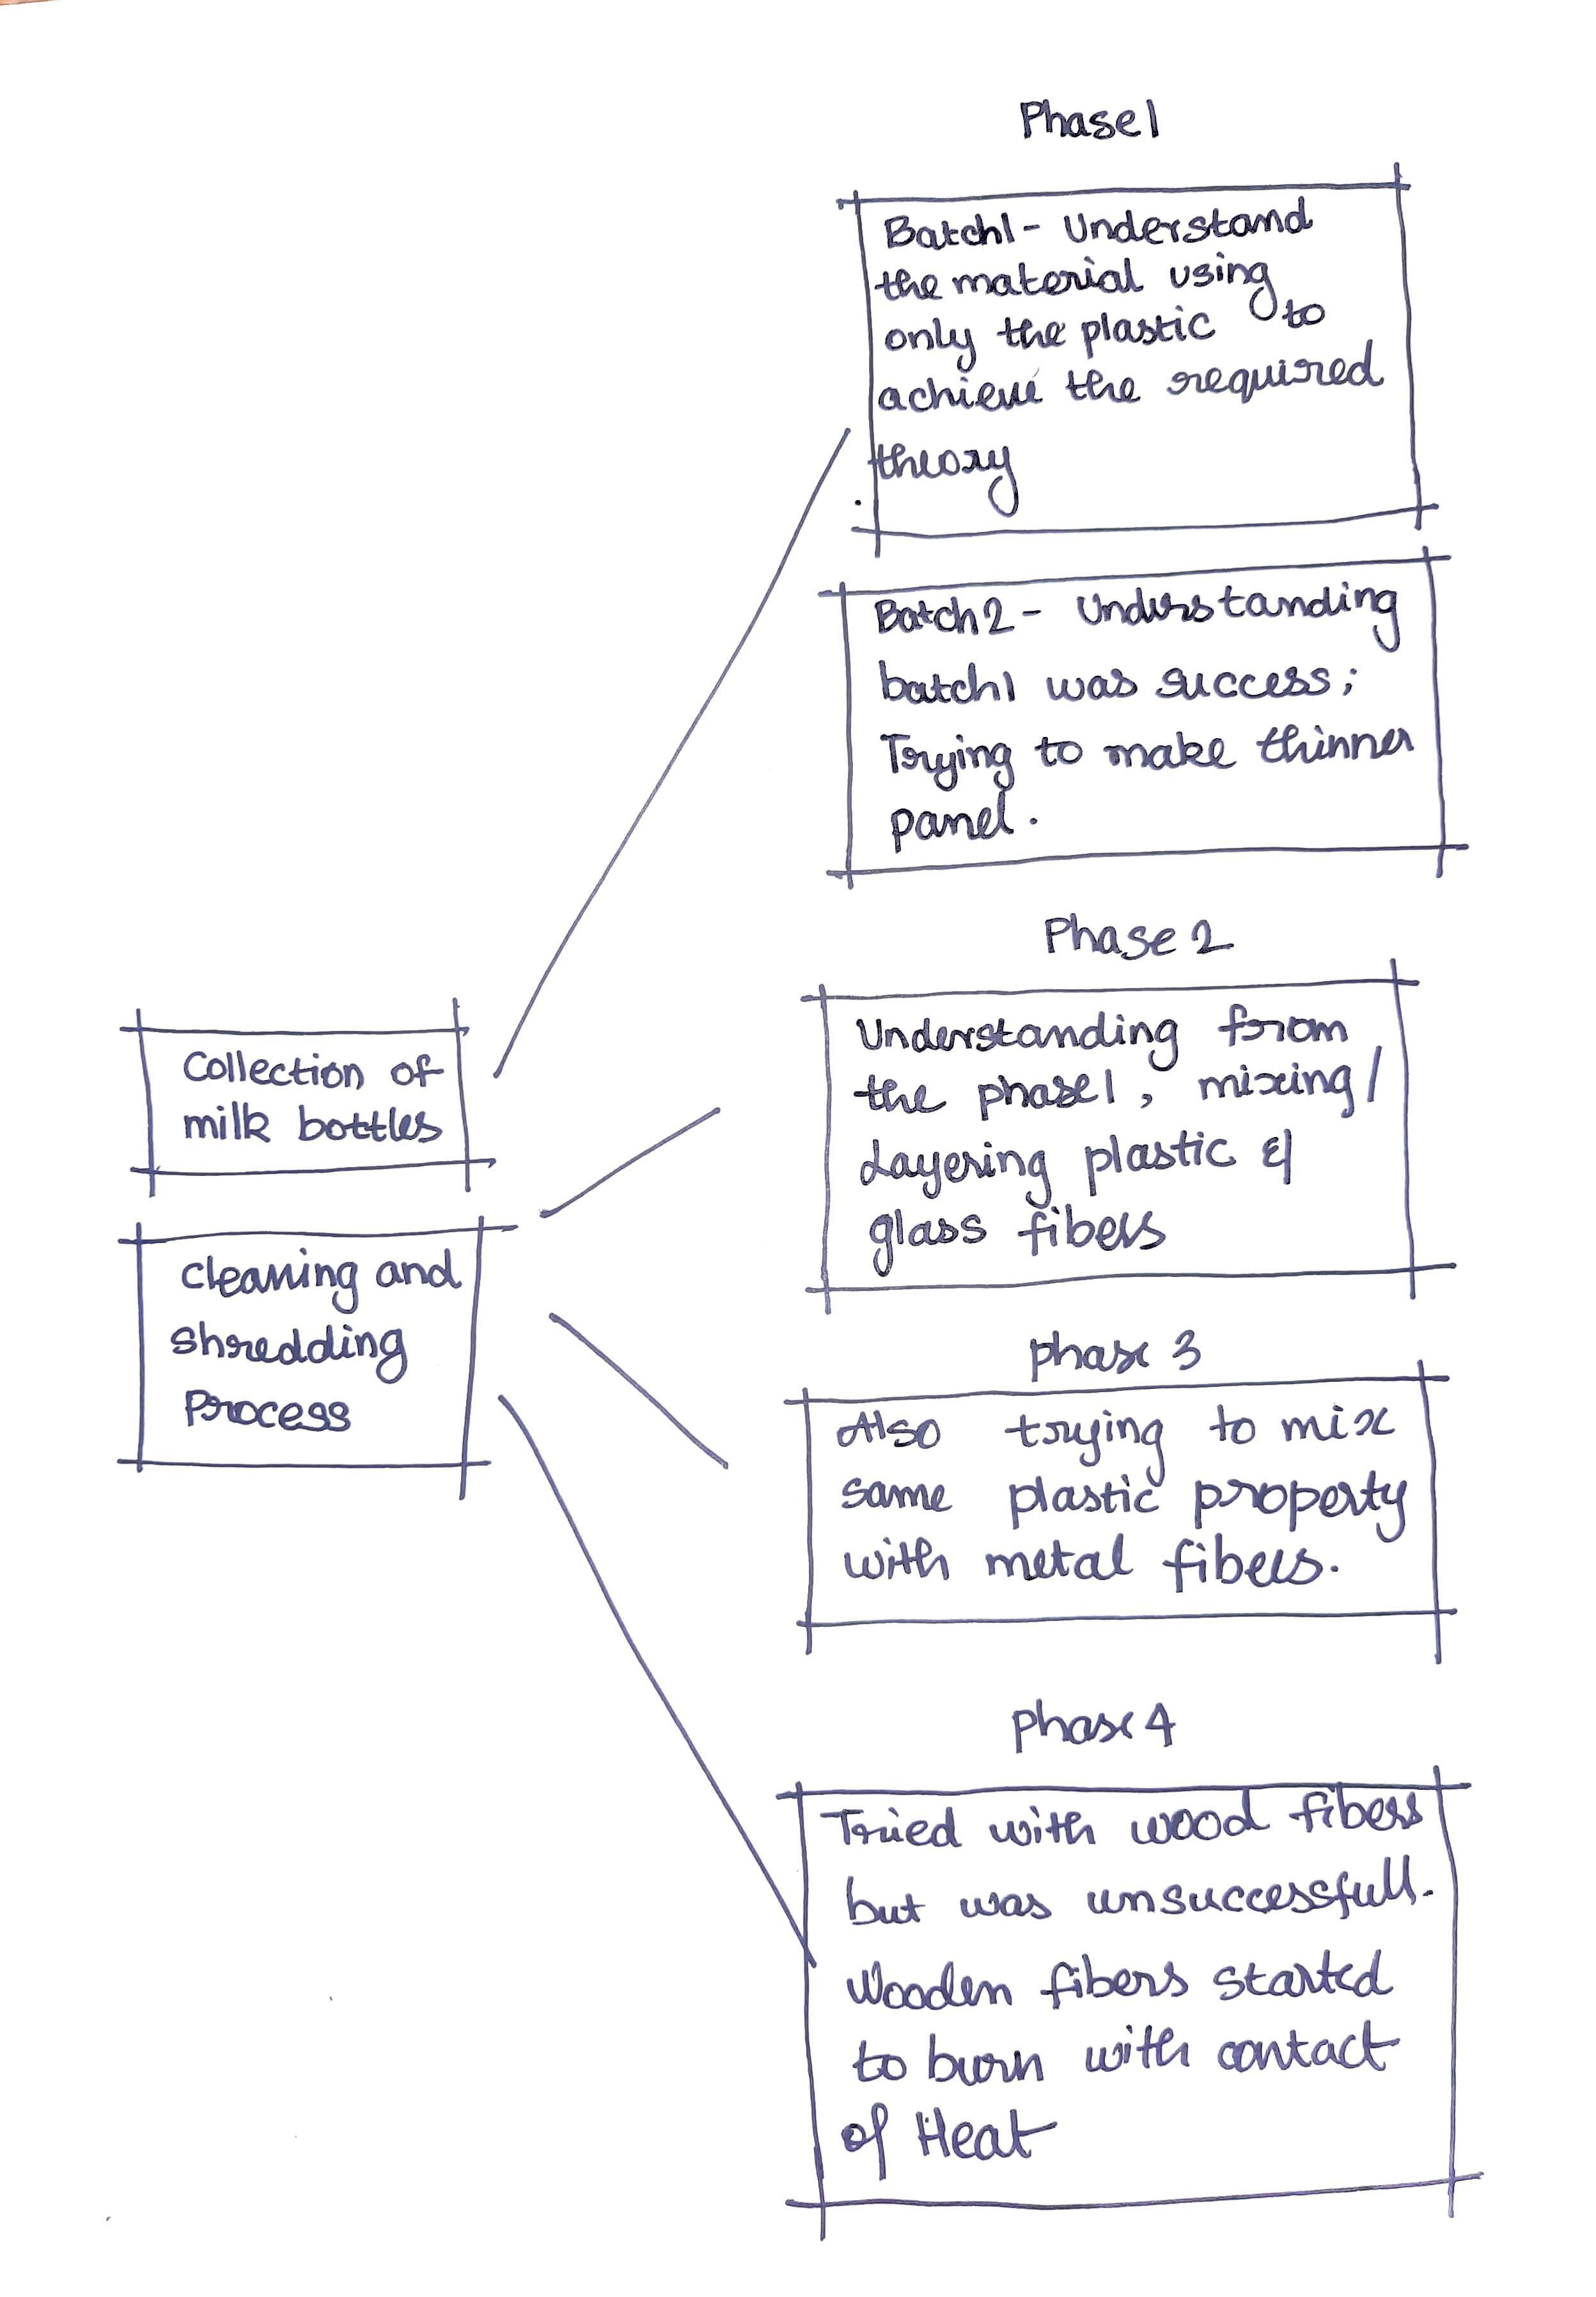
This explains the outline of the work which I tried to achieve throughout the material-making process. Every phase of the material is explained in detail.
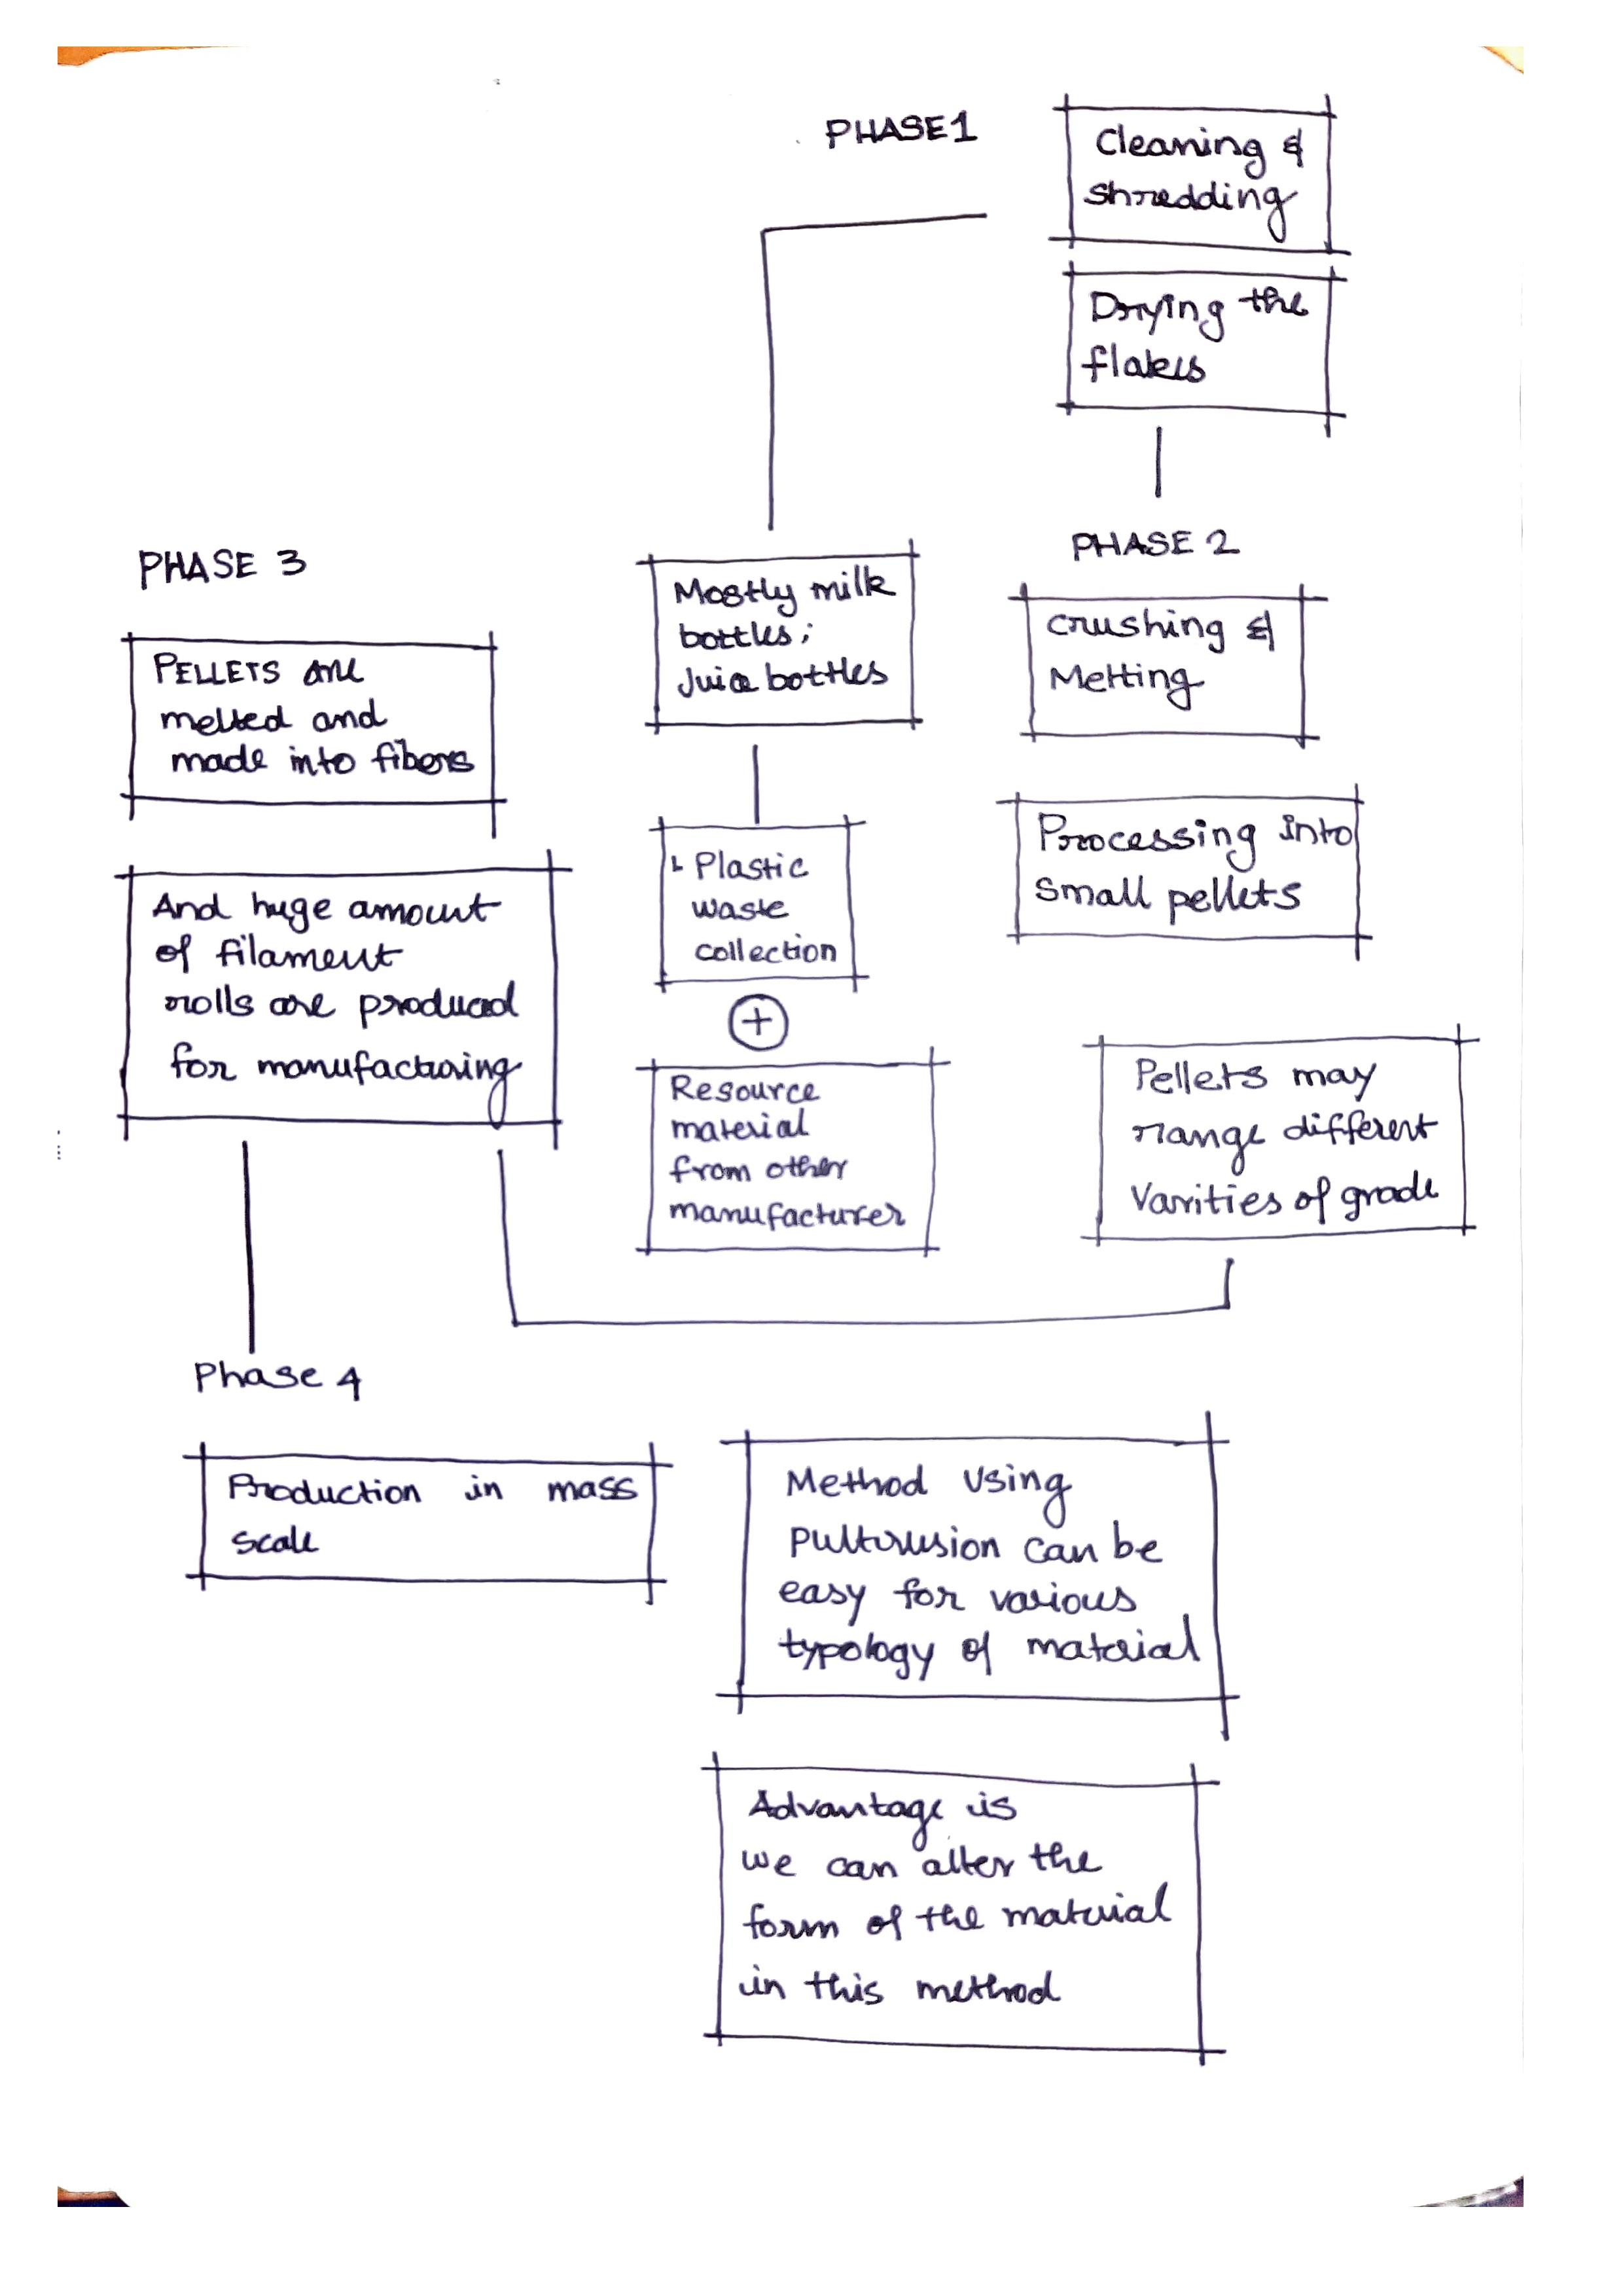
This explains the outline of the work which takes place in the Industrial scale mass production.
Material Collection
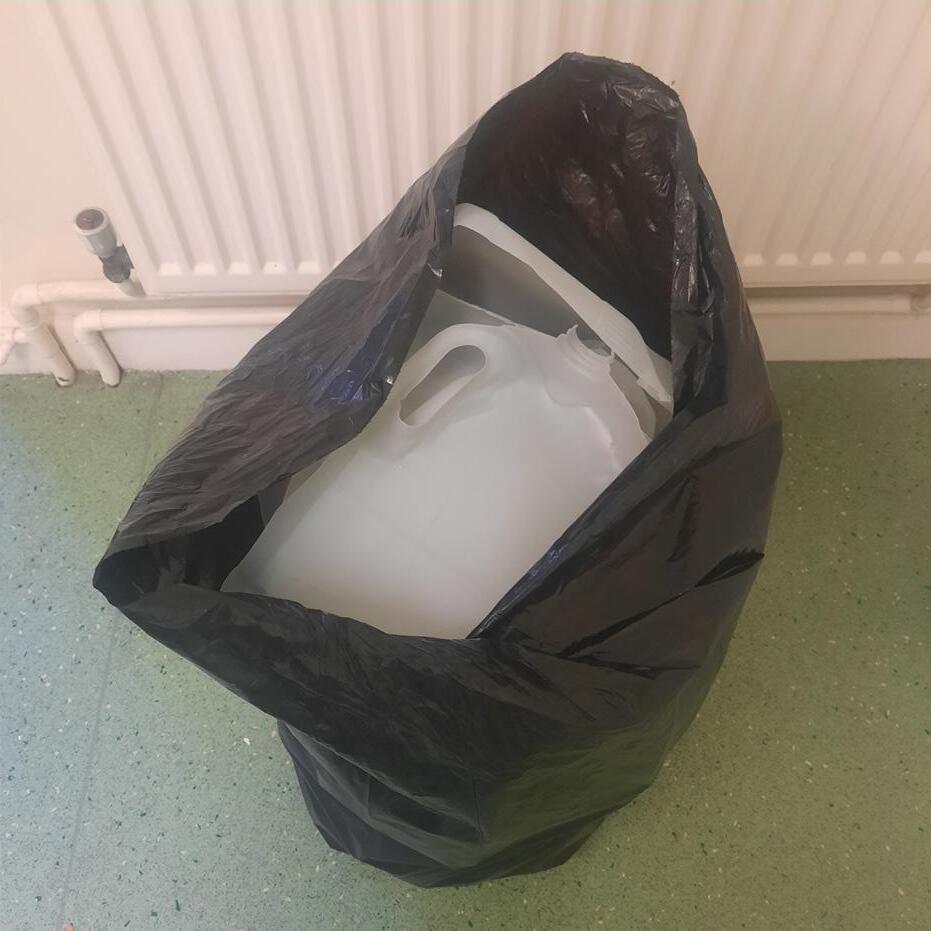

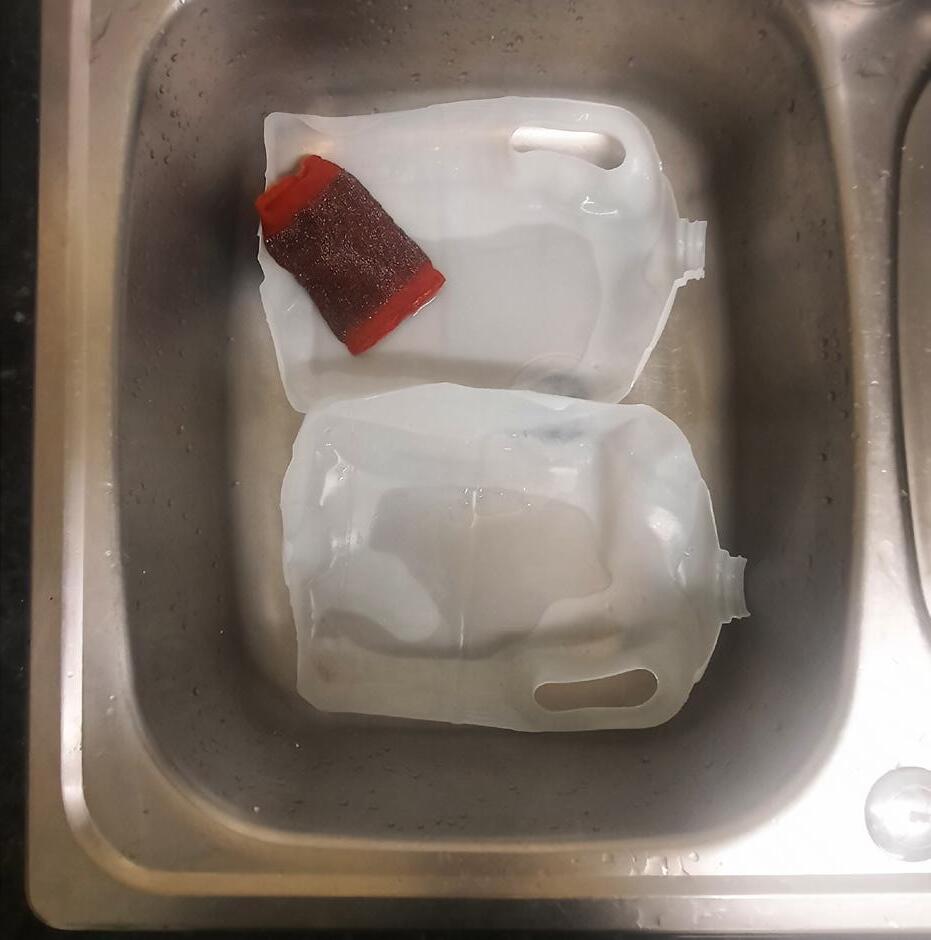
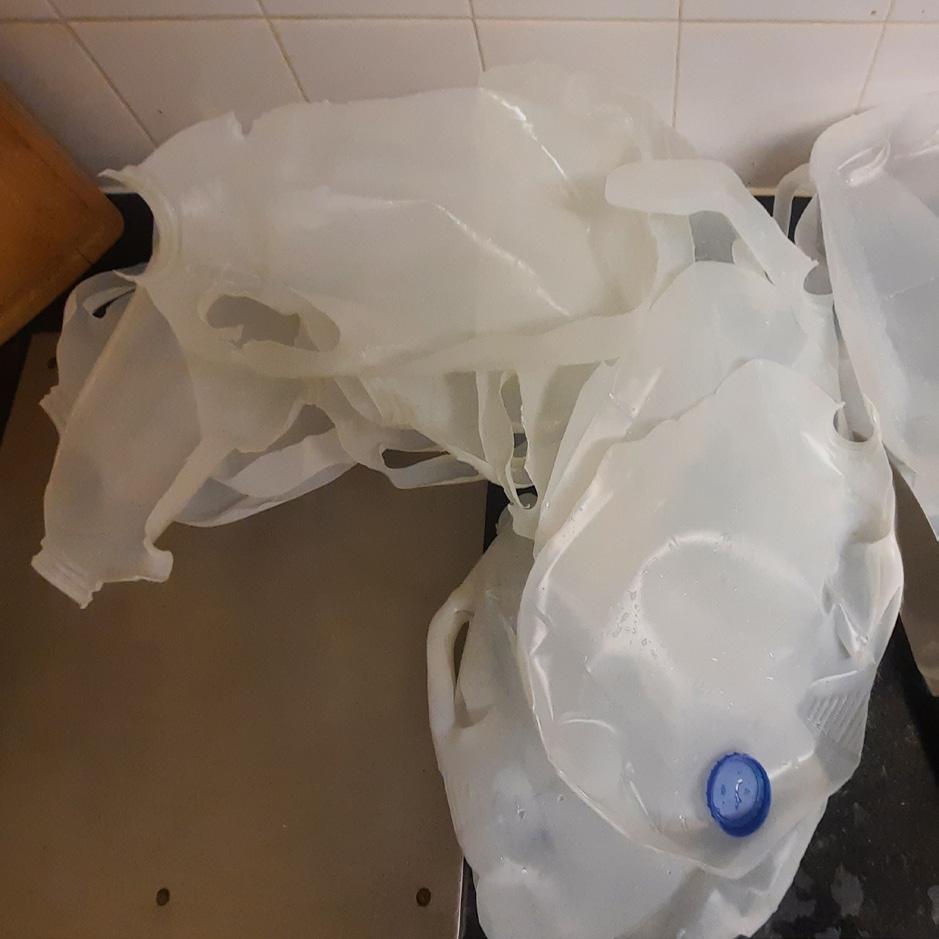
At the beginning of the process, I tried to collect most of the household used milk bottles. I cleaned them and dried and shredded the plastic to begin the phase 1 sample of the study. Most of the plastic used are Grade 2 plastic, which has a melting point of 120 deg Celsius. May be we could try out these same process for other two plastic grades.

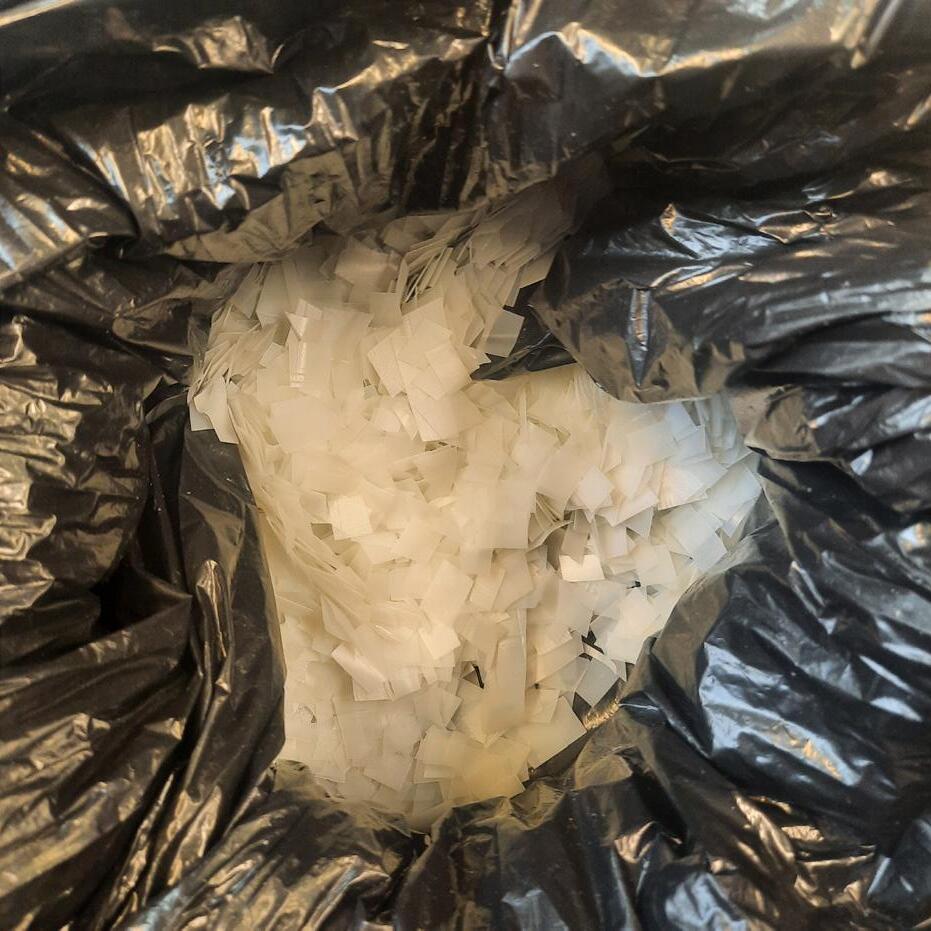
Phase 01
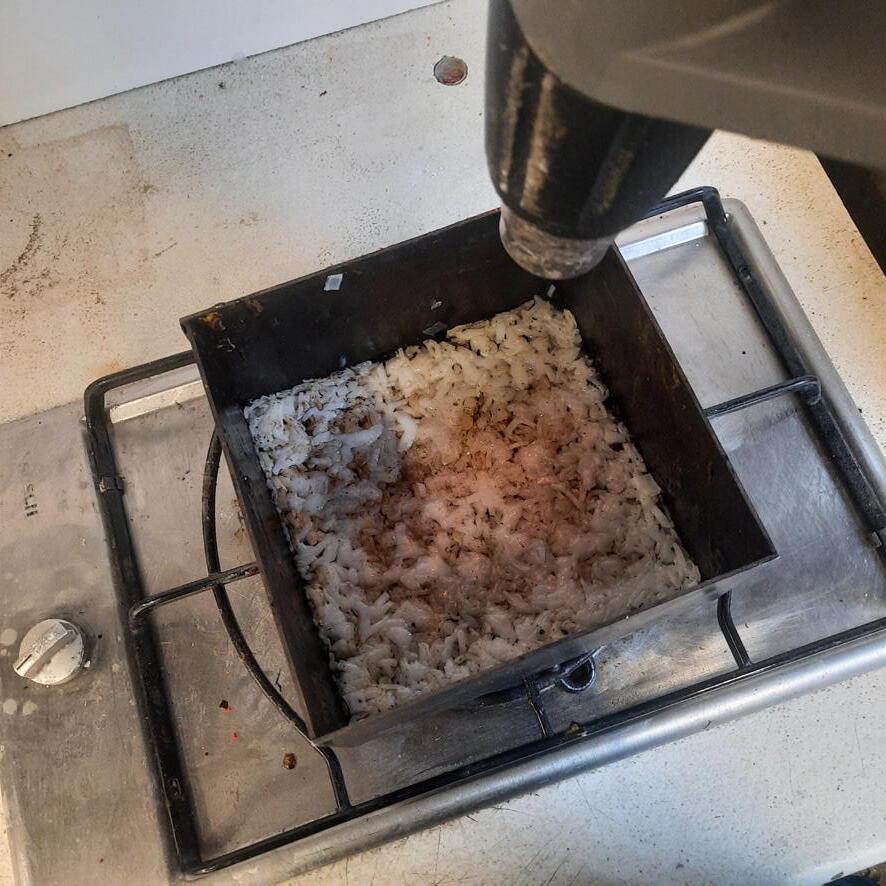
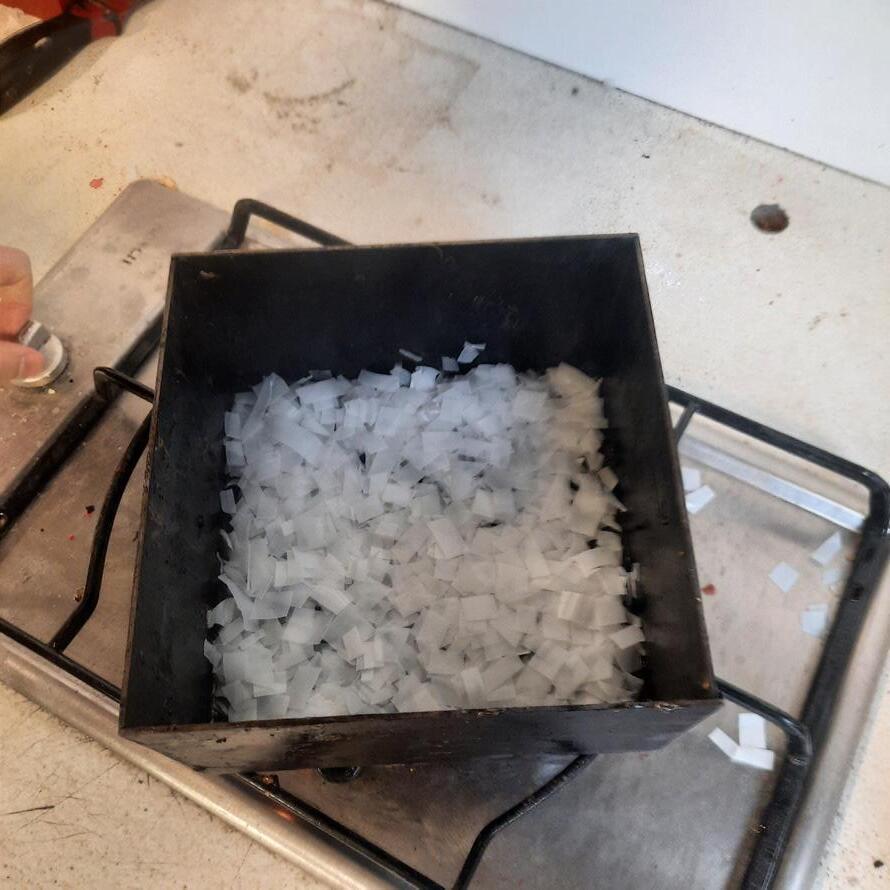
For Phase 01 create the material with maximum thickness to ensure the concept works. Batch 1 placed plastic in a hot mould so the plastic shreds can stick to it, So it won’t fly using the hot air gun to heat or melt the plastic from the top and compression is given manually through a flat surfaced weight. Repeating the process until the panel reaches the required thickness.
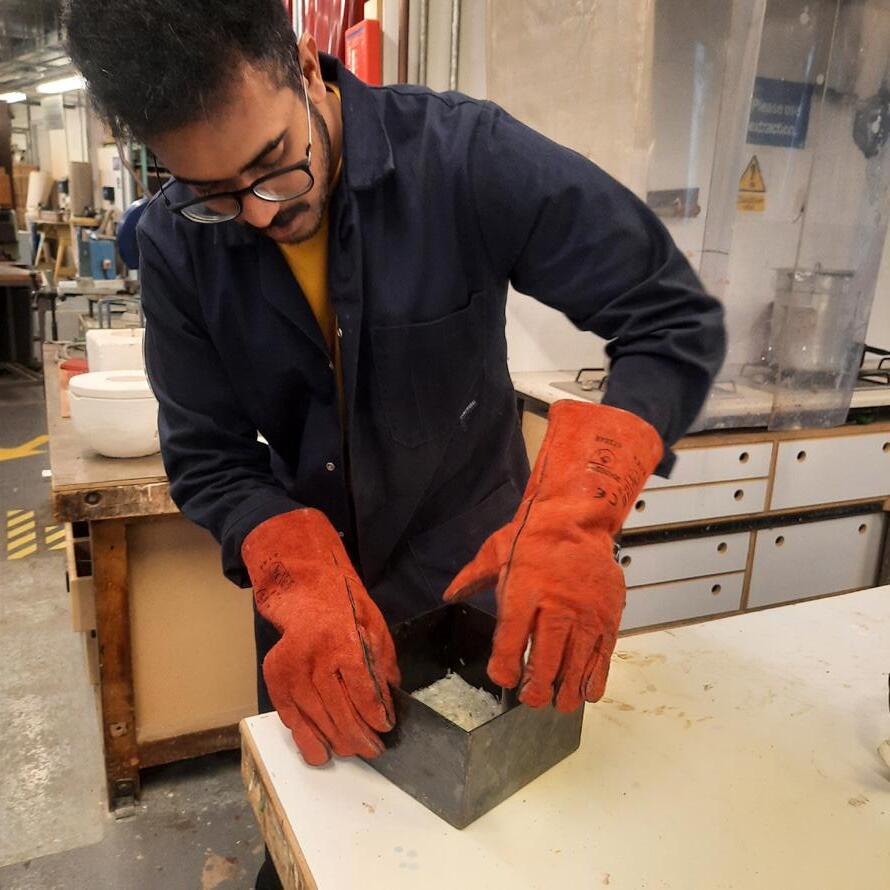
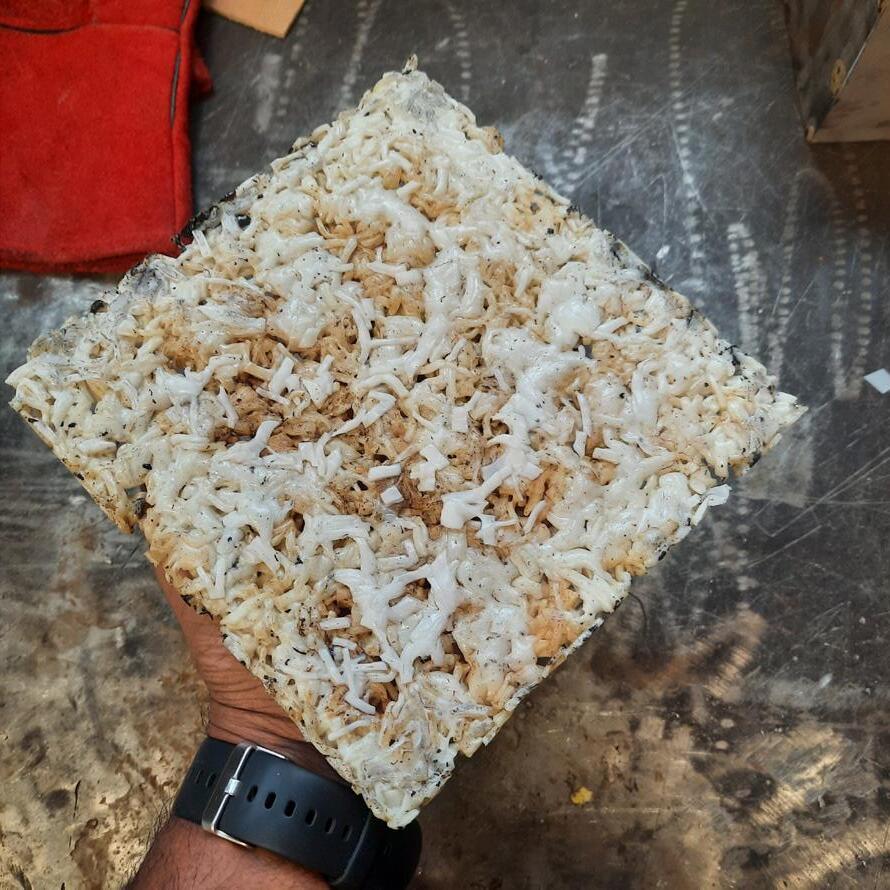
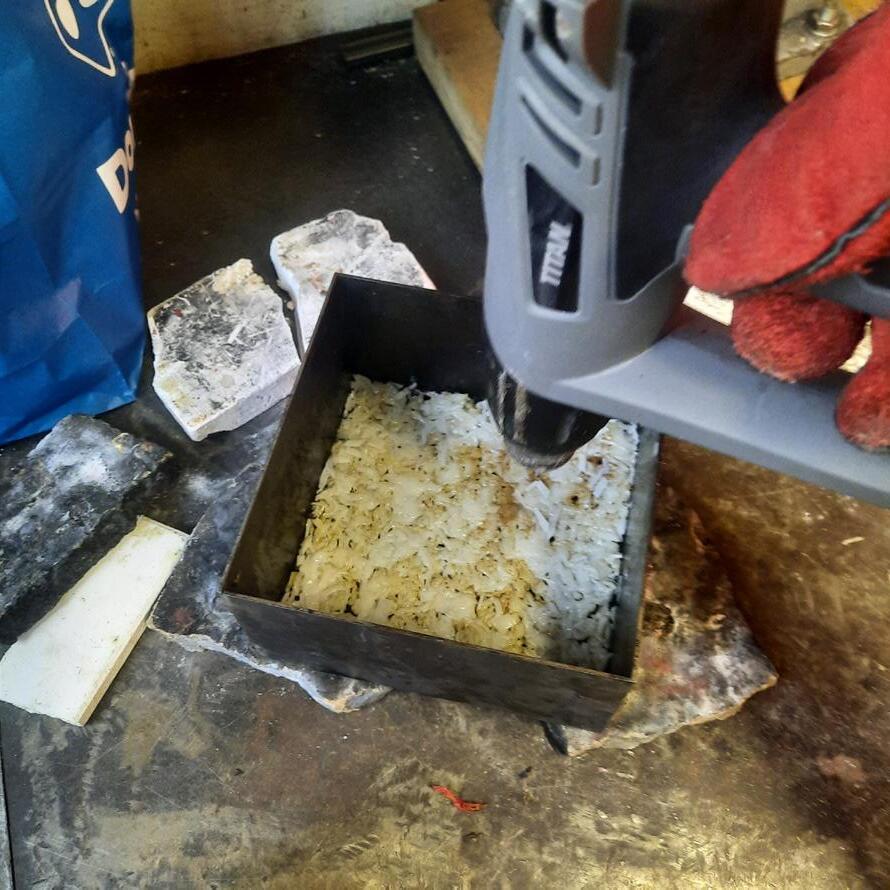
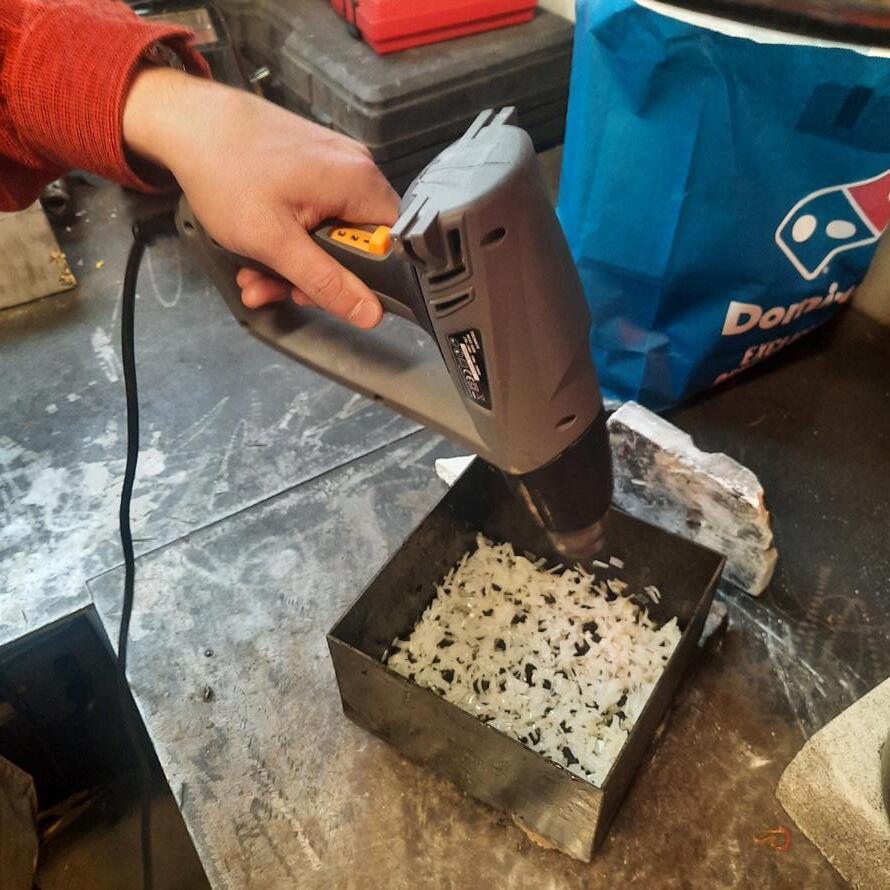
Result of Phase 01
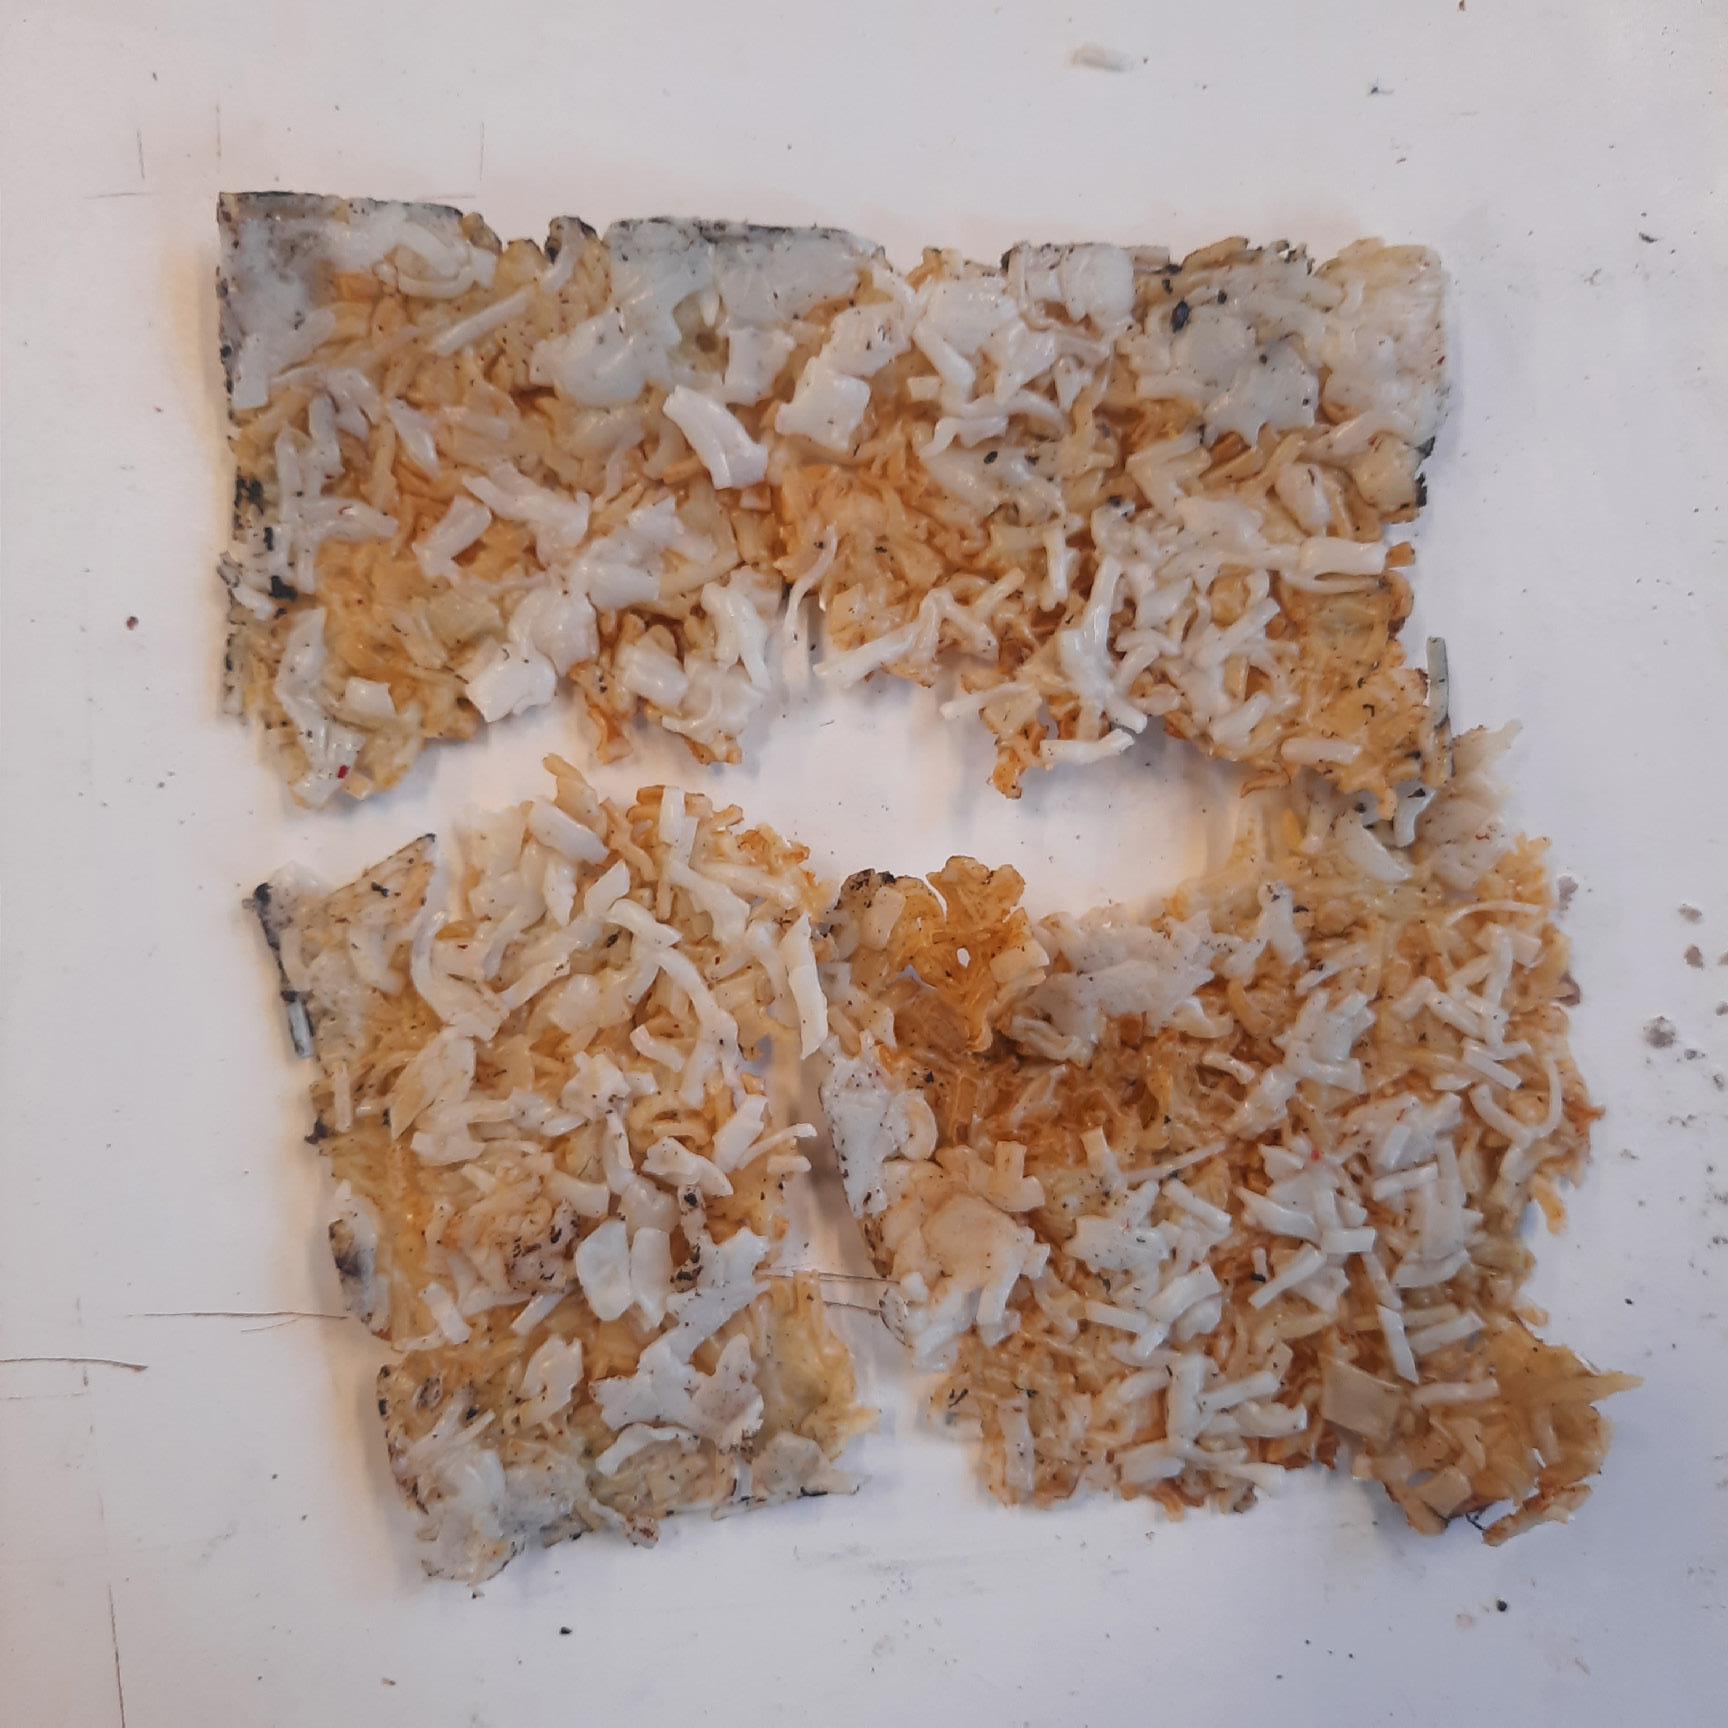
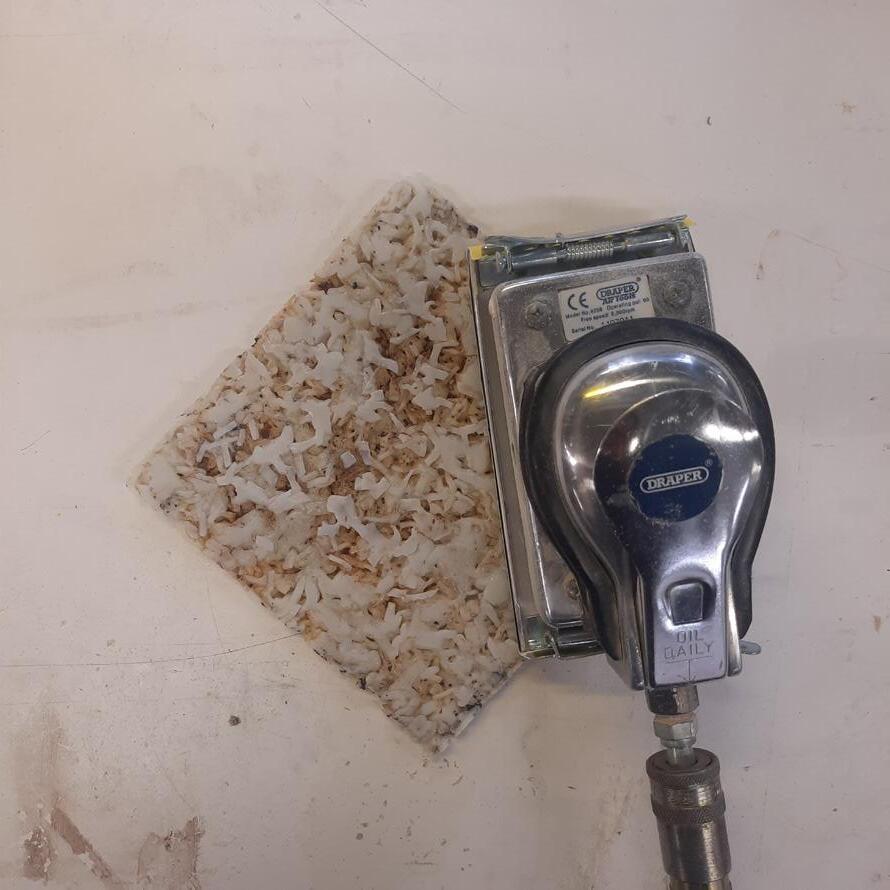
The end results of phase 01 are three batches of plastic panels batch 1 has the maximum thickness that proved the concept is working, And trying to make that panel thin than the last batch Batch 02 is also a success, But trying to make it slender than the last batch been a failure during the extraction from the mould.
The final output of Batch 01 and Batch 02 Plastic Panels.
The final out of Batch 03 try make thin from the last result.
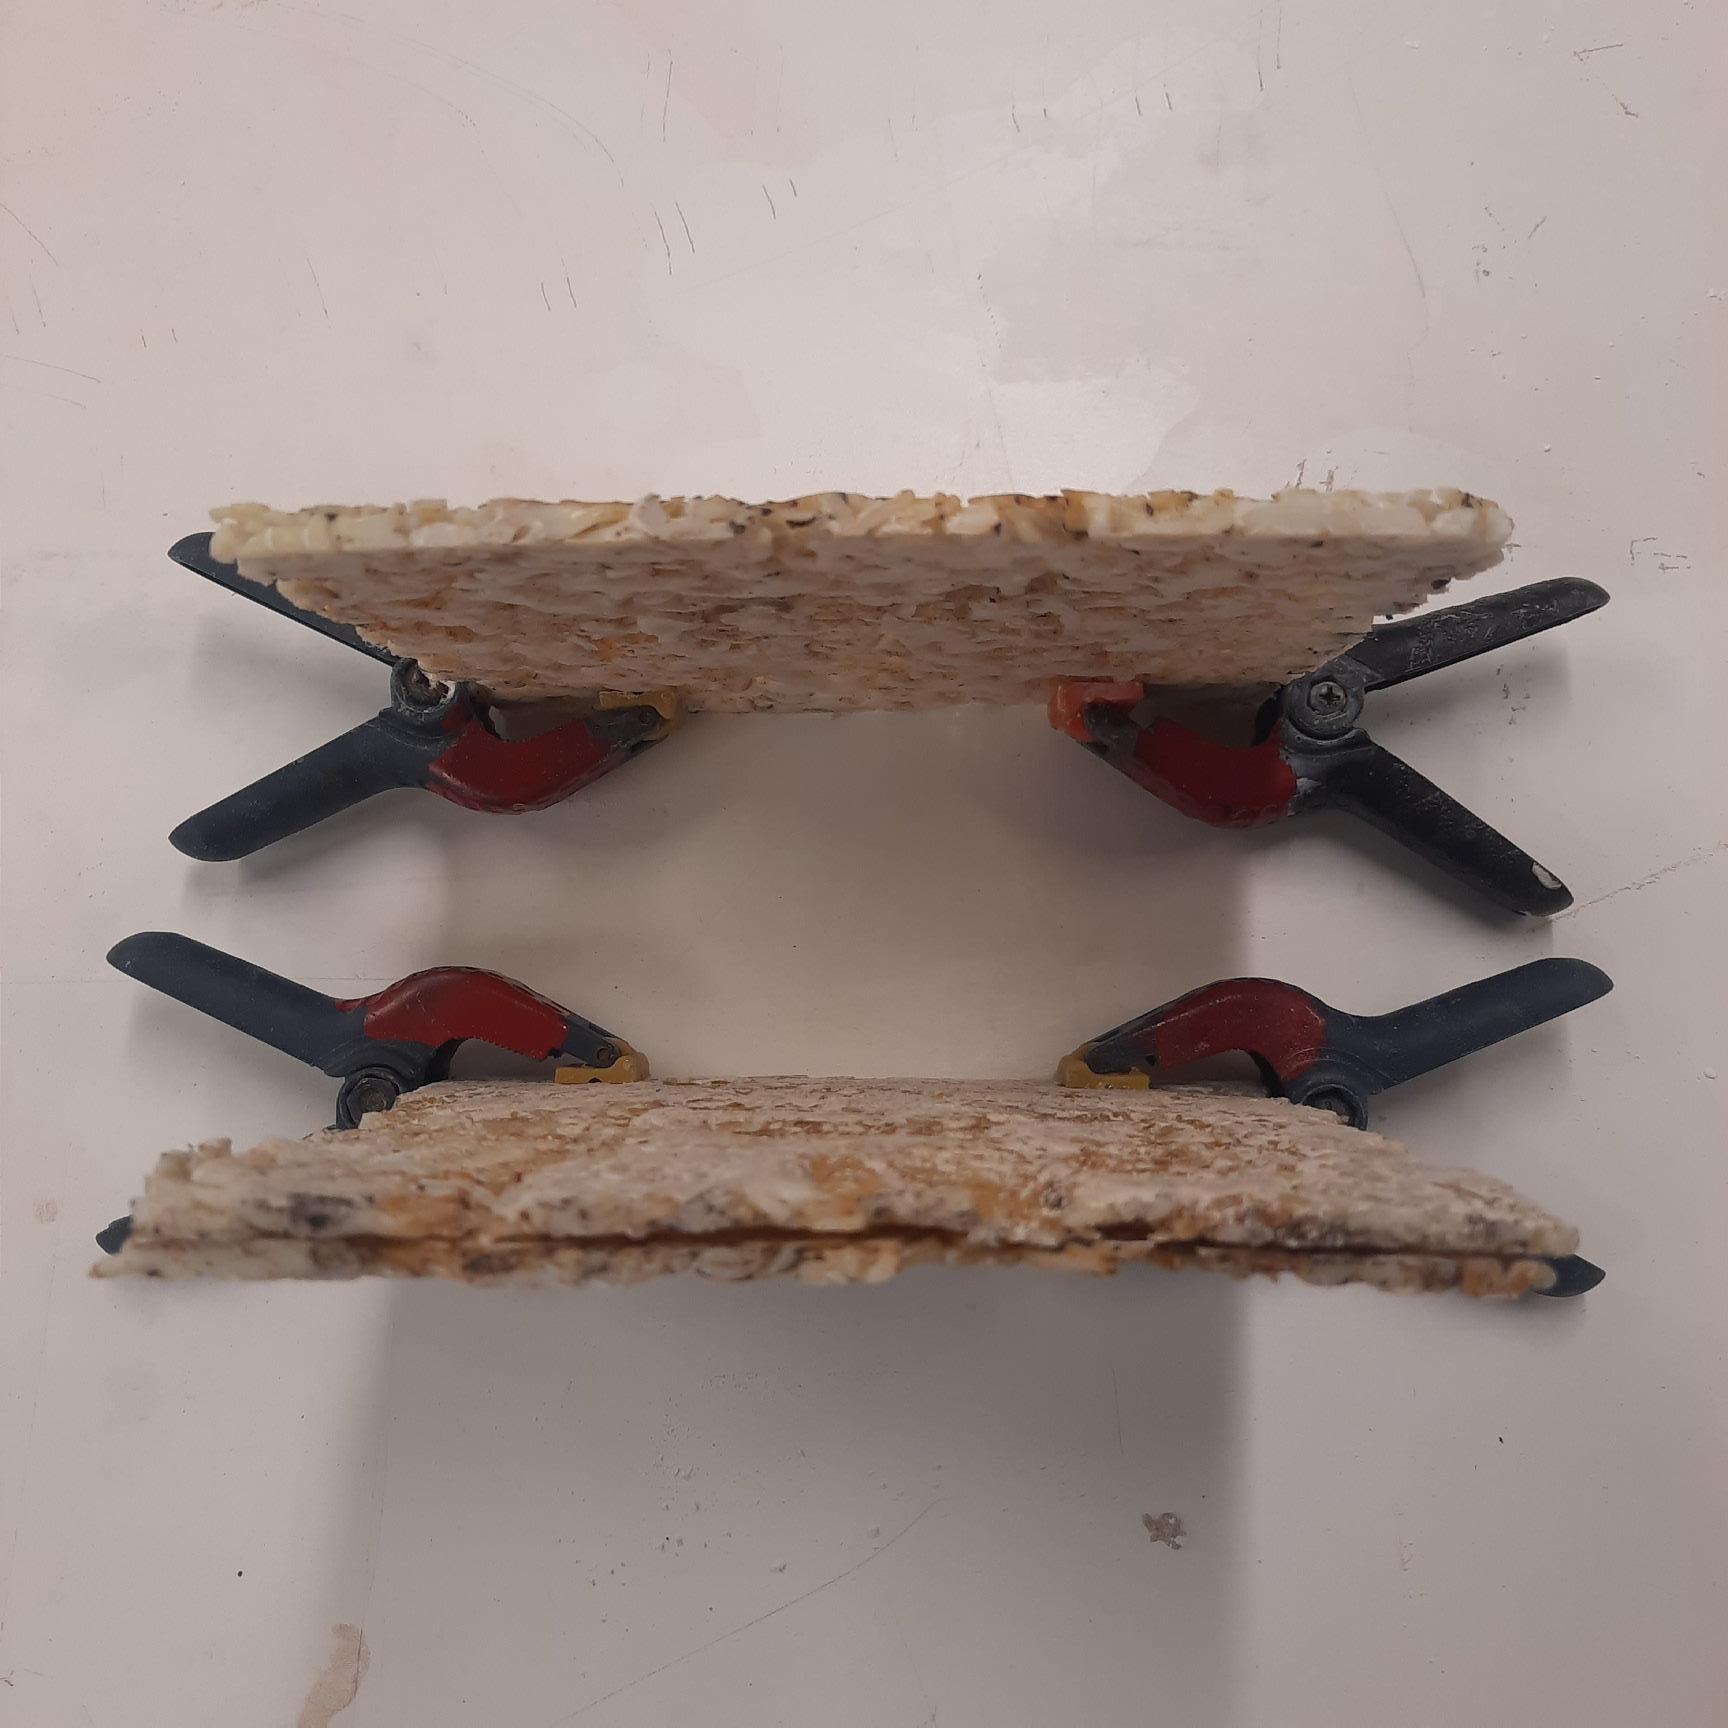
Phase 02
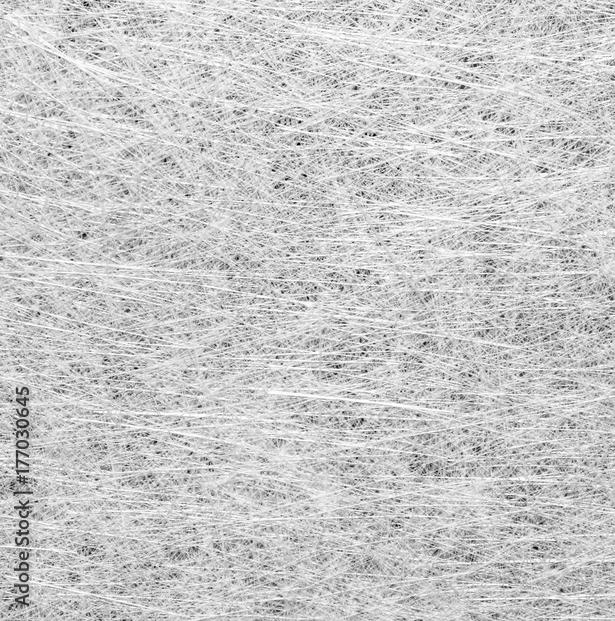
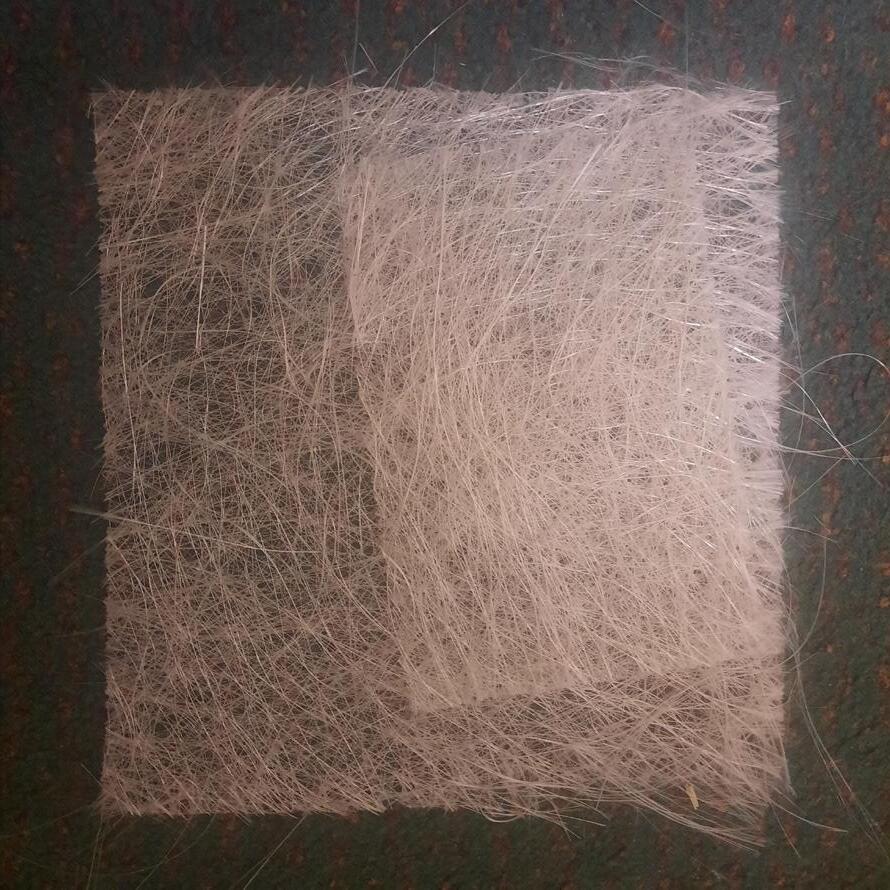
Phase 02 repeats the same process as phase 01 but this time adds fibreglass as a composite to the plastic to attain more strength and rigidity to the material to withhold more weight it will be found out during the tests. 01
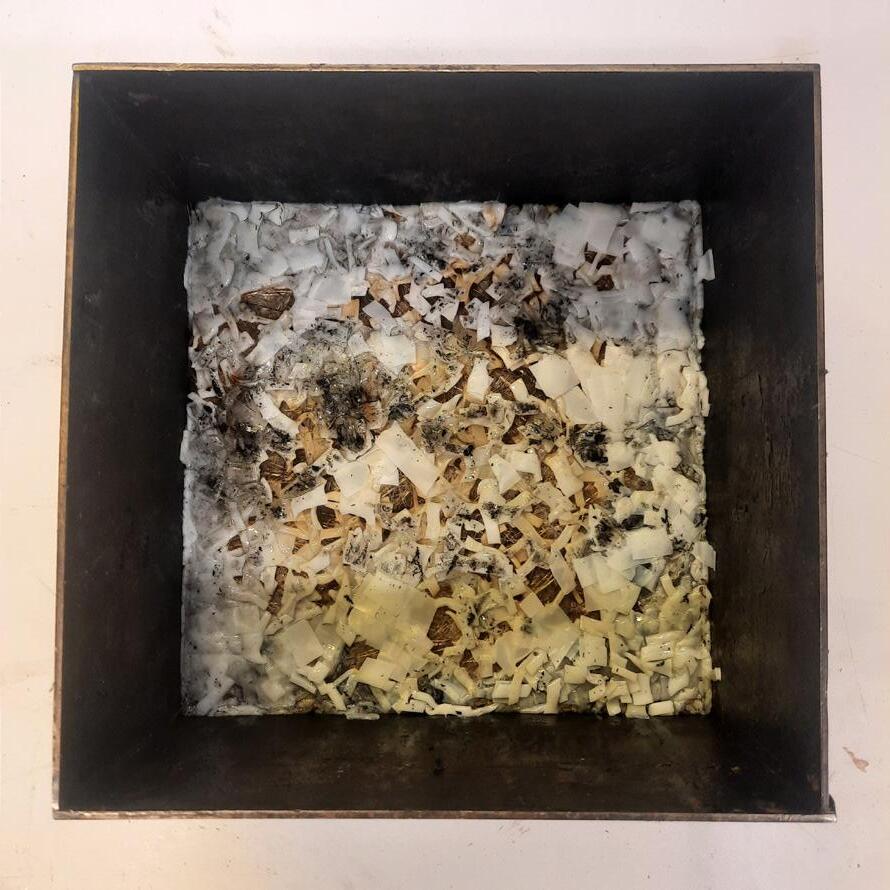
Preparing
03
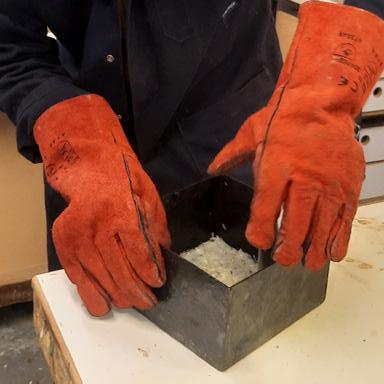
Heat both the layers from top and bottom.
05
Repeating the process to get the required thickness and compressing the whole layer together.
04
Add some plastic shreds on the hot surface and repeat the process.
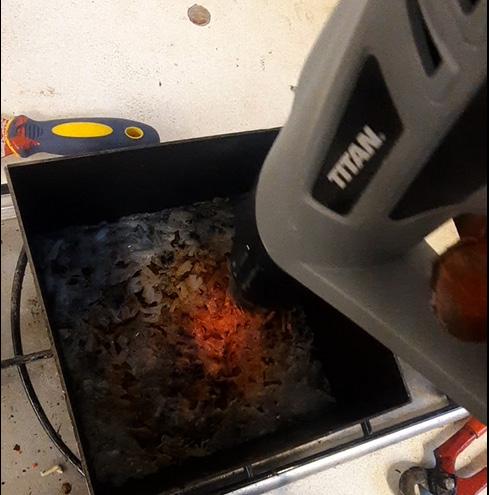

06
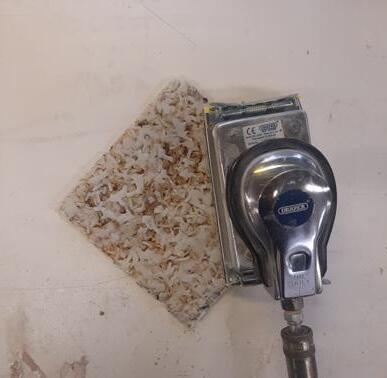
Extract from the mould and sand it for even surface.
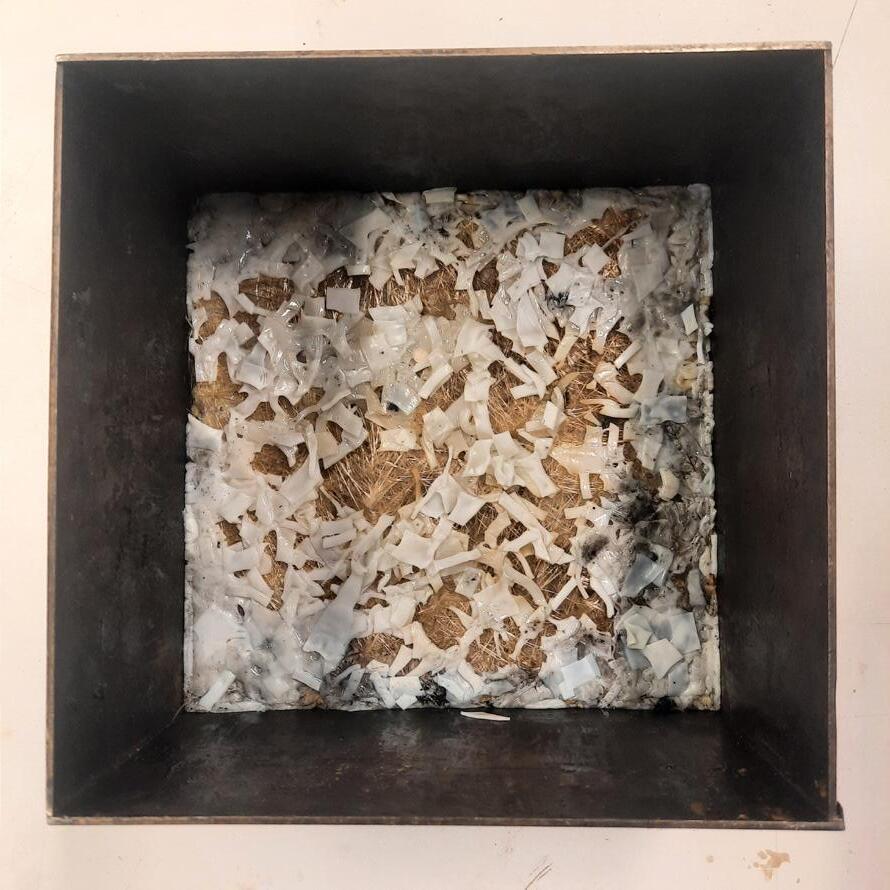
Phase 02
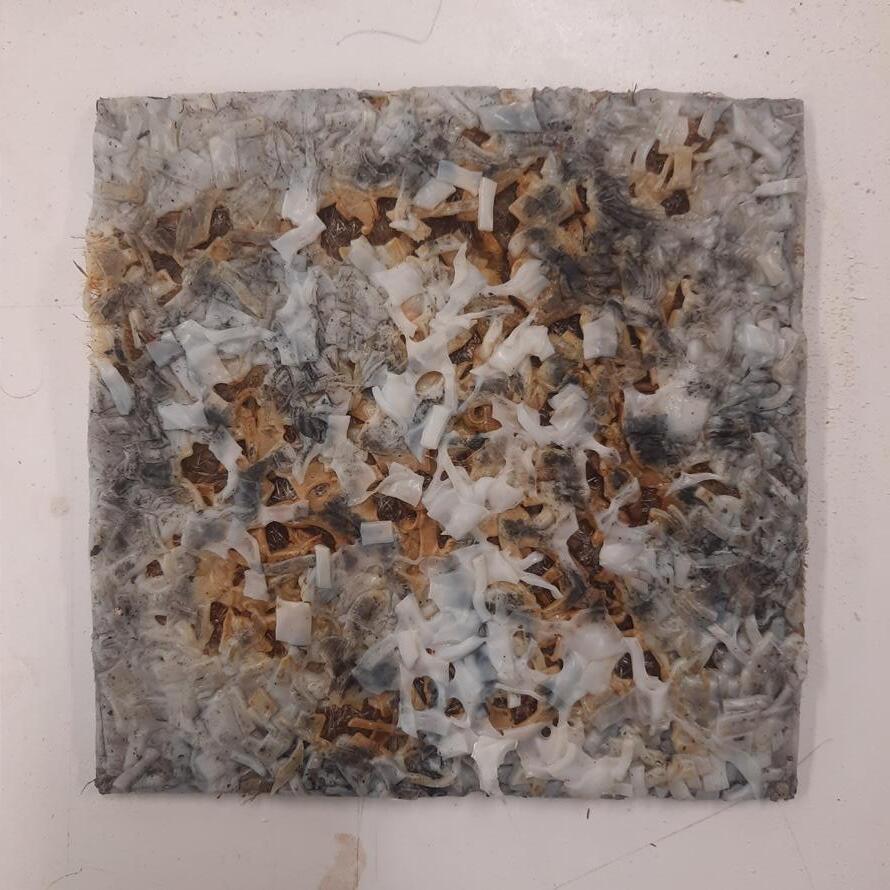
Phase 02 is successful and the major drawback of manually extracting is only when the mould is heated to a certain limit. Sometimes product gets deformed or breaks but learning from the last phase helped a lot.
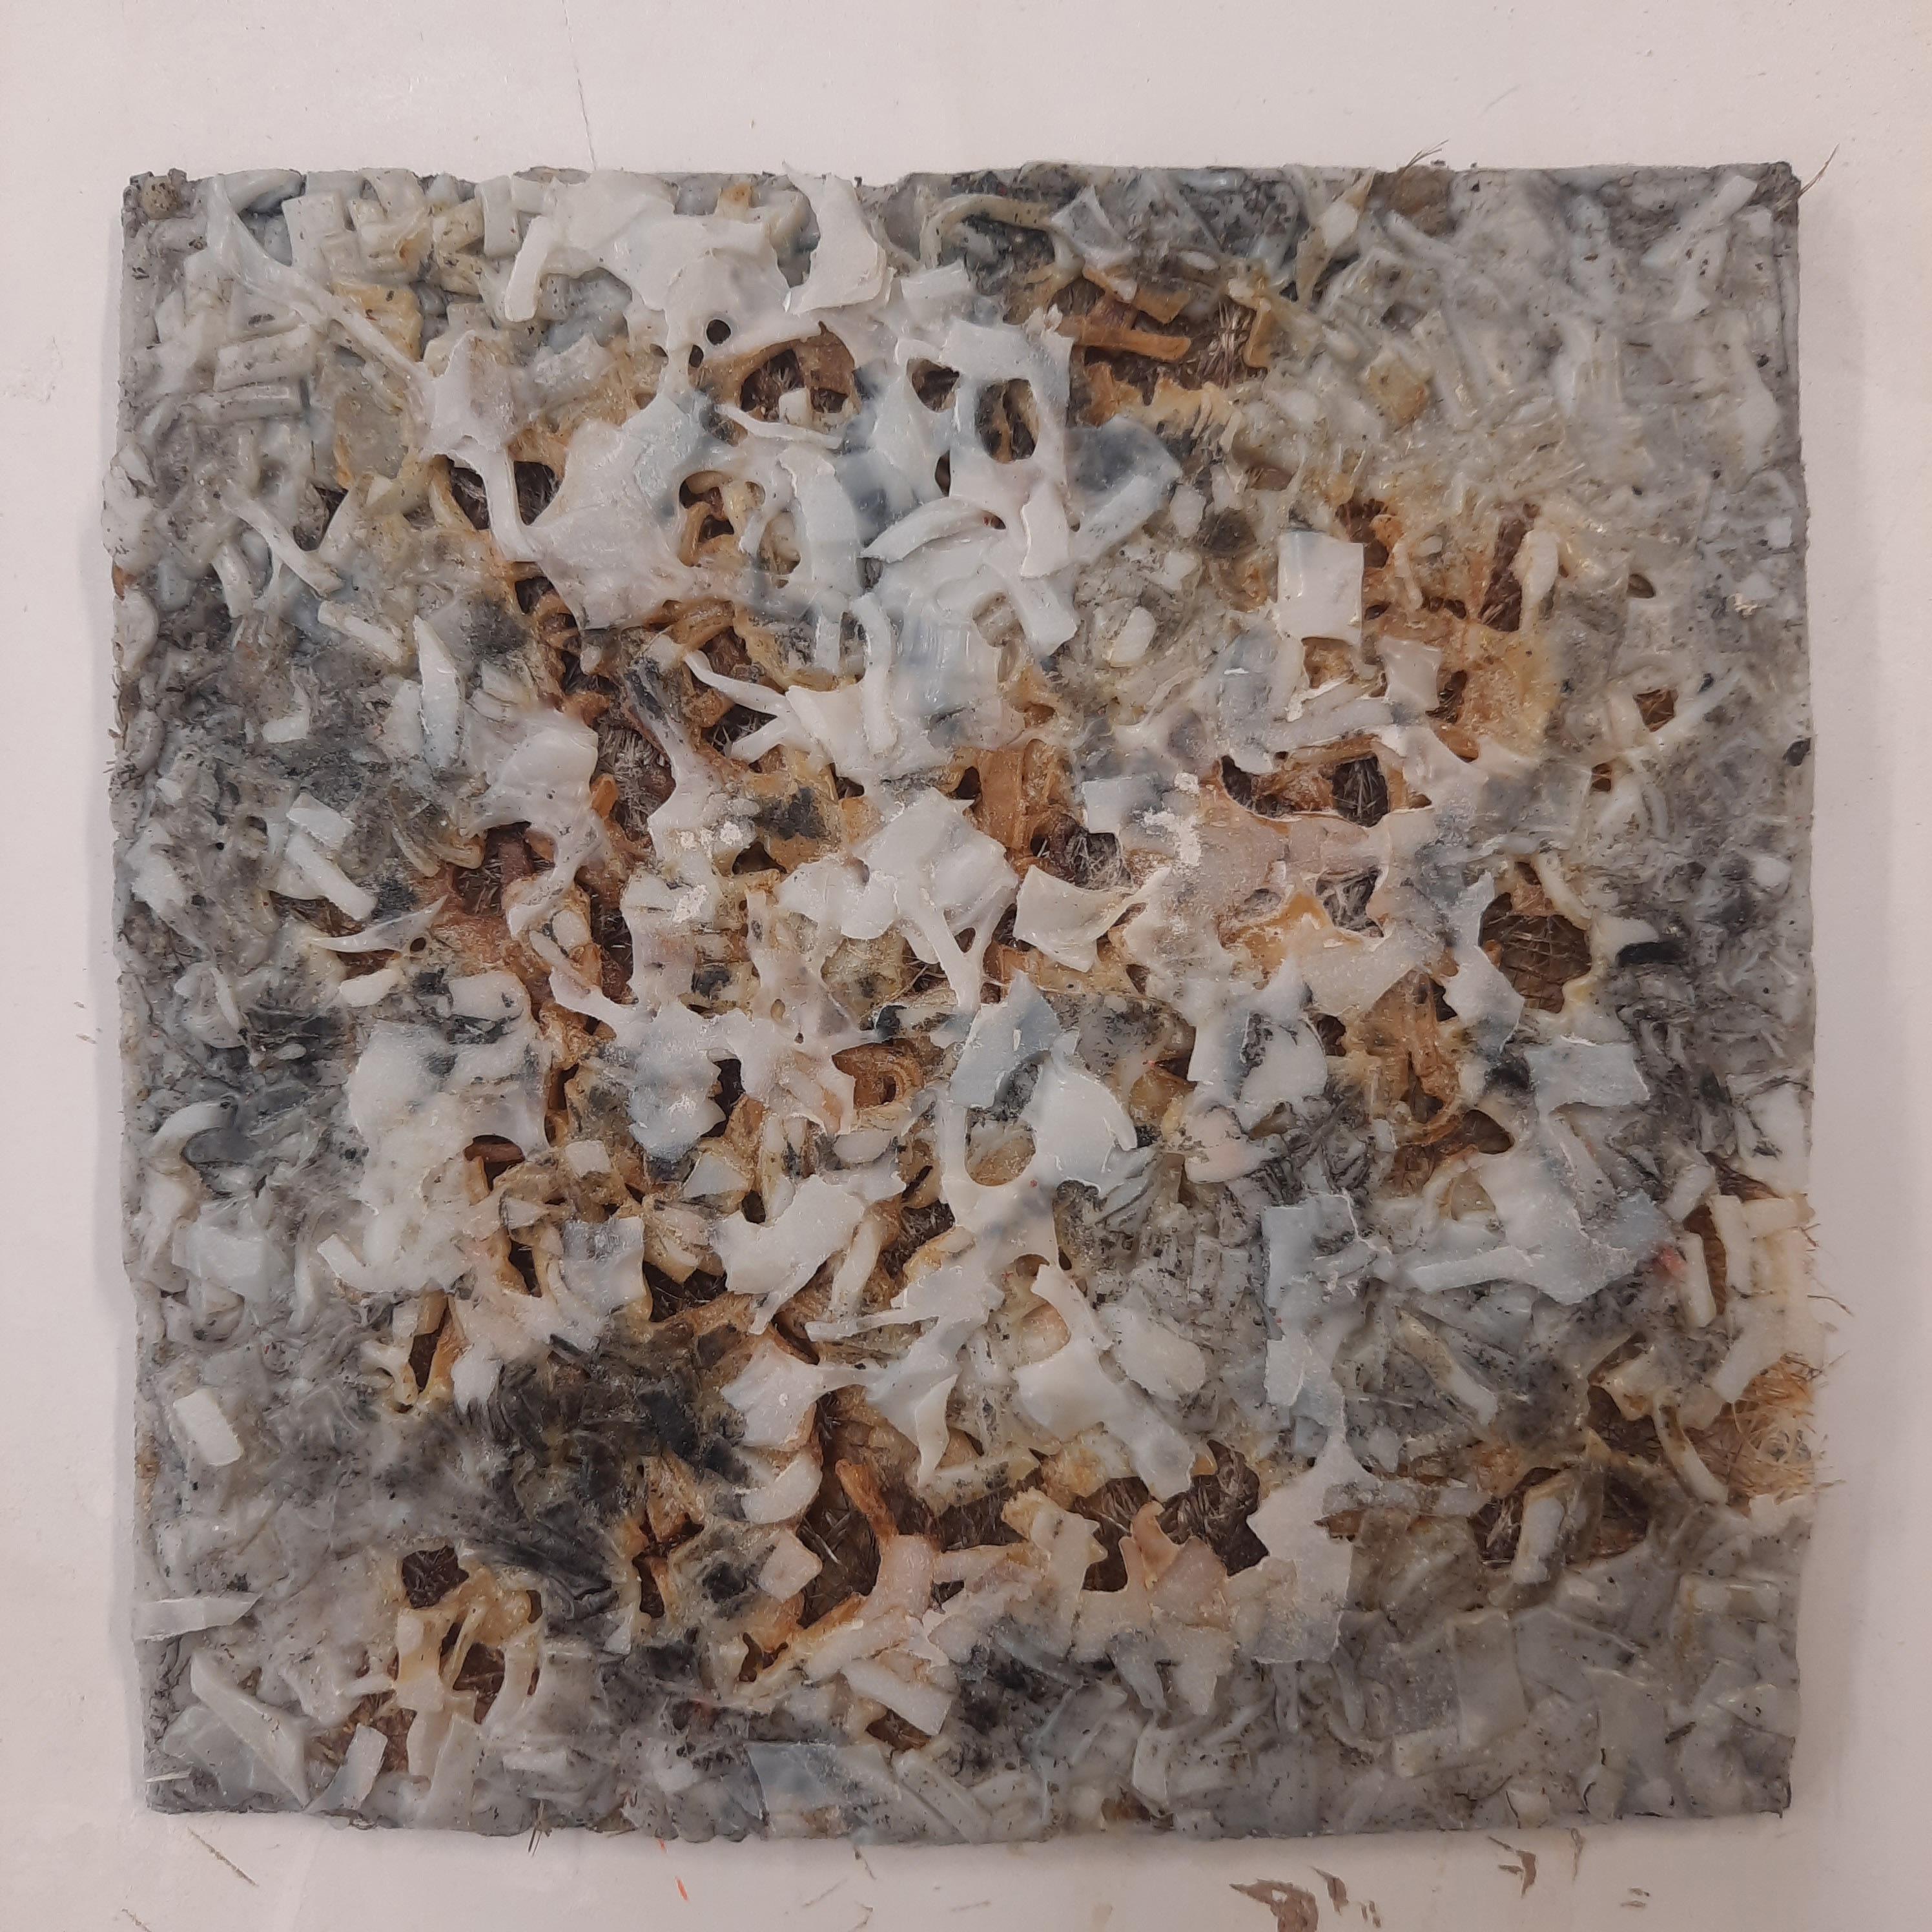
Phase 03
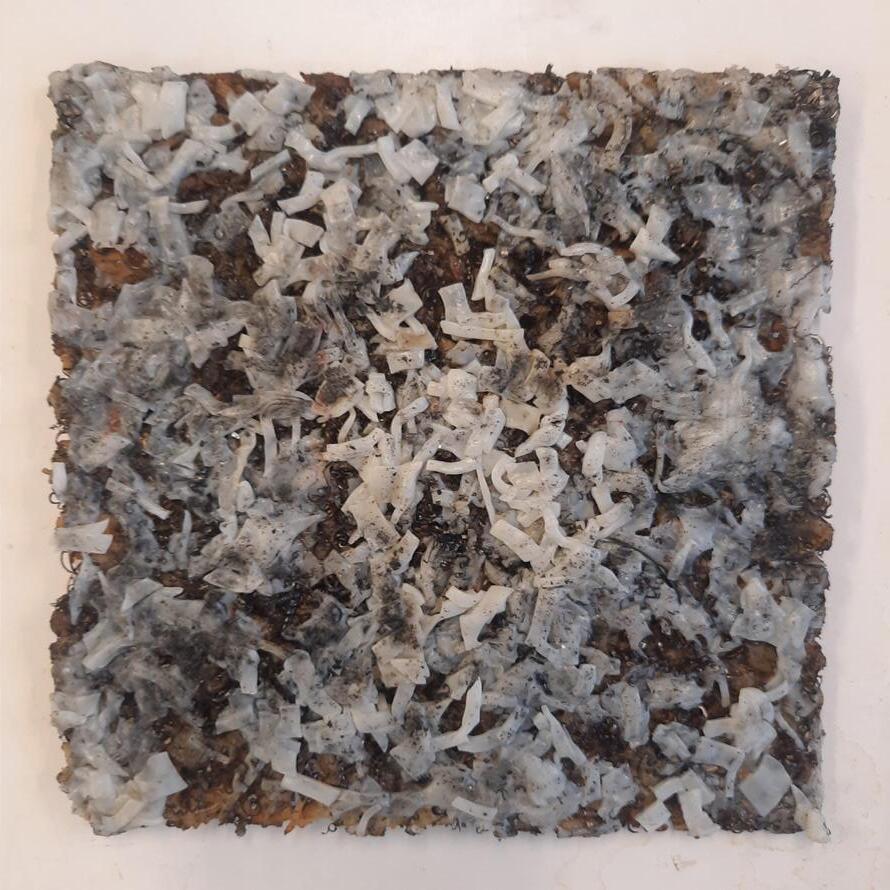
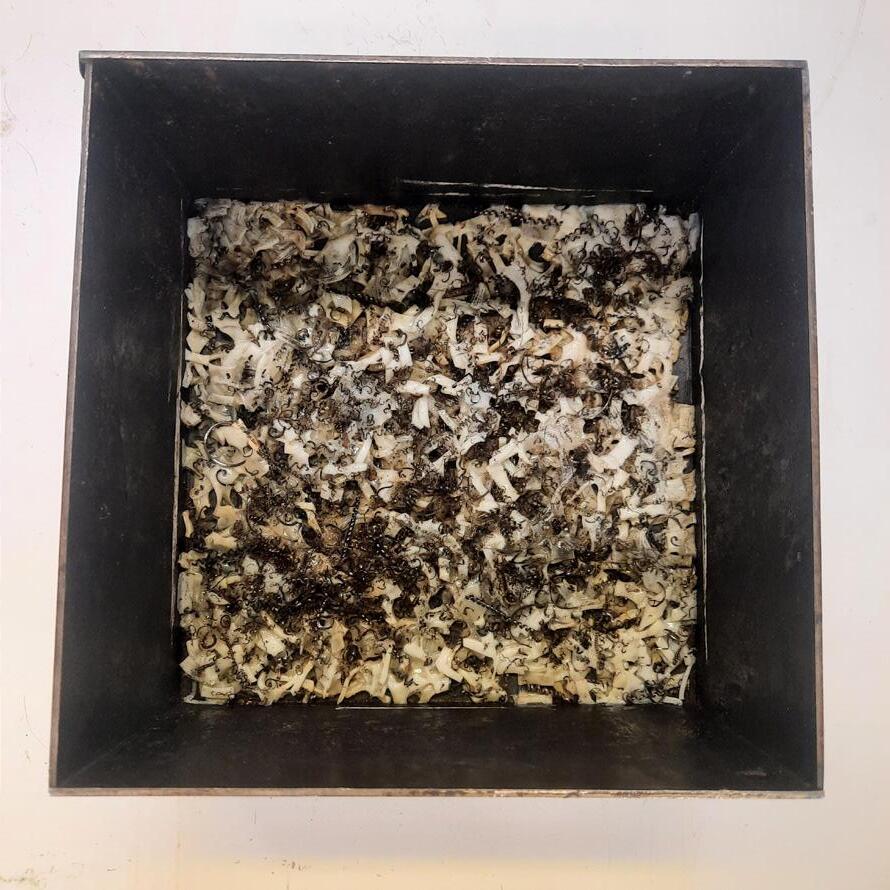
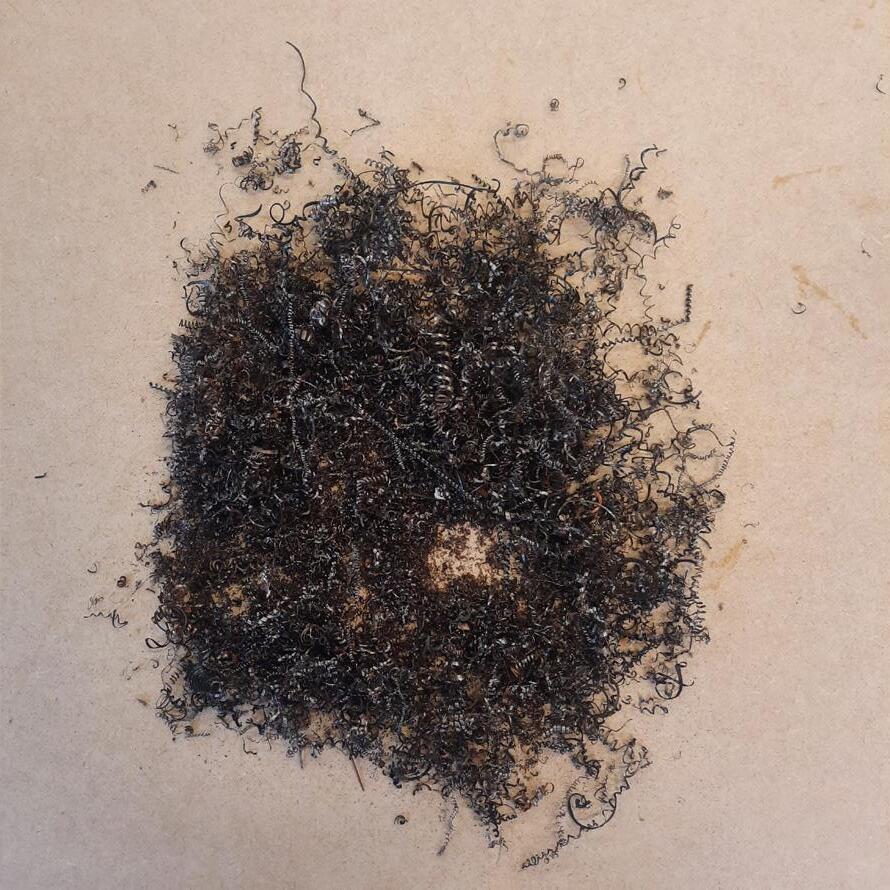
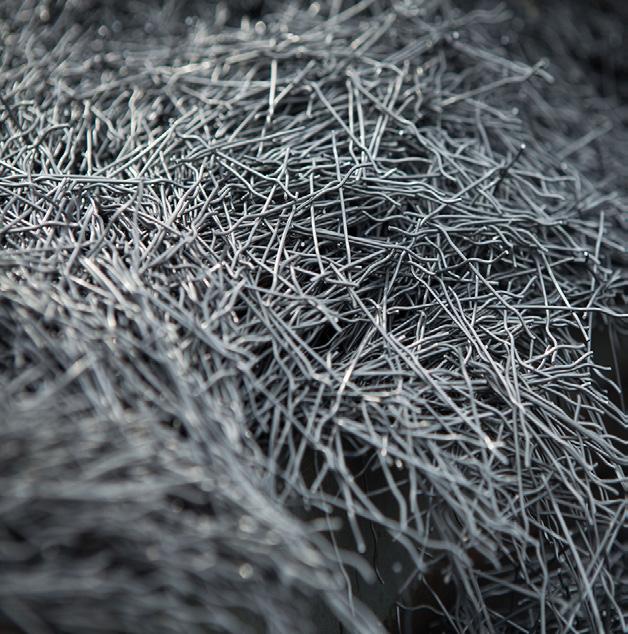
Phase 03 repeats the same process as phase 01 but this time adds metal fibres as a composite to the plastic to attain more strength and rigidity to the material to withhold more weight which will be found out during the tests. But to bind with the plastic needs a lot of compression and heat. 01
03
After adding composite to the layer 1 heat and compression is
05
Applying heat and compression so metal fibers bind with the plastic properly.


04
After add over
06
Final material extracted from mould and sand them for even surface.

