
10 minute read
INSIDE &OUT
Rolling out the larger pieces of dough on parchment paper allows you to easily transfer cutouts to a baking sheet.
Advertisement
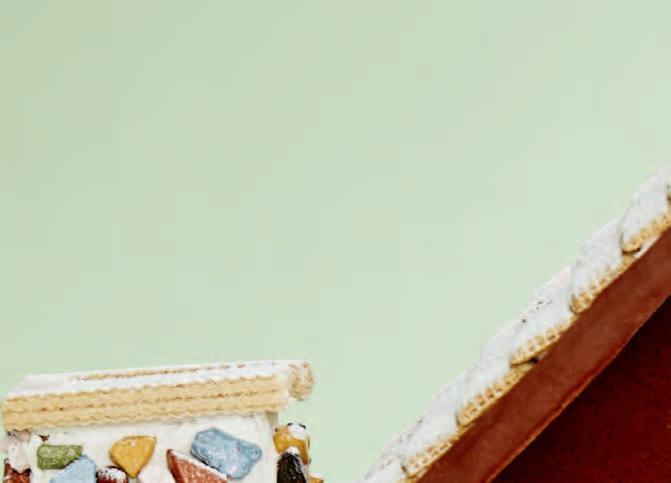
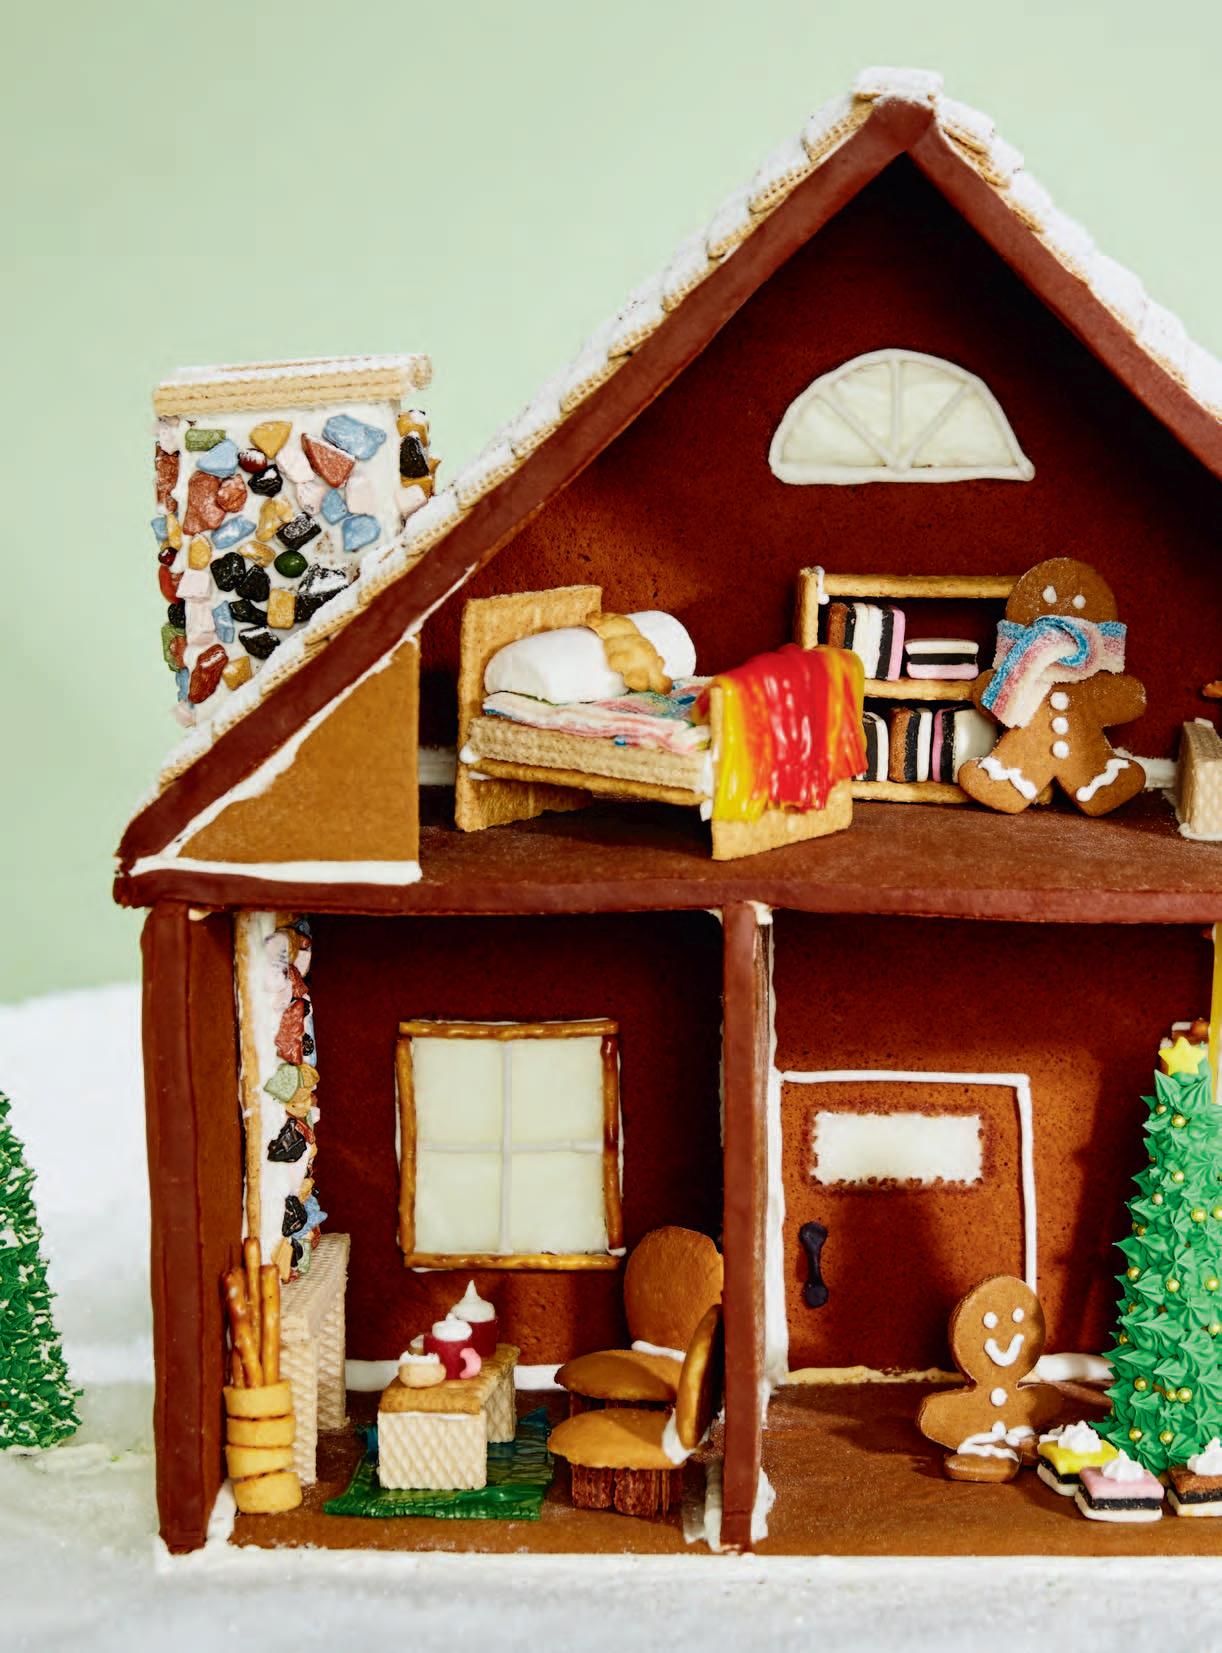
FIND CHOCOLATE PEBBLES AT BULKFOOD STORES.
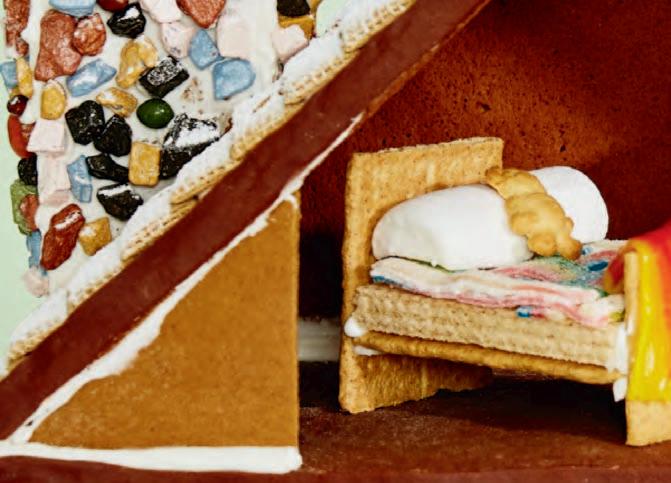
FASHION PILLOWS OUT OF HALVED MARSHMALLOW.
TESTED TILL PERFECT


Inside
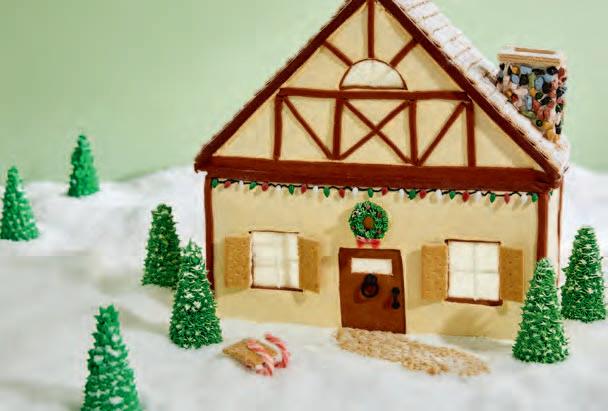
Create your best holiday scene ever with this gingerbread house that is a treat to look at from all angles.


BY IRENE FONG & THETEST KITCHEN
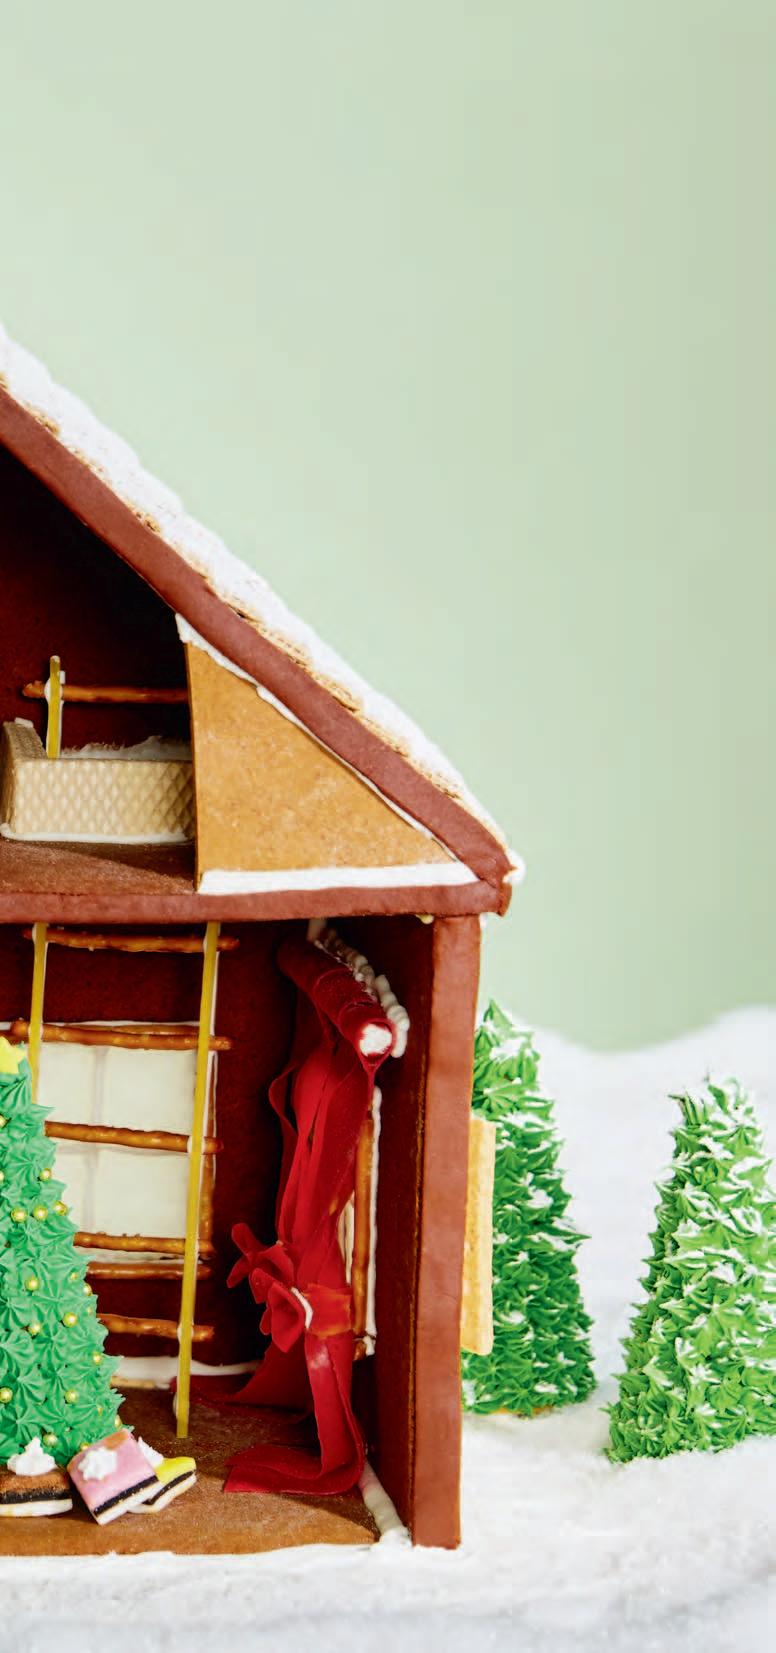
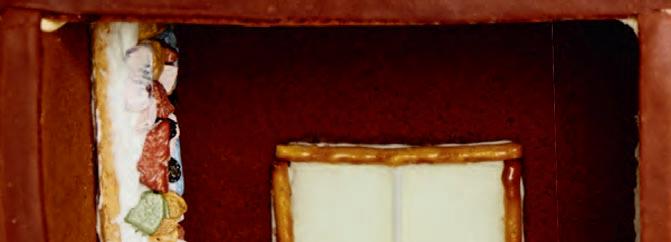
TO MAKE A LADDER, GLUE PRETZEL STICKSTO DRY PASTA.
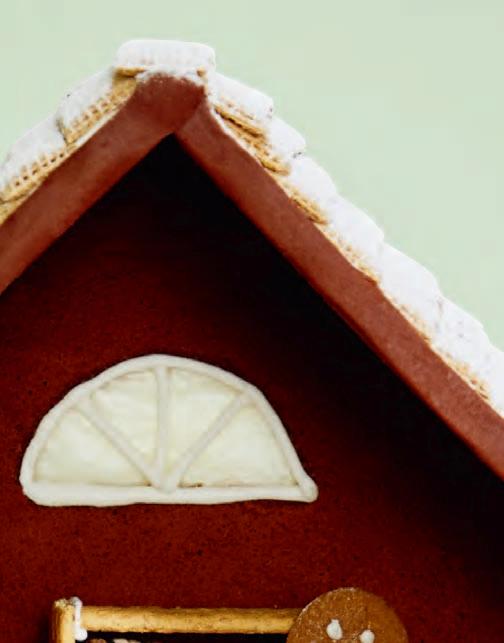
For an extrapolished look, cover any exposed cookie edges with strips of brown marzipan.

Gingerbread Diorama
Hands-on time: 6 hours Total time: 9 hours Makes: 1 house
This impressive gingerbread house is a treat to decorate. Download the templates at canadianliving.com/gingerbreadhouse and use it to cut your shapes. Then, use any leftover dough to make gingerbread people, animals and other decorations for your house. Look for cake boards at craft stores, or ask your local bakery for one.
Buttery Gingerbread Dough:
1 cup unsalted butter, softened 1 cup granulated sugar 2 eggs ⅔ cup fancy molasses ½ cup cooking molasses 6 cups all-purpose flour 2 tsp ground ginger 1 tsp each cinnamon and ground cloves 1 tsp baking soda ½ tsp salt
Gingerbread House:
2 batches Buttery Gingerbread Dough 25 clear mint candies
Royal Icing:
½ cup meringue powder 9⅓ cups icing sugar ivory paste food colouring
mini candy-coated chocolates vanilla wafer cookies 3 cups mini wheat squares cereal (such as Shreddies) 1 graham cracker brown paste food colouring 2 pkg (each 200 g) marzipan icing sugar green paste food colouring 4 ice cream sugar cones gold or silver dragées toasted oat cereal (such as Cheerios) white decorating sugar
Buttery Gingerbread Dough: In large bowl, beat butter with sugar until fluffy; beat in eggs, fancy molasses and cooking molasses until combined. In separate bowl, whisk together flour, ginger, cinnamon, cloves, baking soda and salt; stir into butter mixture. If necessary, knead to form smooth dough. Divide dough in half; shape into discs. Wrap each in plastic wrap; refrigerate until firm, about 2 hours. (Make-ahead: Refrigerate for up to 24 hours.)
Furnish Your Gingerbread House
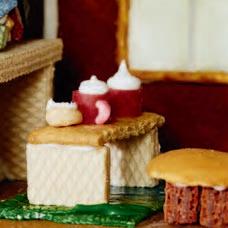
Fun furniture
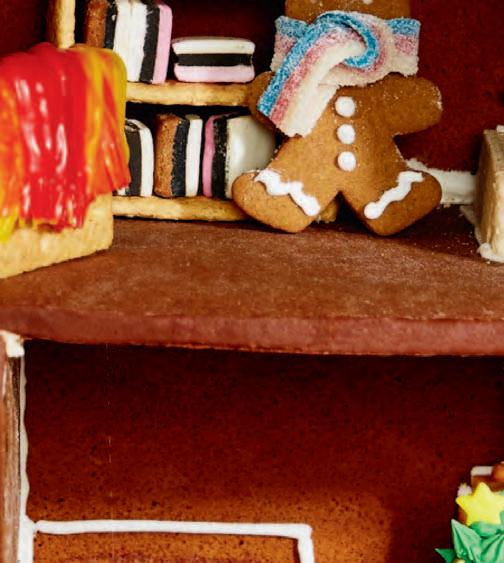
Use graham crackers, round cookies, wafer cookies and pretzels to make tables, chairs and beds.
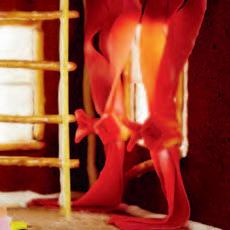
Tasty textiles
To make blankets, curtains and rugs, form fruit leather or ribbon candy into desired patterns and shapes.
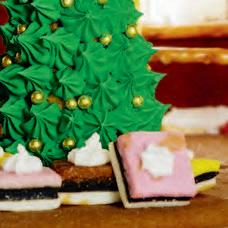
Pretty prezzies
Swap the plain piping tip for a star tip, then pipe white icing onto licorice Allsorts to create mini gift boxes. Gingerbread House: On large sheet of parchment paper, roll out each disc to ¼-inch (5 mm) thickness, dusting with flour as necessary. Using templates, cut out shapes, rerolling scraps as necessary; cut out windows. Arrange shapes on parchment paper, 1 inch (2.5 cm) apart, grouping similar sizes together. Lift edges of parchment paper and transfer shapes to rimless baking sheets. Refrigerate until firm, about 15 minutes. In food processor, pulse mint candies until finely ground; spoon into window cutouts, spreading to edges. Bake, 1 sheet at a time, in 325°F (160°C) oven until firm, about 10 minutes for smaller pieces and 25 to 30 minutes for larger pieces. While still warm, place templates over cookie pieces; trim any excess. (If centres of larger pieces are still soft, return to 325°F/160°C oven and bake just until firm, 8 to 10 minutes.) Let cool on pans for 30 minutes; transfer directly to racks to cool completely. (Make-ahead: Store in cool dry place for up to 24 hours.) Royal Icing: In stand mixer with whisk attachment, or in large bowl using hand mixer, beat meringue powder with 1 cup water until foamy, about 2 minutes. Beat in icing sugar, 1 cup at a time, until stiff and glossy, about 9 minutes. Divide icing among 2 bowls; using food colouring, tint 1 bowl of the icing ivory. Remove 1 cup of the ivory icing and 1 cup of the white icing to separate bowls; cover with damp paper towels to prevent drying out. Arrange Bottom Front, Top Front, Window Side and Fireplace Side on work surface, smooth side up. In piping bag fitted with small plain tip, pipe some of the remaining ivory icing along edges of each piece, refilling piping bag as necessary. Pipe 4- x 3-inch (10 x 8 cm) rectangle around centre window and along bottom edge of Bottom Front to create door. Let stand until dry, about 15 minutes. Gradually add water, ½ tsp at a time, to reserved 1 cup ivory icing until mixture is consistency of molasses. Spoon into centres of piped gingerbread, leaving door uncovered; using toothpick or skewer, spread to piped edges, popping any air bubbles. In piping bag fitted with coupler and small plain tip, pipe white icing onto windows to create windowpanes, refilling piping bag as necessary. Let stand until dry, about 3 hours. To make chimney:Meanwhile, arrange Side A, rough side up, on work surface; pipe white icing along long edges. With smooth sides facing out, press long edges of Front and Back onto piped icing to adhere. Pipe white icing along long edges of rough side of Side B; press onto Front and Back to adhere. Prop up chimney with soup cans, if necessary. Let stand until dry, about 30 minutes. Pipe or spoon white icing onto outside of chimney, smoothing with small offset palette knife; press candy-coated chocolates into icing to adhere. Holding chimney upright, with slanted edges facing down, pipe white icing along top edges of chimney; press 4 wafer cookies onto piped icing, trimming to fit. Let stand until dry, about 45 minutes. To make roof: Place 1 Roof piece, smooth side up, and with 1 short end closest to you, on work surface; pipe horizontal line of white icing ½ inch (1 cm) from bottom edge. Arrange about 8 wheat cereal squares over top, gently pressing to adhere. Pipe horizontal line of white icing ½ inch (1 cm) from wheat cereal squares; arrange 8 wheat cereal squares over top, overlapping bottom row. Repeat rows with white icing and cereal squares to cover surface. Repeat with second Roof piece. Pipe white icing along bottom (slanted end) of chimney; attach chimney to 1 Roof piece, about 1½ inches (4 cm) from short side closest to you. Let stand until dry, about 2 hours. To build first floor: Meanwhile, place Bottom Front, icing side down, on work surface; using white icing, pipe rectangle around centre window and along bottom edge to create reverse side of door. Let stand until dry, about 15 minutes. Place Base, rough side up, on work surface; pipe ivory icing along edges. Arrange, icing side down, in centre of cake board, pressing to adhere. Pipe ivory icing along 1 long edge of Base; attach Bottom Front, ivory side out, supporting with cans as necessary. Pipe ivory icing along each short edge of Base and Bottom Front. With front of house facing you, attach Window Side to left side of Base. Attach Fireplace Side to right side of Base. Support both sides with soup cans as necessary. Place Inner Wall on work surface with door cutout closest to you; pipe white icing along bottom edges and 1 side edge. Attach to Base and Bottom Front, about 5 inches (12 cm) from Fireplace Side. Support with soup cans as necessary. Let stand until dry, about 1 hour. Pipe white icing along interior edges

For holiday lights, glue candy-coated sunflower seeds across the front of the house.



of intersecting cookies to secure. Let stand until dry, about 30 minutes.
To make fireplace: Trim wafer cookies into 3 equal-size pieces; using white icing, attach 2 pieces vertically and 1 piece horizontally to interior side of Fireplace Side to make fireplace. Trim 1 graham cracker to fit between top of fireplace and top edge of Fireplace Side. Spread white icing over 1 side of graham cracker; press candy-coated chocolate into icing to adhere. Pipe icing along edges of opposite side of graham cracker; attach to wall above fireplace to create interior chimney.
To build second floor: Arrange Second Floor, smooth side up and with square cutout at your right, on work surface. Pipe white icing along long edge closest to square cutout. Attach Top Front, ivory side out. Support with soup cans as necessary. Let stand until almost dry, about 40 minutes. Pipe ivory icing along sides of Top Front and short ends of Second Floor. Attach Roof pieces, placing Roof piece with chimney on your left and remaining Roof piece on your right. Support with soup cans as necessary. Using ivory icing, attach Left and Right Corner pieces where Roof and Second Floor intersect. Let stand until dry, about 45 minutes. Using white or ivory icing, pipe along edges of house wherever 2 cookies intersect to secure. Let stand until dry, about 30 minutes.
To attach second floor: Pipe thick layer of ivory icing along top edge of Bottom Front, Window Side, Fireplace Side and Inner Wall. Carefully place Second Floor on top. Pipe ivory icing along exterior edges wherever first and second floors intersect. Pipe white icing along interior edges wherever first and second floors intersect. Let stand until dry, about 1 hour. Meanwhile, knead enough brown food colouring into marzipan to match colour of gingerbread. Between waxed paper, roll out marzipan to ⅛-inch (3 mm) thickness, dusting with icing sugar if necessary to prevent sticking. Cut into scant ½-inch (1 cm) wide strips; using ivory icing, attach marzipan strips to front and side edges wherever 2 cookies intersect.
To make trees: Using green food colouring, tint reserved 1 cup white icing to desired shade; spoon into piping bag fitted with small star tip. Pipe icing onto 4 ice cream cones to make tree boughs; decorate 1 of the trees with dragées. Let stand until dry, about 30 minutes. Using offset palette knife, spread remaining white icing over cake board to coat. Attach toasted oat cereal along front of house to create walkway. Sprinkle decorating sugar over surface of icing, pressing to adhere. Place decorated tree inside house; arrange remaining trees outside of house on cake board. Dust roof and trees with icing sugar.
GET THE TEMPLATES FOR THIS
HOUSE AT canadianliving.com/ gingerbreadhouse.

Every Set of Lost Keys
Has a Story
Luolin’s running leg was funded by your support of the Key Tag Service.
Order key tags online.
“I want to thank the person who found my keys and called the number on the back of my War Amps key tag. The War Amps returned them to me by courier, free of charge, and saved me hundreds of dollars in replacement costs!” – Alex


