
5 minute read
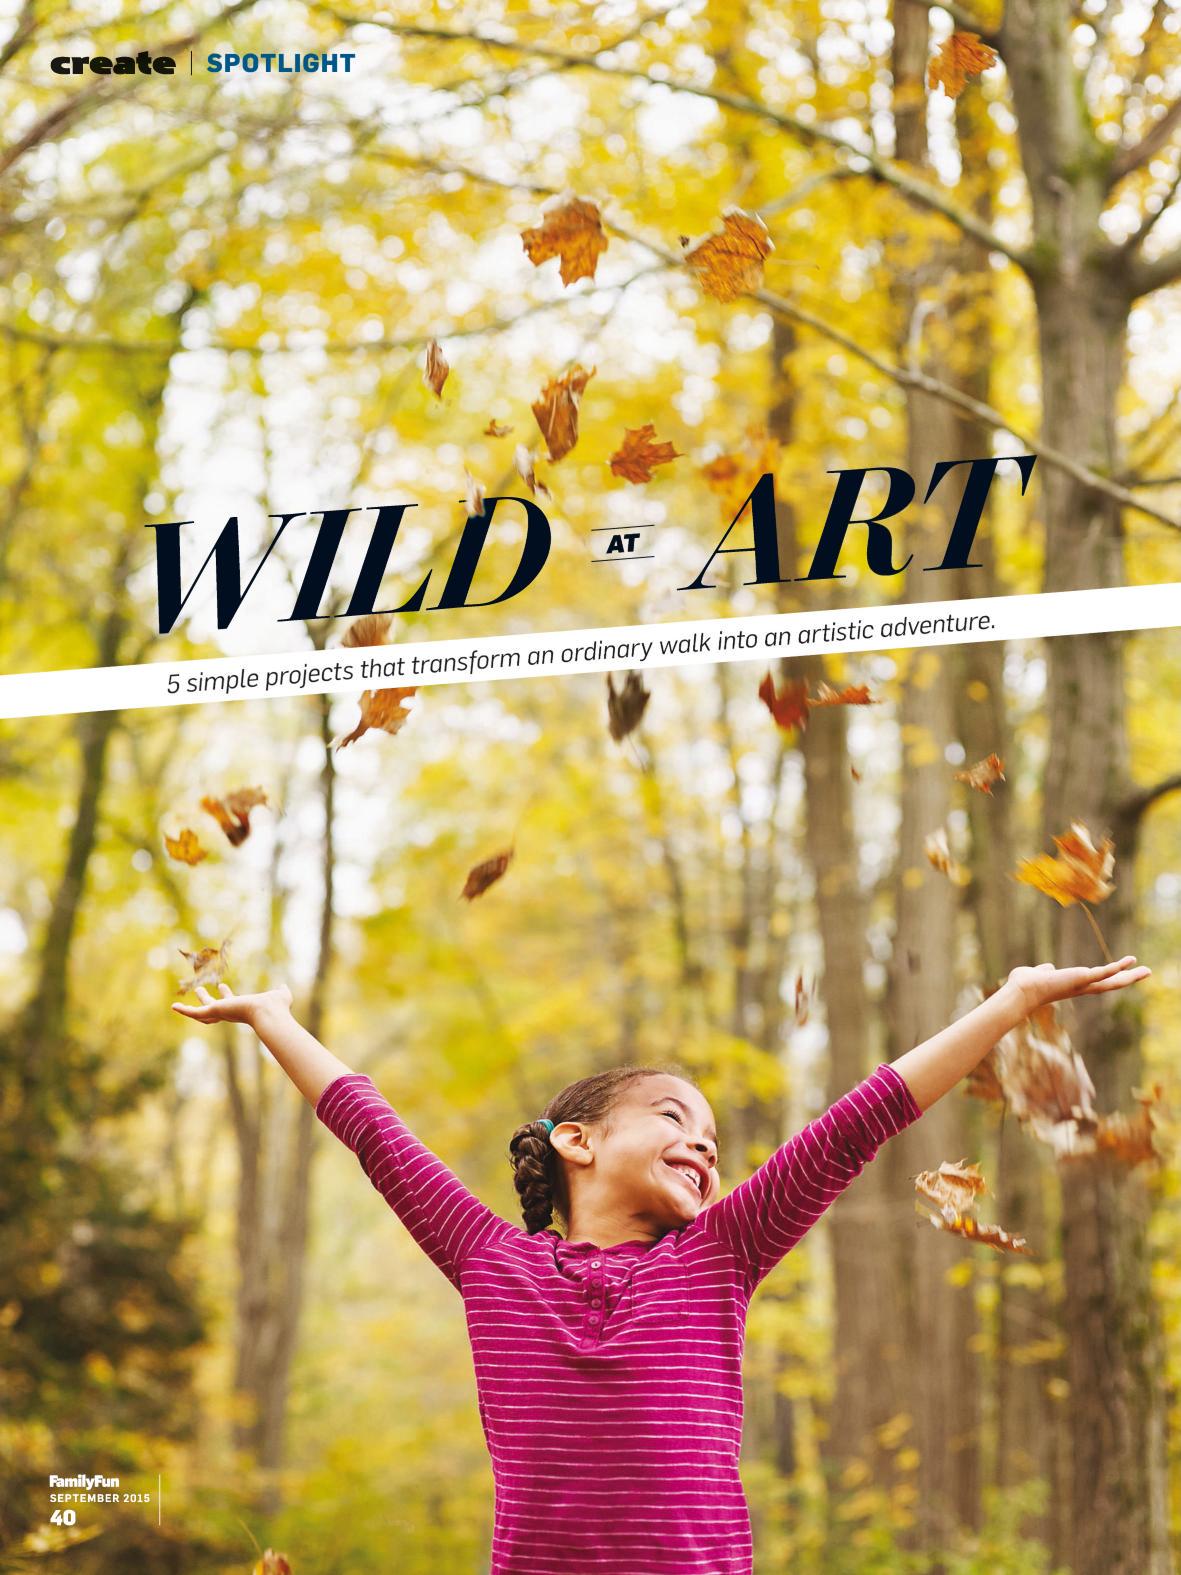
SPOTLIGHT Five


CHICKEN FAJITAS IN A FLASH
Replace your go-to taco night fare with this super-fast, mildly seasoned fajita recipe that’s sure to become a favorite. Opting for all-corn tortillas will make it more nutritious (and gluten-free).
Advertisement
INGREDIENTS 4 cloves garlic, minced ¼ cup olive oil 3 tbsp. Worcestershire sauce 4 tsp. chili powder 1 tsp. sugar 3 tbsp. lime juice ½ tsp. salt 1 lb. chicken cutlets 4 bell peppers (any color), thinly sliced 1 yellow onion, thinly sliced Tortillas and your family’s favorite fajita toppings for serving
ACTIVE TIME: 20 MIN. TOTAL TIME: 35 MIN. MAKES: 4 SERVINGS 1. Heat the broiler with one rack positioned about 4 inches away. 2. In a small bowl, whisk together the first seven ingredients. Set aside ¼ cup of the sauce, then place the rest, along with the chicken, in a large ziplock bag. Seal the bag and turn it to coat the chicken. 3. Toss the peppers and onion with the reserved marinade on a rimmed baking sheet. Spread them out evenly. Place the marinated chicken on top. 4. Broil, turning the chicken halfway through, until the chicken is no longer pink inside and the vegetables are charred, about 12 minutes. Slice the chicken into strips before serving with your favorite fajita toppings.
PER SERVING (FILLING ONLY): 320 calories, 27g protein, 17g fat, 3g sat. fat, 15g carbs, 4g fiber, 497mg sodium
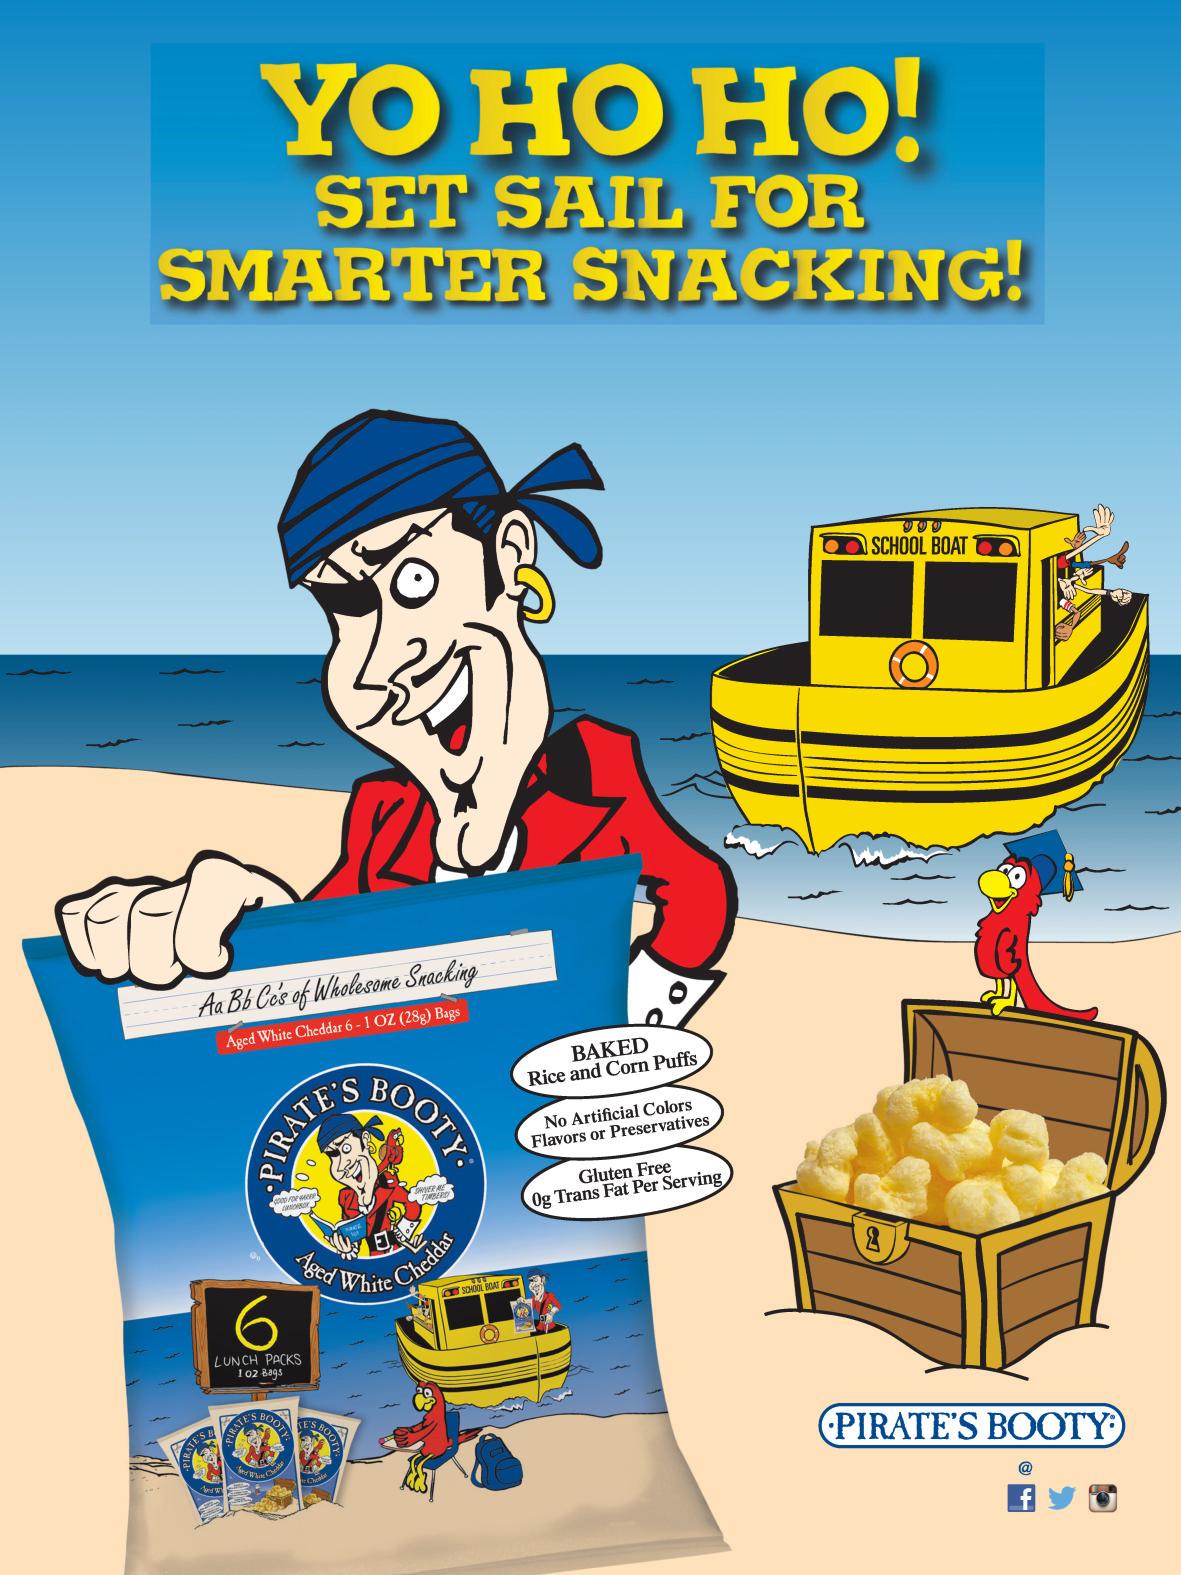
Climb aboard with Pirate’s Booty this fall and stock yarrr lil crewmates’ lunch boxes with a deliciously crunchy, baked-not-fried snack they’ll love.
CREATIVE CREATURES
Using found materials to make animals of all sorts can be especially fun for kids. Here's a dragonfly we fashioned from fallen leaves, a milkweed pod, acorns, sticks, and more. Your crew might assemble an insect, a snake, or even a creature drawn from your child's imagination.
EXPLORE, COLLECT, CREATE.

With these three words as your guide, your family can experience the outdoors in a whole new way. Making nature art encourages kids to investigate the world around them and adds an extra element of fun to a hike on the trail or a walk in the park. You'll also have the pleasure of leaving a whimsical surprise for another family to discover—or for your kids to seek out on a return visit. On the following pages, you'll find quick tips and open-ended inspiration for an outing that ends with a natural masterpiece.

GET SET
Before your outing, consider these helpful tips and review them with your kids.
1. Be kind. When collecting materials, aim to minimize your impact on habitats and the ecosystem. Picking up a fallen leaf from the ground is better than plucking one from a tree. 2. Be careful. Keep an eye out for plants that might be prickly or poisonous. 3. Choose your site wisely. Seek out and be sure to follow the rules of public and private land. Create your installation where others can see it, but where it won't block trails or paths. 4. Bring a camera or phone so you can snap a picture. 5. Go back. Land art isn't meant to last forever, but it's fun to return and see how your project has changed over time.
ROCKIN' THE WALK
Here's a fun scene for other hikers to stumble upon. Arrange faux feet made of stones (or other materials, such as twigs or leaves) as if they're ambling along a path or into water.

STICK TOGETHER
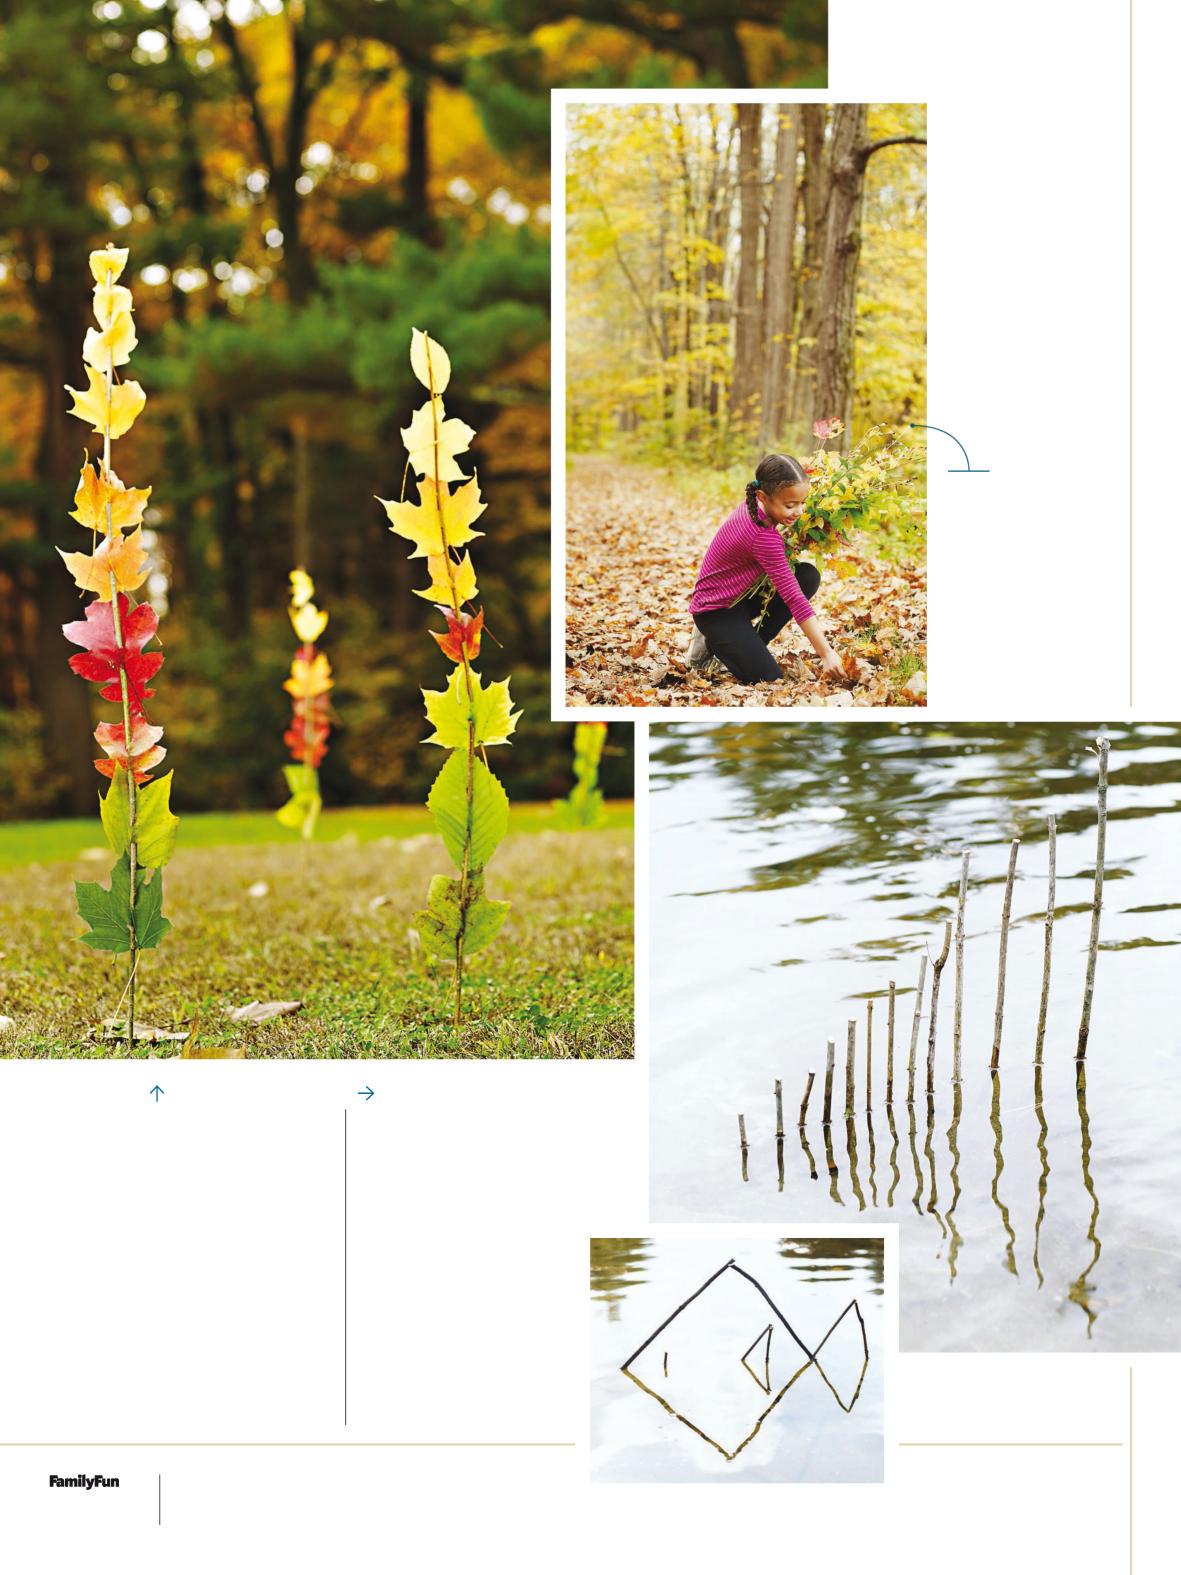
Have everyone in the family make one of these natural totems, then set them up as a group. Simply thread leaves onto sticks or twigs in interesting patterns, then push the sticks into the ground.
ART OF REFLECTION
For this optical illusion, find a shallow body of water with a soft bottom, such as sand. Play with the placement of your sticks so that their reflections complete a design, as shown. No water nearby? You can get a similar effect from the shadows of sticks set in an open expanse of sand or dirt. Looking for specific objects, such as acorns or leaves, helps kids become more familiar with native plants and trees.
NATURE MANDALAS

Think big (a clearing) or small (atop a boulder or log) when planning this project. You can incorporate just about any material, but using a circle as your shape makes it easy for kids to form and repeat a pattern. To assemble the piece, have them start in the center and work outward. Varying colors and textures adds visual contrast and encourages investigation and discovery. SHOW US WHAT YOU MADE! Has your family made something from the magazine? Post a photo on social media with #familyfunsocute, and you could earn $100! See page 95 for details.
little ones
SPECIAL SECTION: SEASONAL ACTIVITIES JUST FOR KIDS UNDER 5
18 months & up
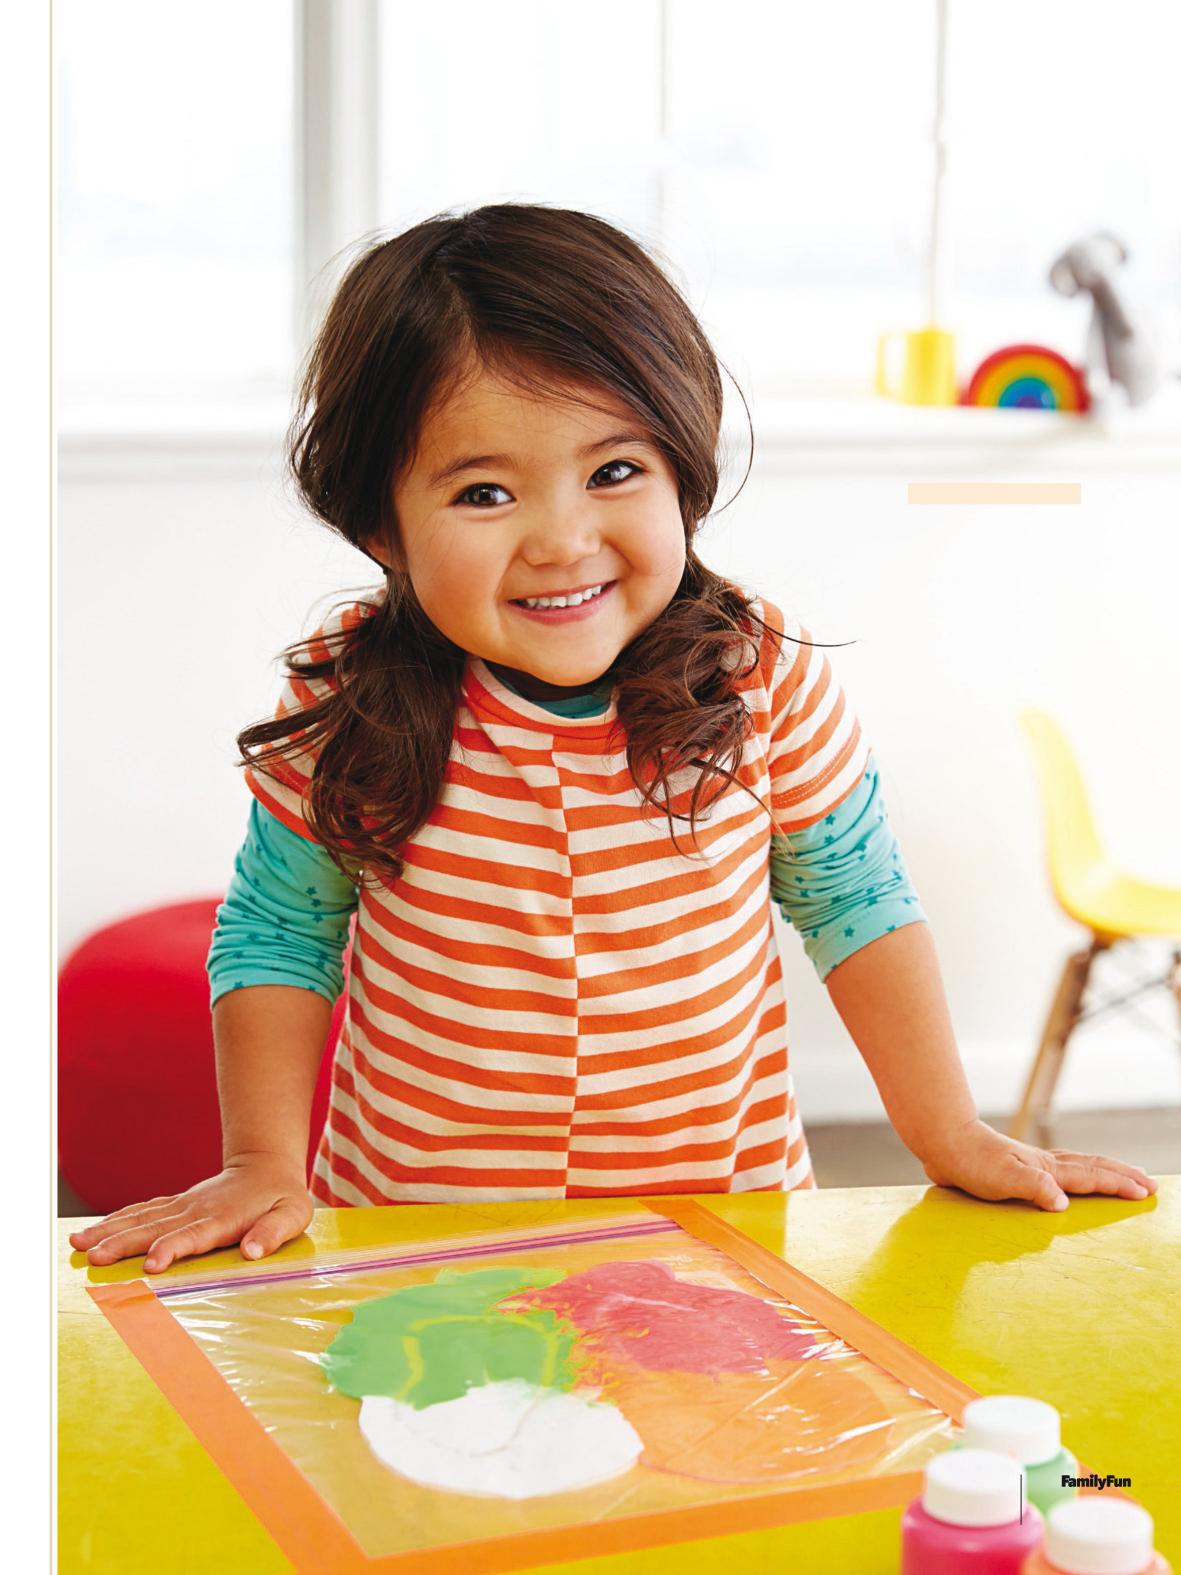
MIX-A-LOT
This mess-free art activity is great for toddlers and neatnik kids. Squirt a few dabs of various colored tempera paints into a quart-size ziplock bag, seal it, tape it to a table, and let your child squish away.
2
newborn & up
ROOMS WITH A VIEW
Create an enriching environment for developing minds with these adorable accessories and playthings.
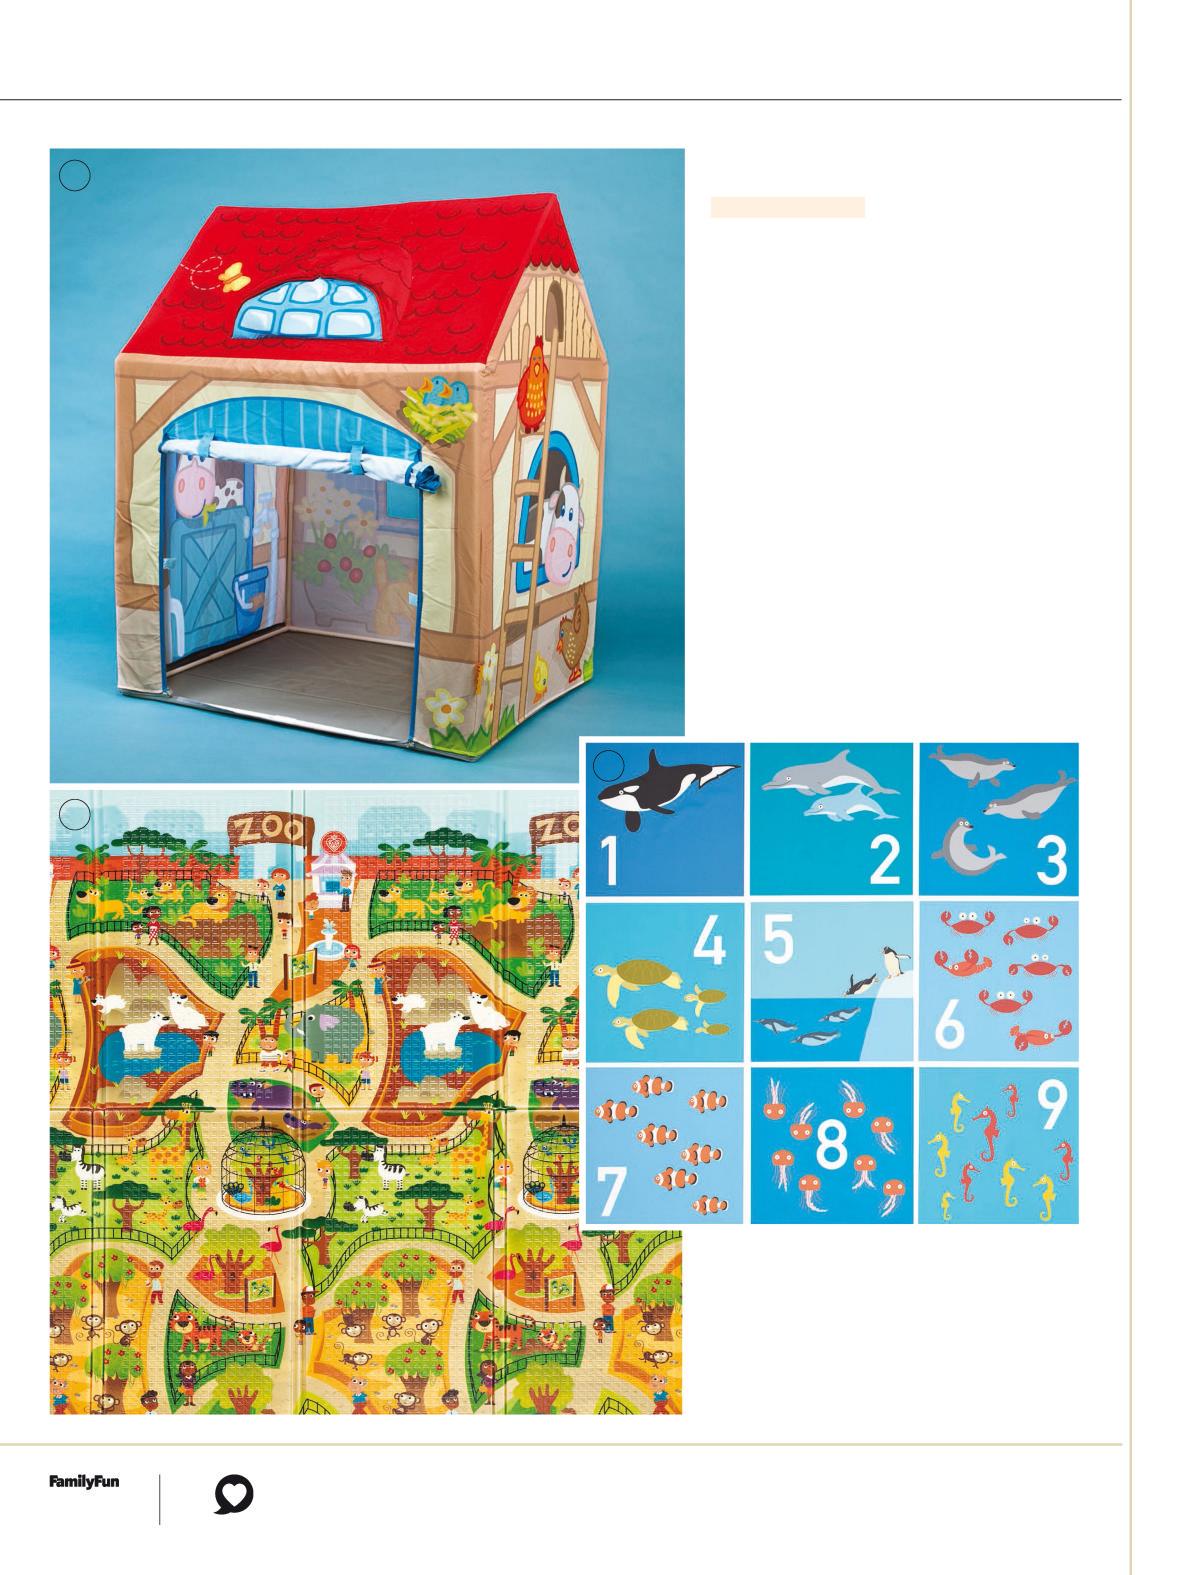
1. PLAY TENT FARM Foster your toddler’s imagination with a durable and easy-to-assemble country cottage that pays homage to Old MacDonald. Ages 18 months and up $89.99, habausa.com
2. SEA WORLD NUMBERS This repositionable decal set comes with nine illustrated numbers to help your tot learn her 123’s. You can also upload three photos of your family, and the company will send you back three custom photo decals you can mix and match into the set. Ages newborn and up $49.99, paperculture.com
3. EVERYWHERE PLAY MAT Each roughly 5- by 6½-foot padded floor covering comes with a city view on one side and a zoo design on the other—and folds into a 1⅓- by 2⅓-foot rectangular shape for easy storage. Ages newborn and up $60, princelionheart.com


